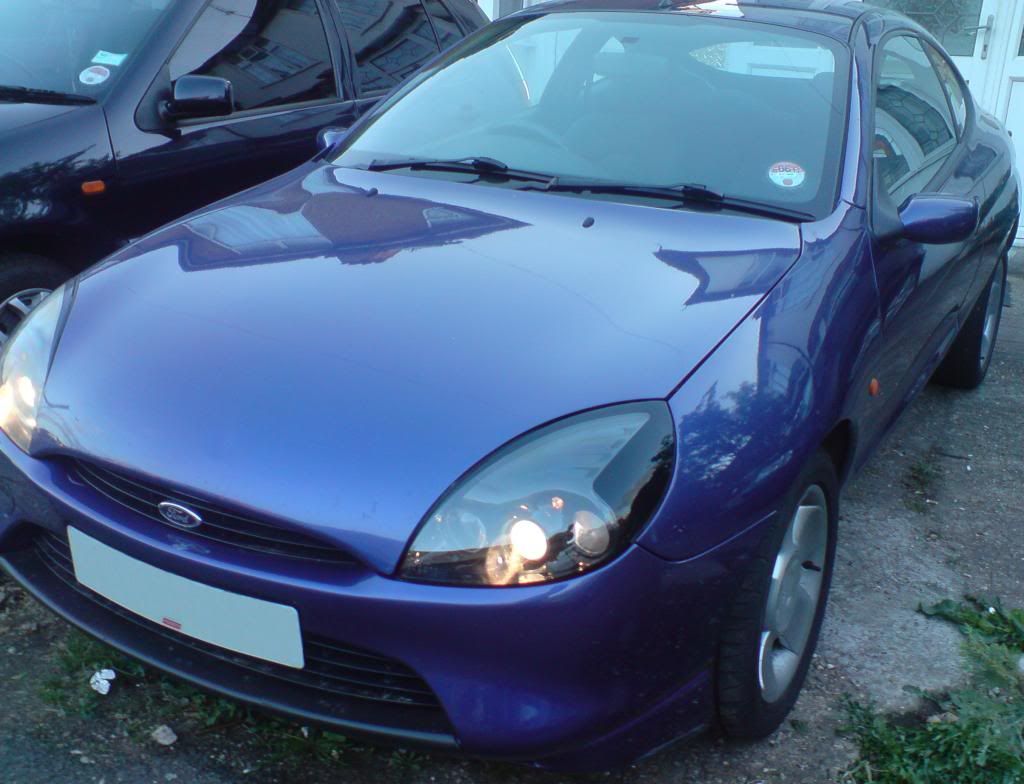
Hello people, my 1st post on this forum as iv just bought myself a '99 puma for the bargain price of £340.
short story why i bought this:
I did previously have a BMW e36 316i coupe but due to recently starting an apprenticeship the upkeep was not sensible for me, so i needed a very cheap car for the time being and it was not intended to be a puma until http://cgi.ebay.co.uk/T-REG-PUMA-1-7-16V-VVTI-125BHP-TAX-GOOD-COND-OUT-/270739944293?pt=Automobiles_UK&hash=item3f095bb365#ht_1951wt_936" onclick="window.open(this.href);return false; (if you cant see this its just the sale of it on ebay) and since iv worked on pumas before i jumped at this offer and although it didn't hav MOT i work at a place where we do MOT's so a couple of rear poly bushes and 1 brake flexi later its on the road for less then £400 inc. MOT and almost full service history, WOT A BARGAIN, best value for money iv had
If anyone wants to see some pics of the poly bushes fitted or even my BMW I do have pics just ask me.
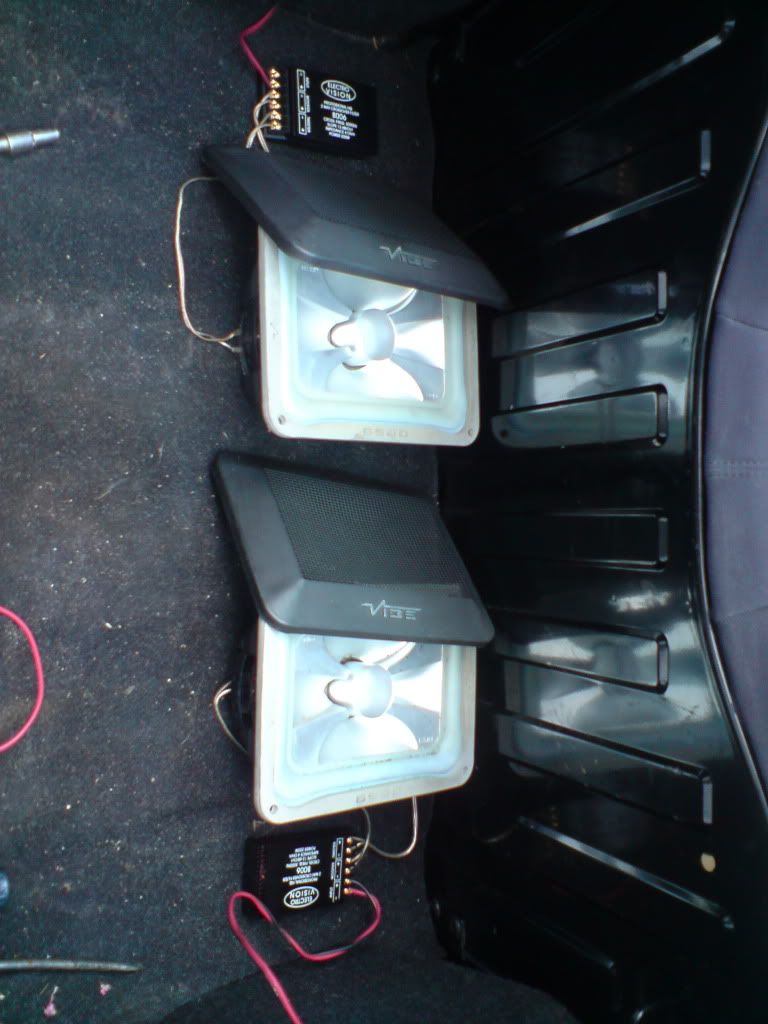
Now the reason im takin the rear panels off is because i installed a couple of VIBE's, i got for free from a car we sent to the scrappy at work, and they sounded sh*t without an amp so now im taking them out so i thought why not take some pics since i forgot to on the install.
This is a bit long winded but very simple to do.
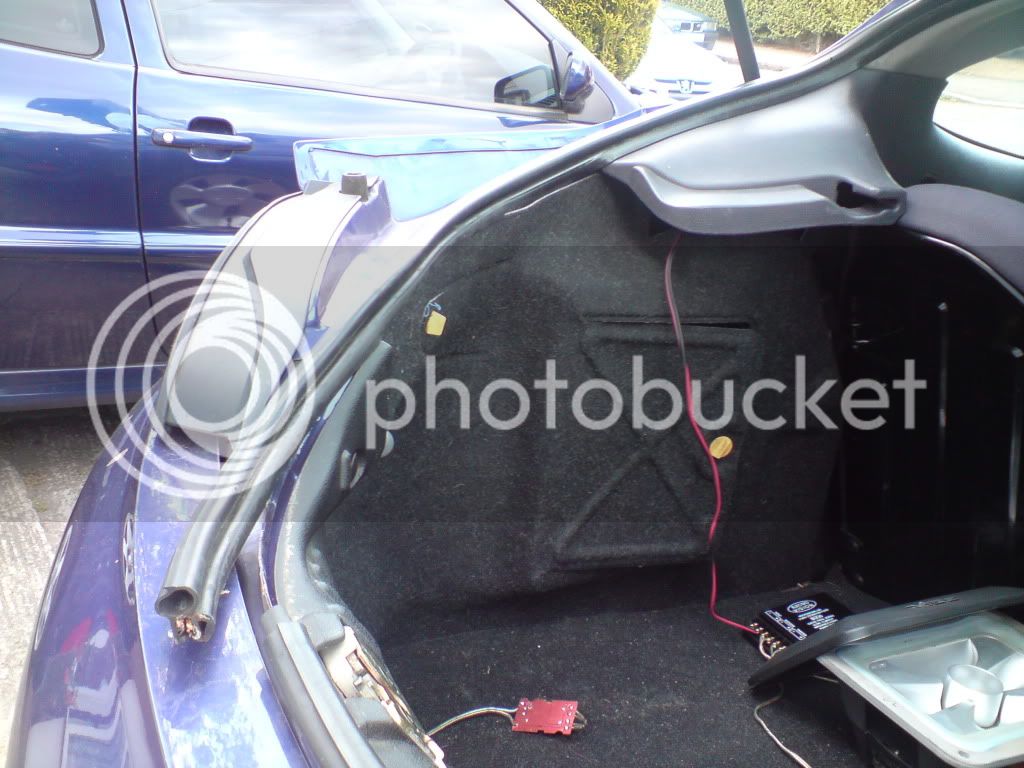
so heres the VIBE's
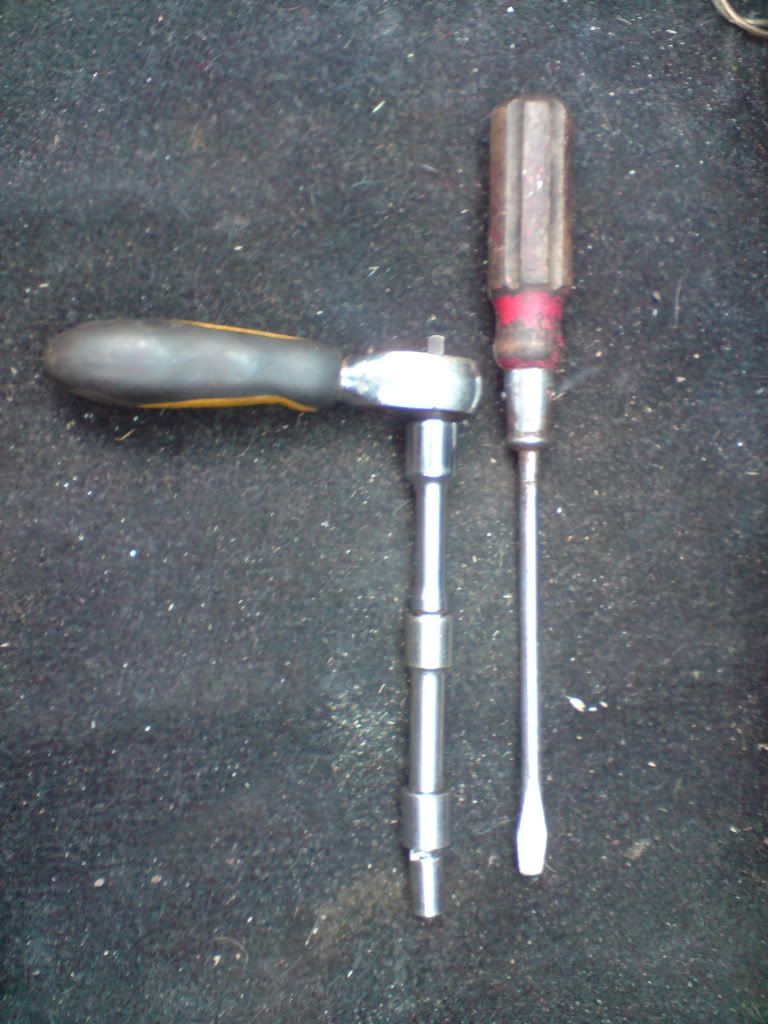
Tools you will need - an 8mm socket on a ratchet with an extension if possible, a flat screwdriver or a trim removal tool (TRT) and a hammer if you really wanna do some damage.
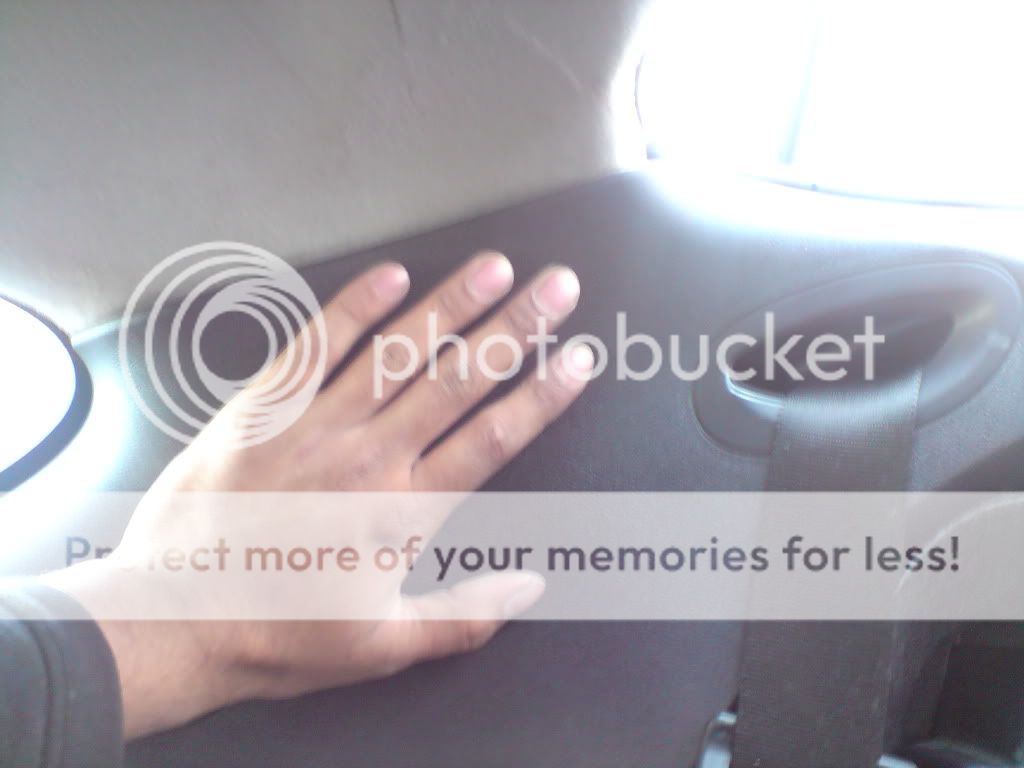
1st pop the back seat down by pulling both tabs in ur boot
if it makes thing easier then lift off the rubber seal but only one side at a time otherwise you may have problems getting it back on
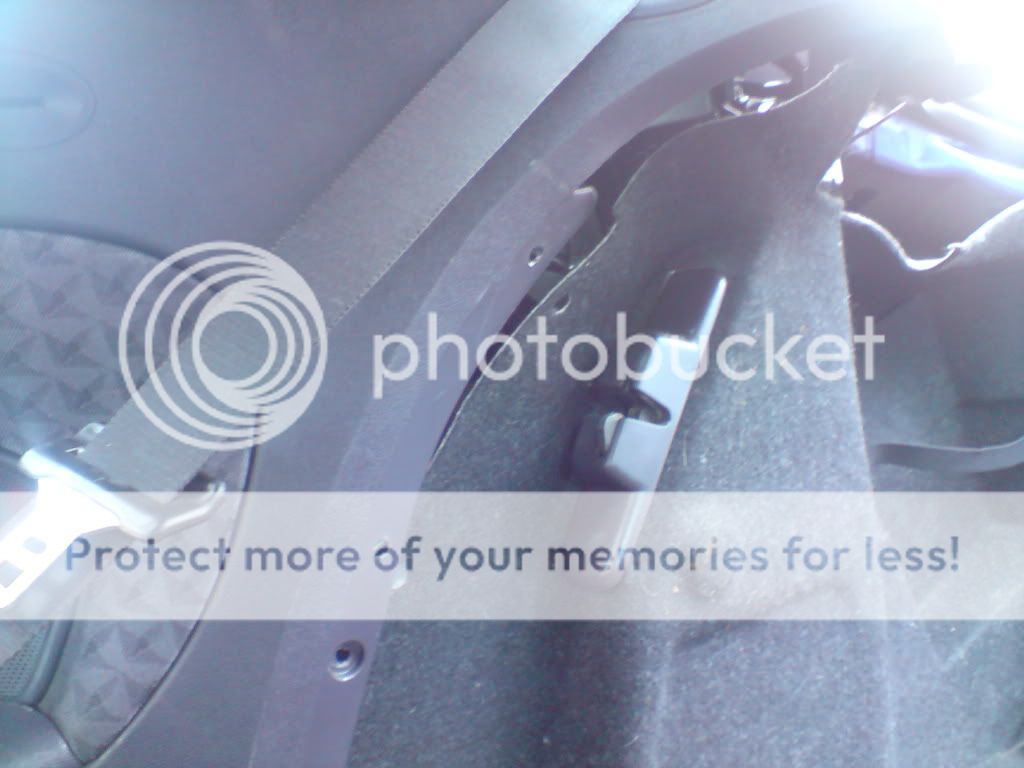
then look under here
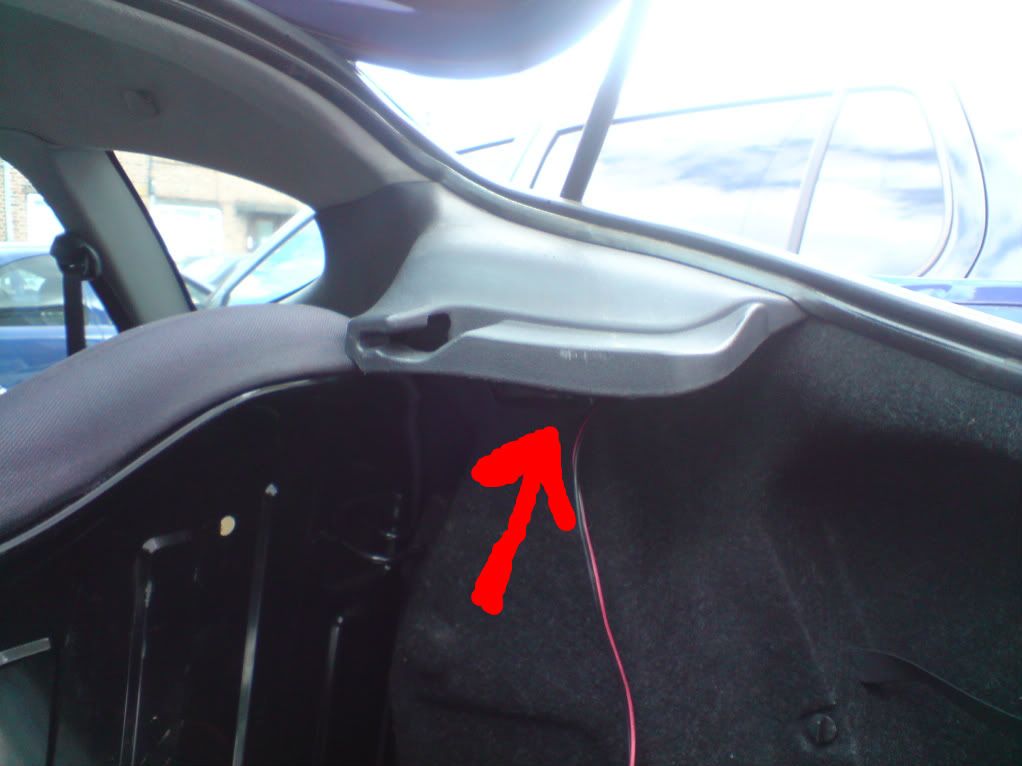
and you will see these two
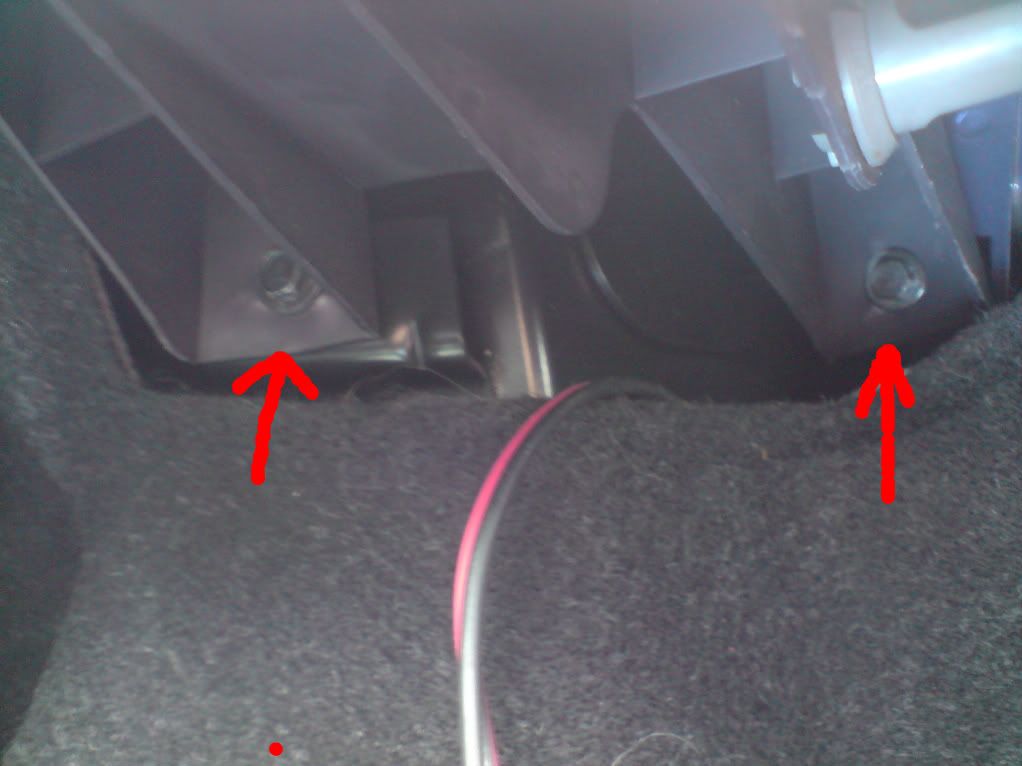
use ur 8mm and take them both off
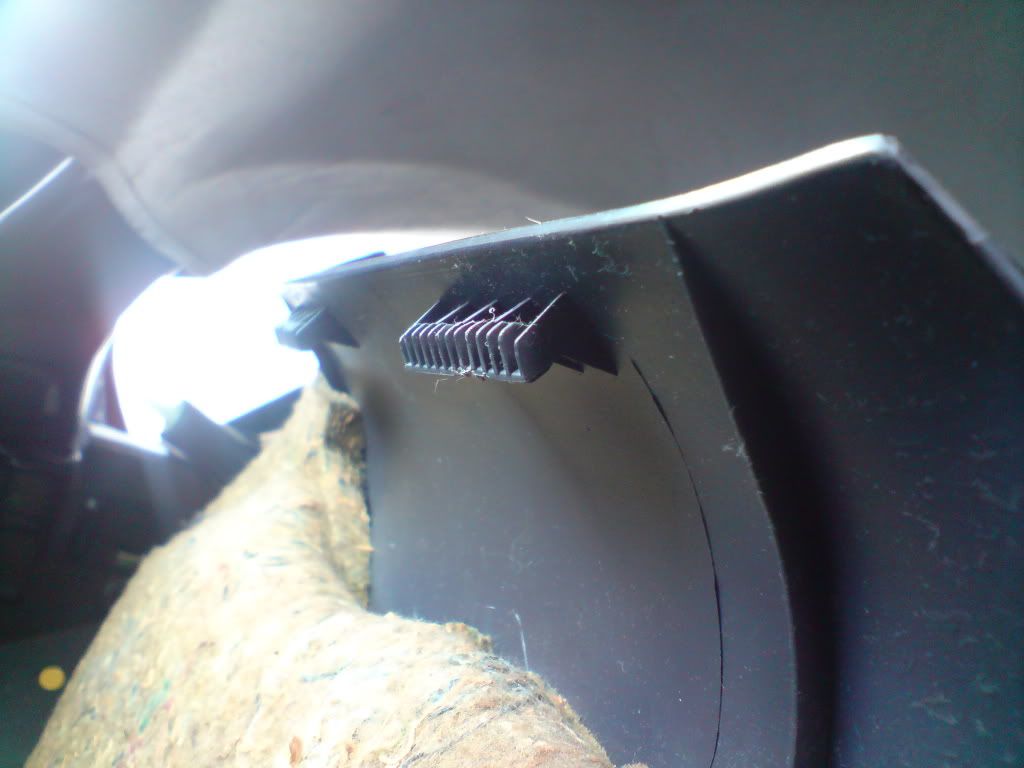
pop these three off with the flathead or TRT
pull the carpet back to reveal the last 8mm bolt/screw

remove this
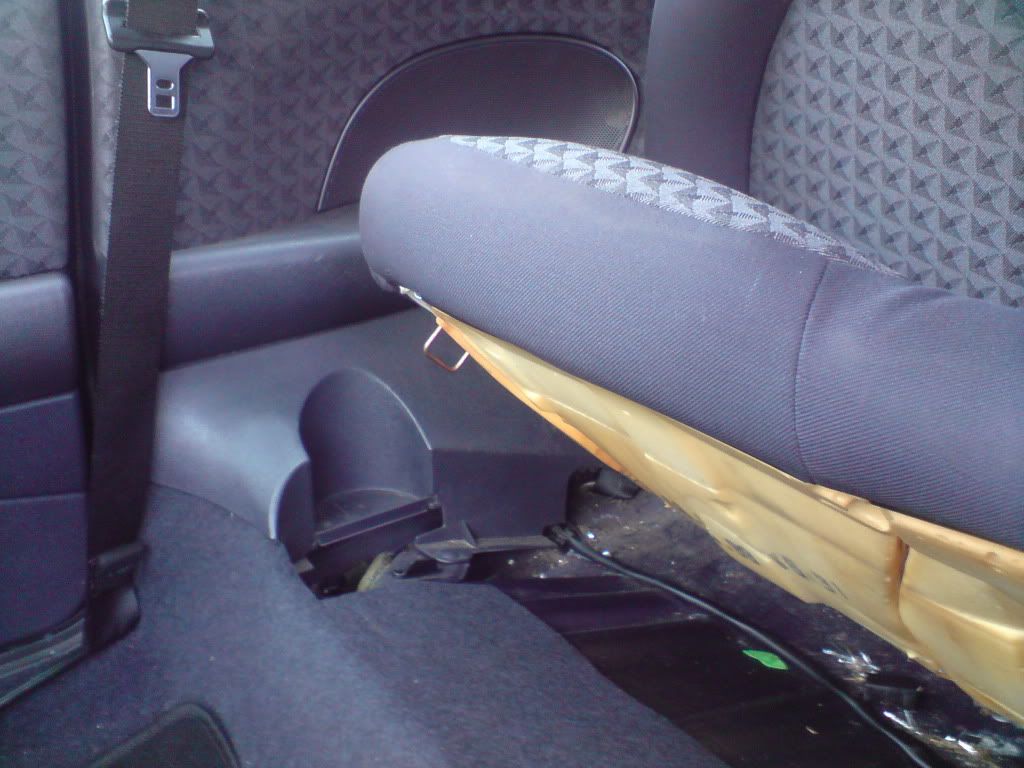
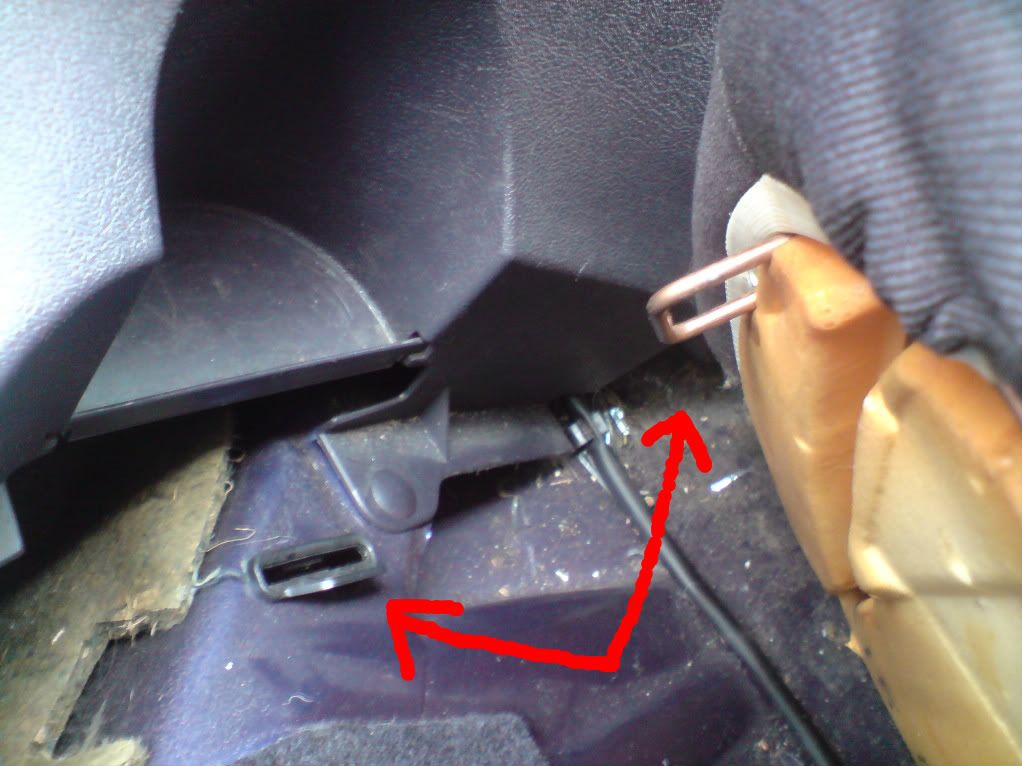
now clamber out of ur boot and into the back seat and pull up the bench seat (it may not come all they way off but this much room should be enough
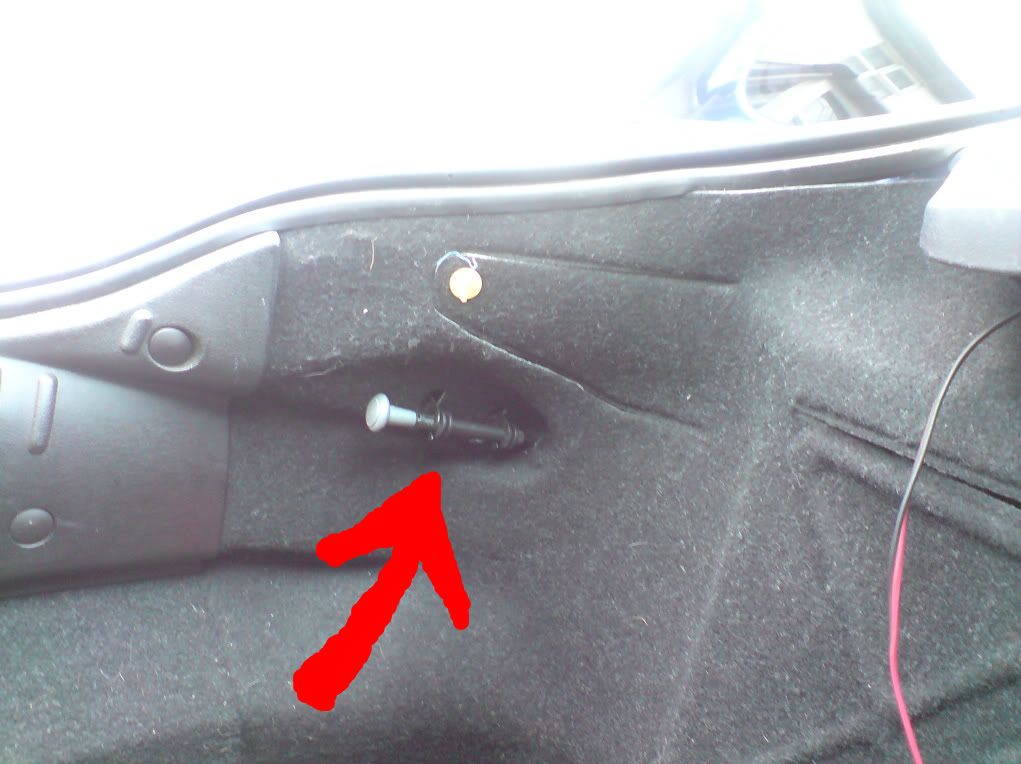
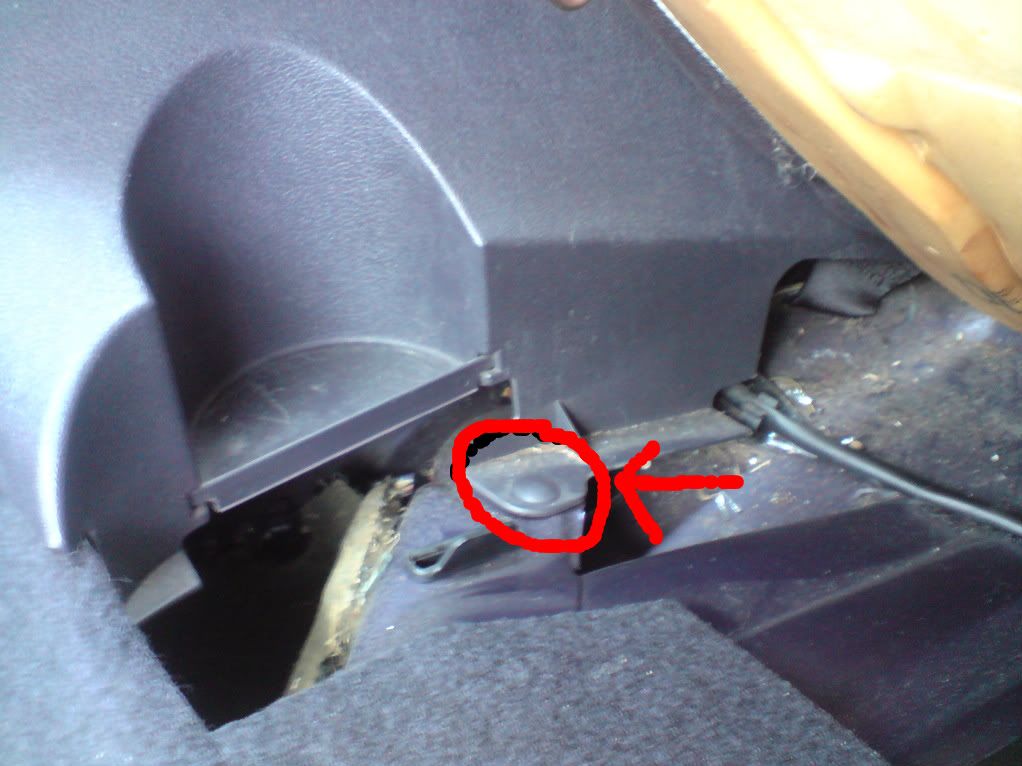
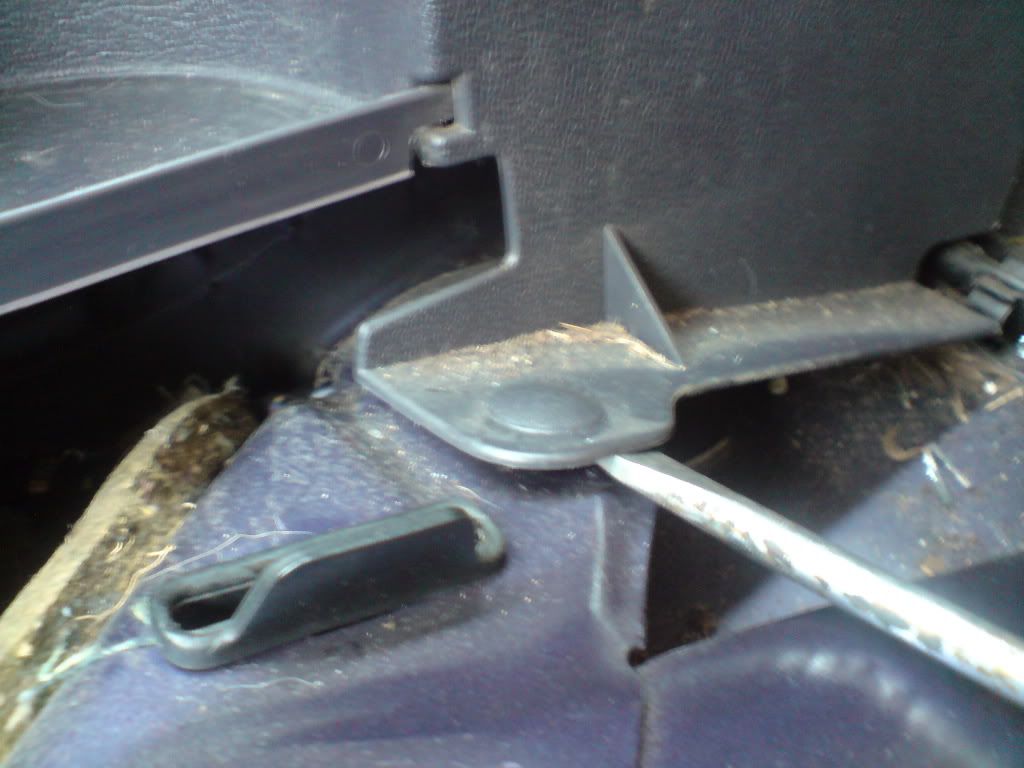
you should see this near the cup holder
try not to let any of these things flick away or fall cus it can be a b*tch to find
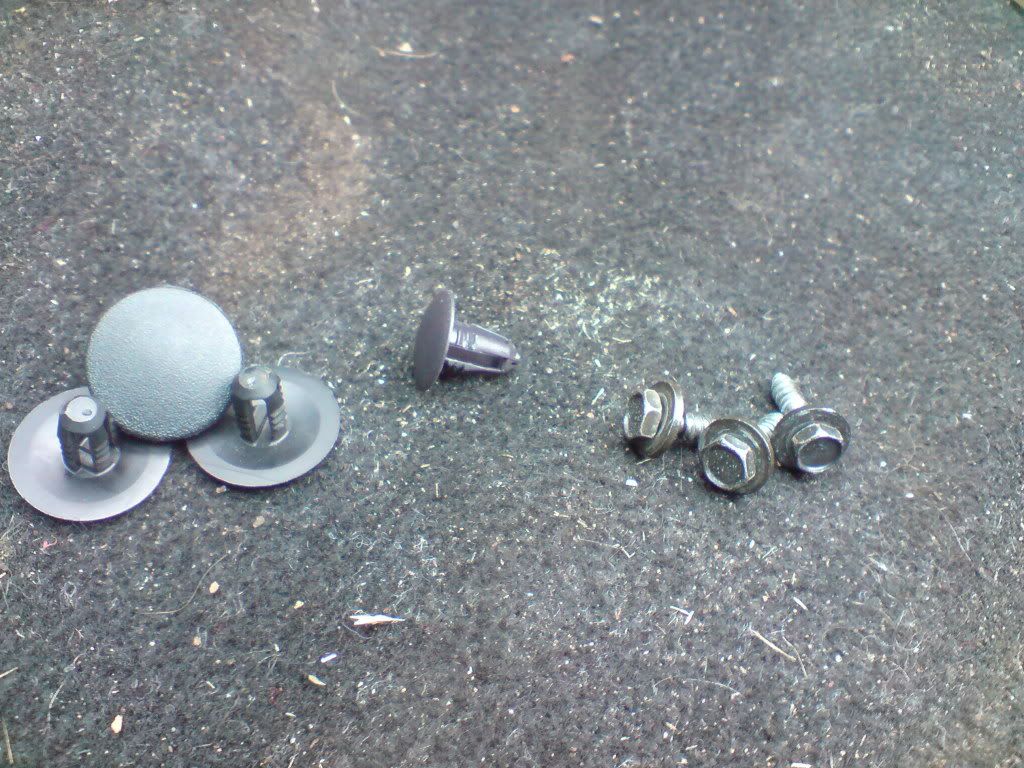
Ok, so here is what you should have taken off so far
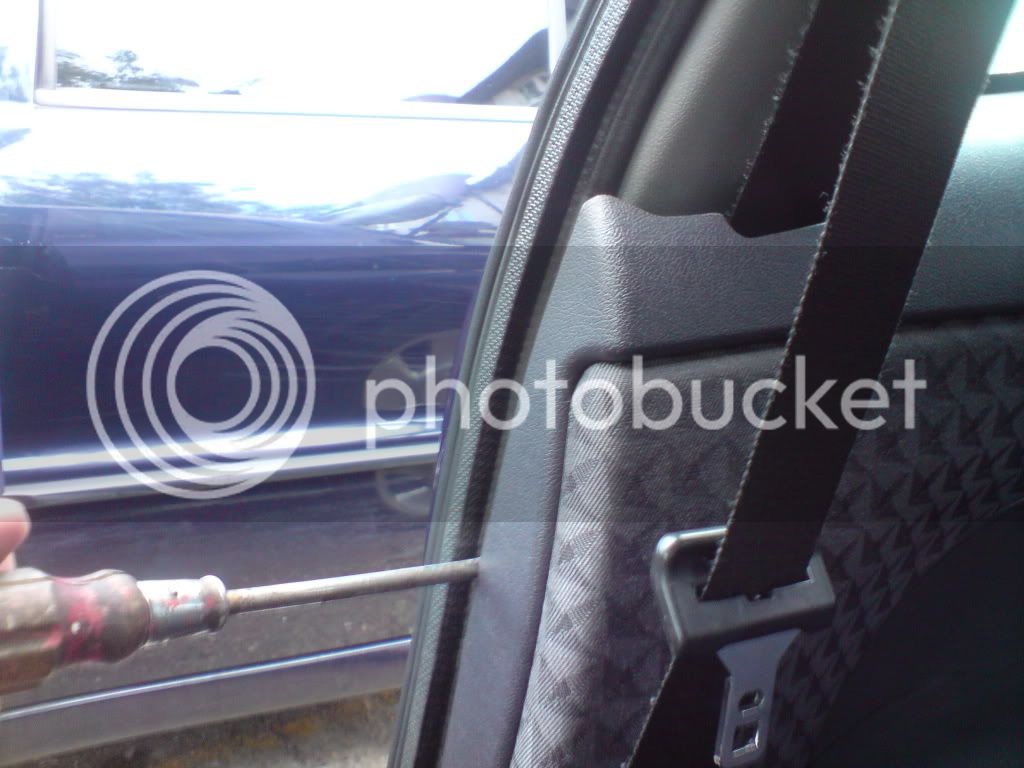
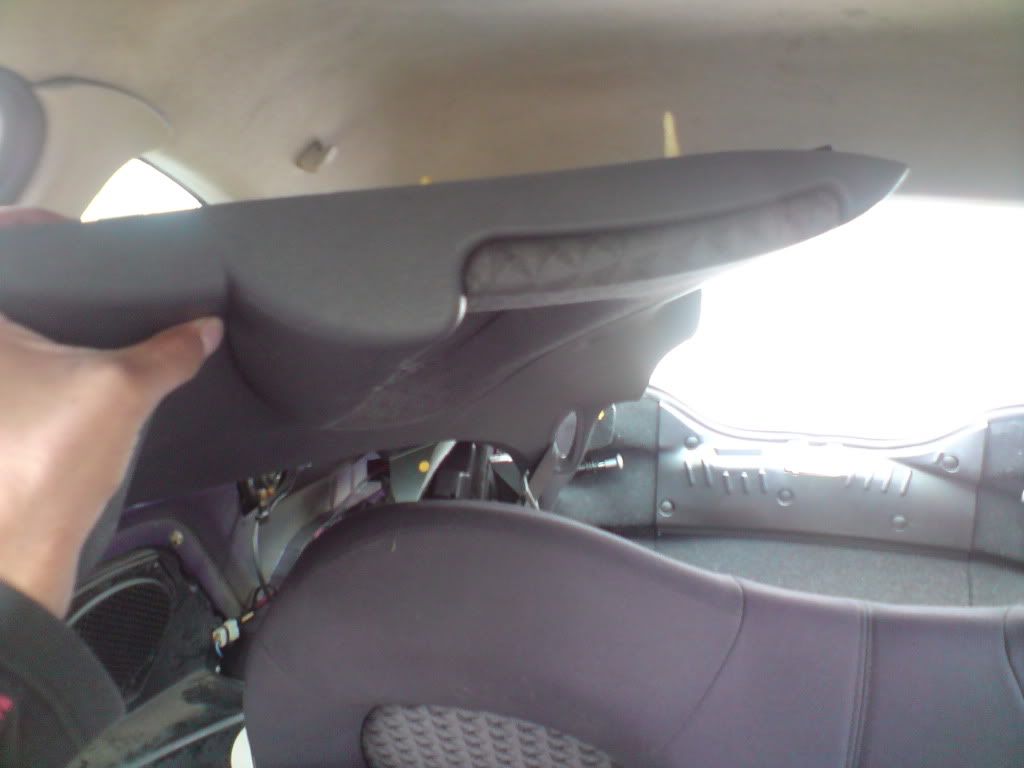
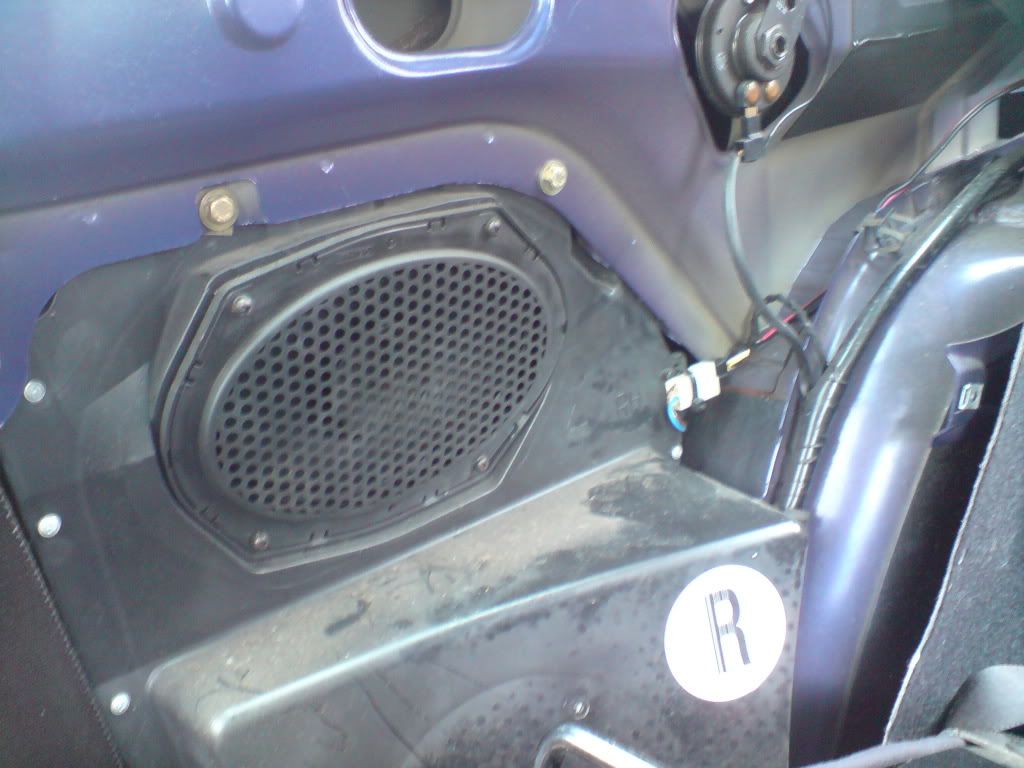
now GENTLY start levering or pulling the panel off towards you (not up or down but straight off)
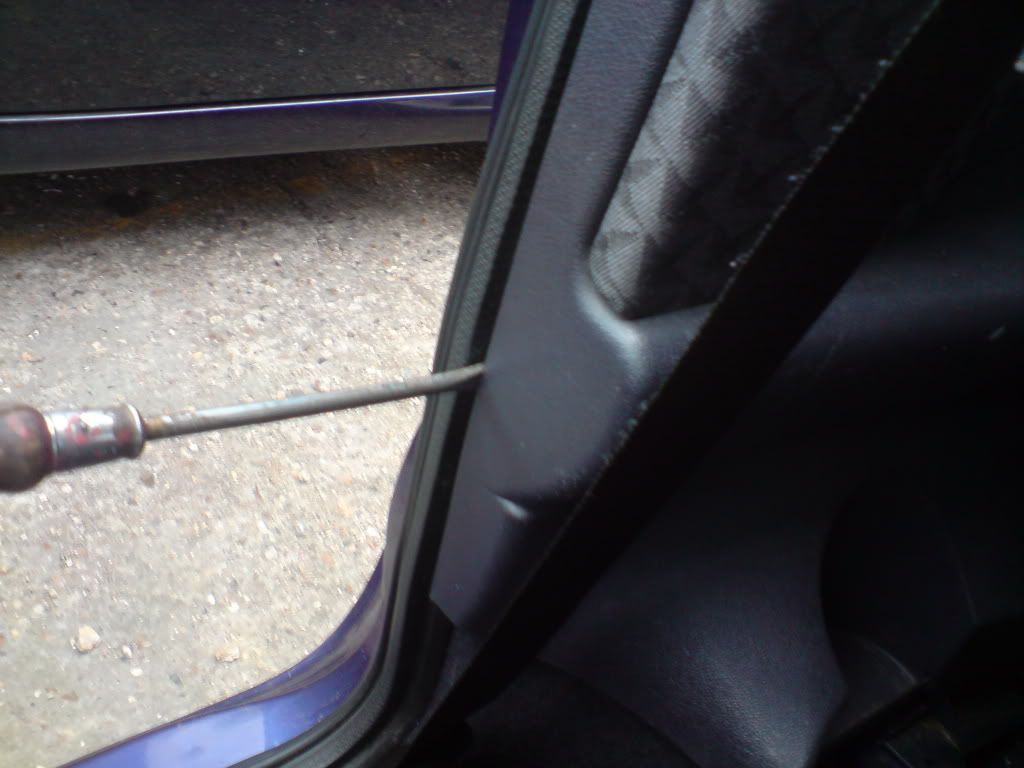
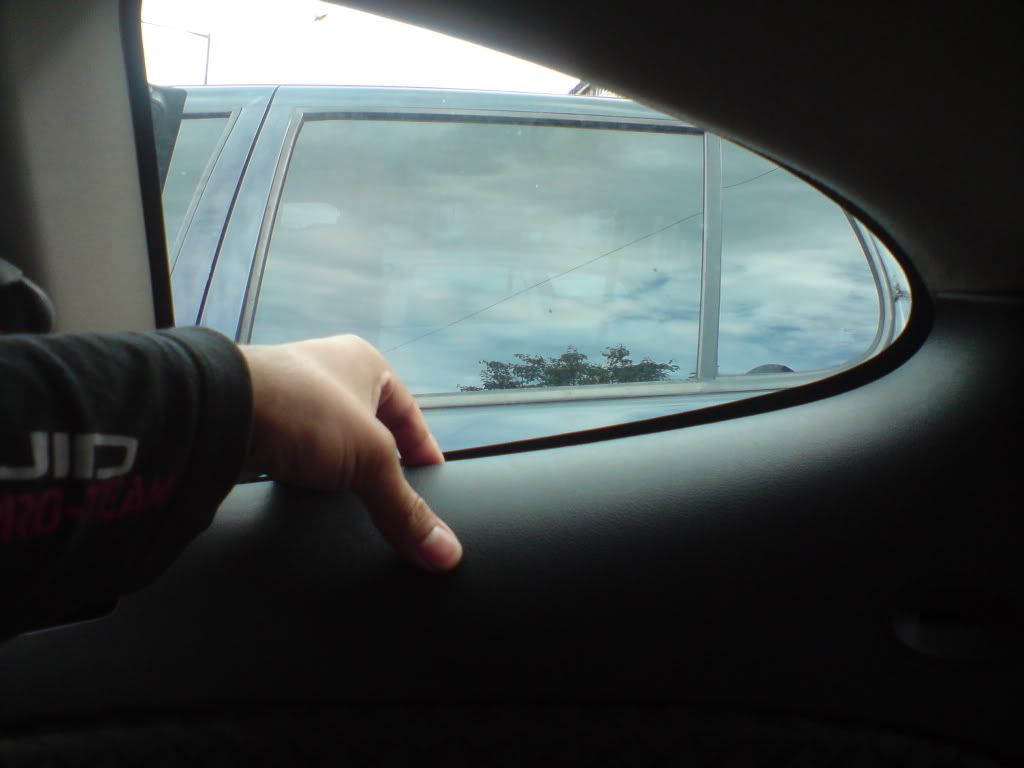
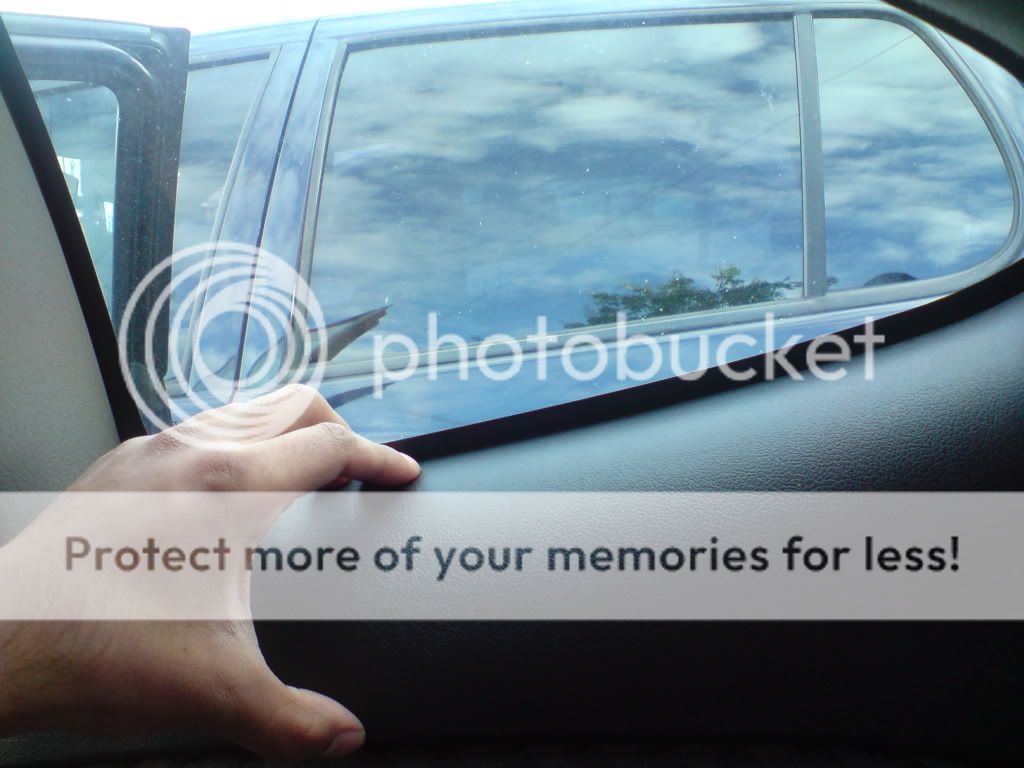
this is how i took care of the seal (mind you if its never been taken off it may be stuck on
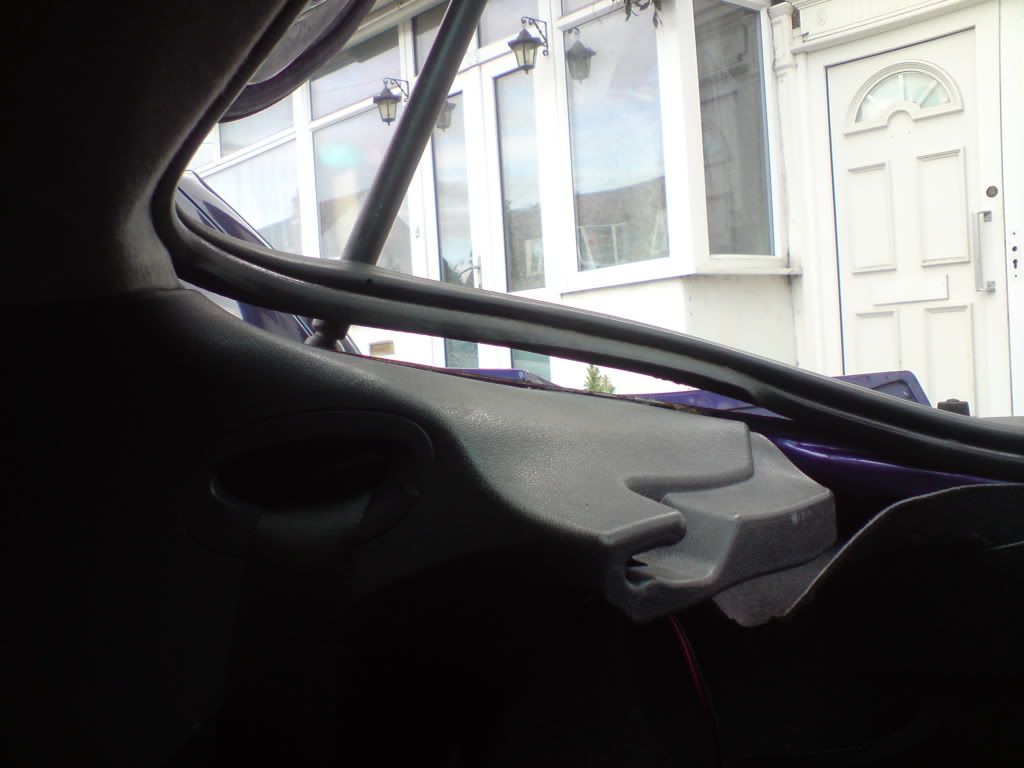
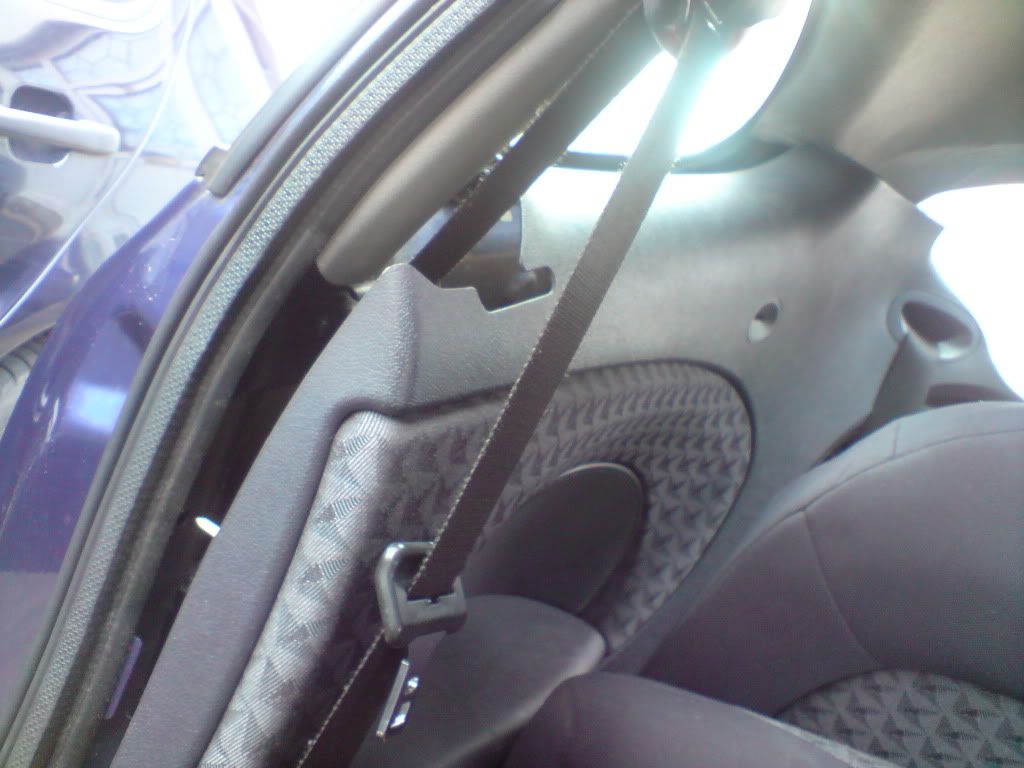
now start lifting the panel around the seat, if you want to take the panel completely out the car then you will need to disconnect the seat belt at some point but i just made it longer and rested the panel in the boot

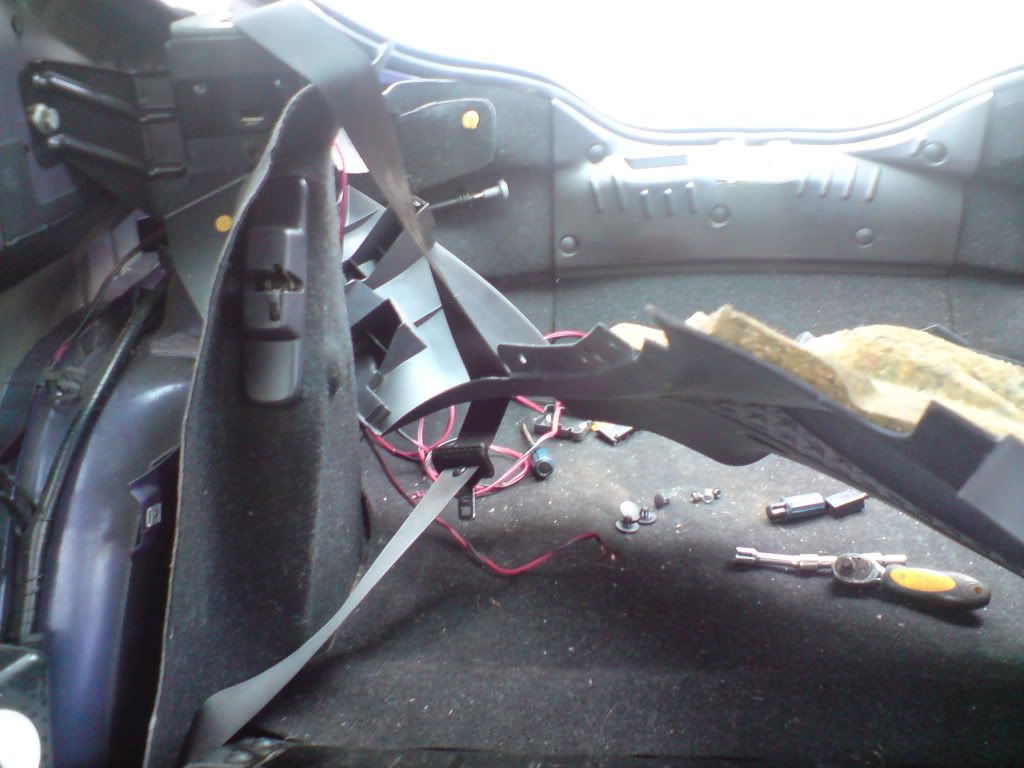
and voilà
some of these clips may have been left in the body or even broken
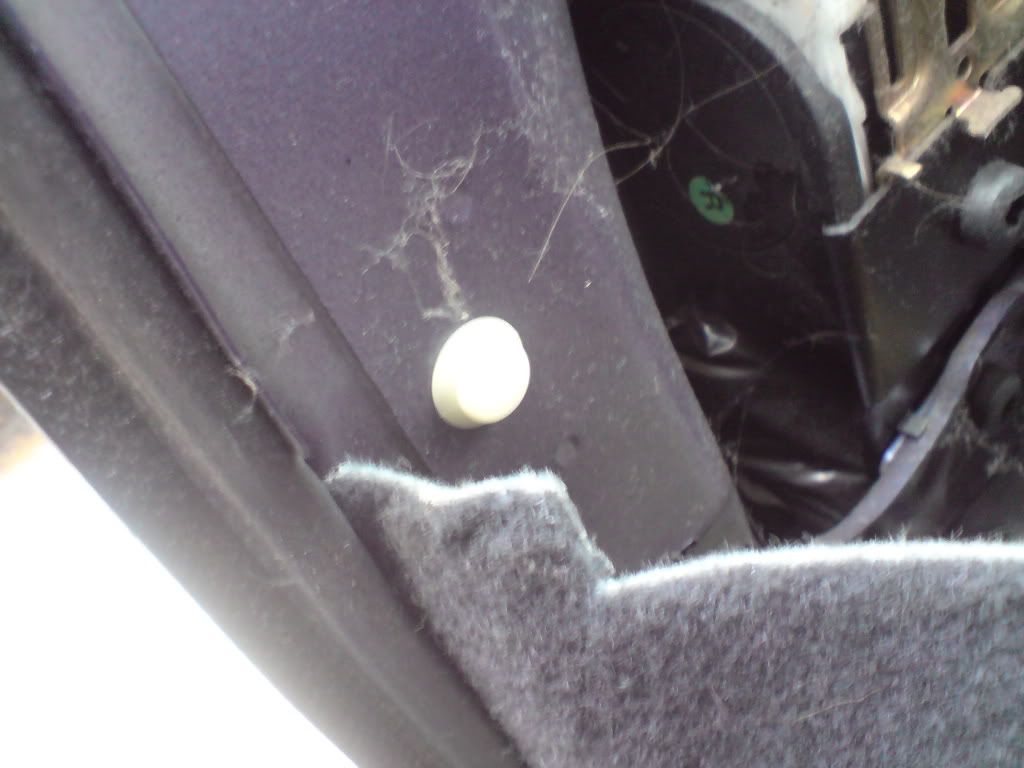
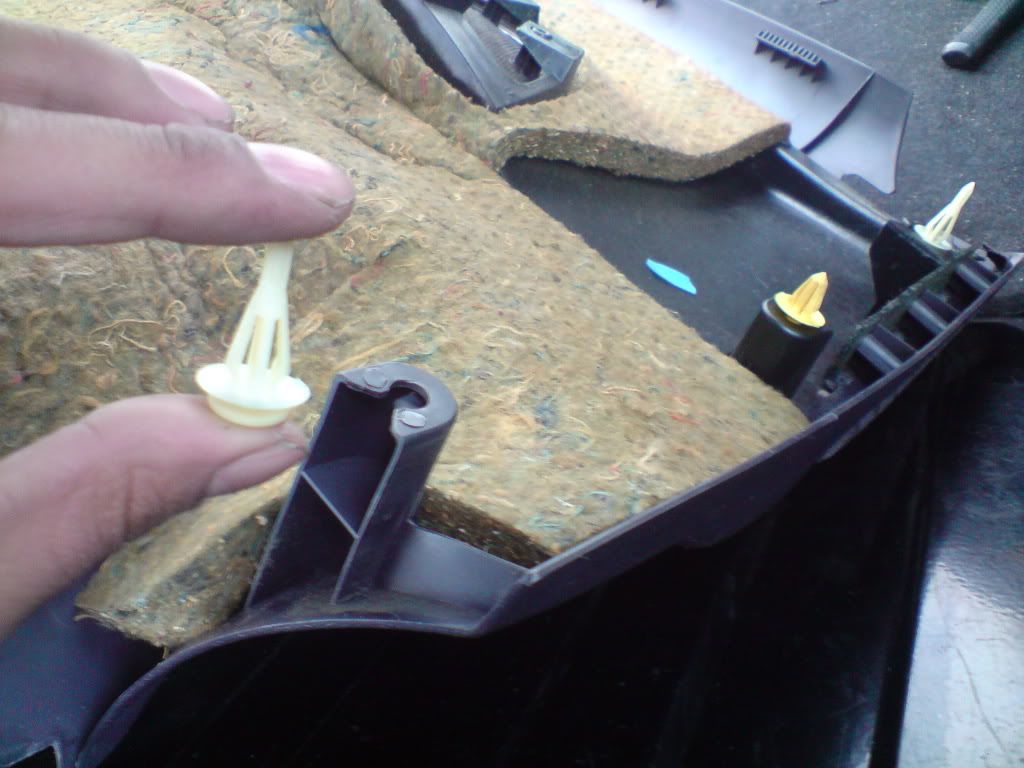
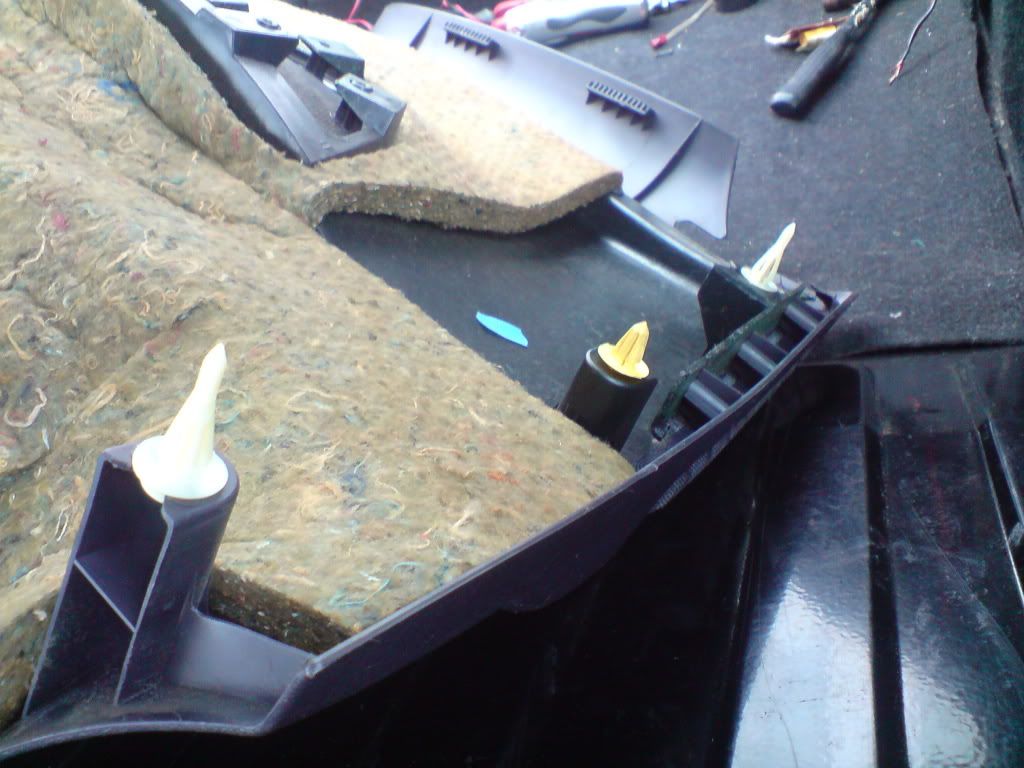
door card clips are cheap and easy to get hold of, and if they have been left in the body make sure you remove them carefully and place them in the panel before putting it back together
Re-installation is basically the opposite but here are a few tips
try not to bang the clips back on too much especially these ones under the window
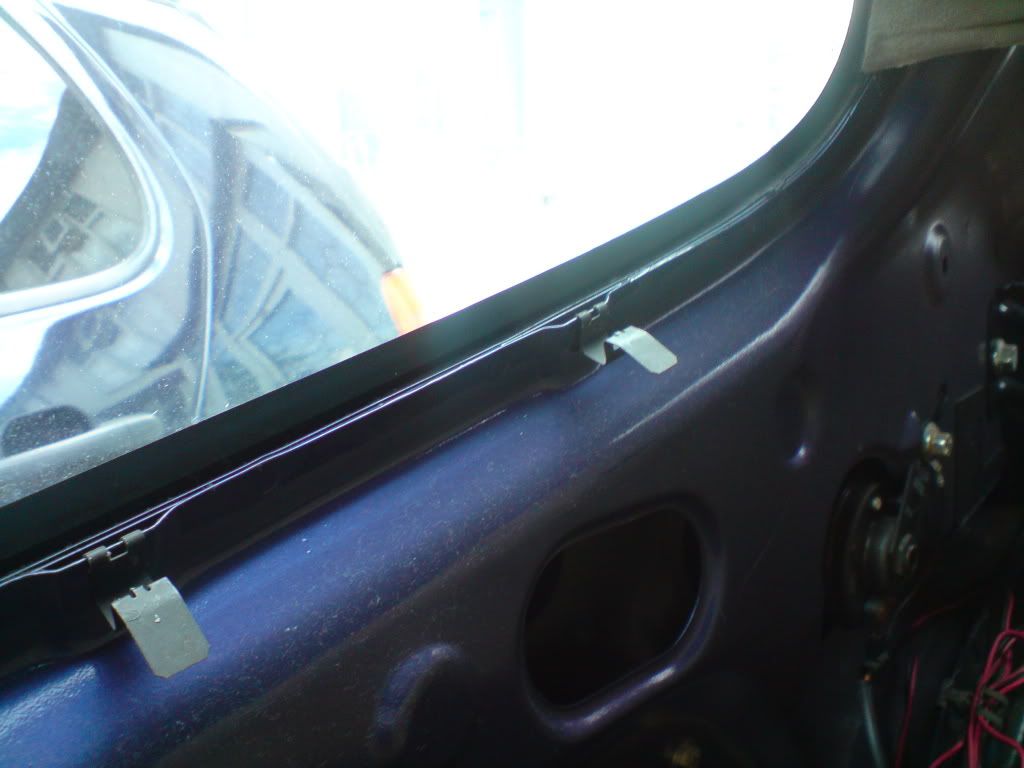
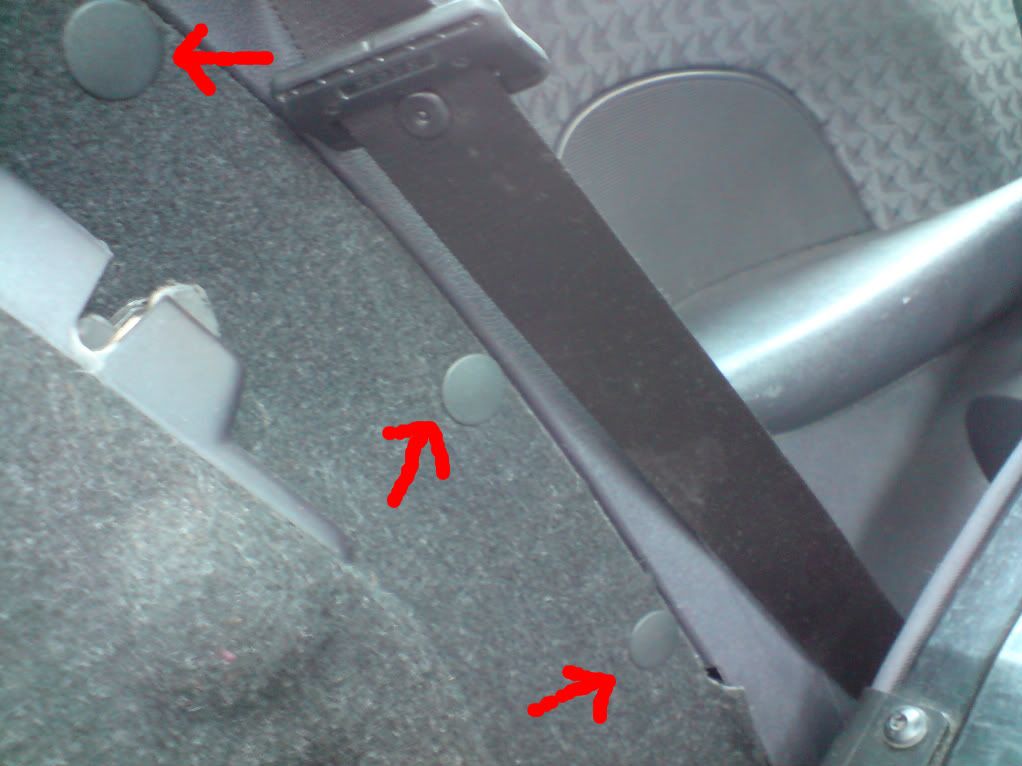
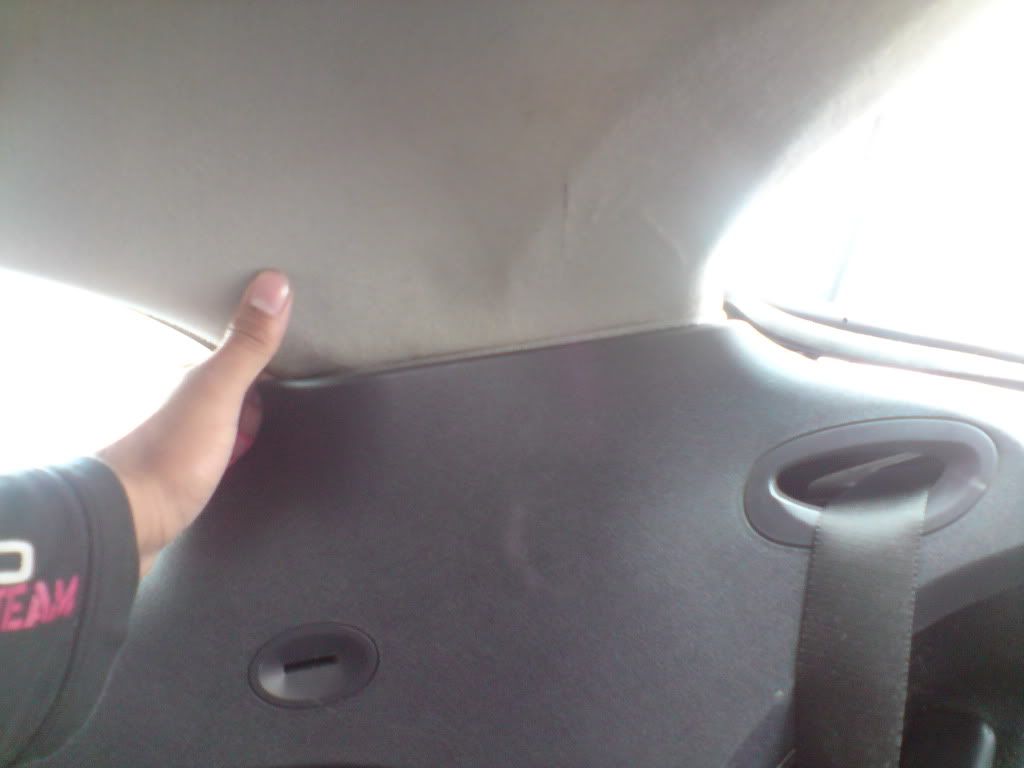
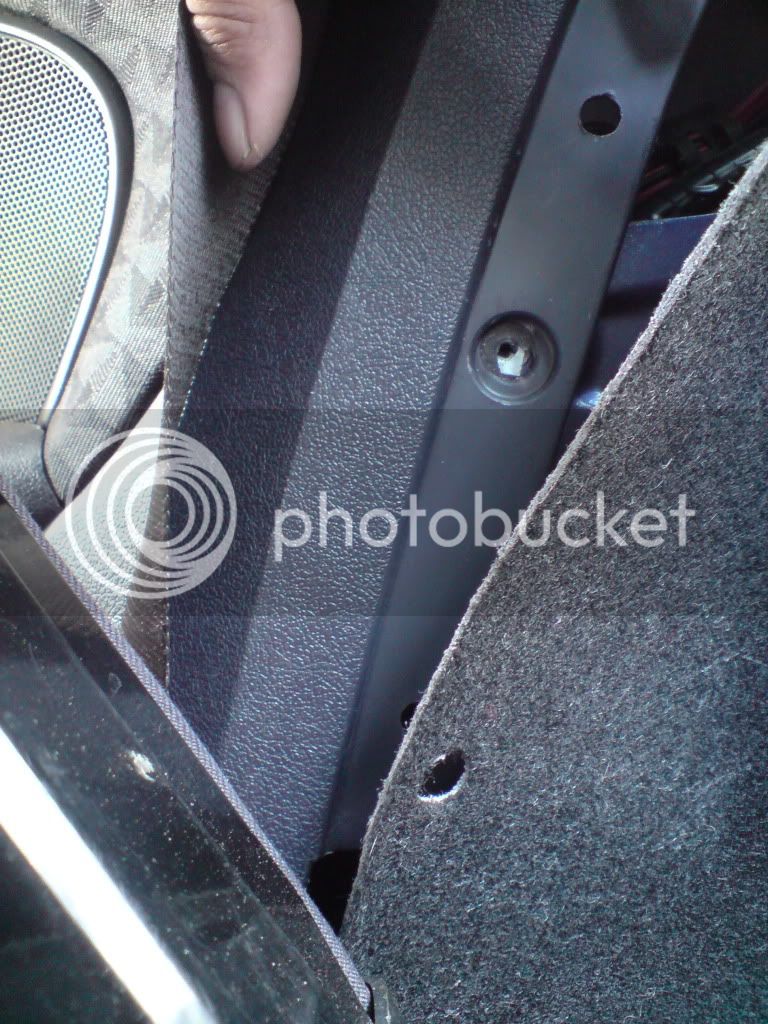
line up all the clips first especially this one near the pillar between the window and the boot lid
apply even pressure over the point of the clips and they should just 'click' in to place
this carpet can be a bit fiddly so it may be a good idea to bring it over the panel before clicking it in place
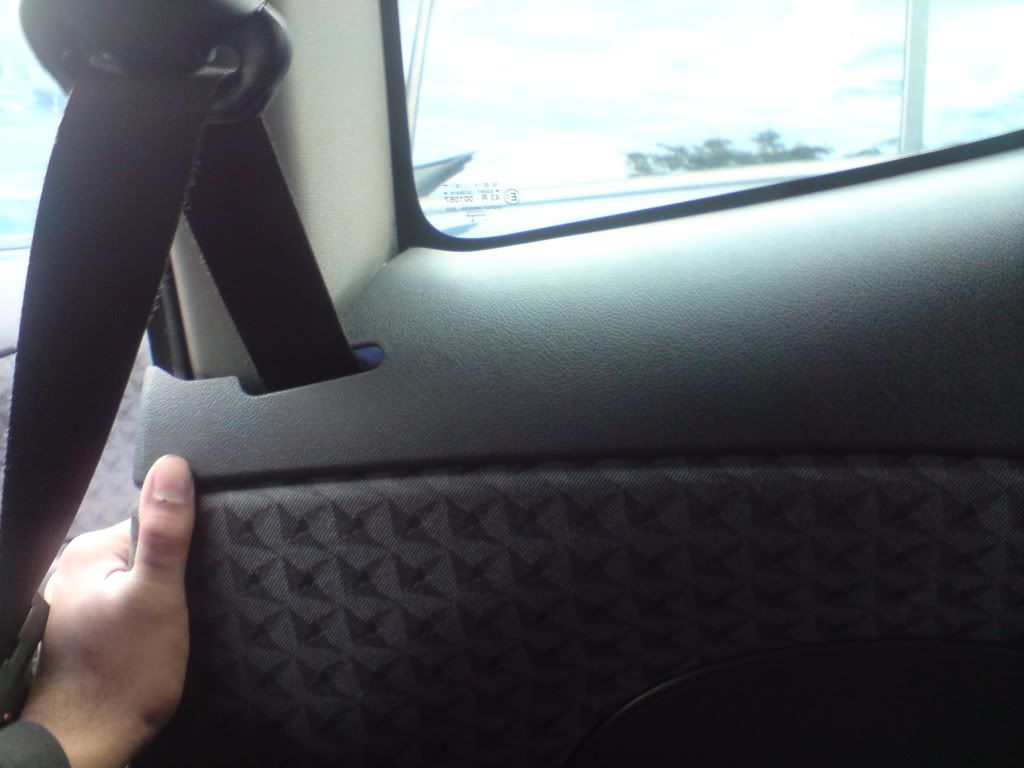
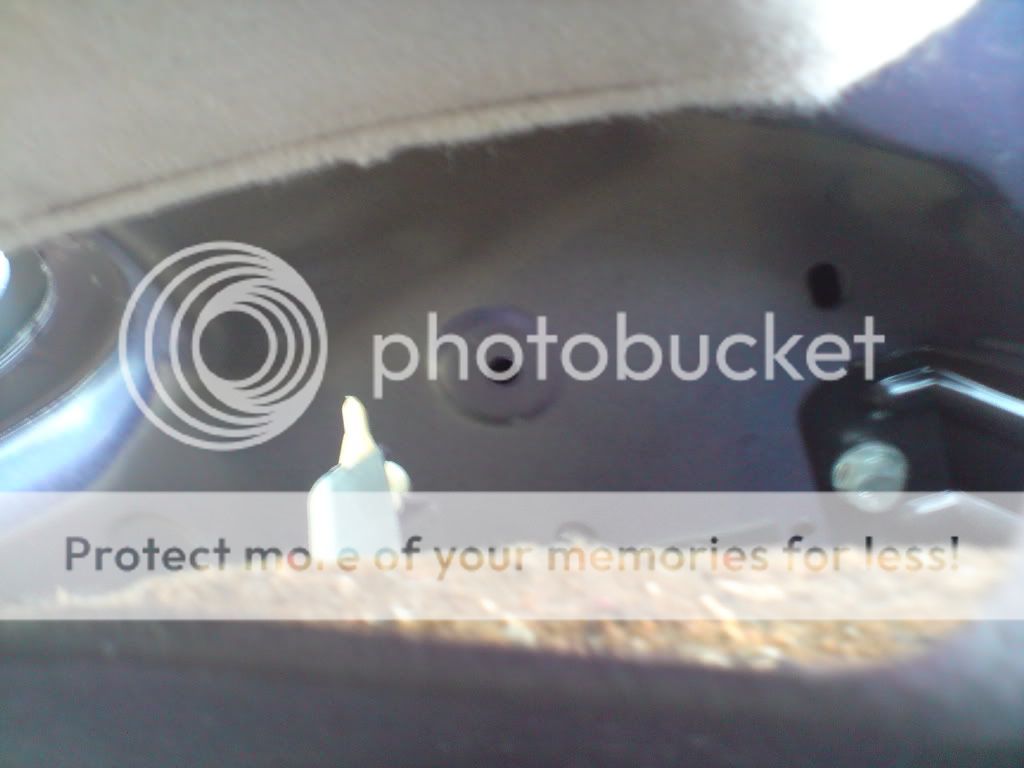
Finally put the seats back making sure you line these parts up
and make sure you hear it click.
Thank you for you patience and feel free to ask questions.
short story why i bought this:
I did previously have a BMW e36 316i coupe but due to recently starting an apprenticeship the upkeep was not sensible for me, so i needed a very cheap car for the time being and it was not intended to be a puma until http://cgi.ebay.co.uk/T-REG-PUMA-1-7-16V-VVTI-125BHP-TAX-GOOD-COND-OUT-/270739944293?pt=Automobiles_UK&hash=item3f095bb365#ht_1951wt_936" onclick="window.open(this.href);return false; (if you cant see this its just the sale of it on ebay) and since iv worked on pumas before i jumped at this offer and although it didn't hav MOT i work at a place where we do MOT's so a couple of rear poly bushes and 1 brake flexi later its on the road for less then £400 inc. MOT and almost full service history, WOT A BARGAIN, best value for money iv had
If anyone wants to see some pics of the poly bushes fitted or even my BMW I do have pics just ask me.
Now the reason im takin the rear panels off is because i installed a couple of VIBE's, i got for free from a car we sent to the scrappy at work, and they sounded sh*t without an amp so now im taking them out so i thought why not take some pics since i forgot to on the install.
This is a bit long winded but very simple to do.
so heres the VIBE's
Tools you will need - an 8mm socket on a ratchet with an extension if possible, a flat screwdriver or a trim removal tool (TRT) and a hammer if you really wanna do some damage.
1st pop the back seat down by pulling both tabs in ur boot
if it makes thing easier then lift off the rubber seal but only one side at a time otherwise you may have problems getting it back on
then look under here
and you will see these two
use ur 8mm and take them both off
pop these three off with the flathead or TRT
pull the carpet back to reveal the last 8mm bolt/screw
remove this
now clamber out of ur boot and into the back seat and pull up the bench seat (it may not come all they way off but this much room should be enough
you should see this near the cup holder
try not to let any of these things flick away or fall cus it can be a b*tch to find
Ok, so here is what you should have taken off so far
now GENTLY start levering or pulling the panel off towards you (not up or down but straight off)
this is how i took care of the seal (mind you if its never been taken off it may be stuck on
now start lifting the panel around the seat, if you want to take the panel completely out the car then you will need to disconnect the seat belt at some point but i just made it longer and rested the panel in the boot
and voilà
some of these clips may have been left in the body or even broken
door card clips are cheap and easy to get hold of, and if they have been left in the body make sure you remove them carefully and place them in the panel before putting it back together
Re-installation is basically the opposite but here are a few tips
try not to bang the clips back on too much especially these ones under the window
line up all the clips first especially this one near the pillar between the window and the boot lid
apply even pressure over the point of the clips and they should just 'click' in to place
this carpet can be a bit fiddly so it may be a good idea to bring it over the panel before clicking it in place
Finally put the seats back making sure you line these parts up
and make sure you hear it click.
Thank you for you patience and feel free to ask questions.
