Longyear
New member
Hi,
This is a really simple job but I thought I'd take pics as I was doing it anyway, and perhaps it will help anyone lacking in confidence to do any tinkering with their car")
1). When choosing a replacement Side Repeater Kit, most go for CLEAR or SMOKED... I would personally say that smoked suits most Puma colours better and is arguably more contemporary these days. Go for a kit that is specifically for the Puma. This is what you should get. You will not be needing the black bulb holder unit at the back of this pic, but keep it as a spare:-

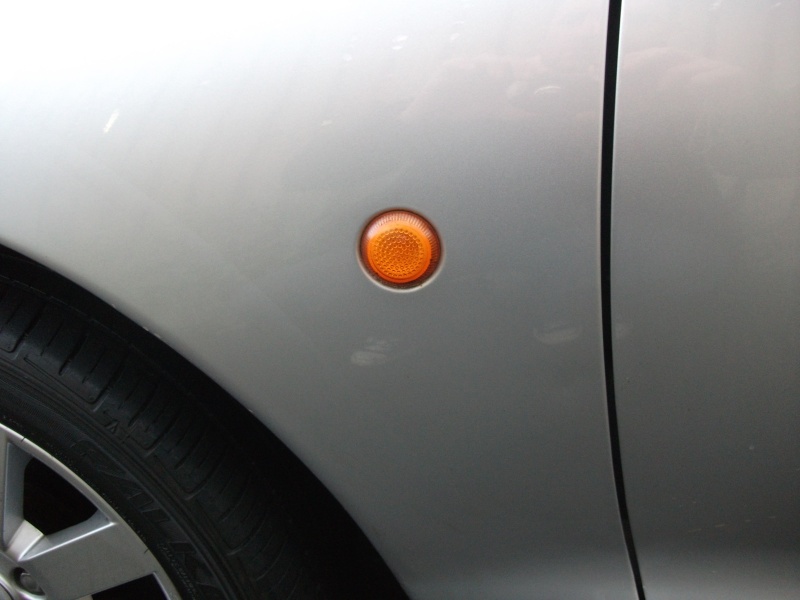
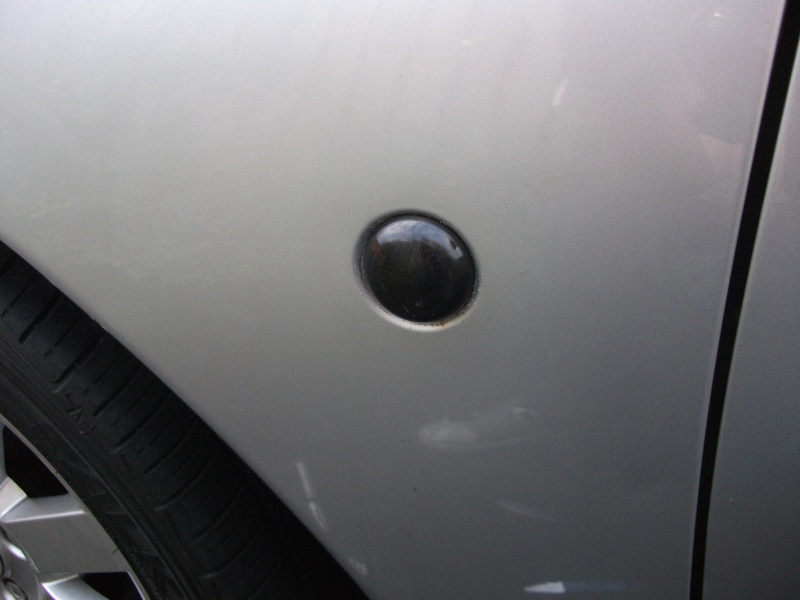
2). The original repeater, in position:
3). Remove the original lens cover and repeater unit. NOTE: the unit is removed by rotating it clockwise which is the opposite direction to how 99% of things are 'loosened' or removed! (If this guide is worth nothing else, its worth it just to point that out!):-

4). If the unit won't budge, try some lubricant first. If you must use a tool to try and loosen it be really carefully not to chip your paintwork. Just loosen the crap away and try and twist it clockwise again. Don't lose your patience and just crack it off (unless you want to!):

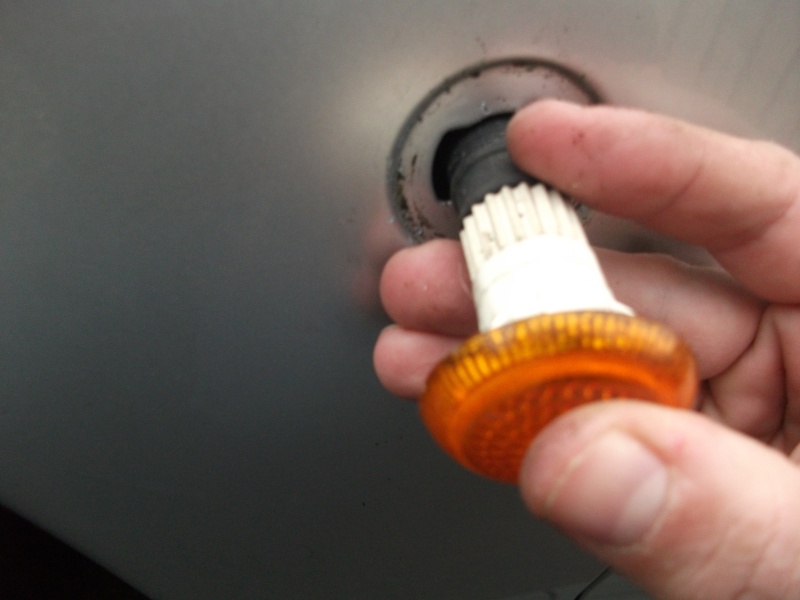
5). Gently remove and ensure unit does not detach from lens and disappear into the wing!:

6). Hold the unit carefully in position, ready to remove the lens cover:
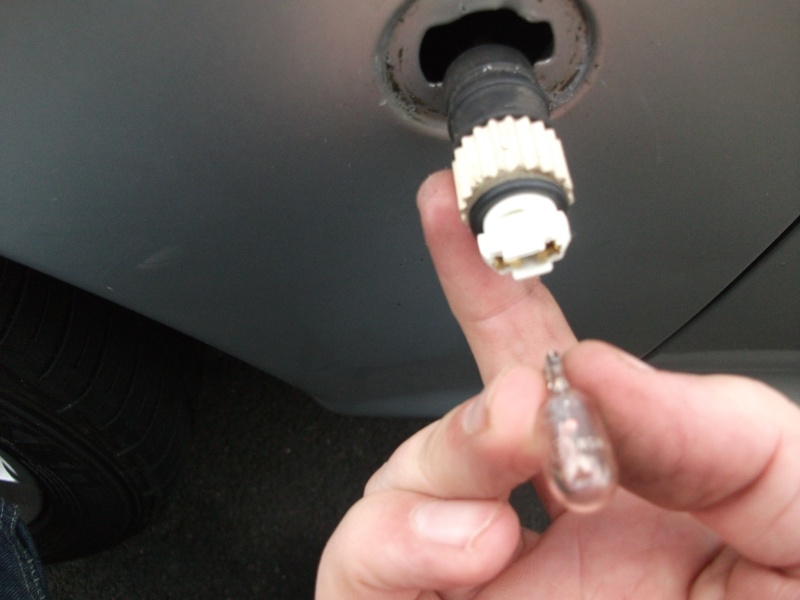
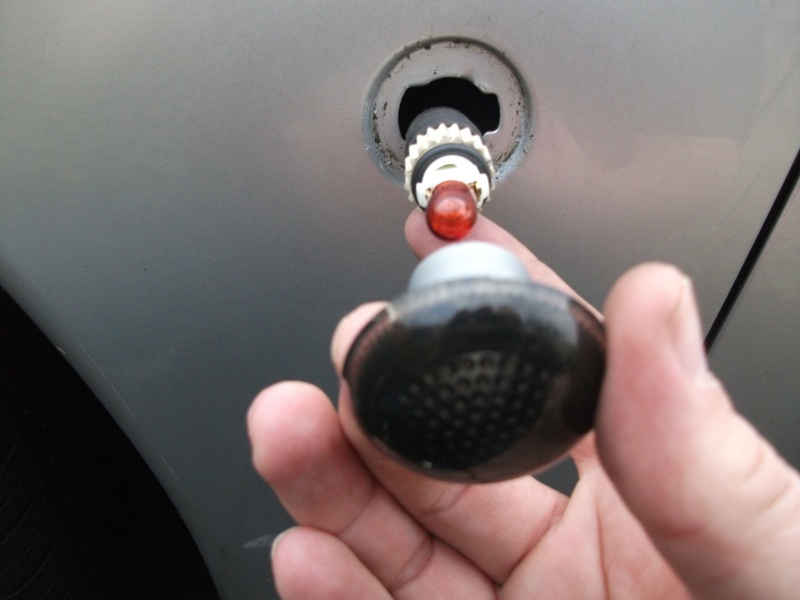
7). Push and rotate the lens cover shaft, anti-clockwise this time. You will notice that there is no lens cover on the end of my shaft on the pic below. This is because my neighour wanted the lens only for his kit car, so we coaxed it off before I continued. You will have a lens cover on the end of the shaft in this pic:-

8). Pull out the old bulb:
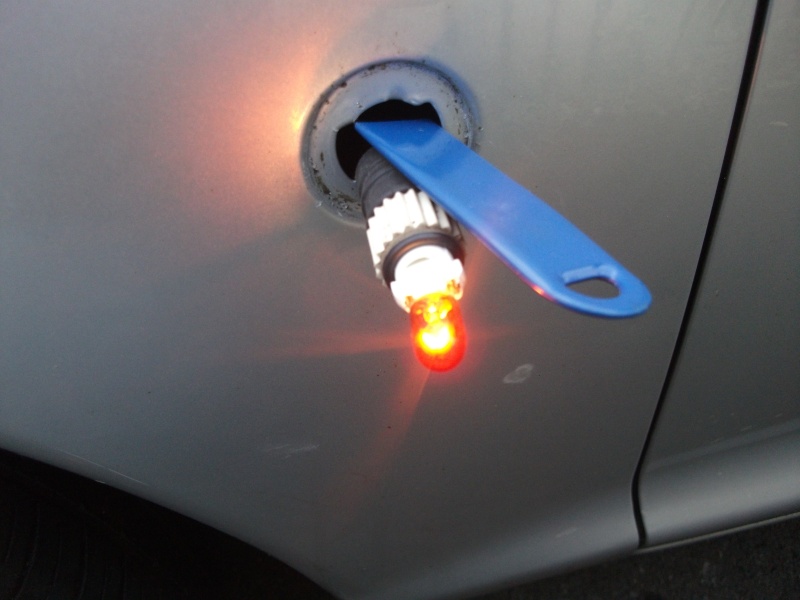
9). Gently push in the new orange bulb. Before refitting the unit, you will want to test to check that the bulb is ok and the repeater works. Block the recess with something, while you leave it, because if the plug disappears into the hole in the wing, your day is going to go downhill fast:-
10). Fit the new cover and push and rotate clockwise to secure:-
11). Lens unit just needs securing again now:-

12). Replace the unit and rotate, anti-clockwise this time, to secure:

13). You're all done!:
Now how much better does your Puma look !!


Cheers.
This is a really simple job but I thought I'd take pics as I was doing it anyway, and perhaps it will help anyone lacking in confidence to do any tinkering with their car
1). When choosing a replacement Side Repeater Kit, most go for CLEAR or SMOKED... I would personally say that smoked suits most Puma colours better and is arguably more contemporary these days. Go for a kit that is specifically for the Puma. This is what you should get. You will not be needing the black bulb holder unit at the back of this pic, but keep it as a spare:-
2). The original repeater, in position:
3). Remove the original lens cover and repeater unit. NOTE: the unit is removed by rotating it clockwise which is the opposite direction to how 99% of things are 'loosened' or removed! (If this guide is worth nothing else, its worth it just to point that out!):-
4). If the unit won't budge, try some lubricant first. If you must use a tool to try and loosen it be really carefully not to chip your paintwork. Just loosen the crap away and try and twist it clockwise again. Don't lose your patience and just crack it off (unless you want to!):
5). Gently remove and ensure unit does not detach from lens and disappear into the wing!:
6). Hold the unit carefully in position, ready to remove the lens cover:
7). Push and rotate the lens cover shaft, anti-clockwise this time. You will notice that there is no lens cover on the end of my shaft on the pic below. This is because my neighour wanted the lens only for his kit car, so we coaxed it off before I continued. You will have a lens cover on the end of the shaft in this pic:-
8). Pull out the old bulb:
9). Gently push in the new orange bulb. Before refitting the unit, you will want to test to check that the bulb is ok and the repeater works. Block the recess with something, while you leave it, because if the plug disappears into the hole in the wing, your day is going to go downhill fast:-
10). Fit the new cover and push and rotate clockwise to secure:-
11). Lens unit just needs securing again now:-
12). Replace the unit and rotate, anti-clockwise this time, to secure:
13). You're all done!:
Now how much better does your Puma look !!
Cheers.