[email protected]
New member
I got bored this morning, so I decided to clean out the MAF sensor and clean the air filter box and pipework...
You need:
-A Ford Puma")
-10mm socket and rachet or a spanner
-Flat head and a phillips screwdriver (dependant on the clips you have)
-Aerosol carburettor cleaner or similar
This is how the car would sound with a dirty MAF sensor that wasn't working properly (I disconnected it for the video)
http://youtu.be/lIyX4XJ68iE
To remove it:
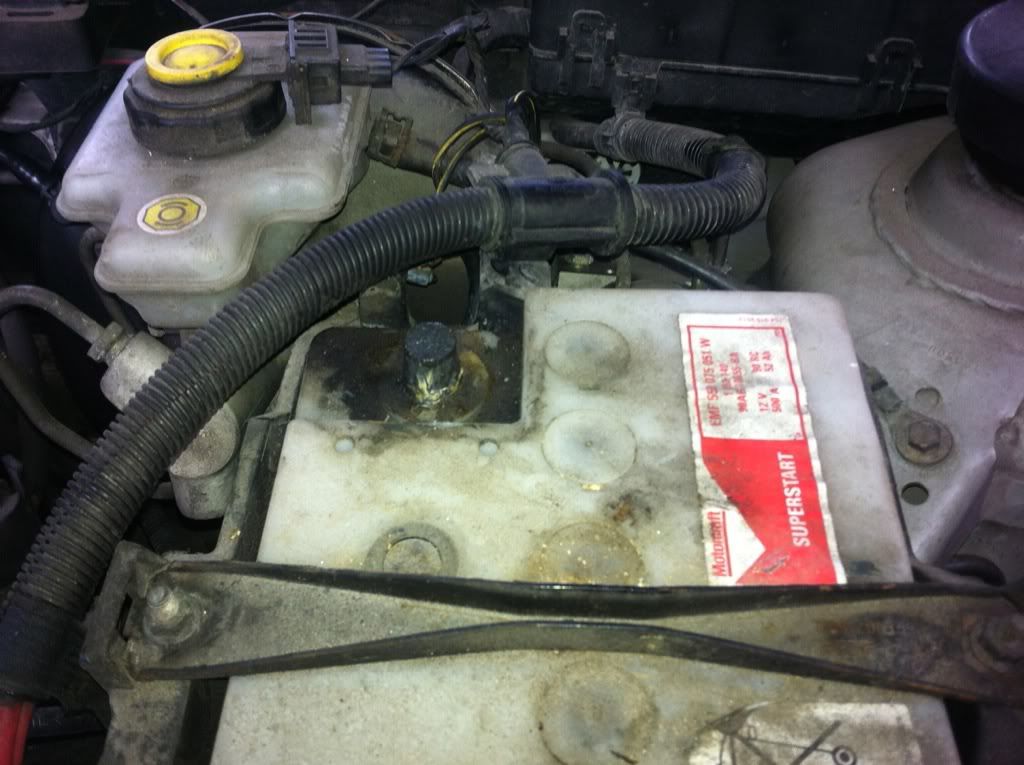
Step 1. Disconnect the battery
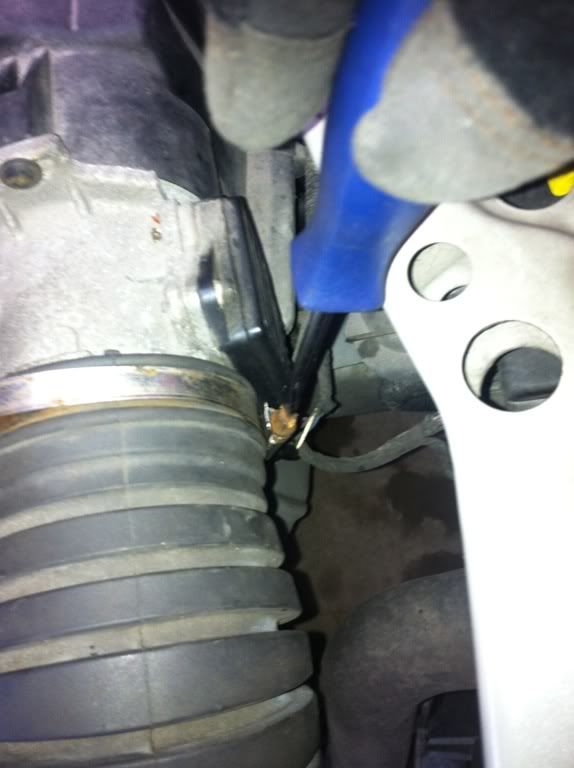
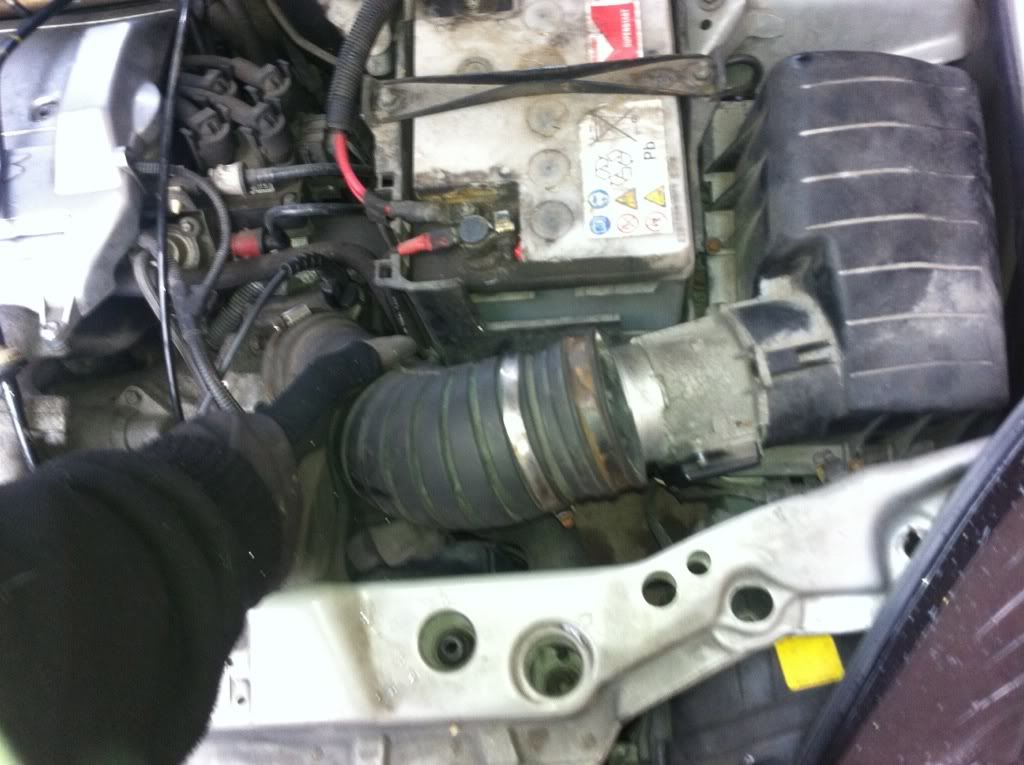
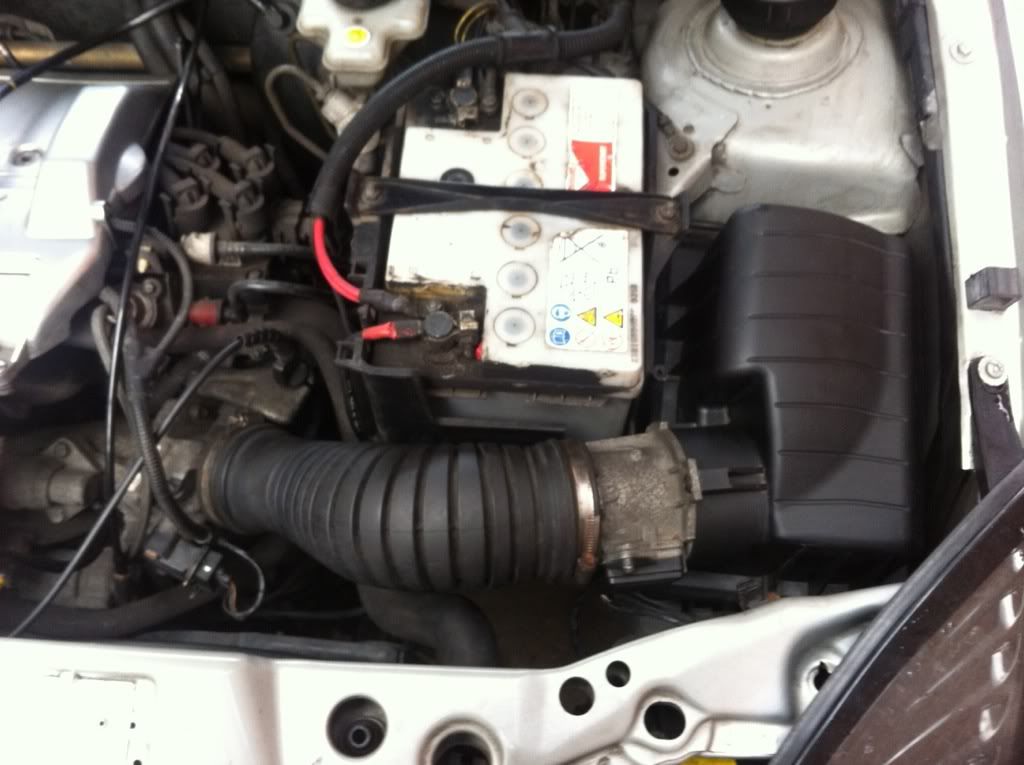
Step 2. Undo the jubilee clips on the air filter pipe
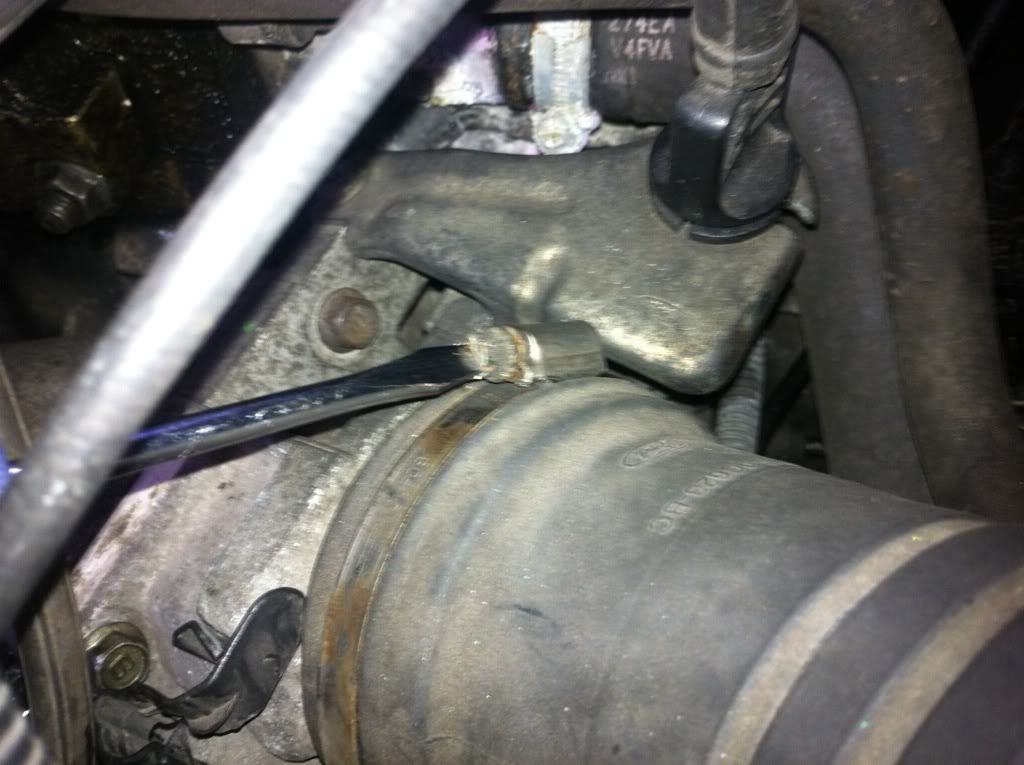
Step 3. Remove air filter pipe
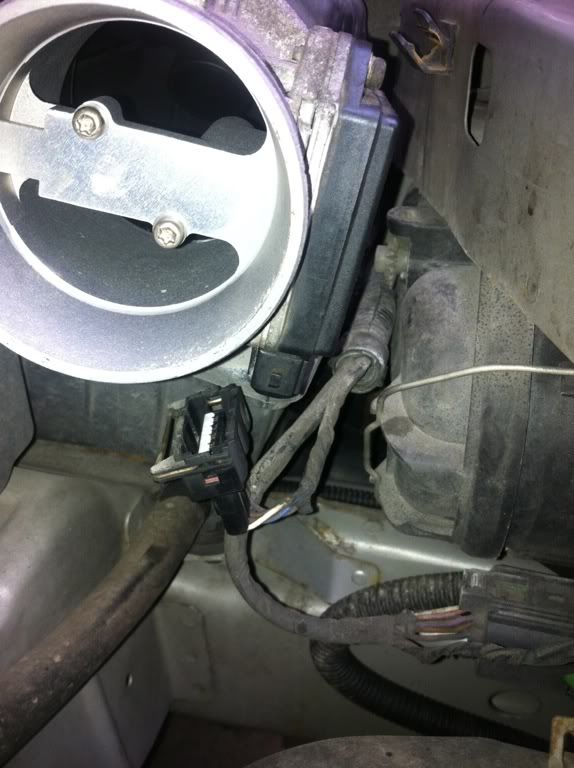
Step 4. Remove the MAF sensor wiring plug. (press the middle of the metal wire clip in to release the plug)
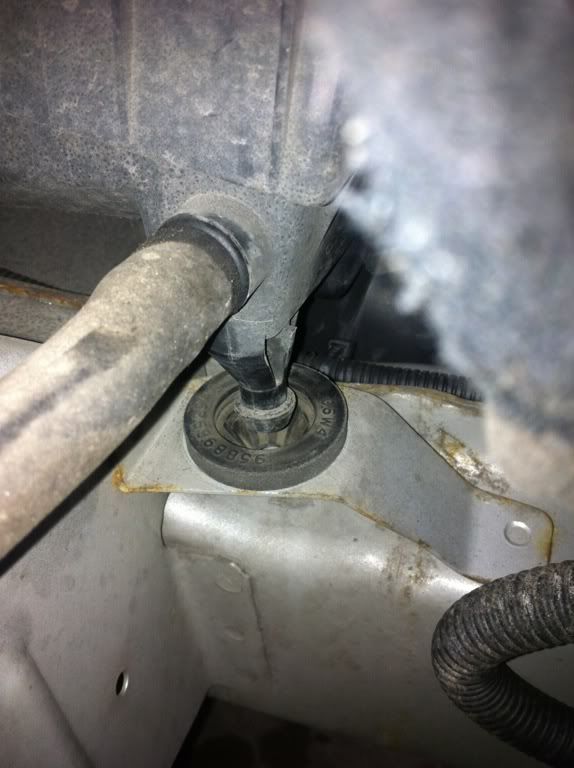
Step 5. Pop out the locating joint on the bottom of the air box
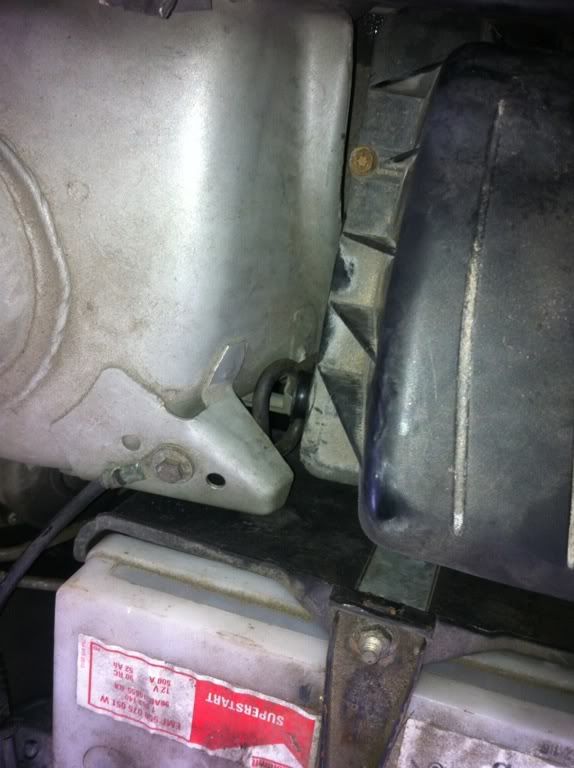
Step 6. Pull the air box securing strap off
Step 7. Pull the air box lid off, this will be attached by either 4x screws/torx bits
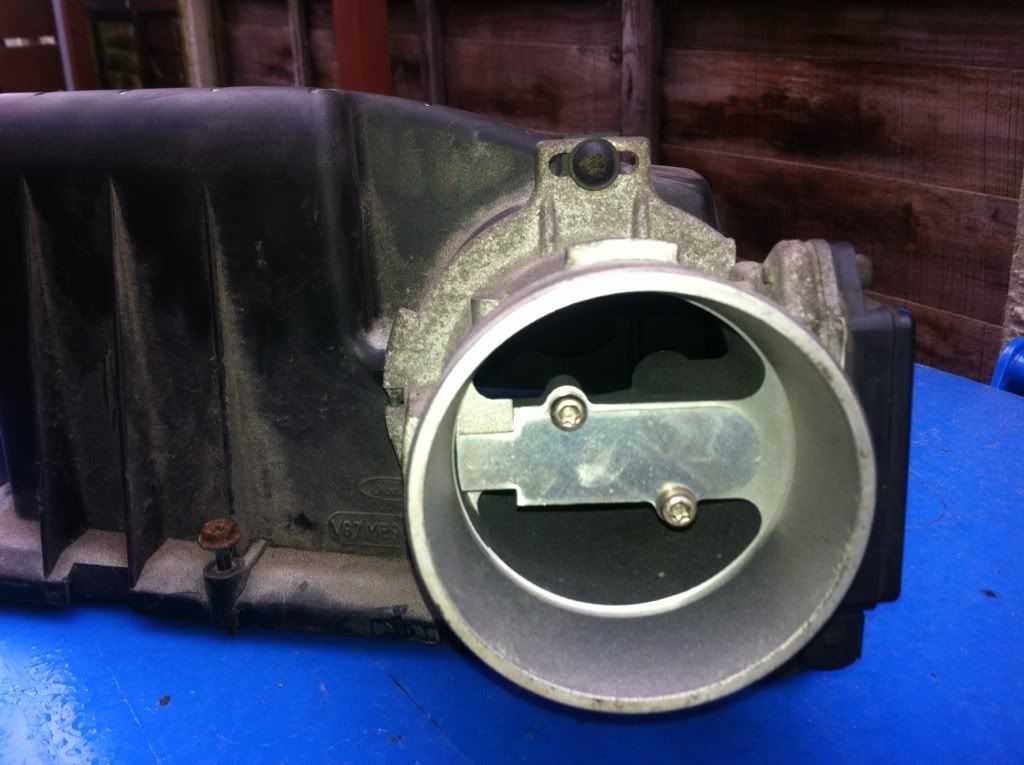
Step 8. Remove the two screws holding the MAF sensor to the air box lid
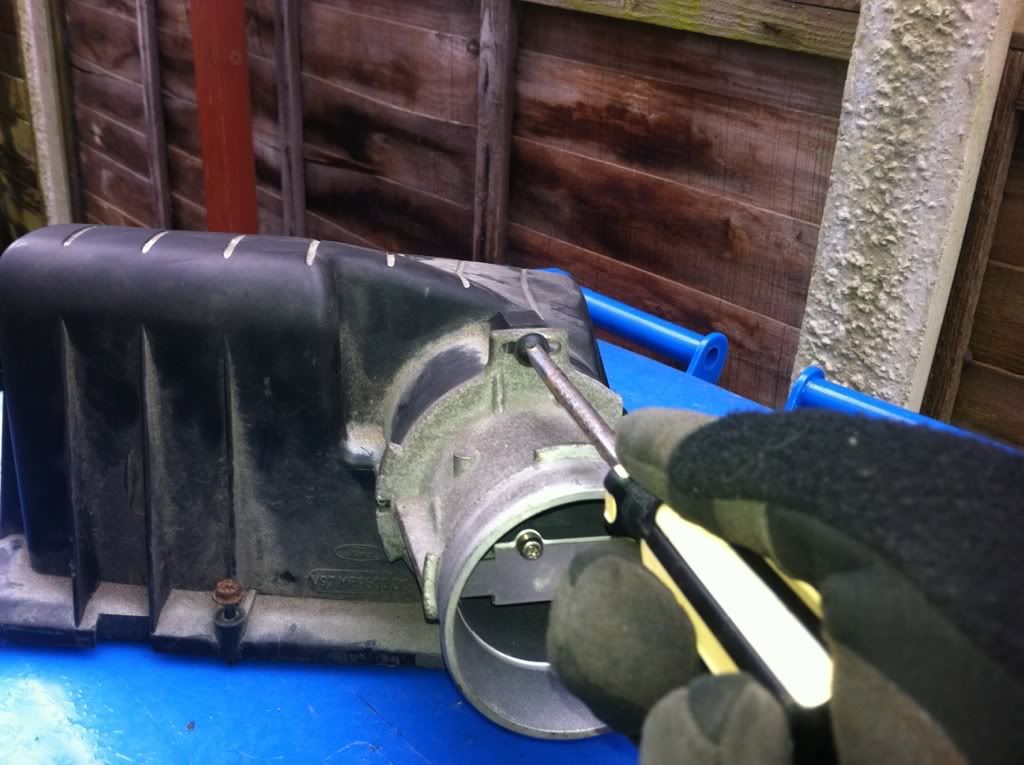
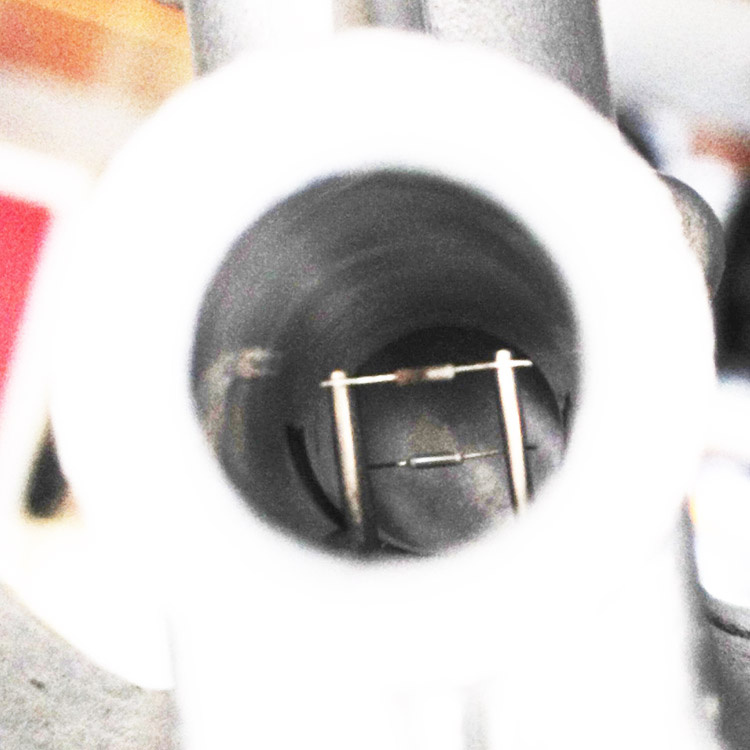
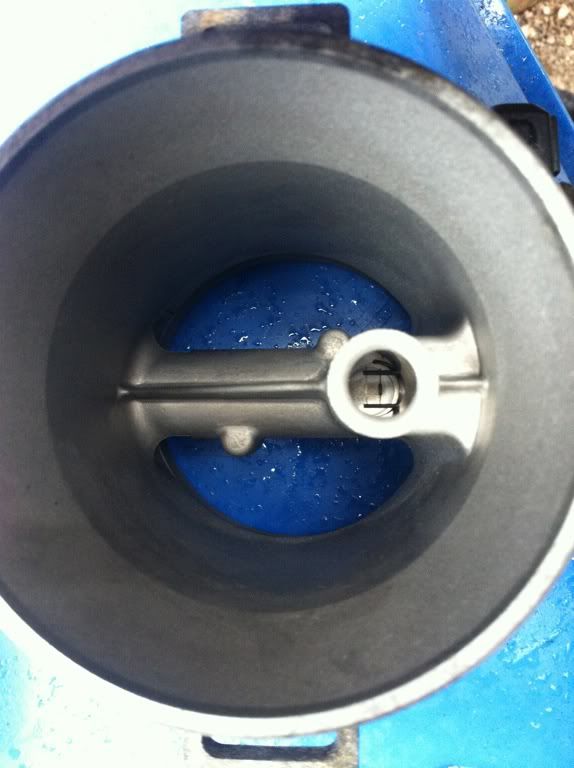
Step 9. Spray carb cleaner in the small hole with two small wires in, clean the part inside and outside too, so that it seals nicely.
Step 10. Rebuild in reverse order
Hope this helps someone
Lee
You need:
-A Ford Puma
-10mm socket and rachet or a spanner
-Flat head and a phillips screwdriver (dependant on the clips you have)
-Aerosol carburettor cleaner or similar
This is how the car would sound with a dirty MAF sensor that wasn't working properly (I disconnected it for the video)
http://youtu.be/lIyX4XJ68iE
To remove it:
Step 1. Disconnect the battery
Step 2. Undo the jubilee clips on the air filter pipe
Step 3. Remove air filter pipe
Step 4. Remove the MAF sensor wiring plug. (press the middle of the metal wire clip in to release the plug)
Step 5. Pop out the locating joint on the bottom of the air box
Step 6. Pull the air box securing strap off
Step 7. Pull the air box lid off, this will be attached by either 4x screws/torx bits
Step 8. Remove the two screws holding the MAF sensor to the air box lid
Step 9. Spray carb cleaner in the small hole with two small wires in, clean the part inside and outside too, so that it seals nicely.
Step 10. Rebuild in reverse order
Hope this helps someone
Lee