FRP 591, FRP replica, plus turbo conversion project

ProjectPuma

Help Support ProjectPuma:

This site may earn a commission from merchant affiliate links, including eBay, Amazon, and others.
Hi guys, bit of a step forward over this weekend, first of all i hired a van and went up to Essex to collect my engine - 700 mile round trip in a day!, landed at Lightning Motorsport HQ where i was treated to a nice cup of tea and a good chin wag about engines/cars/karting etc with the Bosses dad


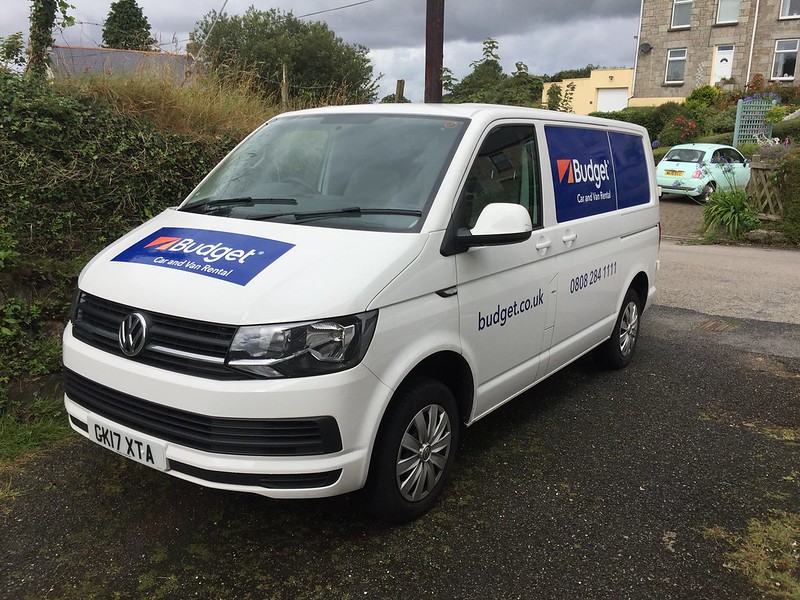
my steed for the weekend - good fun to drive too!

35465131473_7b7d5eae81_c.jpg


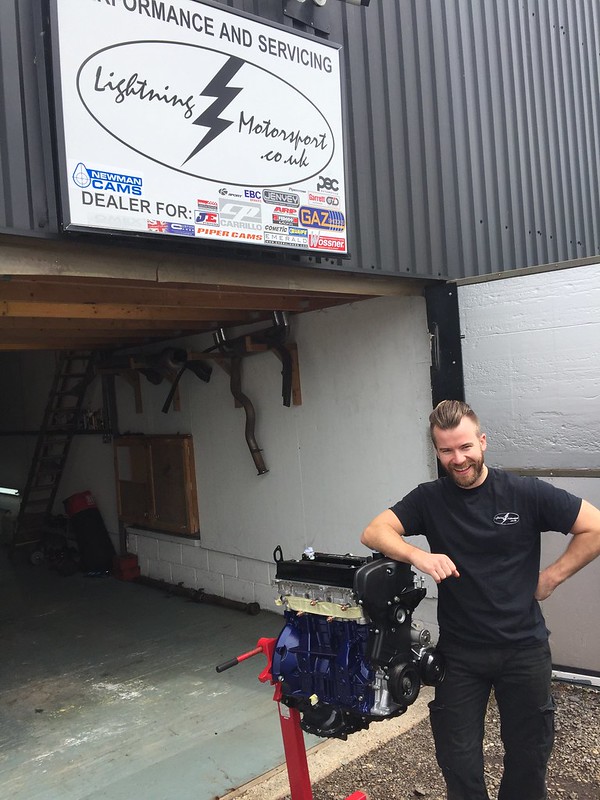
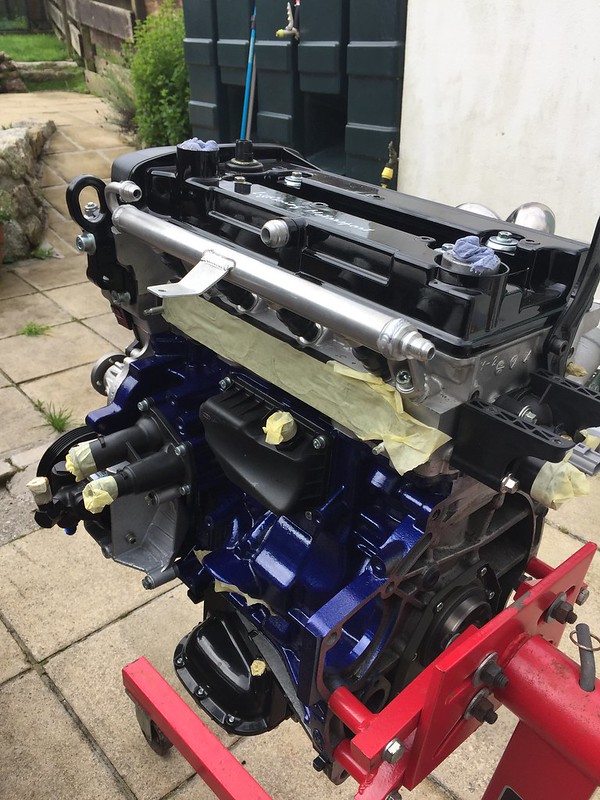
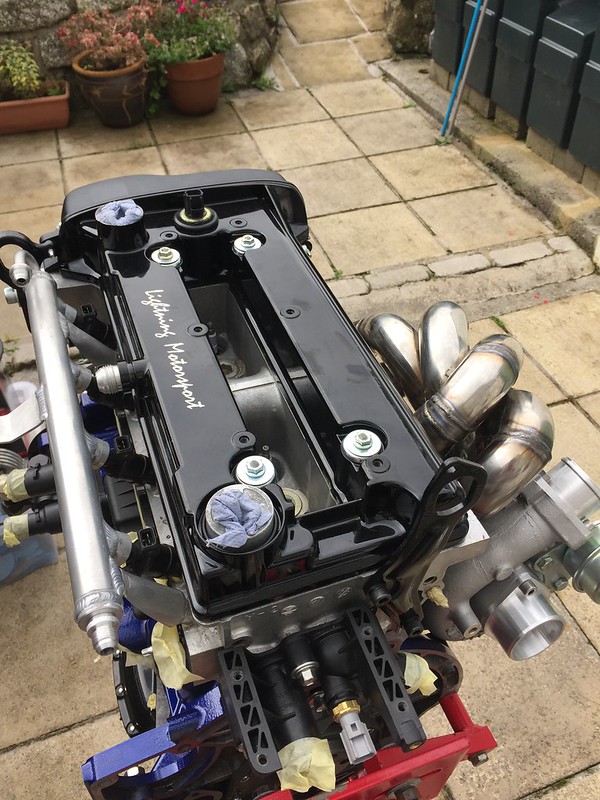
the main man himself Mr Newton showing off his handy work

35465279483_31919ccd32_c.jpg


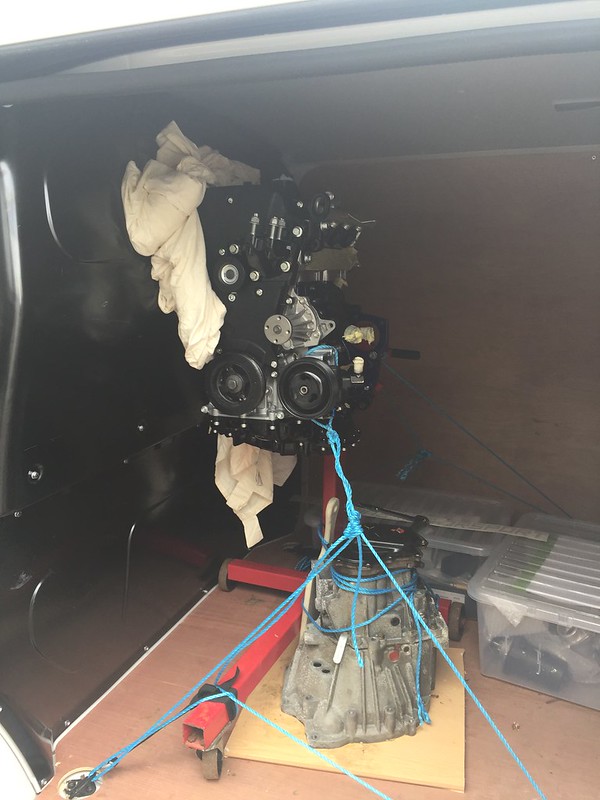
all strapped down for the return journey

36135164101_551a457e02_c.jpg

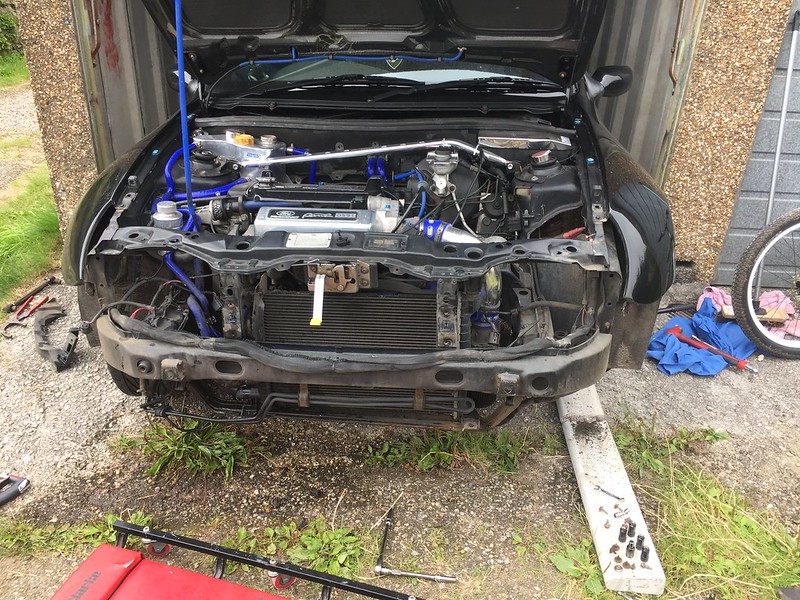
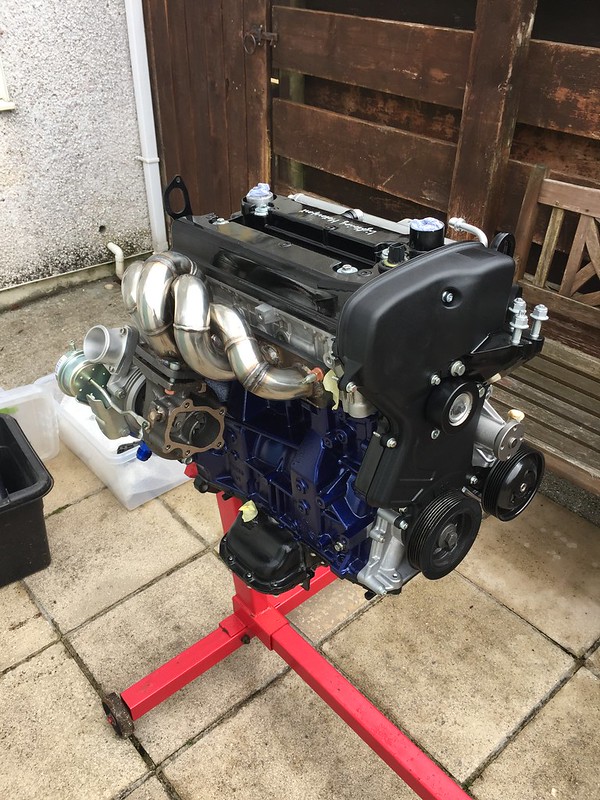
got the beasty home ok

35436458544_6001c89aed_c.jpg


36102445262_7ce44a04c9_c.jpg


36269026305_d5742cee1e_c.jpg


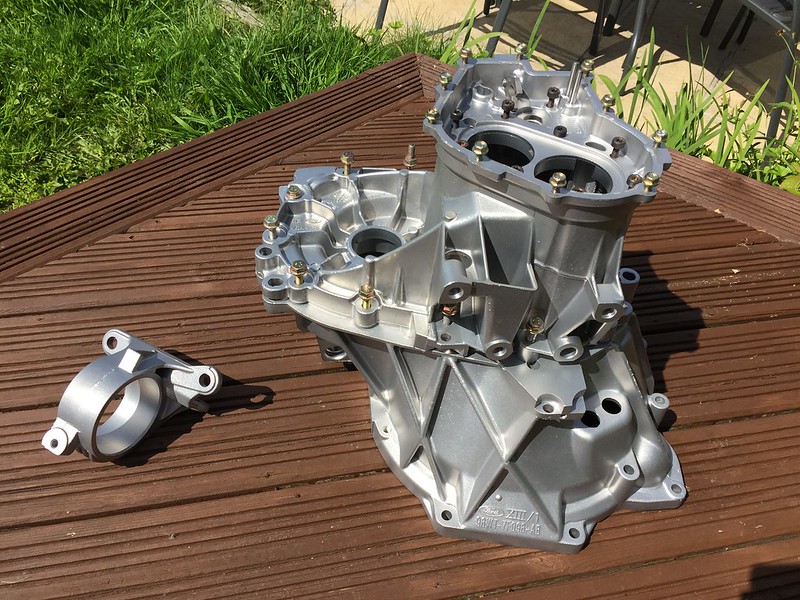
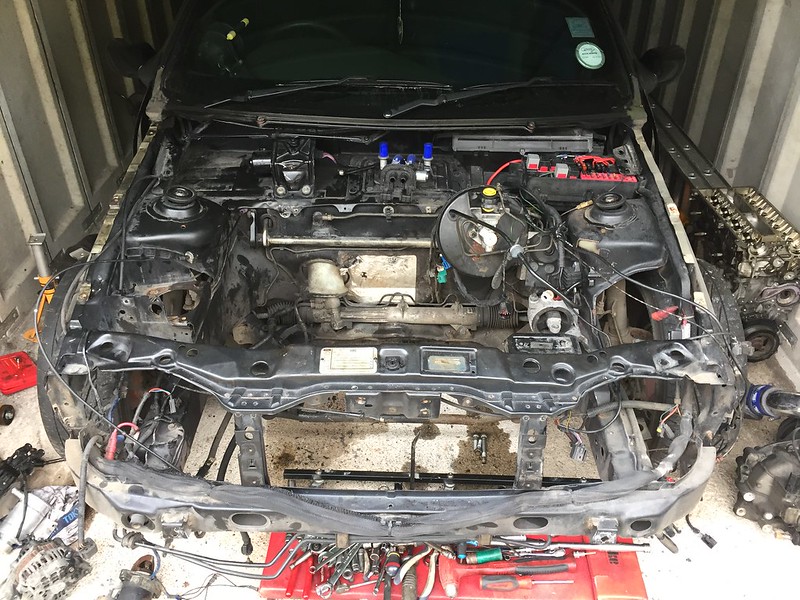
anyway, no rest for the wicked, lots too do now, so today i stripped my gearbox for the new ATB diff to be fitted plus im getting the box casing stripped and painted

35439517414_8c0b673389_c.jpg

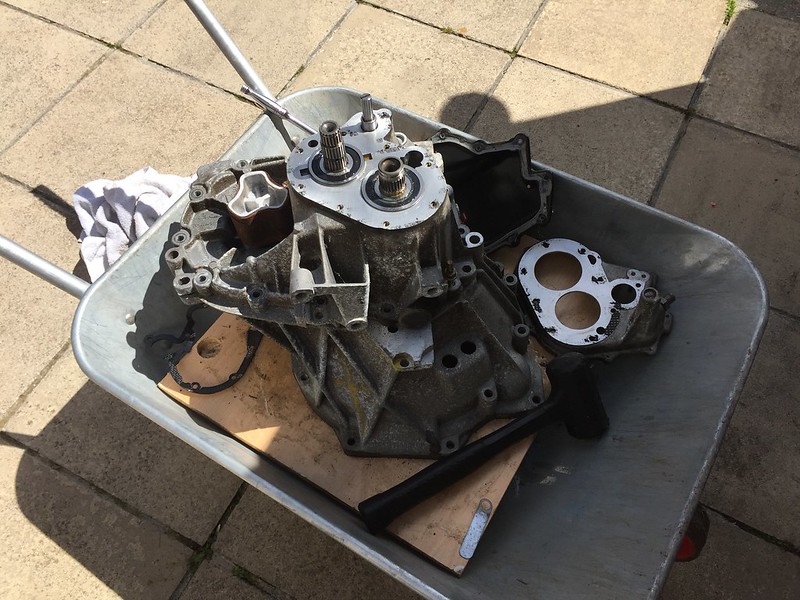
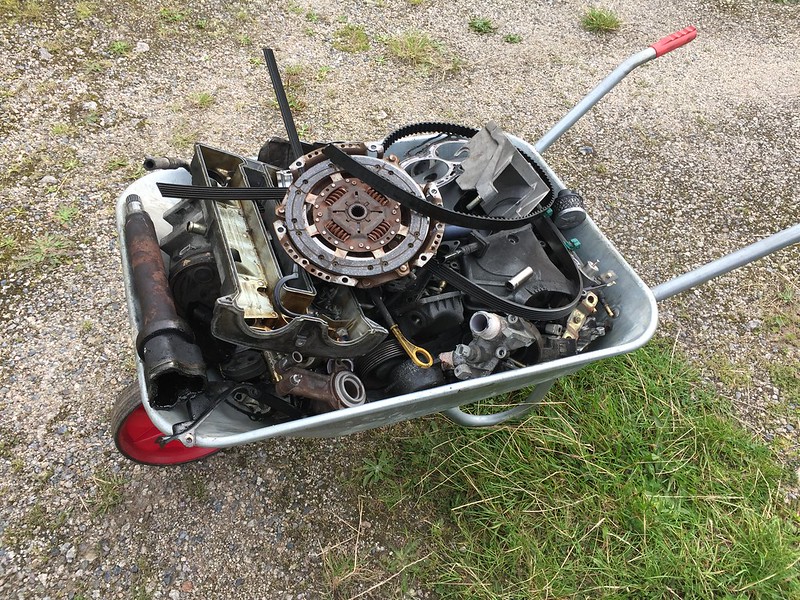
yes that is a wheel barrow im using
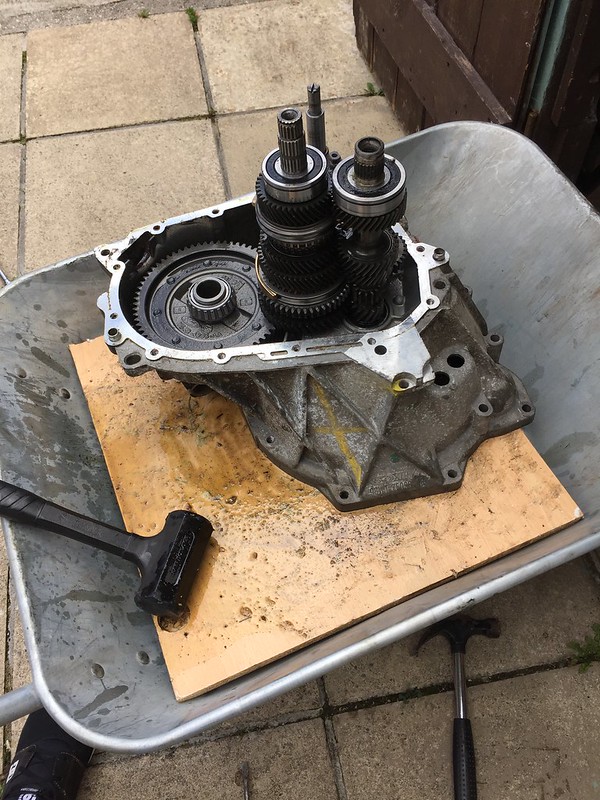
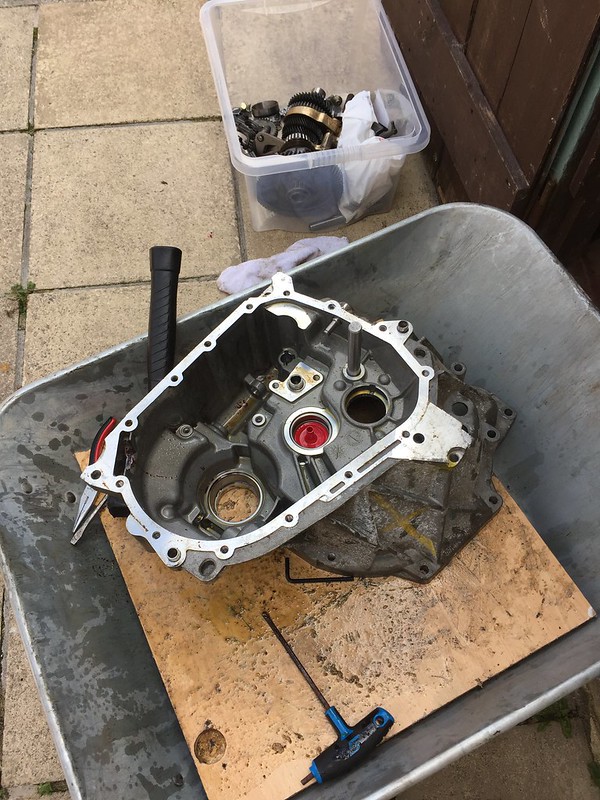
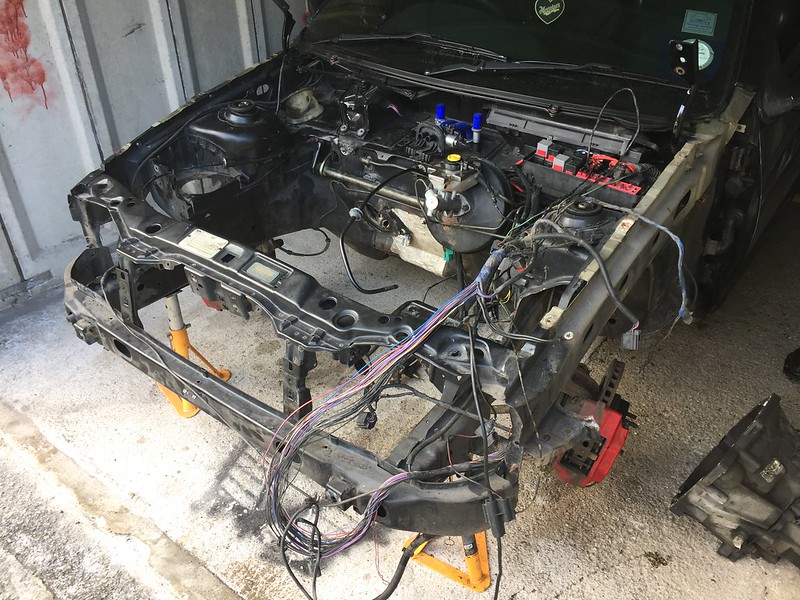
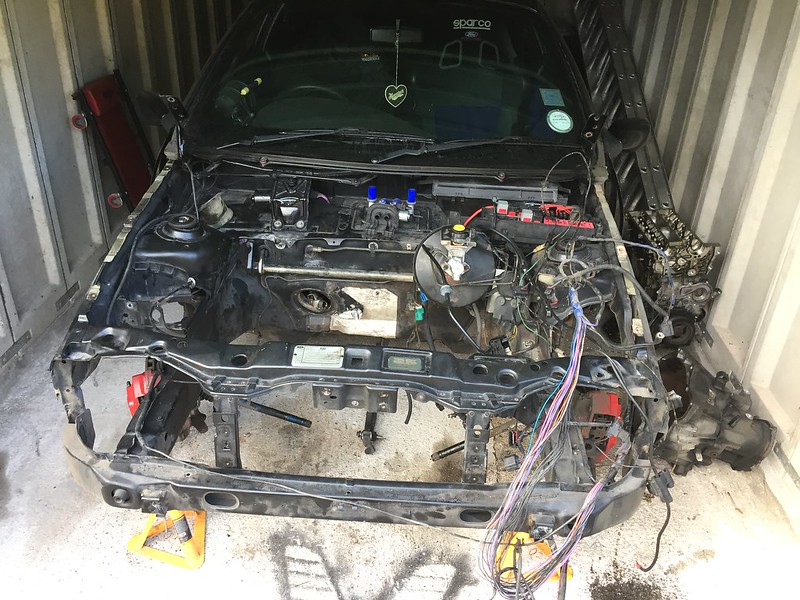
36269027275_49d0fe0df3_c.jpg


36269031625_138240748e_c.jpg


all stripped ready for rebuilding :)
 
Nice! Can't see the exhaust manifold properly, is that a twin scroll turbo?

BTW, excellent idea for cleaning;it never occured to me to do it like that althogh I have the equipment :!:
 
It's not a twin scroll manifold unfortunately

The old wheel barrow was great, all the oil collected underneath the board :)
 
Thanks guys, busy day today, dropped of the gear box shell for vapor blasting, exhaust manifold dropped of to have the mounting plates 'faced' and a couple of parts for sand blasting/ powder coating, should be getting it in for a full exhaust in the next week or two also :) going for a full 3" system from the turbo back
 
Bit more work done over the last couple of days, test fitted my alloy radiator so i can get the intercooler brackets made and mount the oil cooler, I've decided that i'm going to completely strip the front end, pain all the chassis legs and engine bay, whilst getting the subframe and wishbones powder coated, anyway, i also got round to making a start on mounting the new uprated fuel sytem.....

stripped front end

35577663664_bc45a0de15_c.jpg


36244789072_17df7429a7_c.jpg


New rad next to the old crappy one

36413024055_731e4b2d6c_c.jpg


Direnza list this as a Fiesta Mk 6 Rad! anyway after studying the pics of it i thought they made a mistake, so i ordered it and now im pleasantly supprised - even has mount to hold the A/C rad (not that im having A/C but handy to know!) also whilst i was there i fitted some new standard drop links and some new EBC front pads

36367936786_237aa345d7_c.jpg


fitted to its new home

35605221093_11f6532086_c.jpg


36367932836_930642bb04_c.jpg


I taught my neighbours some new swear words!!

36016460460_ea7f34f2d0_c.jpg


Im liking the lack of number plate! gave it wash after the tinkering

35657003503_46c08262fe_c.jpg


35630080894_123784212f_c.jpg


Last few pics of the start of the fuel system install

36327823711_1e95997b0f_c.jpg


36465126645_4e14595c89_c.jpg


for all those interested - thats a forge swirl tank, a Escort Cosworth fuel filter and a Bosch '044' motorsport fuel pump
 
Few more parts have arrived and a bit more work done today:

Picked up some new Ford bits: anti-freeze, coil pack, oil filter, Cam and Crank sensors

35822416983_2b88961e8a_c.jpg


New Ford coil pack looks pretty cool

36585026486_538c234b3a_c.jpg


Fitted

36235010890_89bbce76e2_c.jpg


Some special break-in engine oil and Quaife approved gearbox oil

35822419193_8debd55086_c.jpg


Parts for new exhaust system have arrived: Sports CAT, centre and back box, as well as 4x 3" V-Band connectors (il now be running a full 3" stainless system from the turbo back

36462484202_98ee5f6c88_c.jpg


started making up some of the fuel lines, here is a little how to guide:

wrap them in masking tape and cut through with a 0.8mm cutting disc

35796439124_480c8f5ace_c.jpg


assembly tools and parts ready

36585001506_f134642e24_c.jpg


disassemble the fitting

35822382333_ed222356b2_c.jpg


push on one end

36631366045_54bb44bb62_c.jpg


put the olive on the tool and jam it in the end of the hose

36462448602_28f7d92cdb_c.jpg


36585000796_cbb2eb9f9f_c.jpg


36234980570_27c9d5f764_c.jpg


Push in the other end as far as it can go

35822377203_4c3fae5f9e_c.jpg


ta-daa!!

36493592191_0dbb79a632_c.jpg


Here are the hoses fitted roughly in their final positions in the boot (still need to drill holes for the bulkhead fittings to run the hoses under the car and to the fuel tank but you'll get the rough idea)

36585002436_4d496f843f_c.jpg
 
You need a NSFW in the title for this!

Your inspiring me to get cracking with my own turbo build now!

Are you gonna be running standard fuel tank?
 
Haha! Thanks guys, Jay - il be using standard tank and pump to lift fuel to the swirl pot, then the system above will supply the fuel rail ;)
 
Sounds good, I was trying to decide whether to go with a fuel cell in the boot or stick with the standard tank and run a system similair/same as what you are planning.
 
Got my gearbox mount and gearbox shell back from vapour blasting, mmmmmmm shiny!

35758203783_1e515a42bf_c.jpg


I got on and did the most scary part so far today, I cut vents in the bonnet, there is something very sickening about sinking an angke grinder in to a carbon bonnet... anyway it turned out pretty good!

Made a little template for my Escort RS turbo vents

36733148315_597be81301_c.jpg


Some highly technical marking out going on here

36735230495_488fc344d6_c.jpg


36733410935_65db9ec6df_c.jpg


After a lot of moving around and checking positions, i finaly settled on the final position, marked out on the bonnet, ready to cut

36594626061_4a15244e00_c.jpg


Cut a little test hole to see how the cutting disc felt and how the edges looked

36564113462_02ed5c9c2b_c.jpg


Past the point of no return now...

35925452613_d001f4a971_c.jpg


after lots of sanding of edges we have a reasonable fit

35925449253_4c63b599a5_c.jpg


I put a little guide coat of satin black on to see how they looked, i still need to make some proper mounts underneath but il leave that for the weekend now

36688332586_b6949711ca_c.jpg


36735223365_66dc8e8c39_c.jpg
 
I imagine you had to have a brave pill before cutting into that bonnet. Vents are something I've considered but I dunno if I can bring myself to chop into my carbon bonnet :-(
 
Two hard days of graft on my own done, doesnt look much but i have removed the front end panels (hood, wings, bumper) pulled out the current engine and gearbox, and today i have removed the wishbones, subframe and steering rack, it takes a whole lot longer when you don't have any air tools or an engine hoist!

stage one, get the panels off

36657673461_91a5509066_c.jpg


35962177974_ae174e48f0_c.jpg


stage two, pull the engine and box, radiator, hoses

36657665061_ca13388a45_c.jpg


36657670021_82d8e66391_c.jpg


small selection of now superfluous parts

35987710353_aa85d0e09c_c.jpg


stage three, remove fuel lines, EVAP system wishbones and subframes and steering rack, I also made a start on removing the now redundant engine sensors

36676185652_0394766787_c.jpg


36012264964_7693a9e142_c.jpg


next stage: finish removing engine sensors then power wash the bay. After that i can make a start masking stuff up to paint it, meanwhile il drop off the subframes, wishbones and various other parts for powder coating and send the rack off for an overhaul
 
:eek: Great start!! Looks scary like that, bet you can't wait to see it start going back together!
 

Latest posts

Back
Top