Brian'
Member
Hello and Welcome!
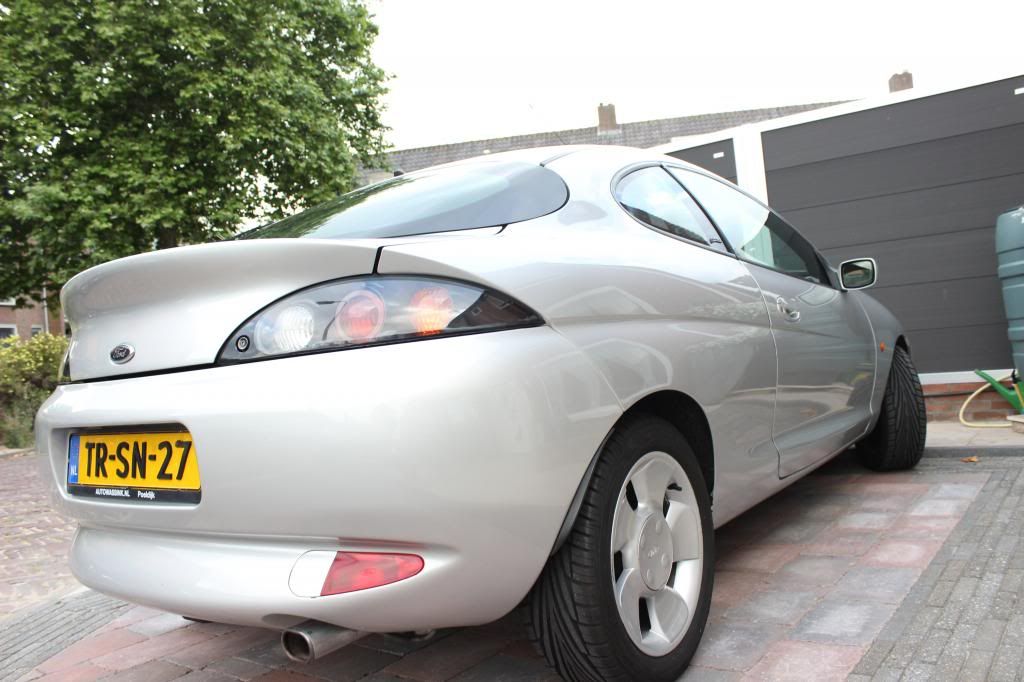
My name is Brian. As of writting this I'm 17 years old I'm from The Netherlands. As my first car I bought a Ford Puma. It is a Moondust Silver from 07-15-1998. It has the 1.7L engine.
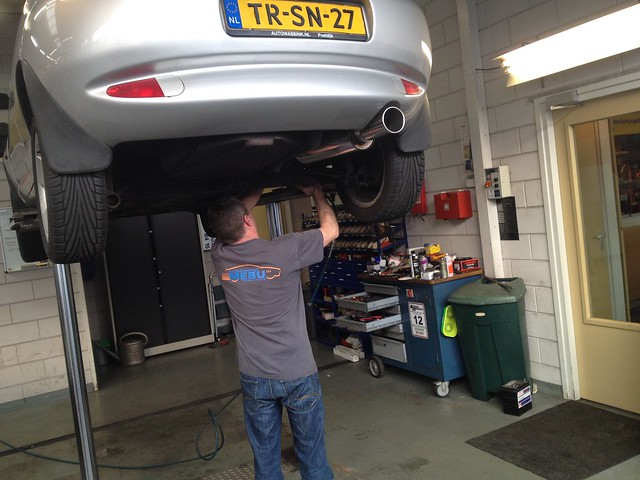
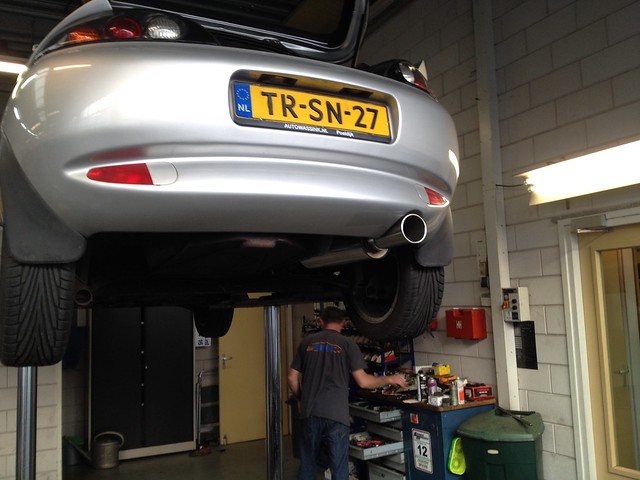
When I first got her I gave her a full service at a local garage, which included new discs and pads, they also changed the handbrake cable which didn't do anything according to them. After they solved these things I asked them to give it a new MOT which was also needed, After all the work they did it passed with flying colours.
However they told me if I wanted to drive it for a few more year I should look into the rust it got, Especially on the sill, Arches aren't that bad one side has bubbles the other one has no sign of rust.
I don't really have a lot of plans with this car, Just want to improve it in some bits, As I'm 17 years old I'm not allowed to drive it alone yet, Here in the Netherlands we have something called 2ToDrive, which means that you're able to get your drivers license on the age of 17 however you're not allowed to drive on your own. You need a special card, On this card you're allowed to register 4 coaches. With these 4 coaches you're allowed to drive on the public roads. The day you turn 18 you're allowed to drive alone.
Things I would like to improve/need to do will be written down below, This list will either grow or decrease over time. I will try to update this as much as possible to make it orderly
After a few months of lurking on this forum I decided to make my own project thread to keep all of you up-to-date, I will try to update this thread as I go along, Hopefully I'm able to post as much pictures as possible so that there is more to enjoy that words.
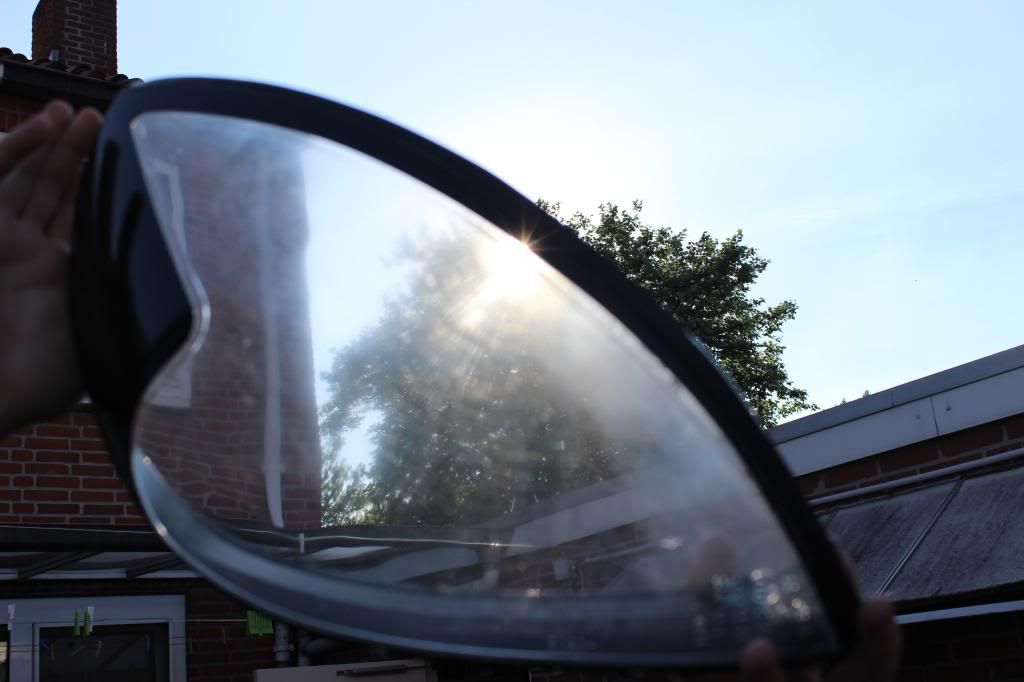
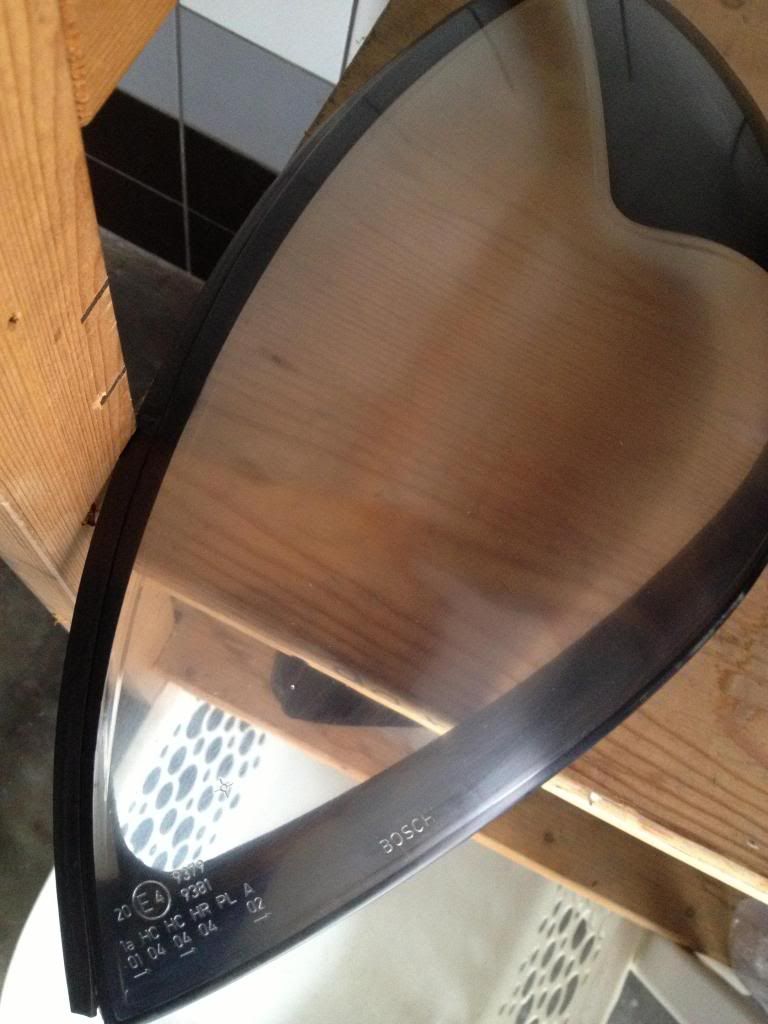
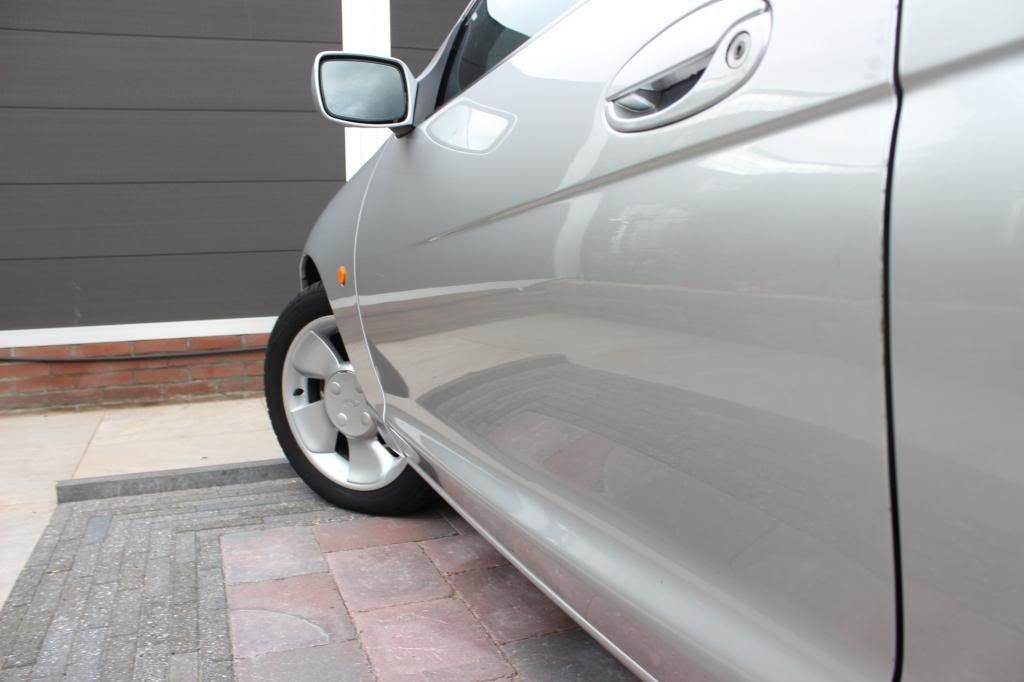
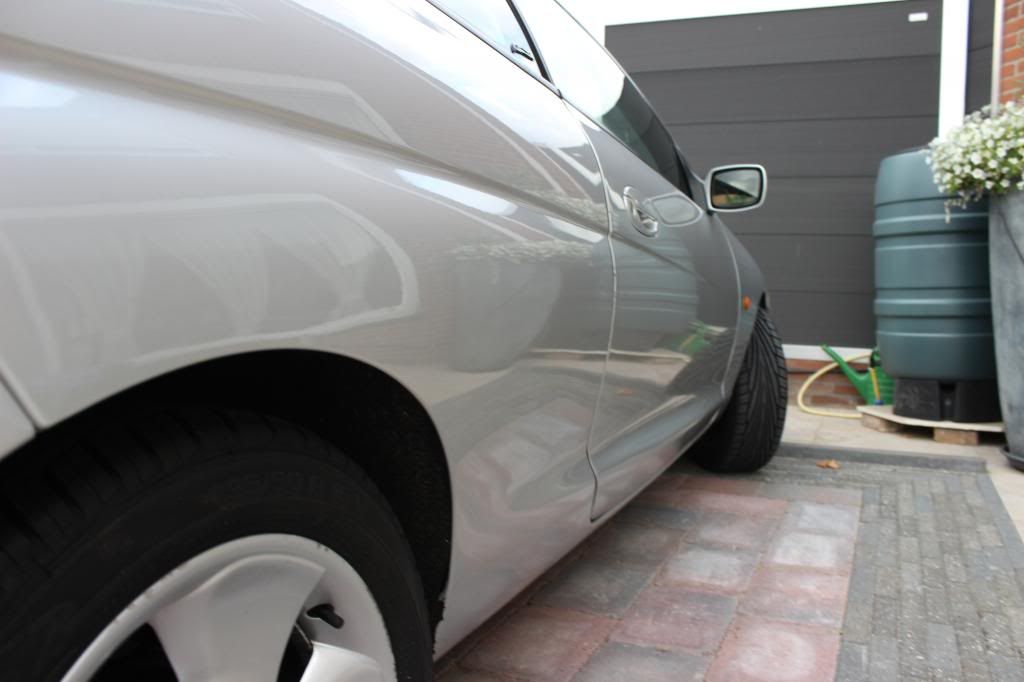
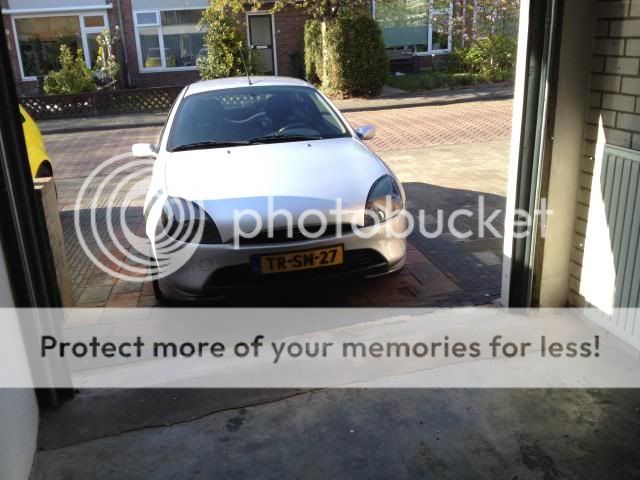
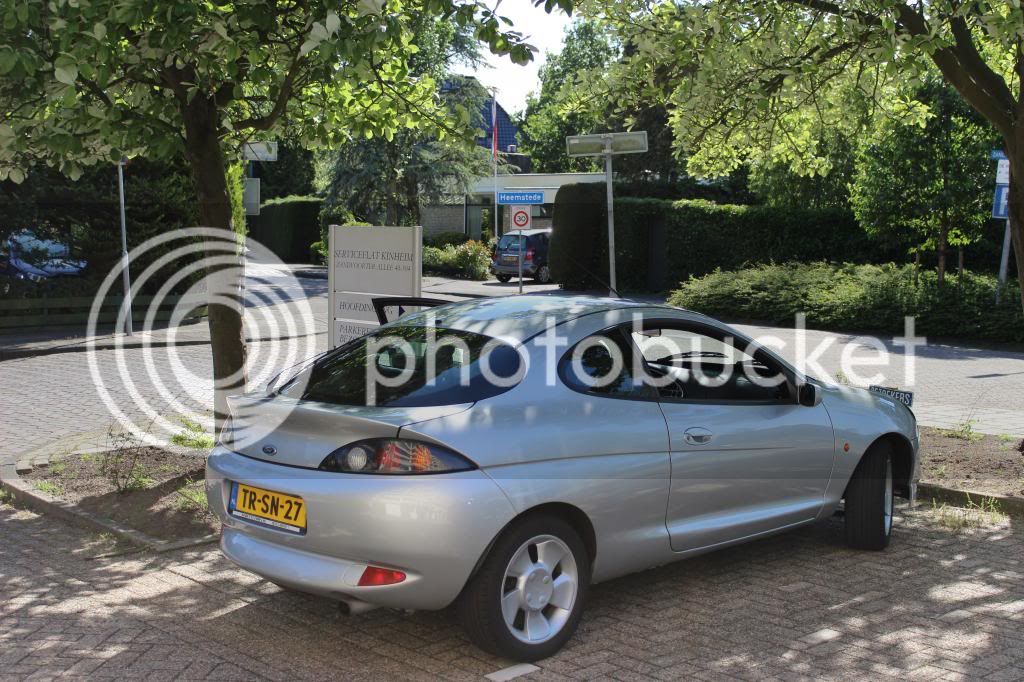
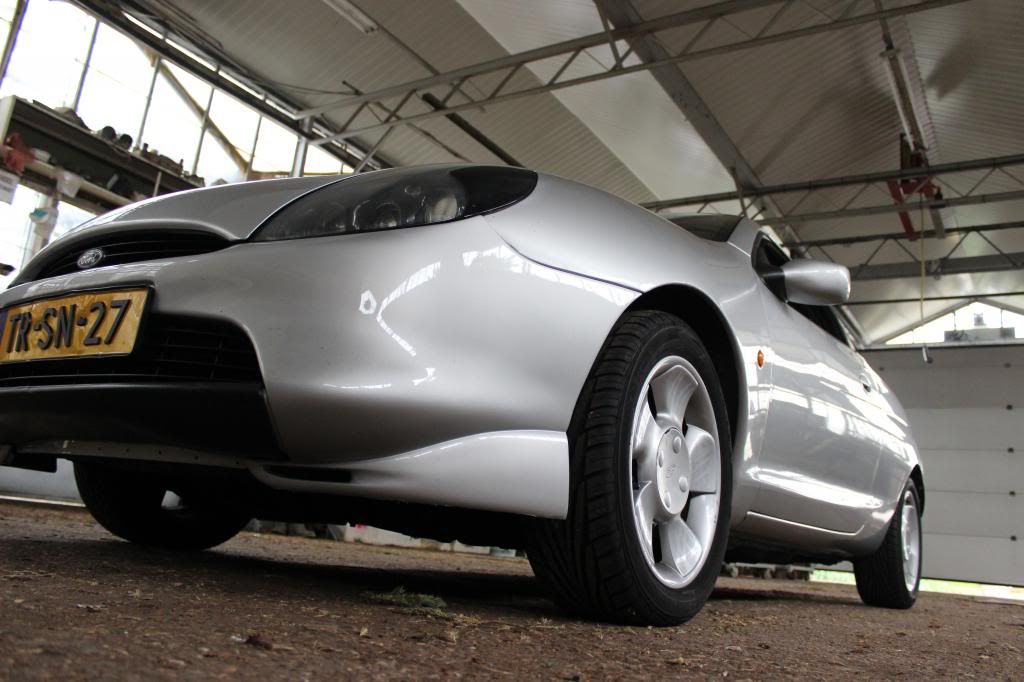
Lets start, This is when I bought her. I have to admit, for the price I paid it is a pretty solid car. But it has it's problems. The driver side window (left side here) goes up badly, You really need to help it up otherwise it won't shut, I've tried some WD40 inside the sliders and it does go better, However it might be the window rubbers that goes above the window as that's badly corroded where the window shuts.:
Modifications:
DONE
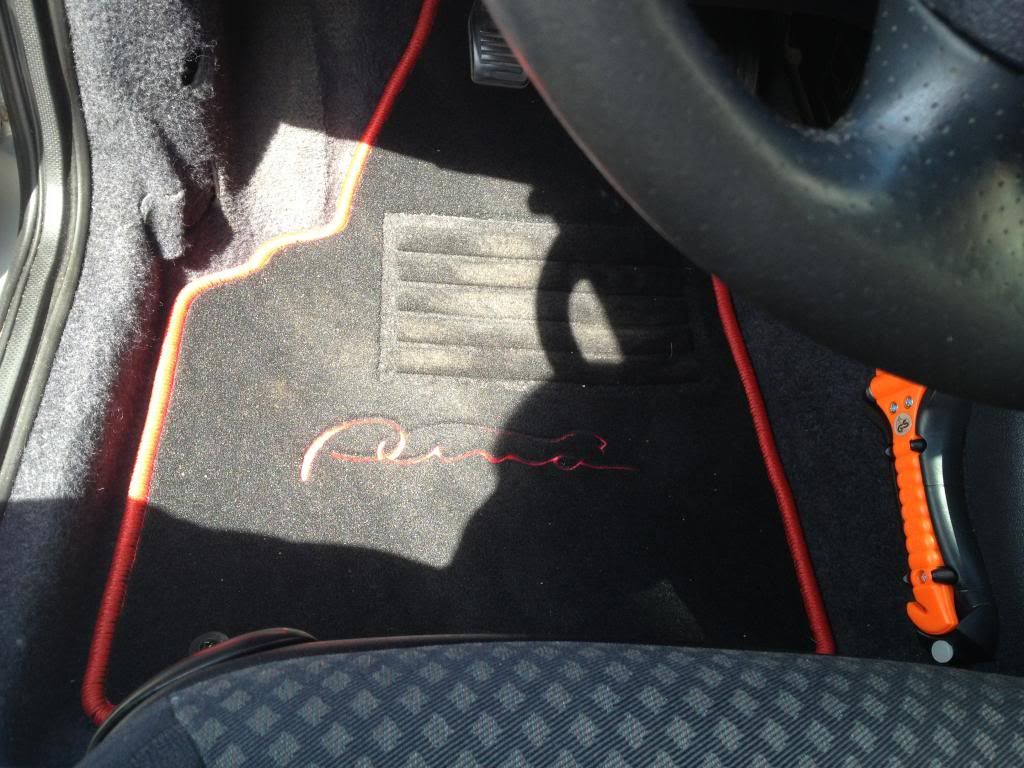
 Mats (It didn't came with mats)
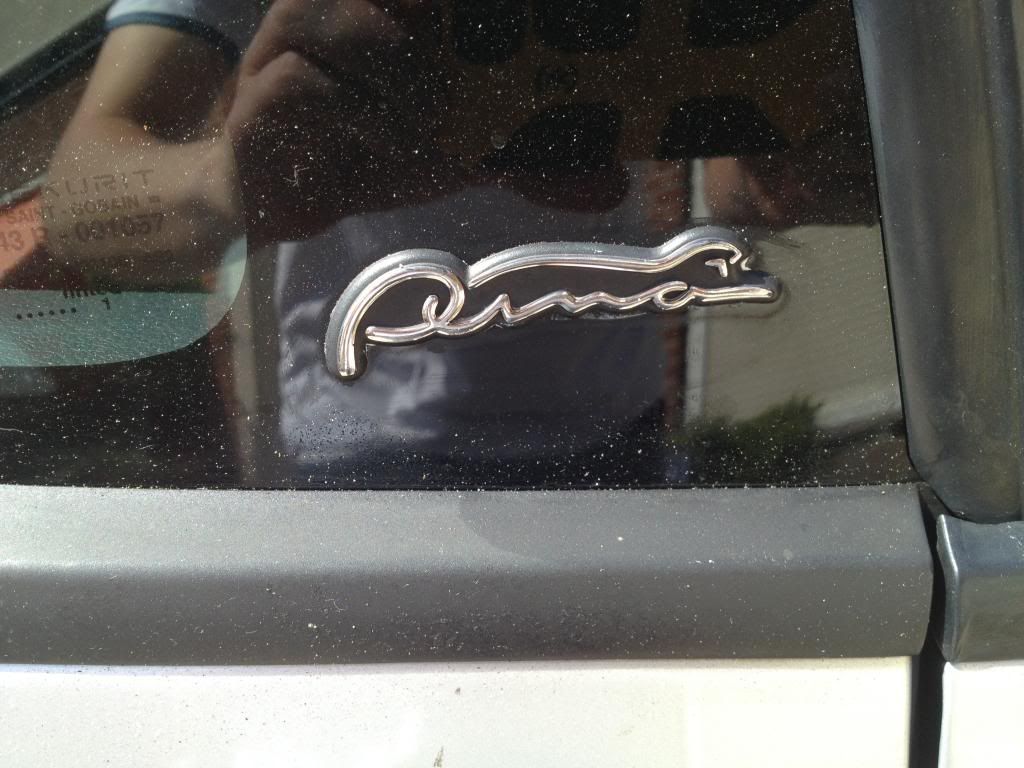
Puma logos on the 1/4 windows
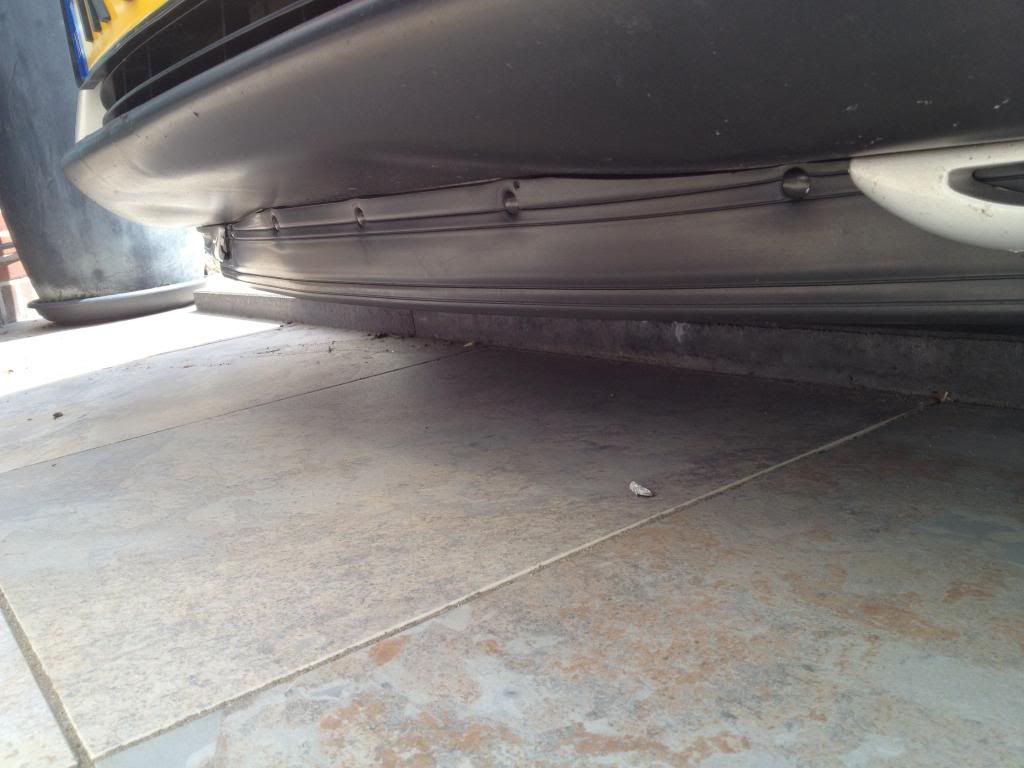
Rubber frontlip (This one was missing)
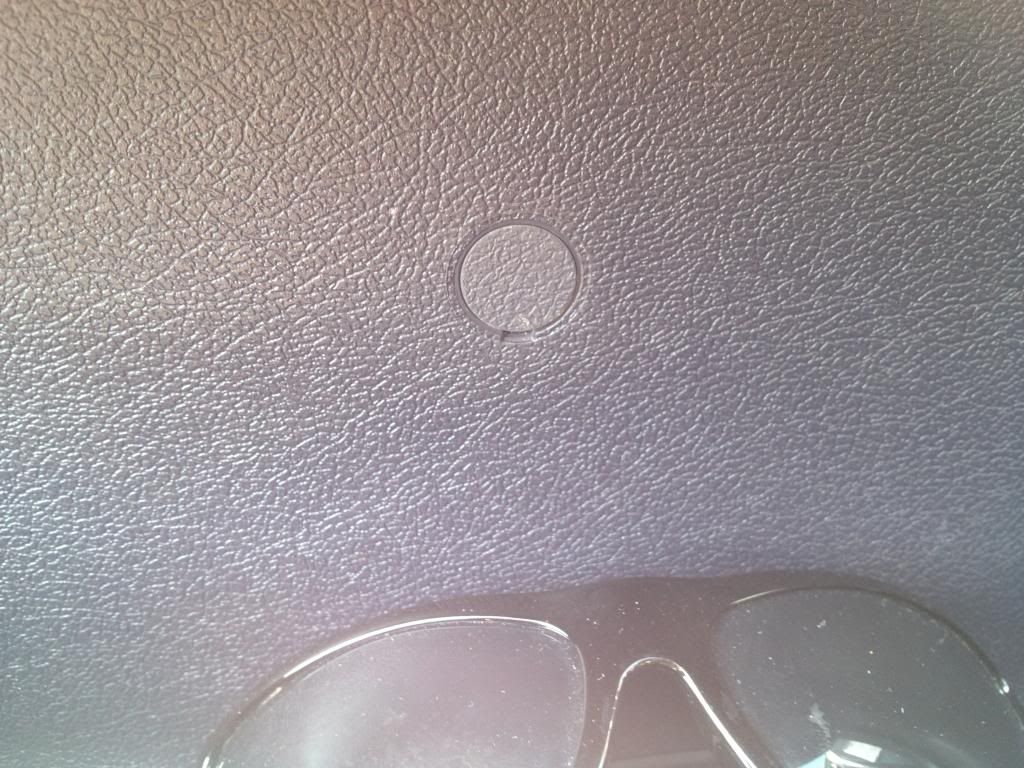
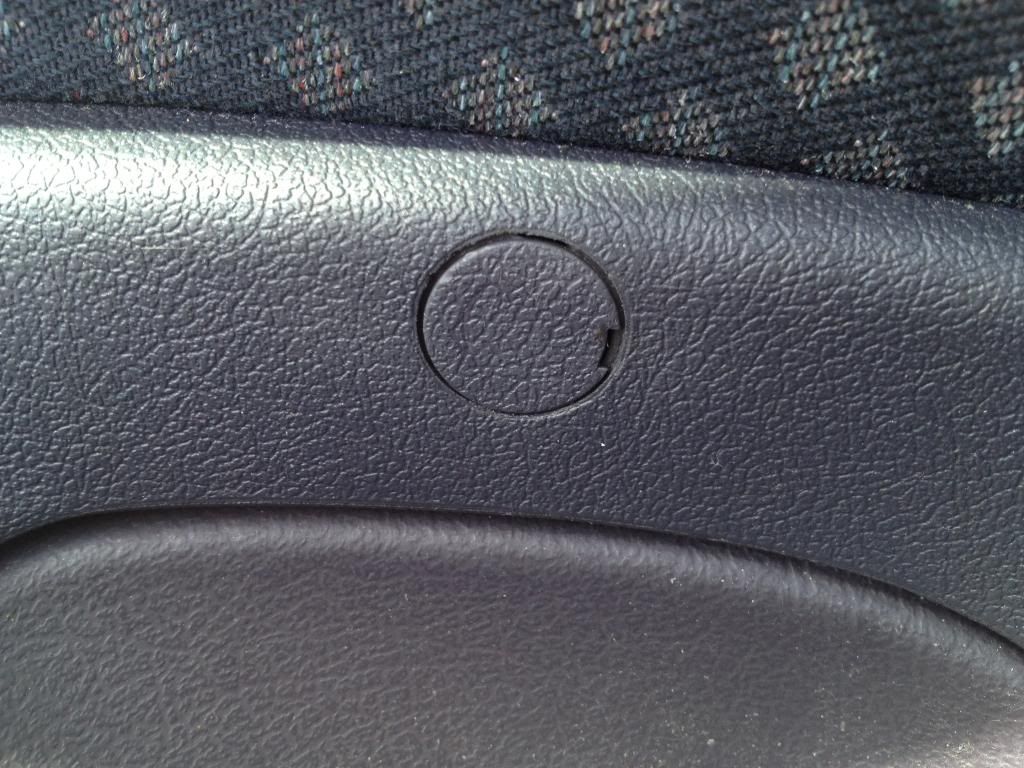
Screwcovers (Alchemy blue)
4 new tyres (Uniroyal Rainsport 2 in 195/50/R15)
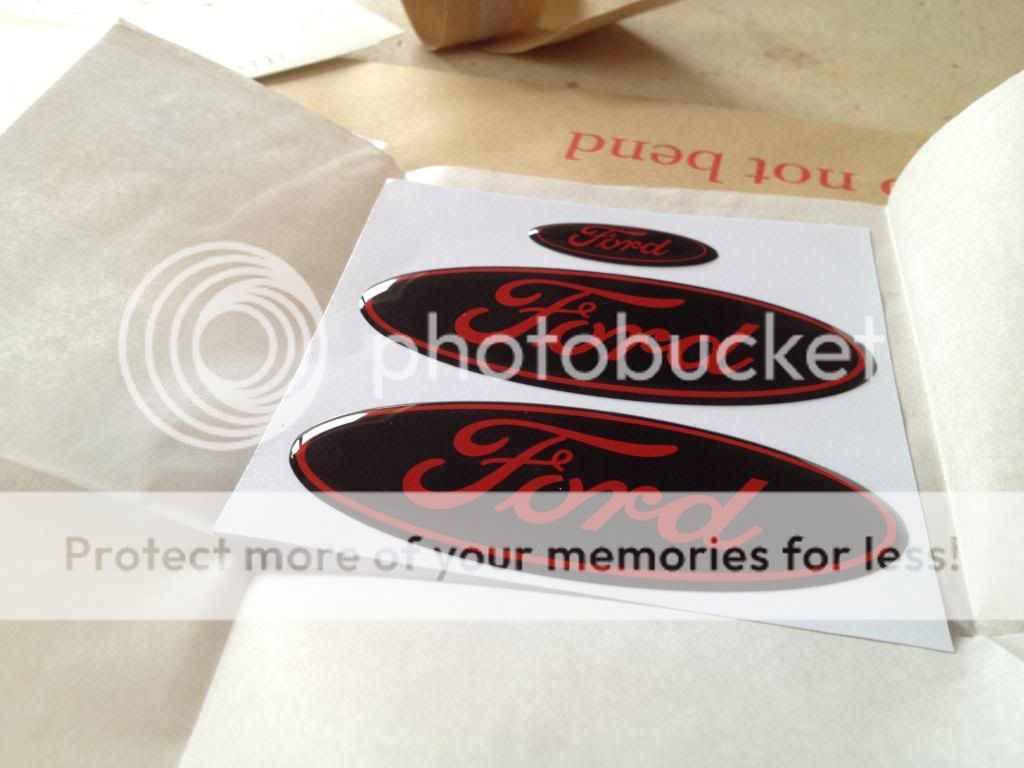
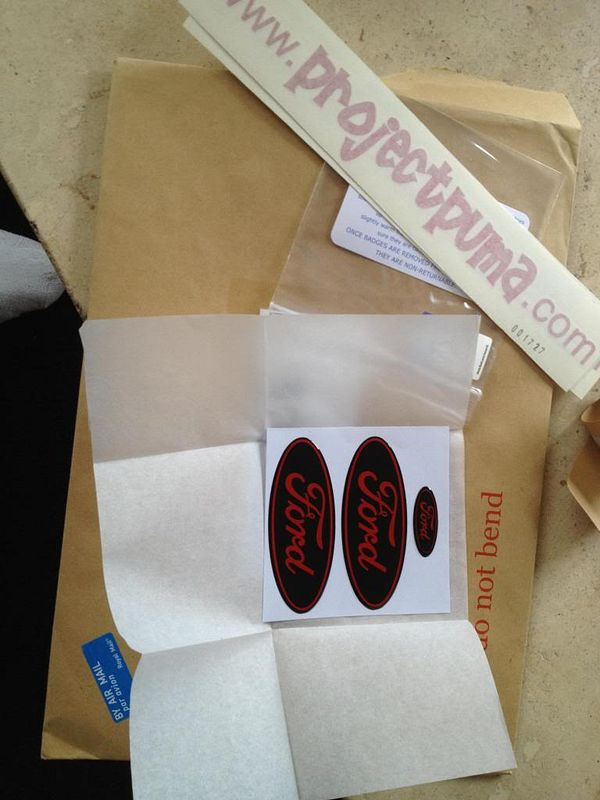
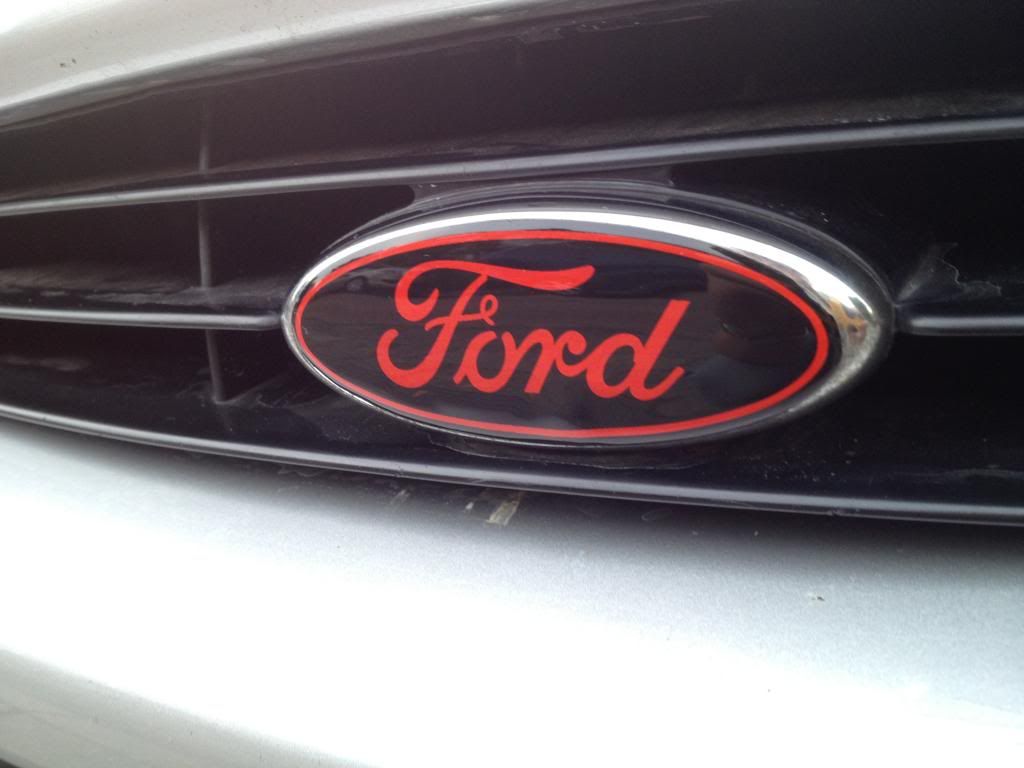
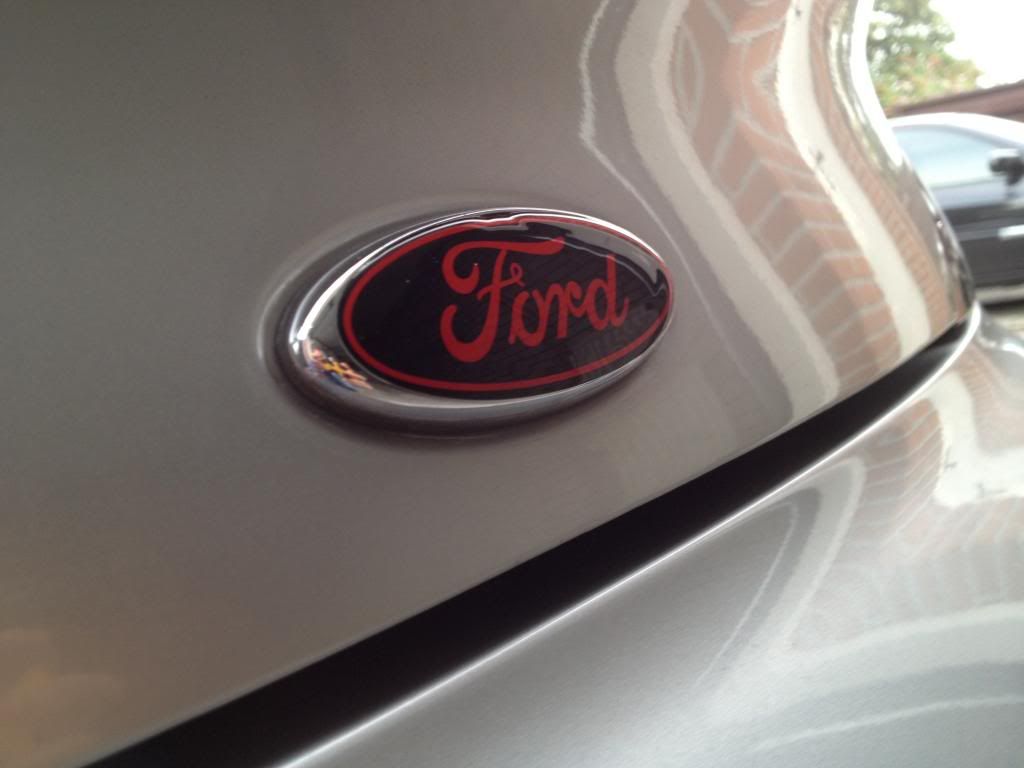
DMB Graphics overlays (Black-Red)
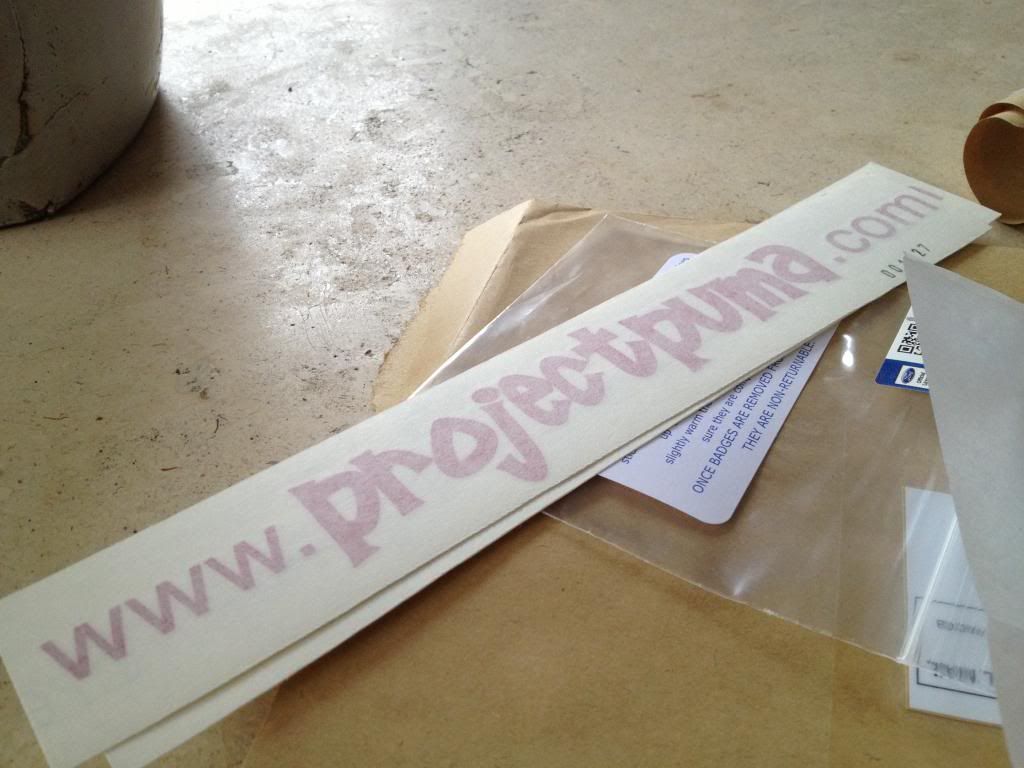
ProjectPuma.com stickers for the 1/4 windows
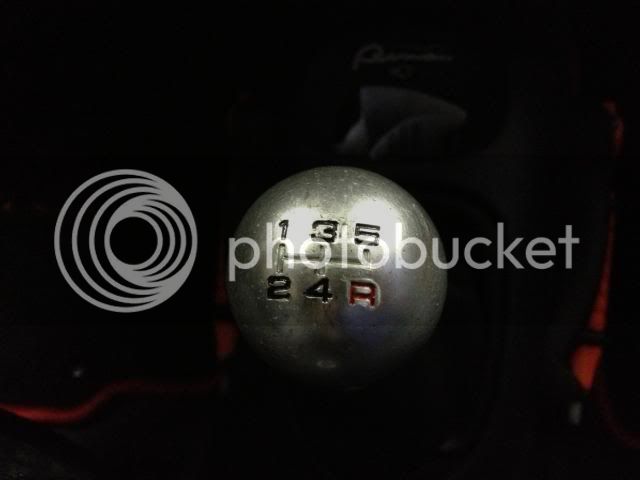
Paint gearknob
Front Splitter (Richard Mansfield)
Leather gear gaiter (Red stitch)
Leather handbrake gaiter (Red stitch)
Mudflaps (Genuine Ford flaps)
Clear/Smoked side repeaters
Paint the brake drums black (Hammerite)
New steering wheel
Rust repair (arches)
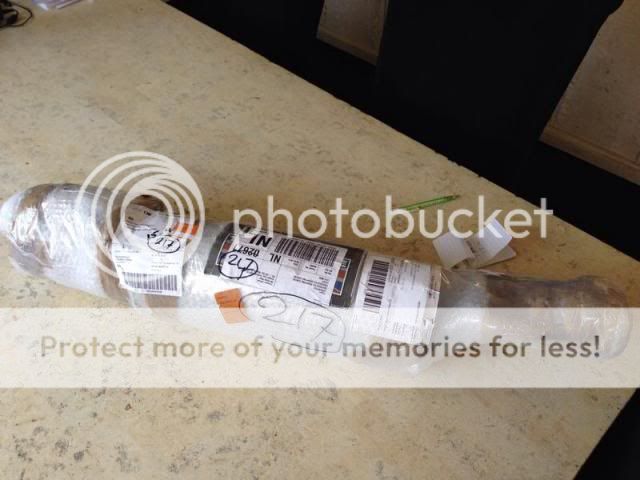
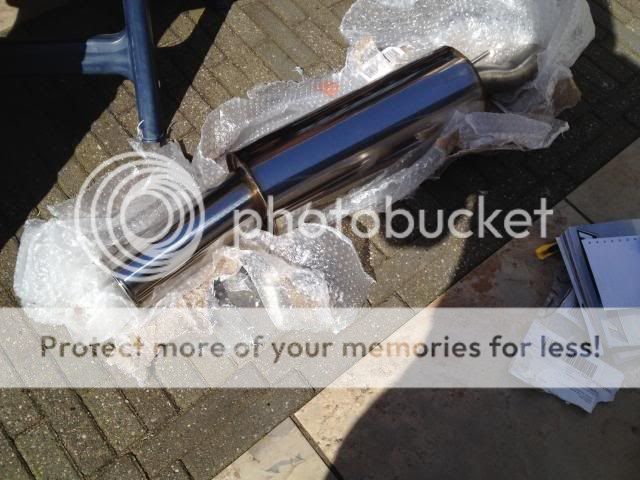
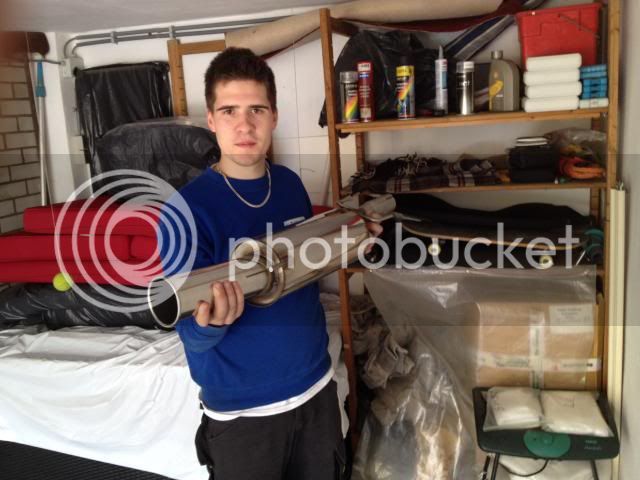
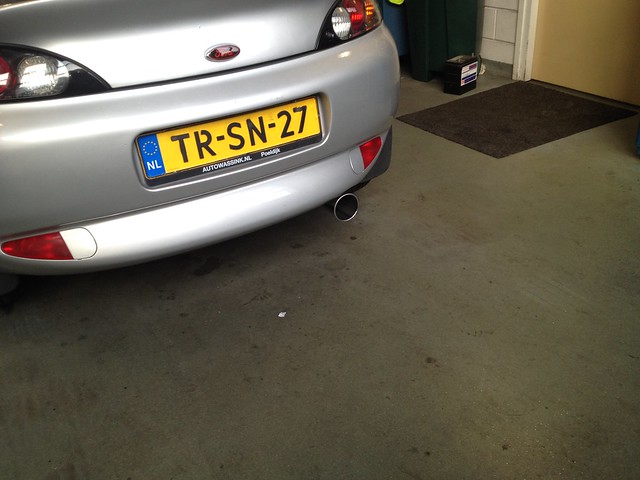
Piper 3,5'' outwardly rolled backbox
Painted the carpet/Doorpanels
New rear wiper
Sparco R100's
Paint the calibers red
Flocked dashboard
Underbody seal/rust protection
ST150 brake upgrade, with Mintex M1144 pads and National Sport discs.
Borbet Type E 15x7J with the Uniroyal Tyres from the Propellors
FUTURE
 Retrim rear seats so they match the front seats
Re-weld the seat rails to make it lower and centered.
UNSURE

Photos of the finished modifications:
Mats:
Puma logos:
Rubber frontlip:
Screwcovers:
Tyres:
Will be doing most of the things myself, Expect for things I'm not capable of (such as clutches and so on) I would really like to do most things myself, but having a dad that doesn't like that I don't always have the choice. I've never done anything like this before so I may make a few mistakes in the process, But it's a learning curve which excites me.
Hope you all like it. I'll keep you updated
My name is Brian. As of writting this I'm 17 years old I'm from The Netherlands. As my first car I bought a Ford Puma. It is a Moondust Silver from 07-15-1998. It has the 1.7L engine.
When I first got her I gave her a full service at a local garage, which included new discs and pads, they also changed the handbrake cable which didn't do anything according to them. After they solved these things I asked them to give it a new MOT which was also needed, After all the work they did it passed with flying colours.
However they told me if I wanted to drive it for a few more year I should look into the rust it got, Especially on the sill, Arches aren't that bad one side has bubbles the other one has no sign of rust.
I don't really have a lot of plans with this car, Just want to improve it in some bits, As I'm 17 years old I'm not allowed to drive it alone yet, Here in the Netherlands we have something called 2ToDrive, which means that you're able to get your drivers license on the age of 17 however you're not allowed to drive on your own. You need a special card, On this card you're allowed to register 4 coaches. With these 4 coaches you're allowed to drive on the public roads. The day you turn 18 you're allowed to drive alone.
Things I would like to improve/need to do will be written down below, This list will either grow or decrease over time. I will try to update this as much as possible to make it orderly
After a few months of lurking on this forum I decided to make my own project thread to keep all of you up-to-date, I will try to update this thread as I go along, Hopefully I'm able to post as much pictures as possible so that there is more to enjoy that words.
Lets start, This is when I bought her. I have to admit, for the price I paid it is a pretty solid car. But it has it's problems. The driver side window (left side here) goes up badly, You really need to help it up otherwise it won't shut, I've tried some WD40 inside the sliders and it does go better, However it might be the window rubbers that goes above the window as that's badly corroded where the window shuts.:
Modifications:
DONE
FUTURE
UNSURE
Photos of the finished modifications:
Will be doing most of the things myself, Expect for things I'm not capable of (such as clutches and so on) I would really like to do most things myself, but having a dad that doesn't like that I don't always have the choice. I've never done anything like this before so I may make a few mistakes in the process, But it's a learning curve which excites me.
Hope you all like it. I'll keep you updated