warrenpenalver
Active member
Since I sold on my Puma Cossie I'd decided I would be sensible and wouldn't buy any more crazy projects for a while.
That didn't last long!
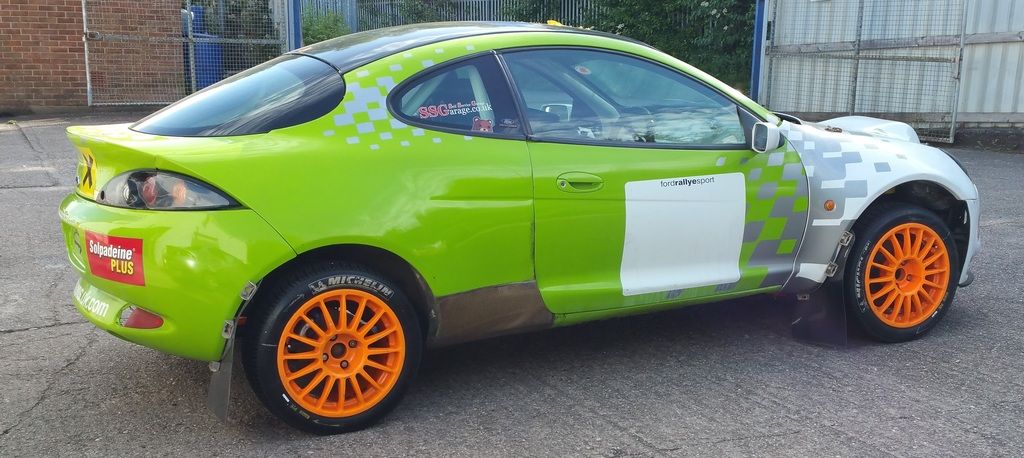
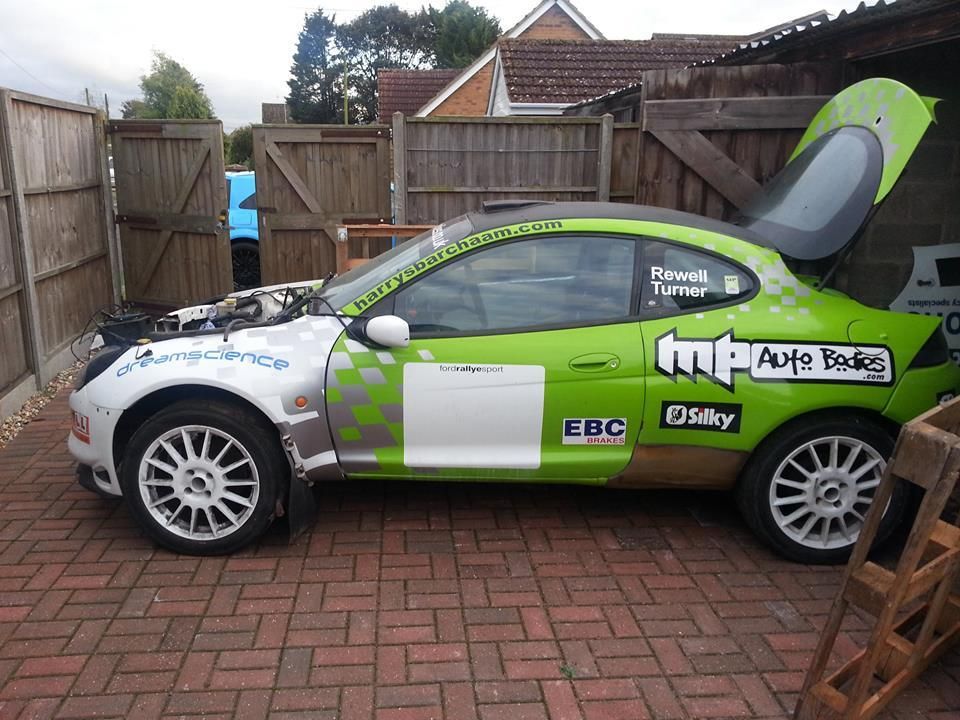
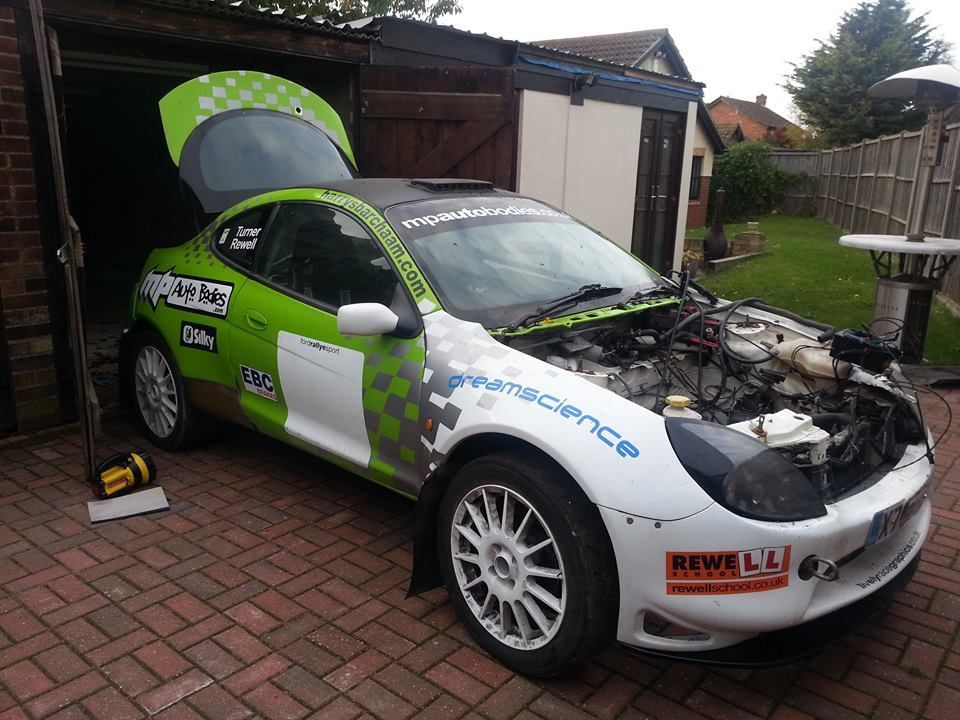
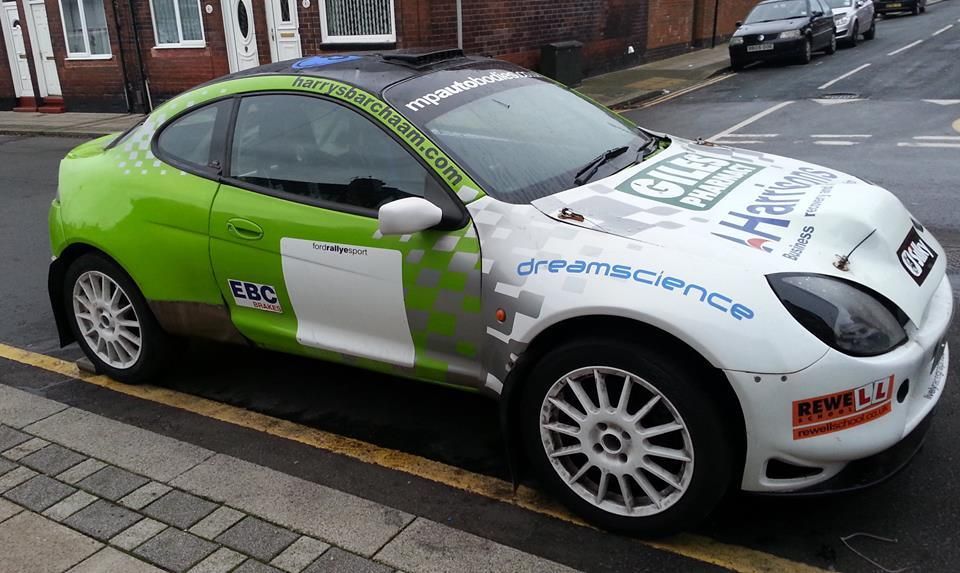
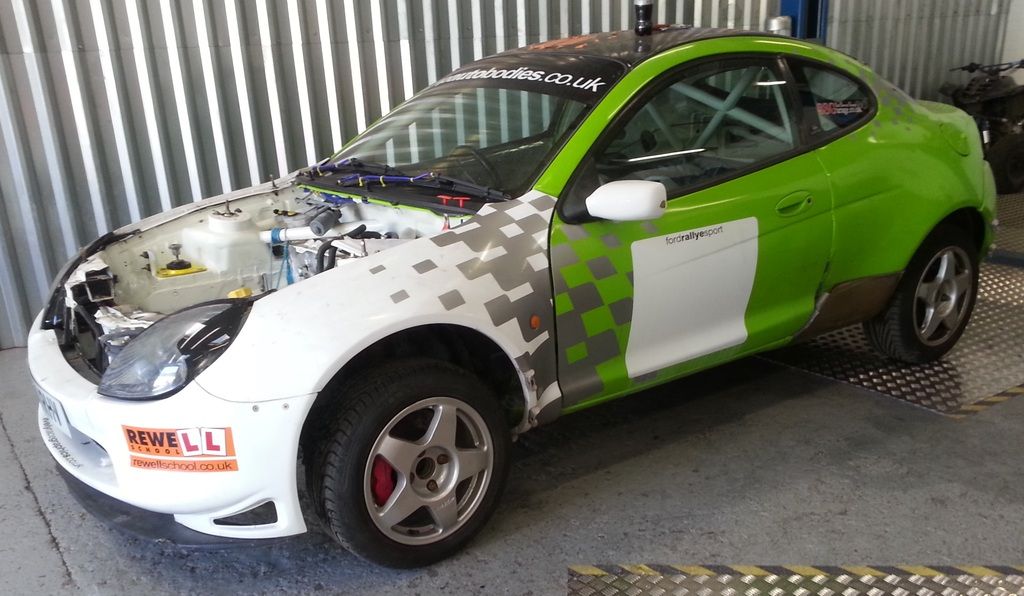
A racing puma (471) rolling shell came up for sale at a bargain price so I simply had to have it. The engine had been sold on earlier but other than that the car was pretty much intact, albeit it had been sat for a few years so was in need of some tidying up and restoration.
Had been used for rallying, sprints and trackdays in the past so was already modified.
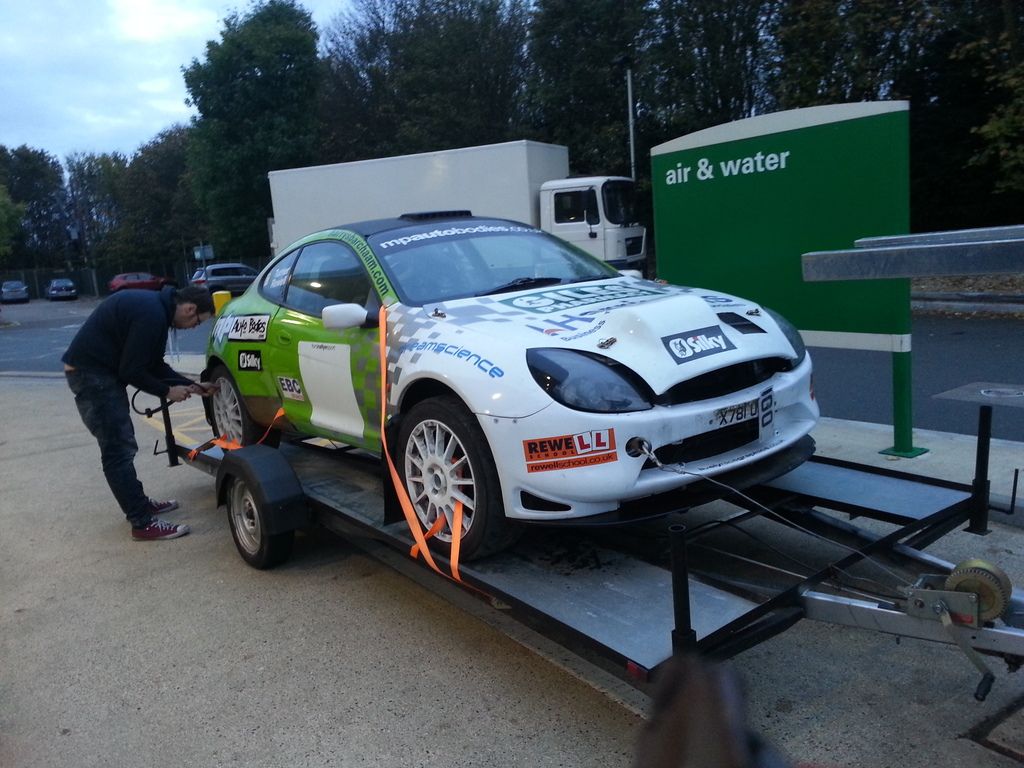
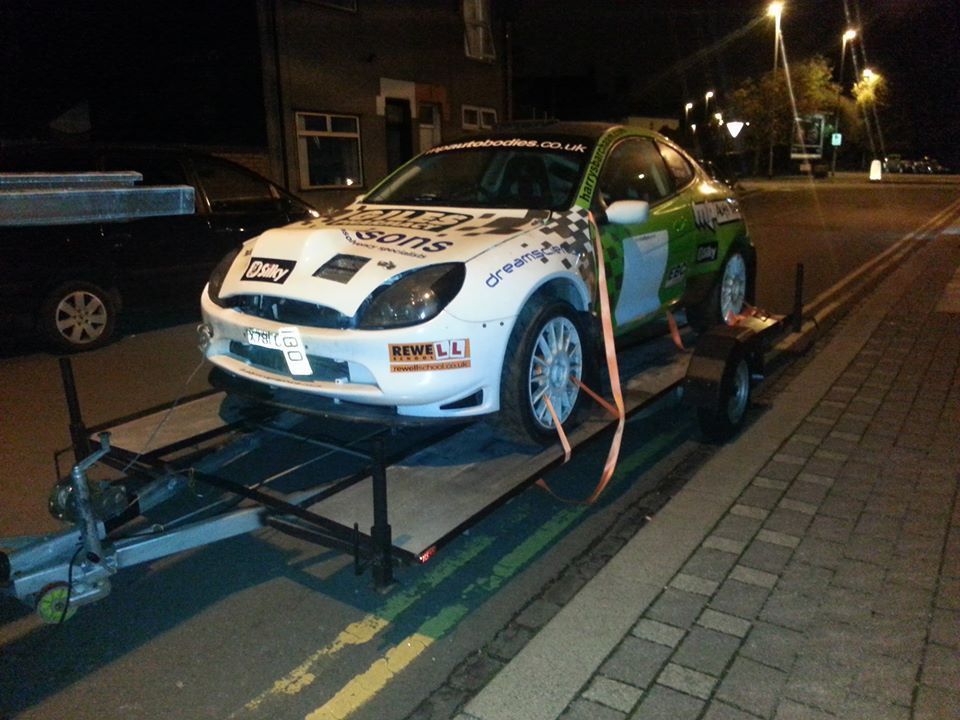
This is how it began:
Did the deal and my mate helped me bring it back with our trailer:
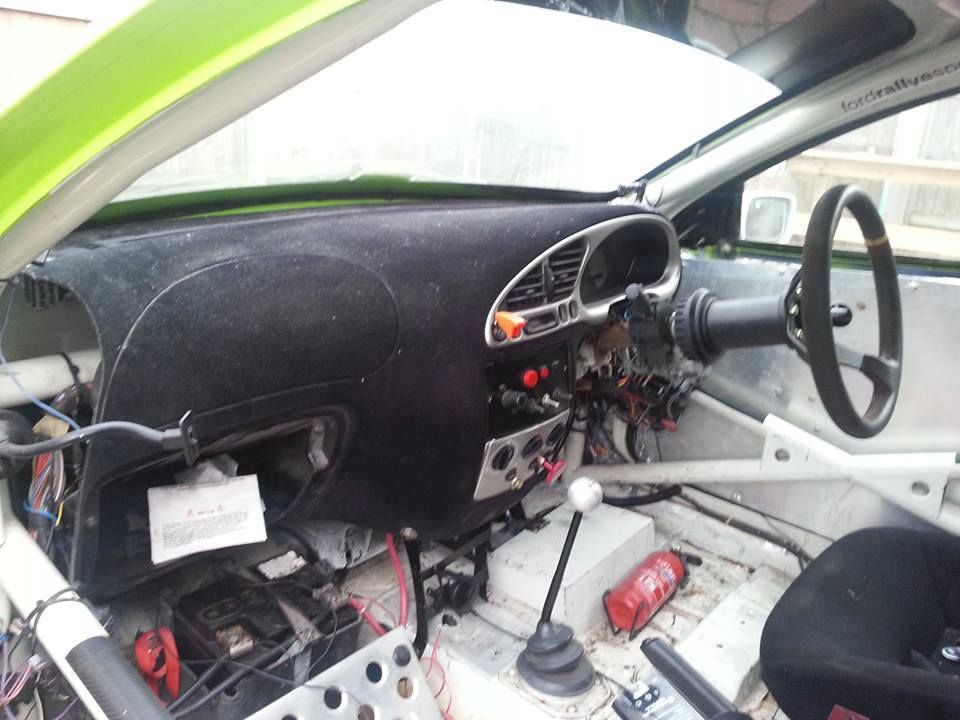
Just started off with the basics of working out whats what. The car already had a fair few bits on it, some I will be selling off to either replace with better or different spec for my plans.
The main bits it has that im keeping are:
Custom cages weld in cage,
Seam welded
Stripped out interior, including sound deadening.
Custom valved and specced Gaz dampers and springs
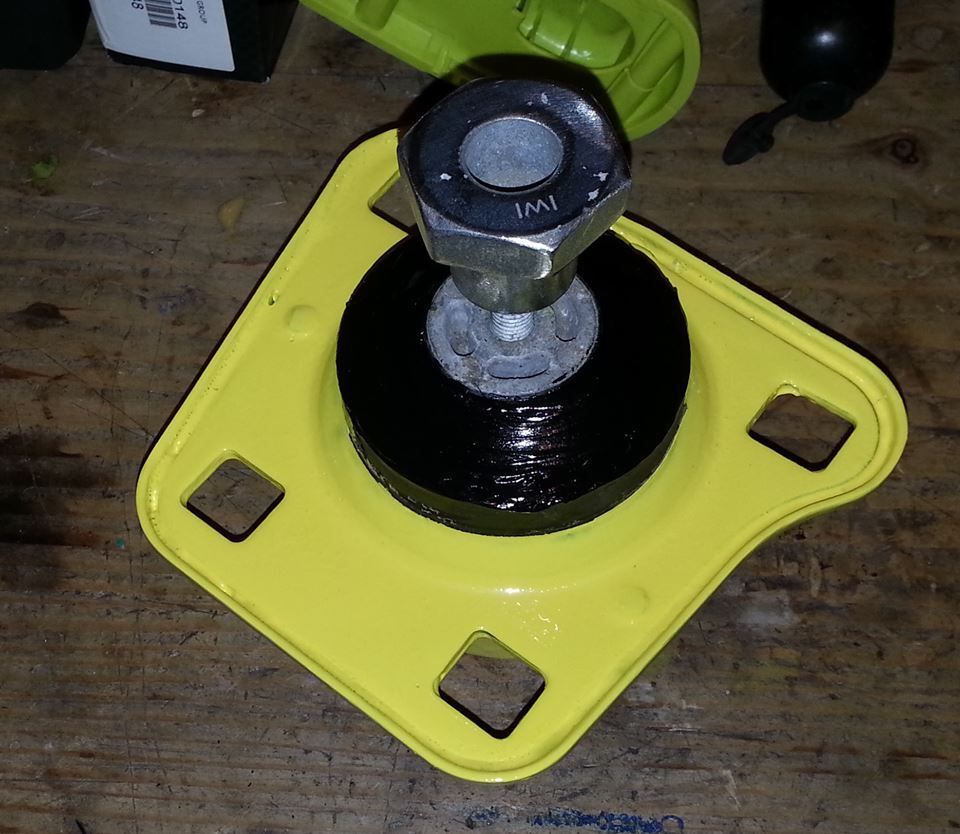
Solid top mounts
Stainless manifold and exhaust with added silencer to meet noise regs on track
Original FRP 471 numbered inlet manifold
Flocked Dash
Lowered steering column
welded in seat bars
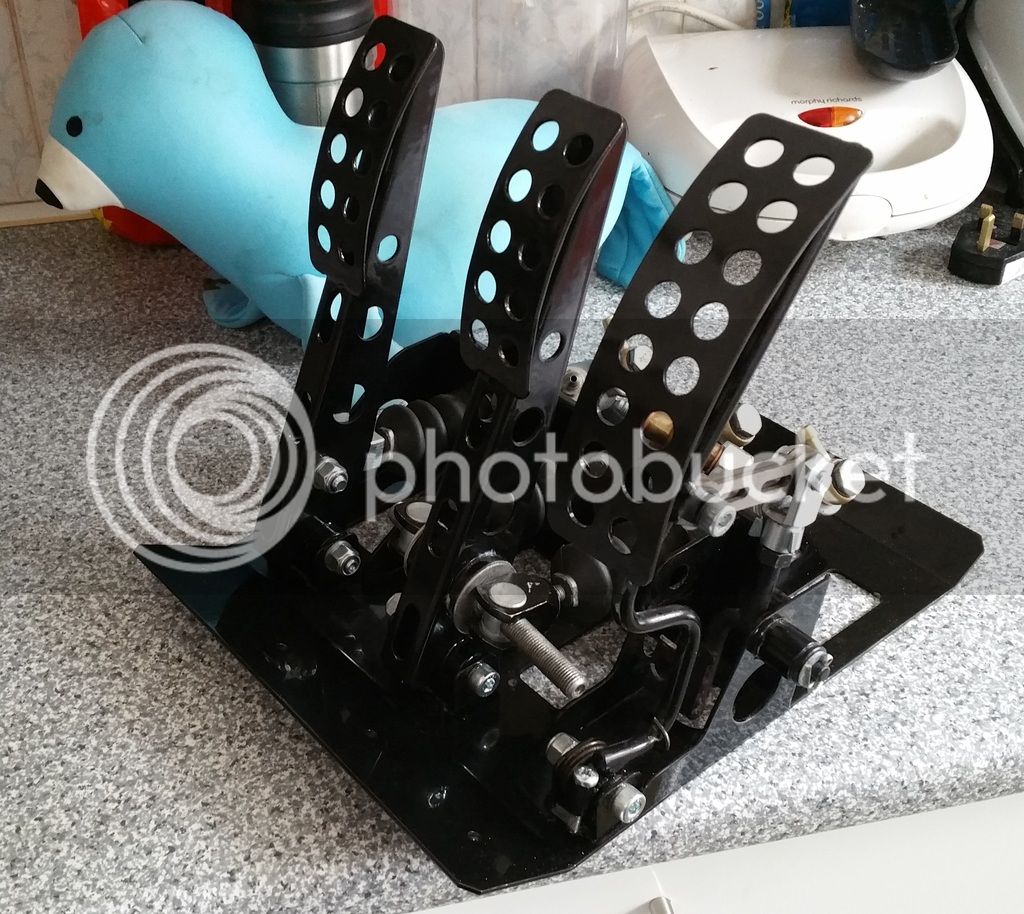
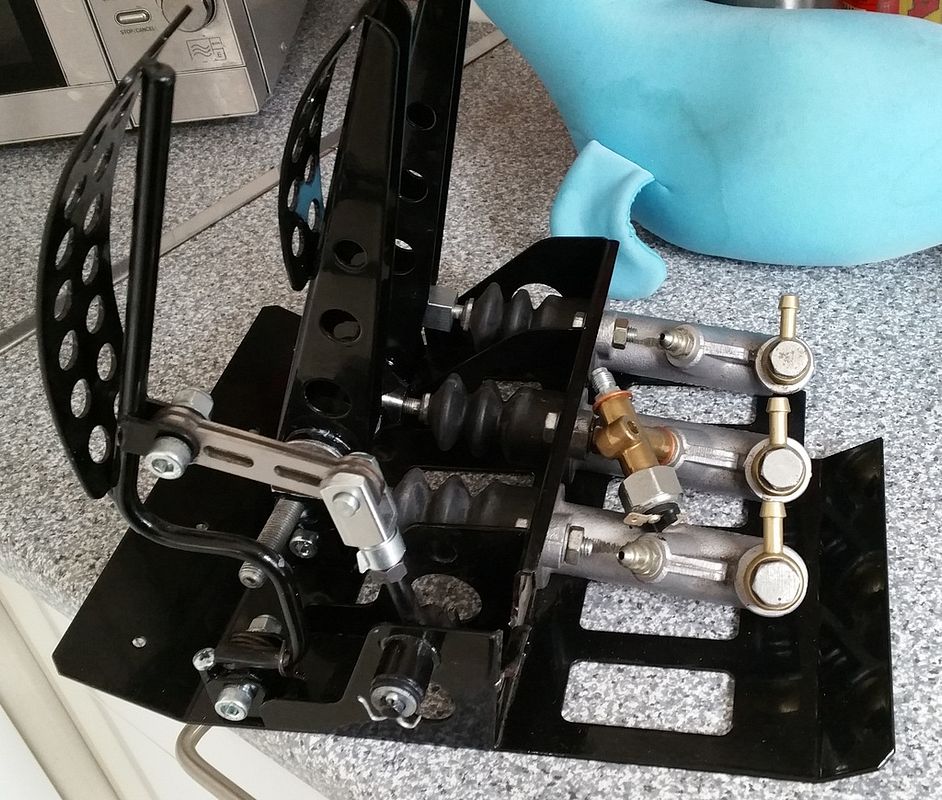
adjustable pedal box
stripped out doors
My main aim is to get it running again but im not in a major rush. I could just get another engine, bolt it in and get it running but I am going to sort out as much as i can first rather than getting it running to then have to spend ages fixing all the bodges.
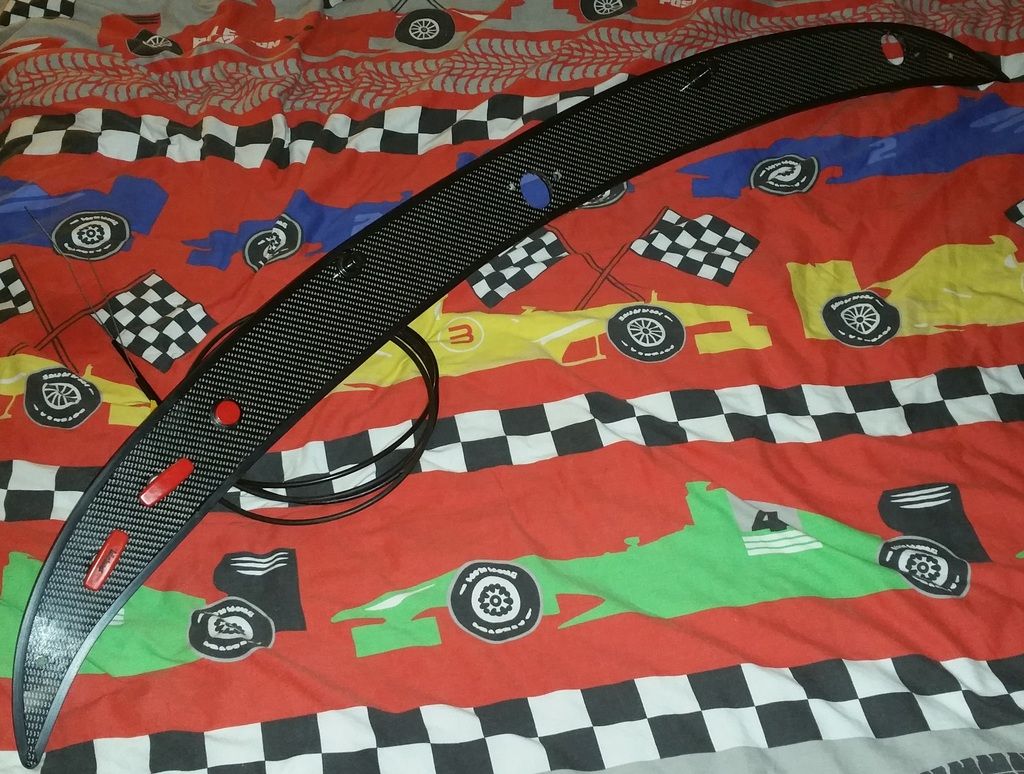
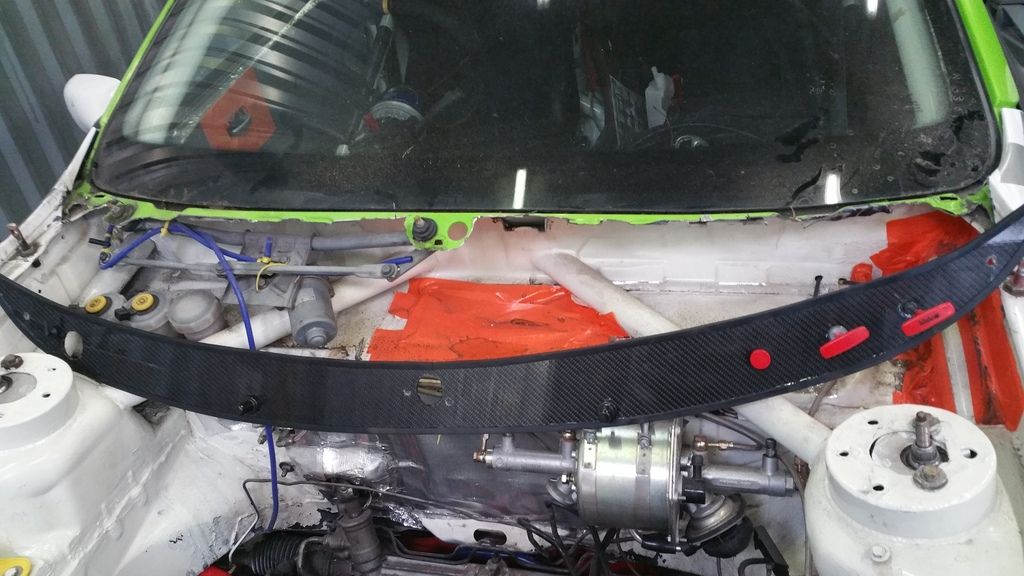
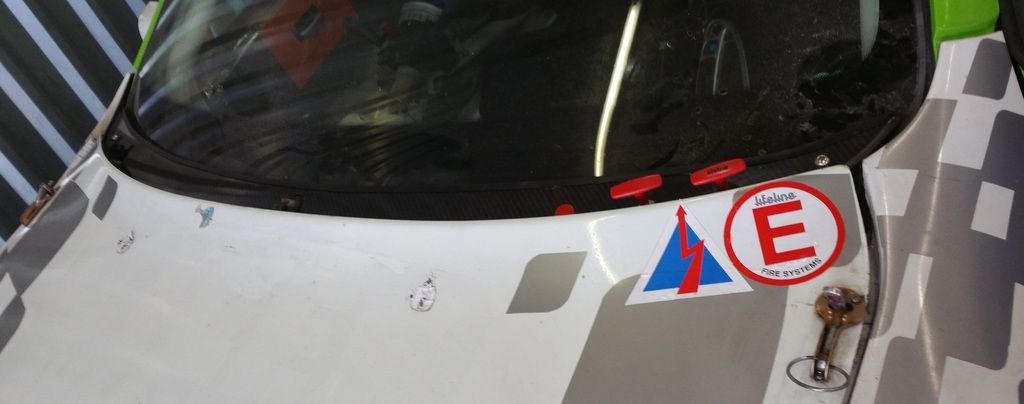
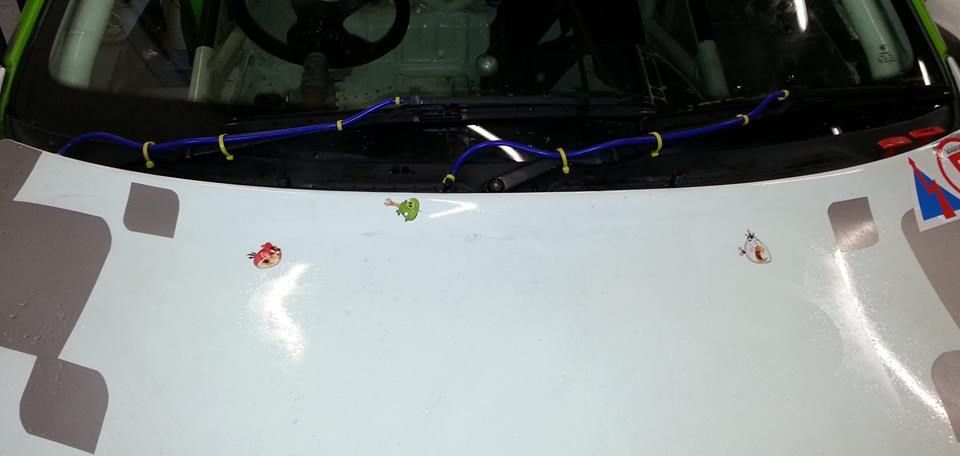
First thing was to give it a bit of a clean and peel off some of the stickers I don't want to keep:
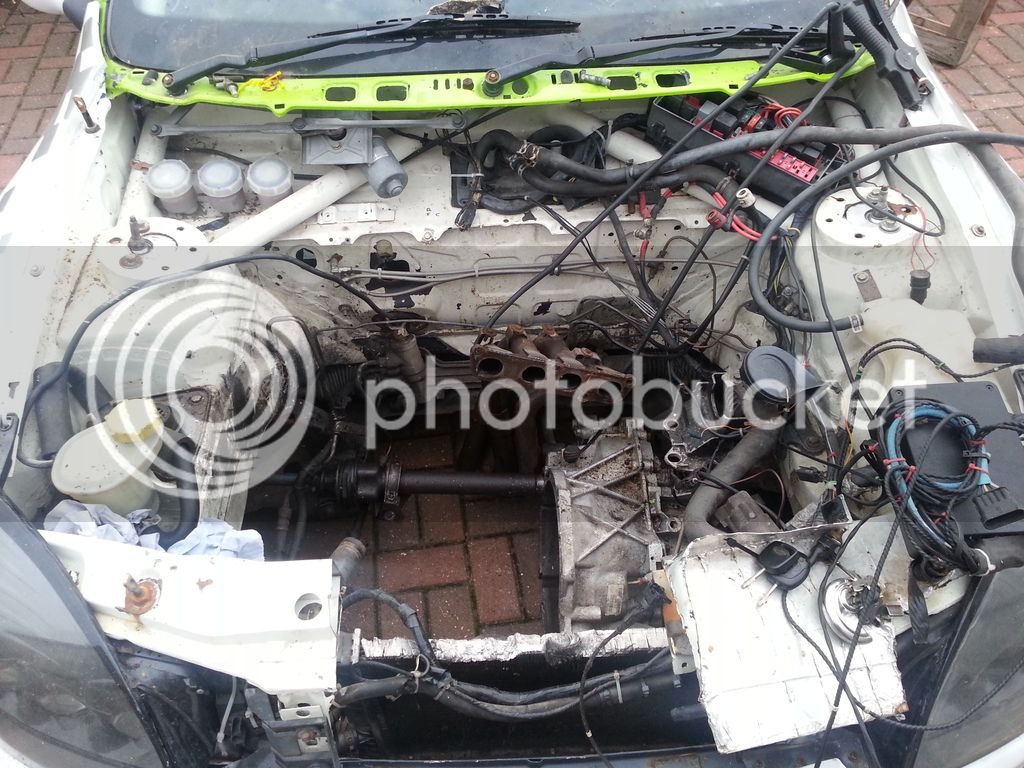
I then managed to get somewhere I can work on in the dry So the big strip down began so I can see how bad things are and start to attack the rust!
The loom looks a bit wrecked:
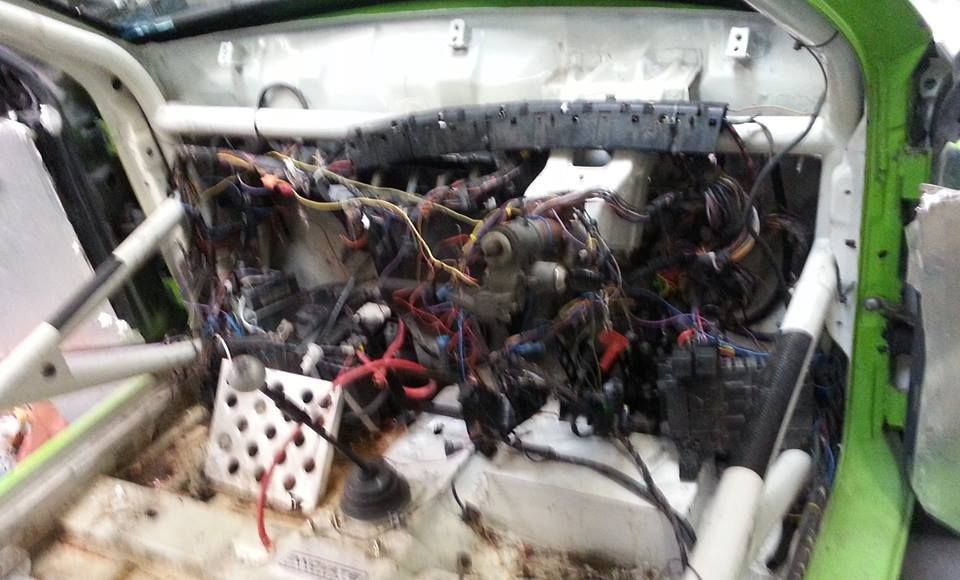
So thats coming all out to be replaced.
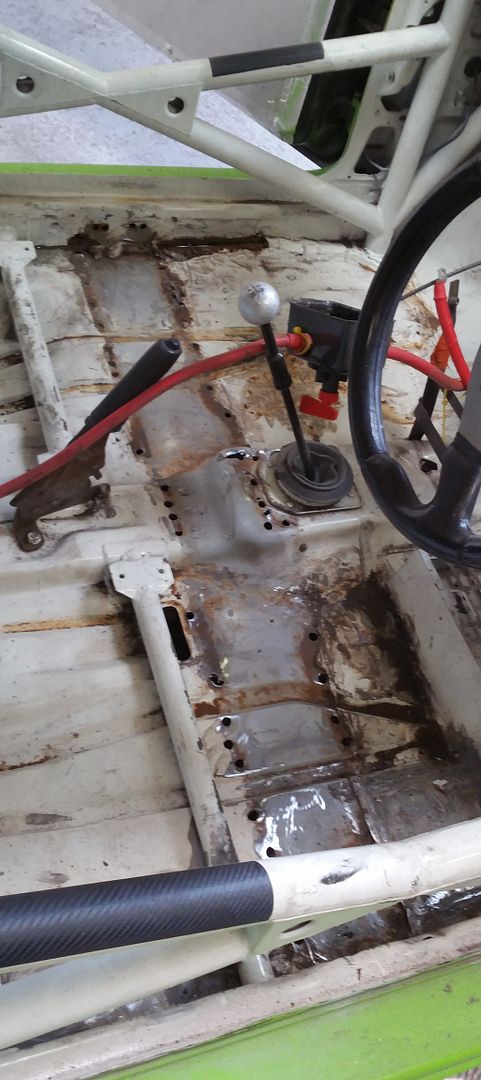
Also stripped out the seats to leave an empty interior so I could see the amount of work needed:
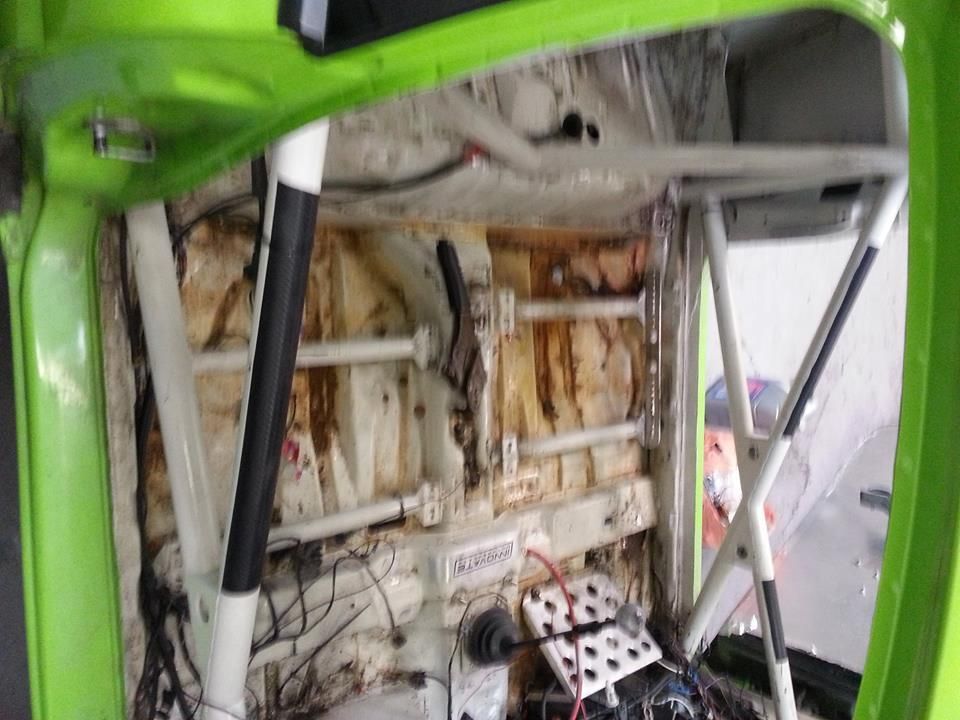
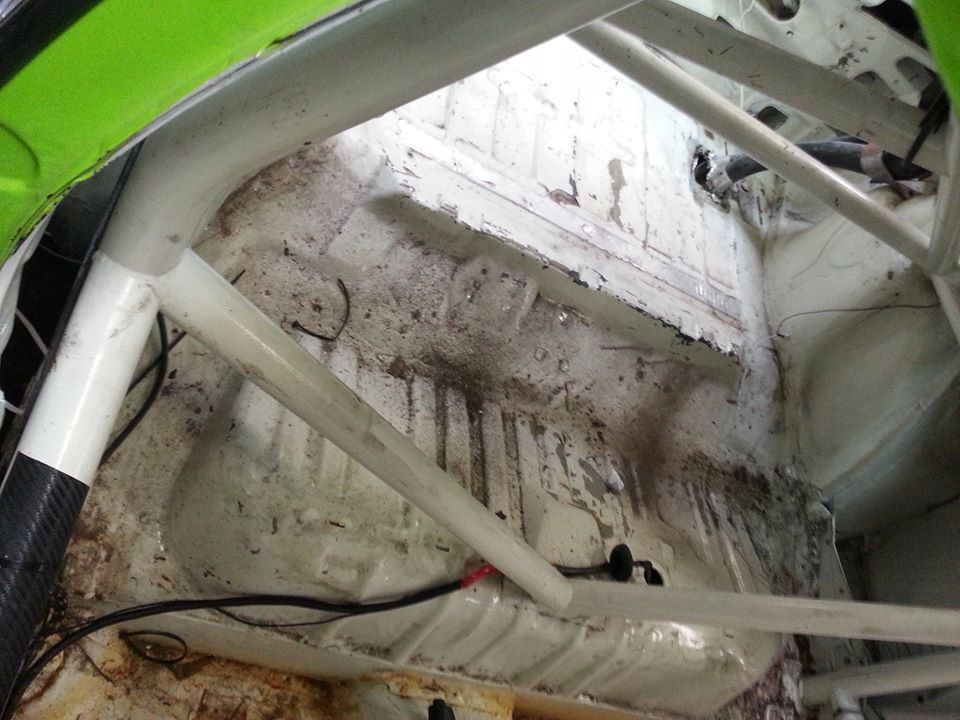
Good old fords like to rust!! Plenty of rust to be sorted and cut out there. Got my mate Lee at SSG to do all the welding on the shell. At the same time I decided to ditch the floor crossbeam to save weight. With the cage and seat bars, theres plenty enough shell stiffness and side impact protection so any dead weight out the better.
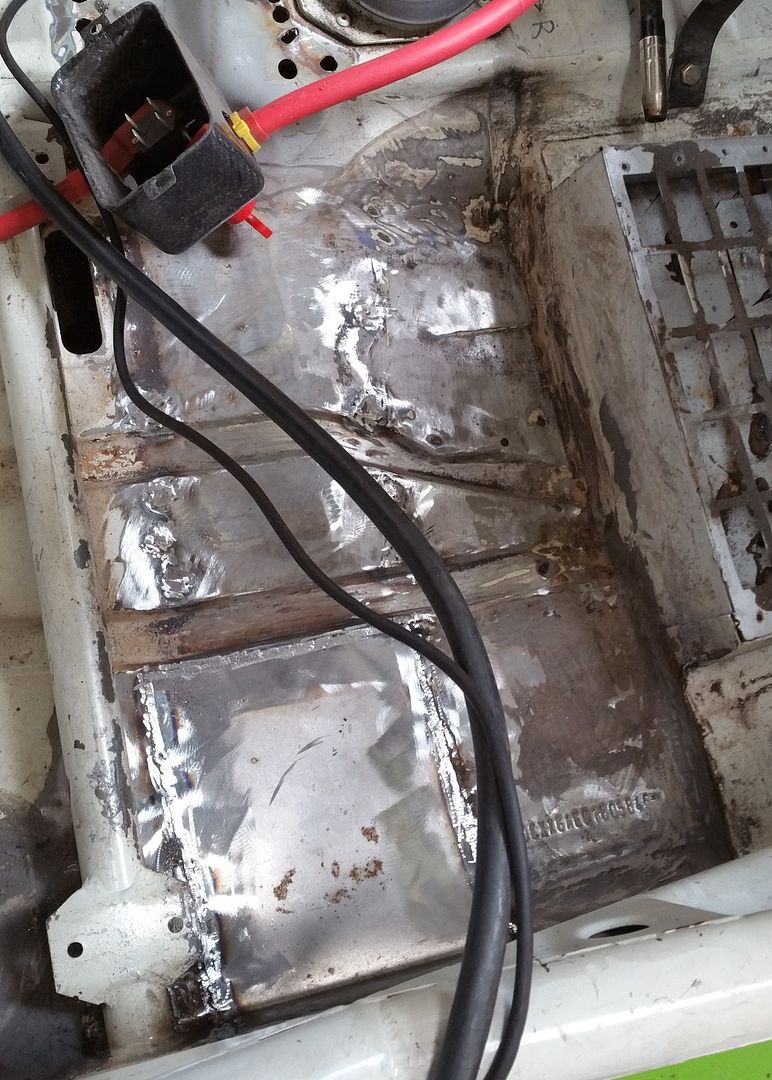
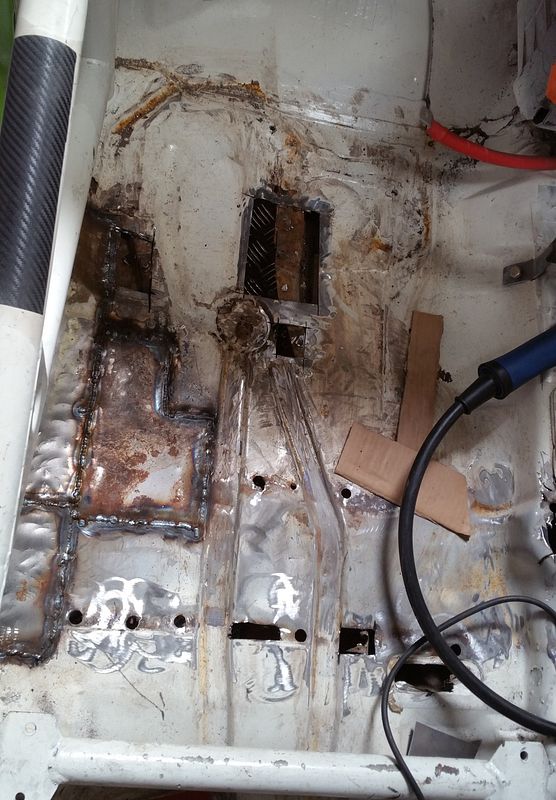
Yes there was a lot of welding to be done, probably easier to cut out the whole floor pans and replace with new metal but i wanted to keep some of the original shape where possible.
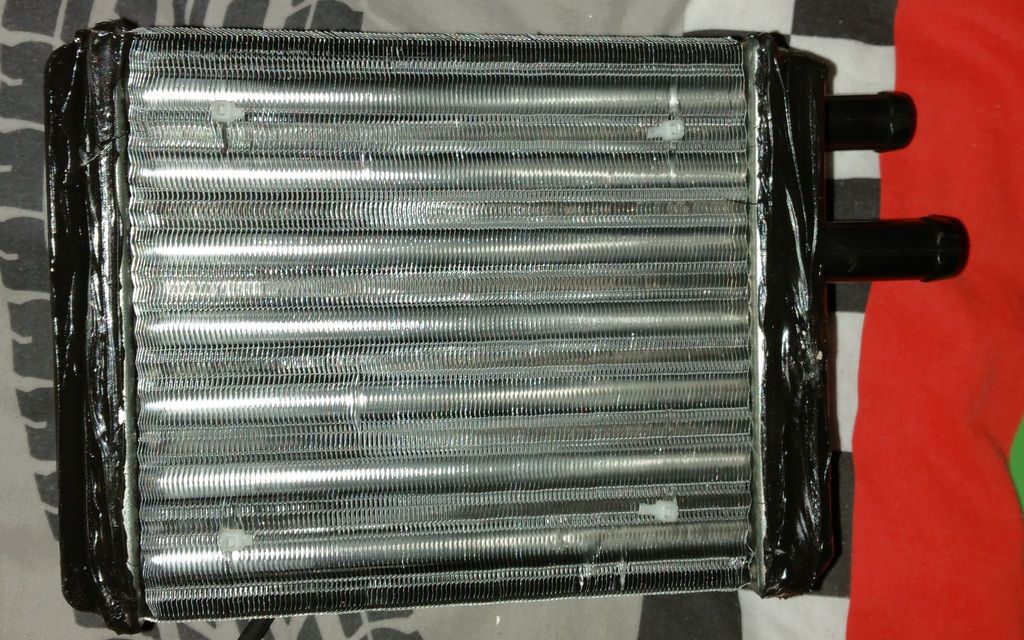
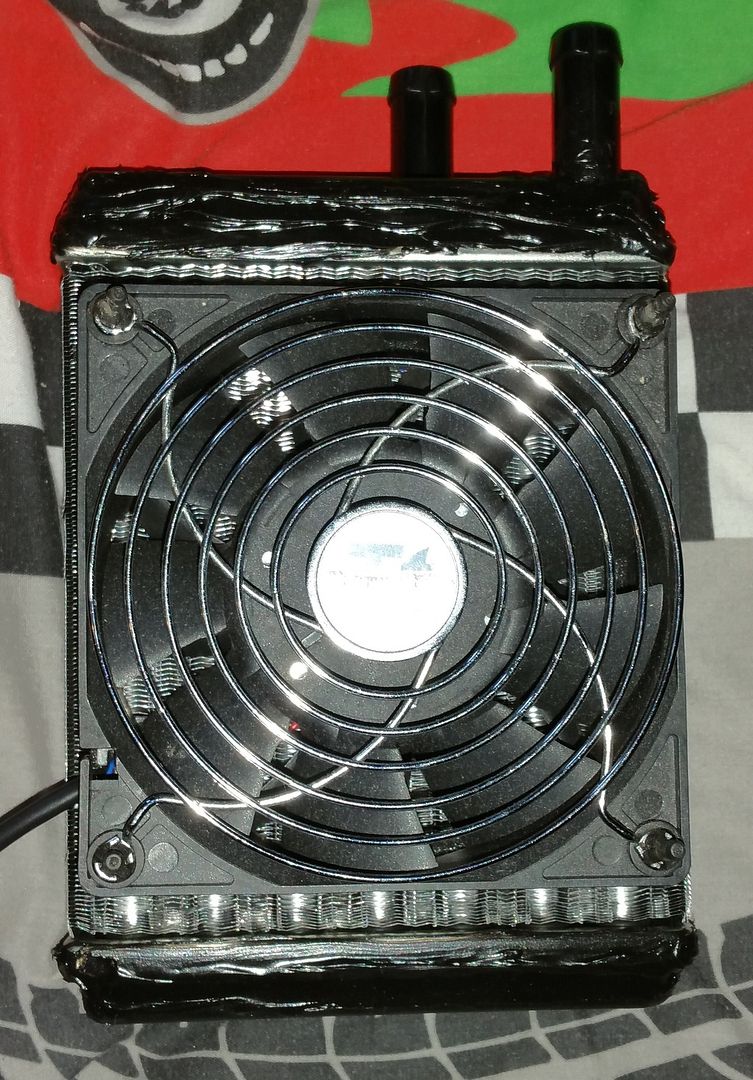
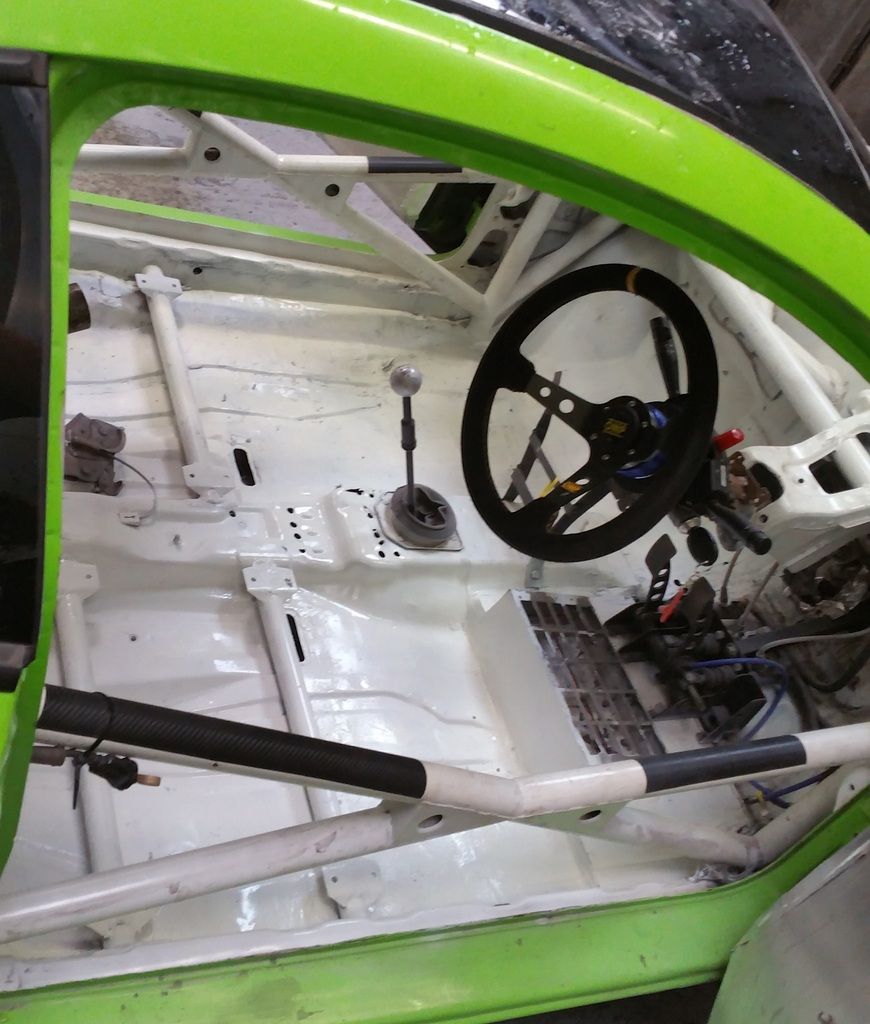
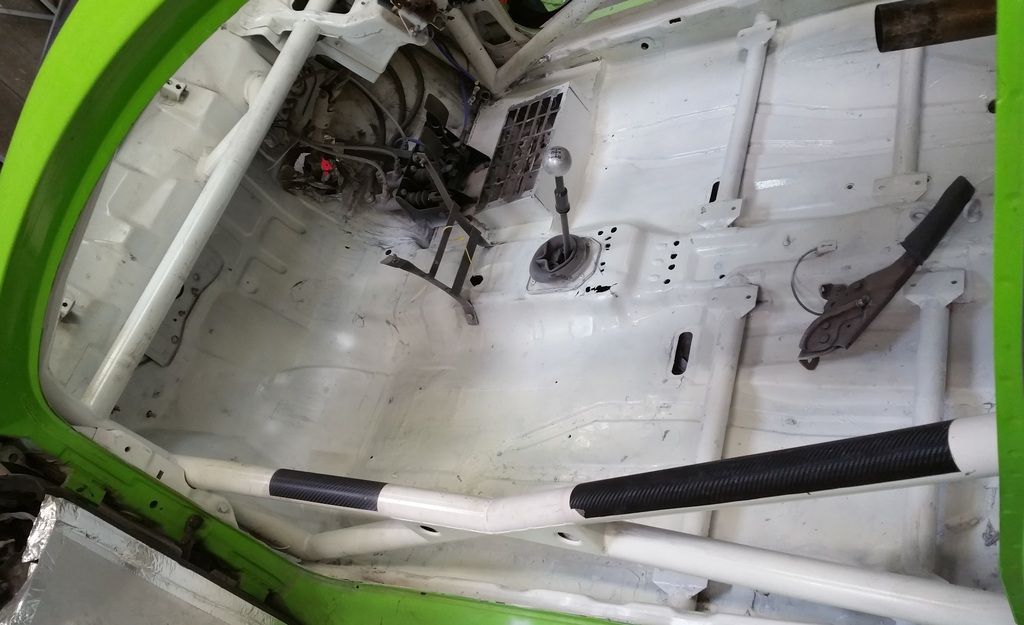
Also decided to strip the heater out. Will be refitting a mini heater for screen demisting. Much lighter and more compact than the heavy ford unit. Looks a lot better now its welded up and some paint has been splashed on:
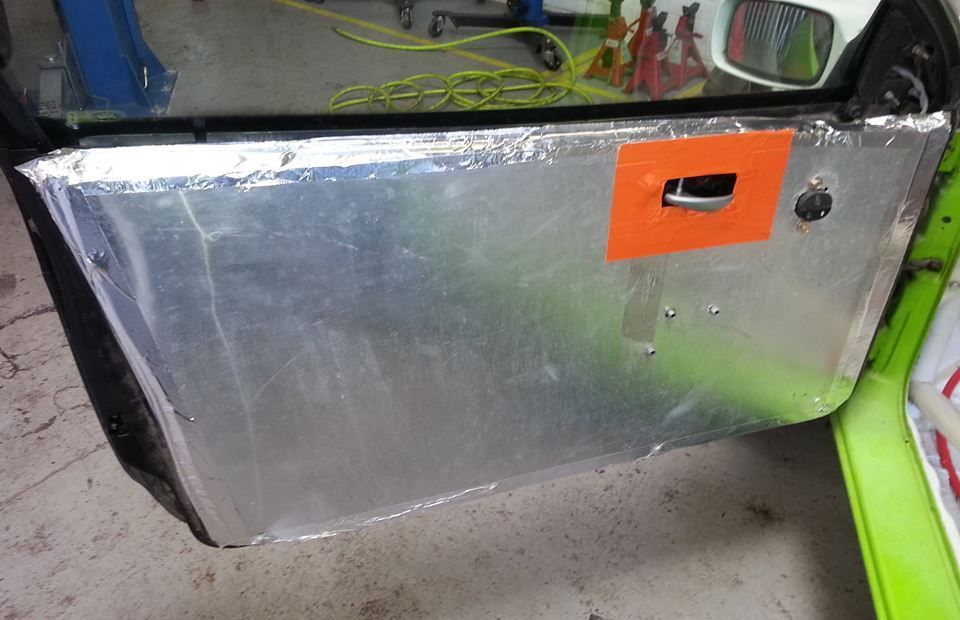
Also tidied up the door cards which were hanging off as the door handles wouldnt work. Replaced the looks, fixed the handles and refitted it all. Not ideal in alloy but will do for a while as they are supporting the window winder motor. I've got carbon for the new door cards and plastic windows to go on eventually at a later date.
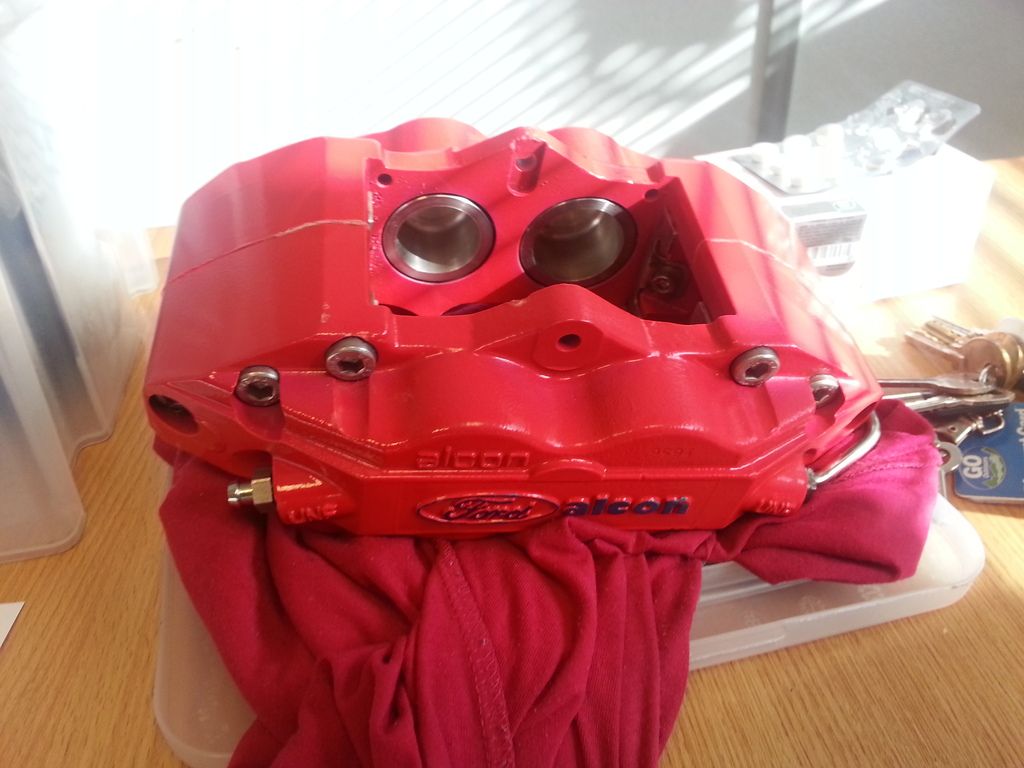
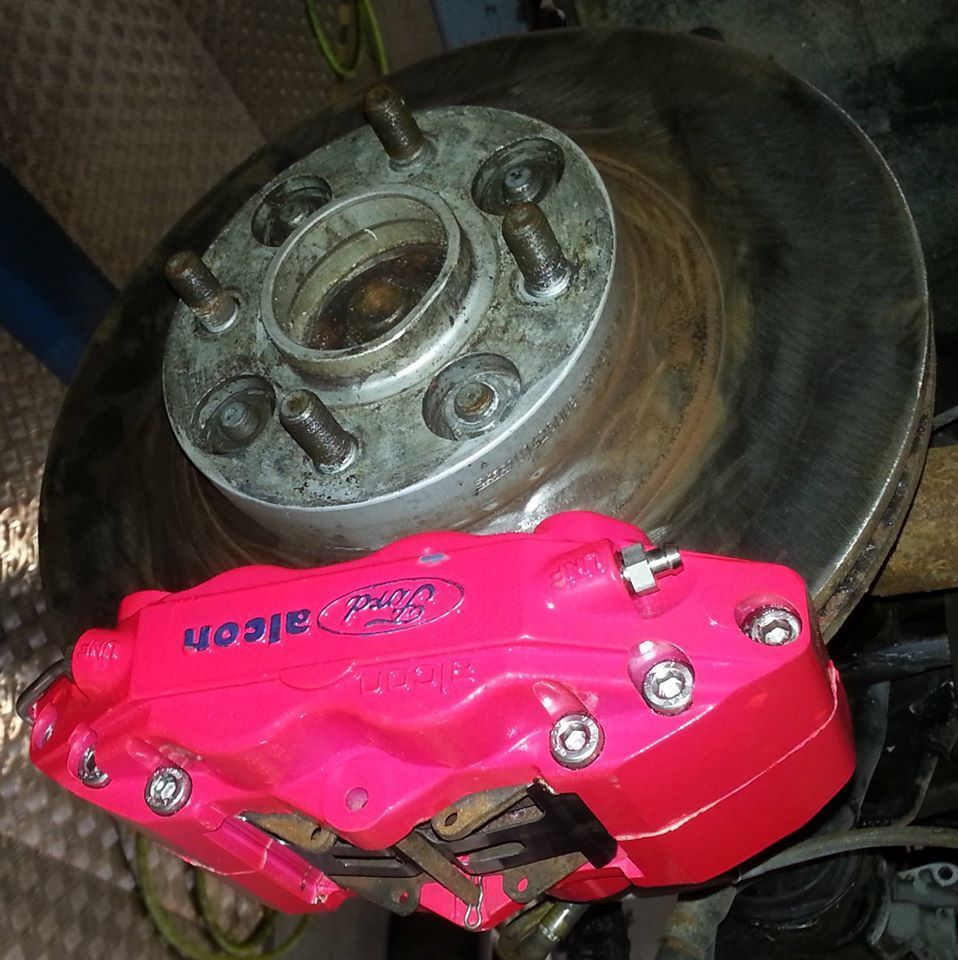
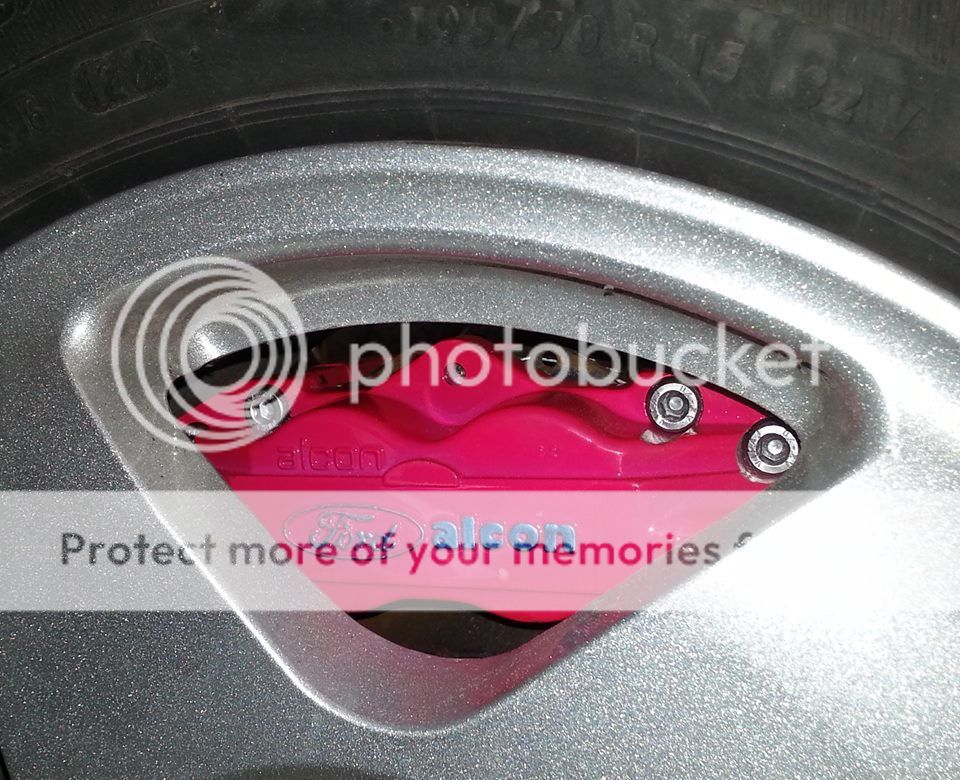
Then I moved onto refurbishing the running gear. Got my mate Jacko to refurbish the Alcon calipers as he is an expert in them. Replaced with a mix of stainless and titanium fittings including all new pistons machined so I can fit standard sized porsche/ferrari pads rather than the overpriced racing puma ones which are machined down. Its as if ford racing deliberately machined down the caliper size so you are tied to buying pads off them. Makes no sense other than marketing as there was plenty of room for the standard alcon caliper under the wheels.
Decided to paint them a fancy colour and also fitted my comps at the same time.
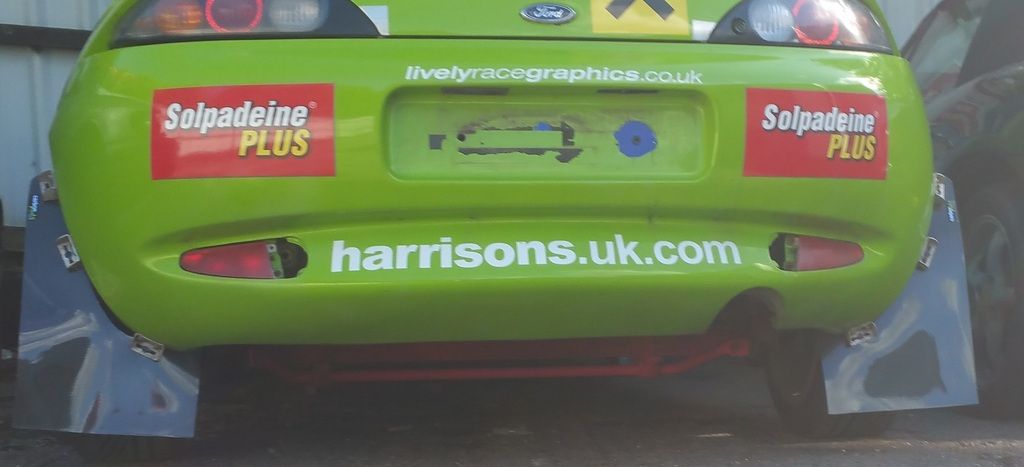
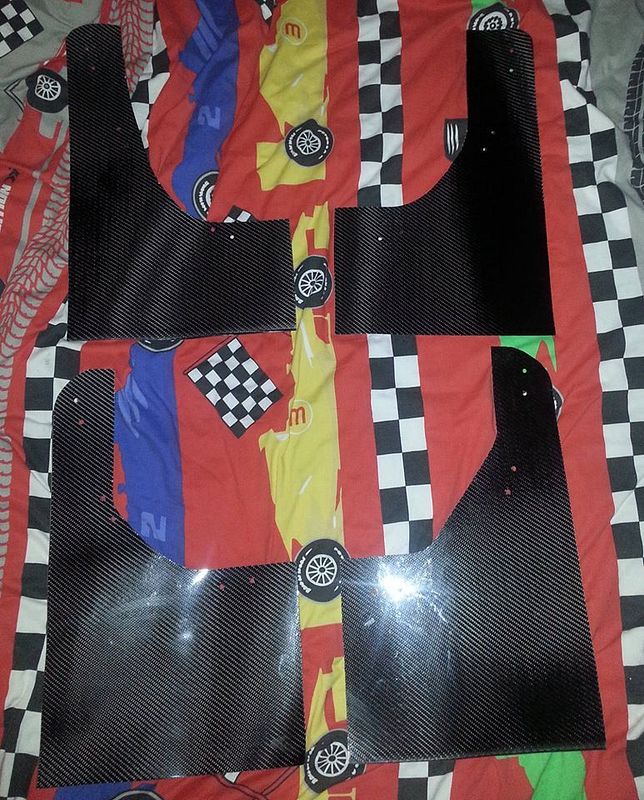
Also made up some flexible carbon mudflaps:
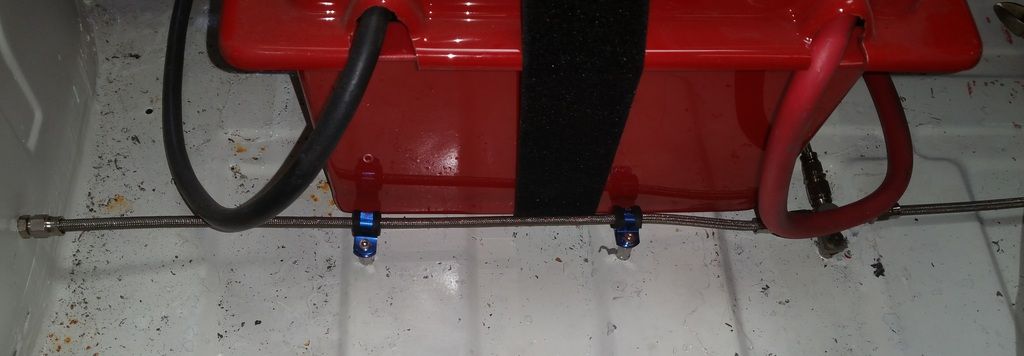
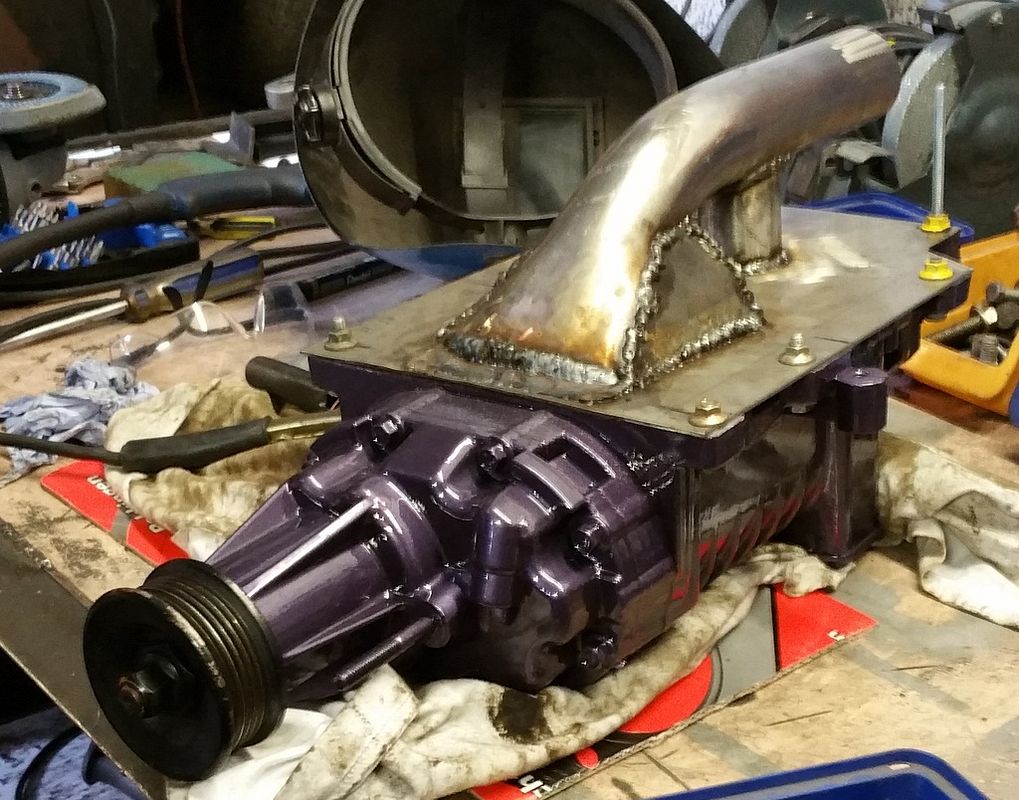
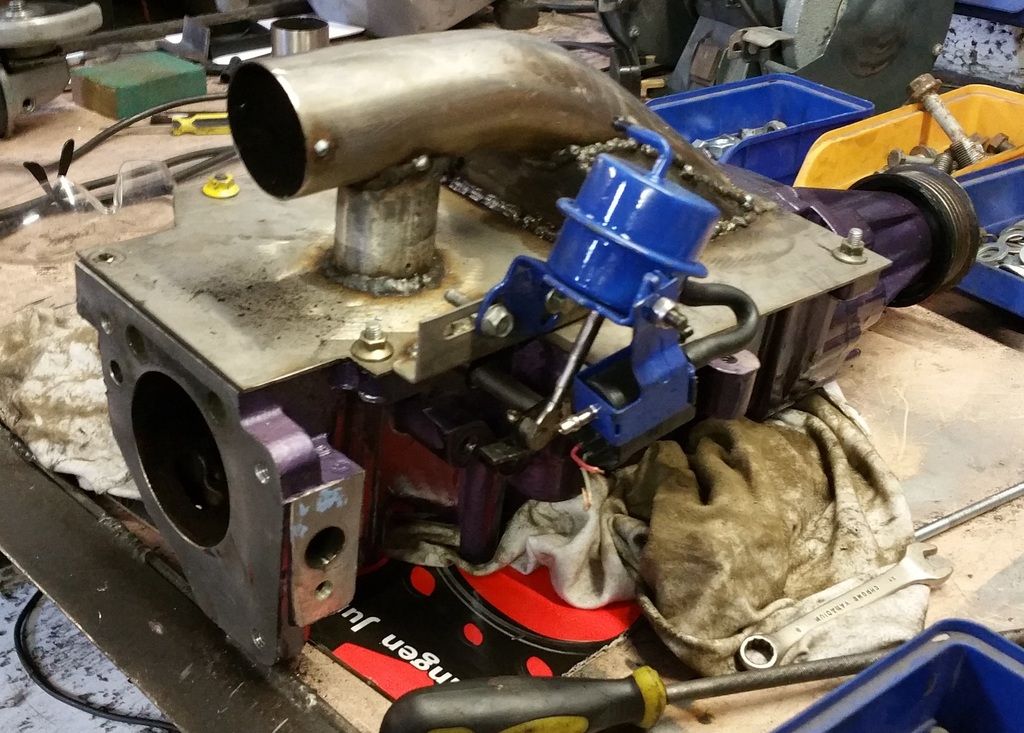
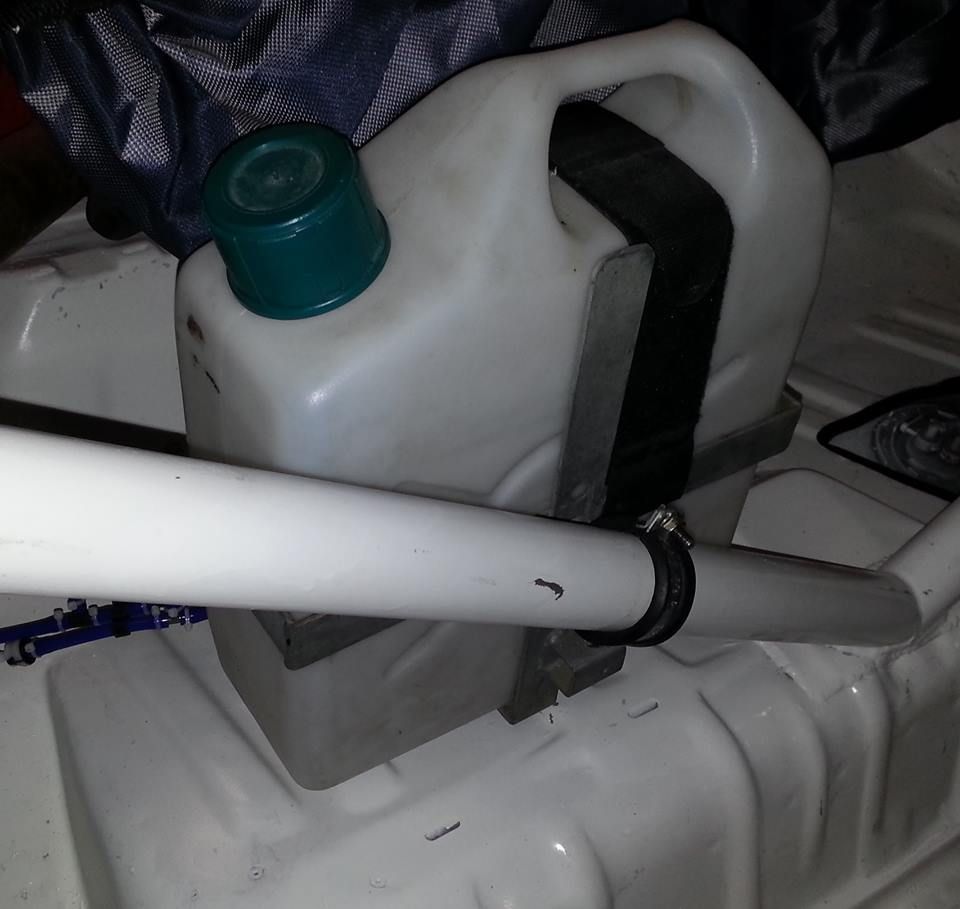
Decided to fit an overkill washer system with 2 pumps and spray bars as well as jets for the screen. Mounted the washer bottle in the middle of the car as its quite big.
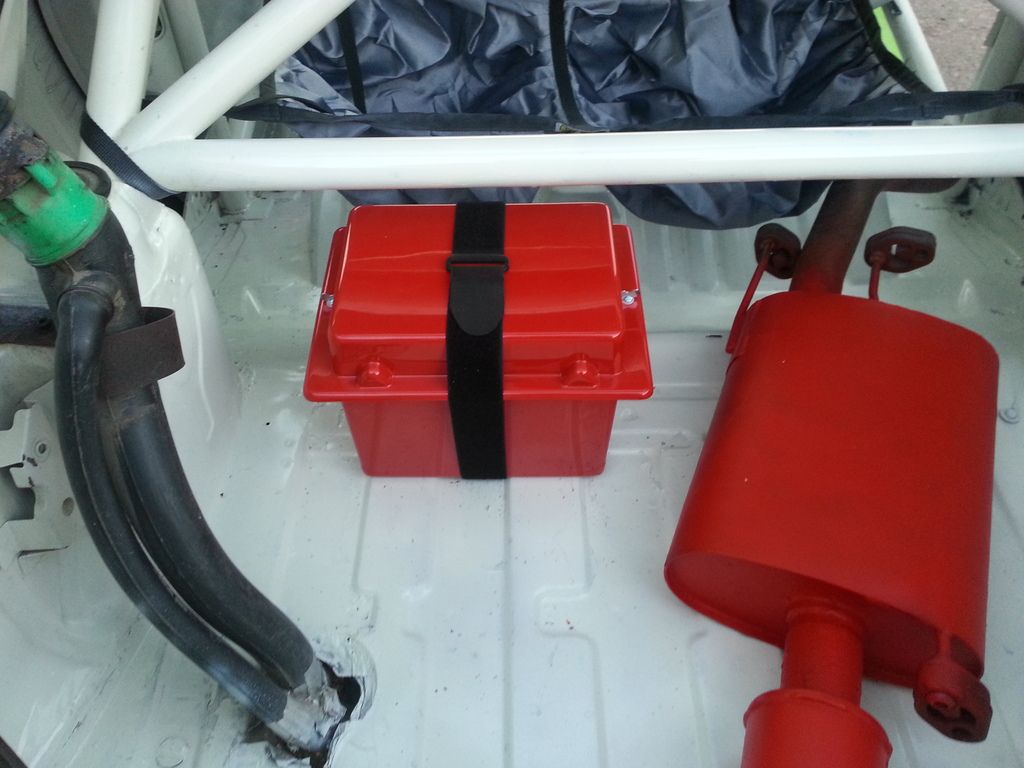
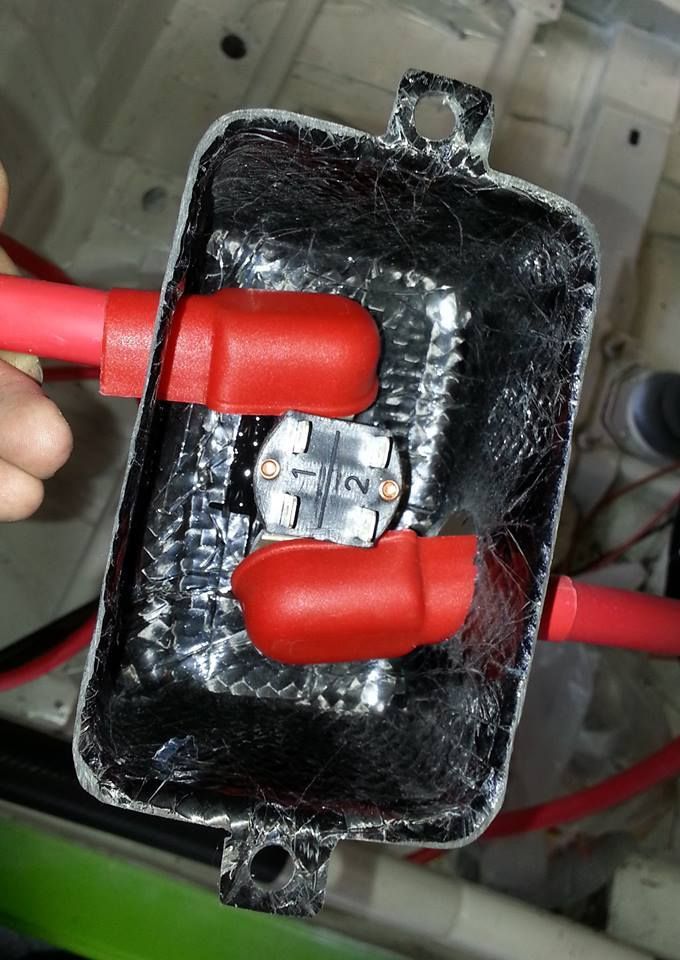
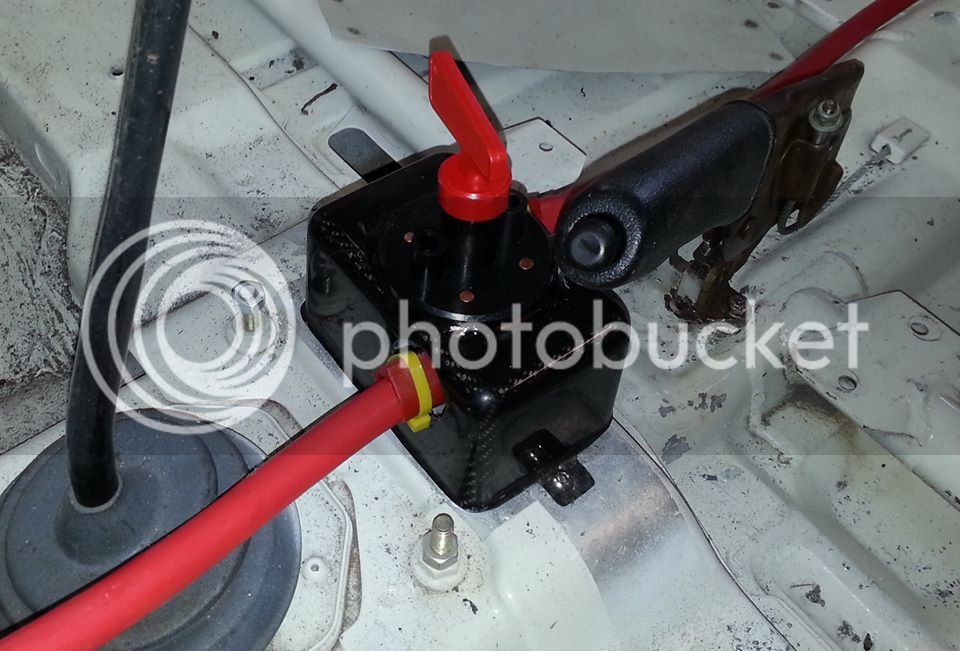
Got myself a battery box and some cable so I can locate the battery box and also work out where the cable and FIA cut off will go. Also painted the exhaust a bright red.
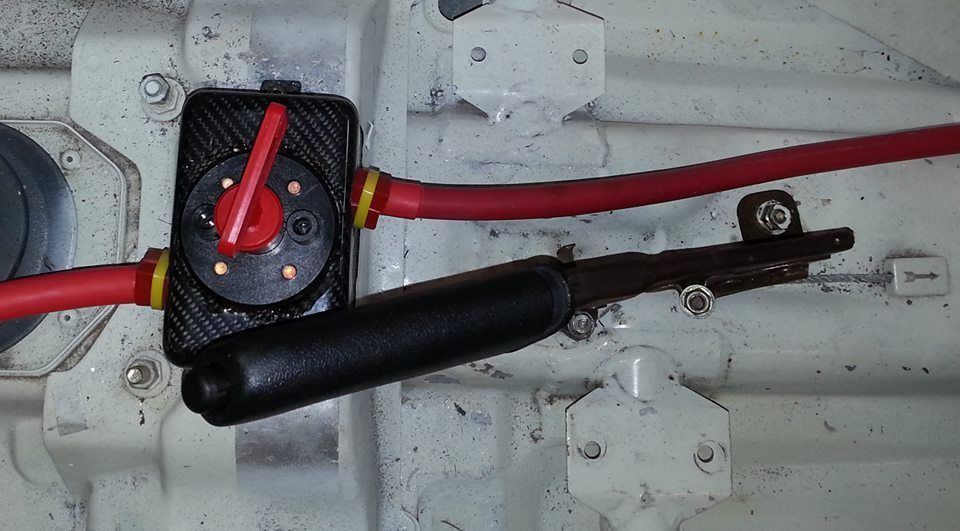
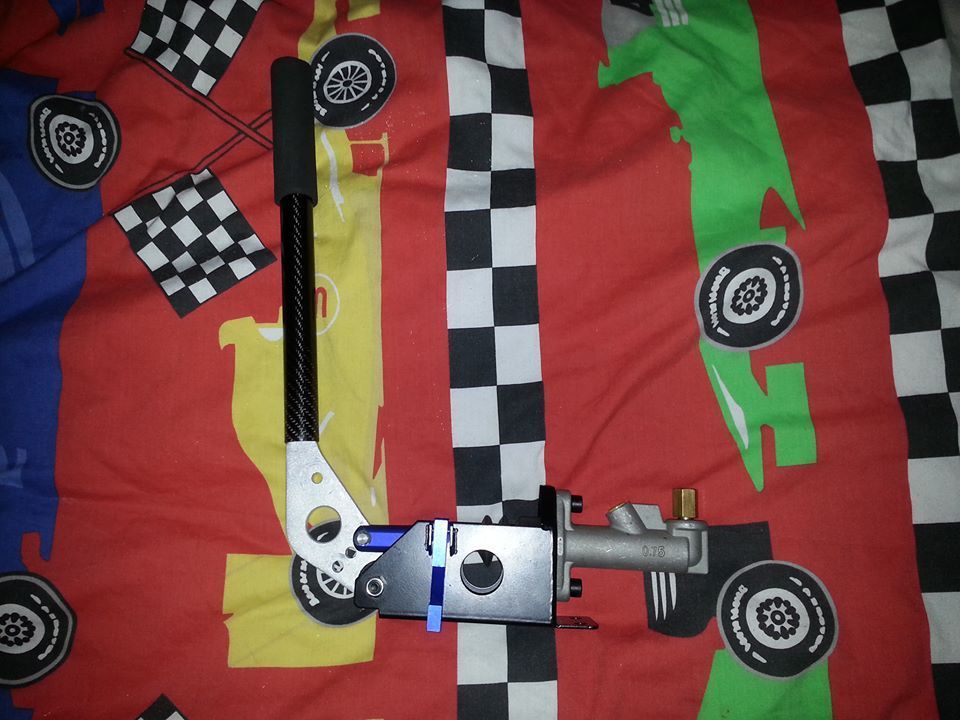
Made up the cable and a nice carbon box to fit the cut off into to raise it to a nice height. Modified the handbrake slightly so it doesn't get in the way of the switch. It sits a bit lower now the floor beam is removed.
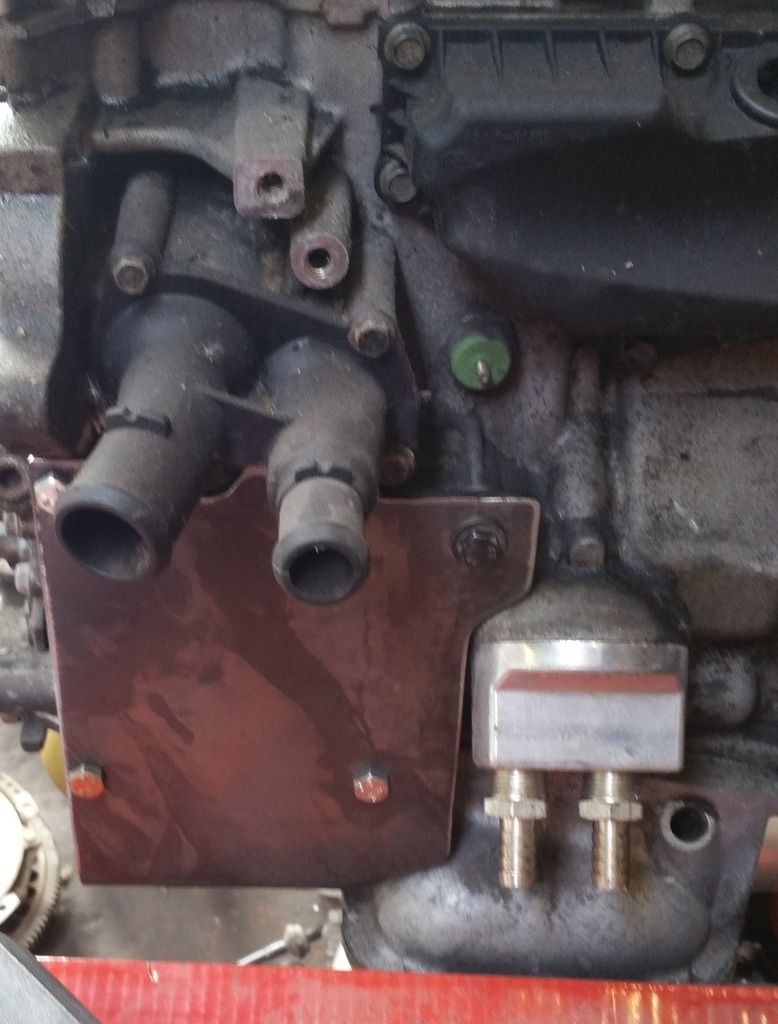
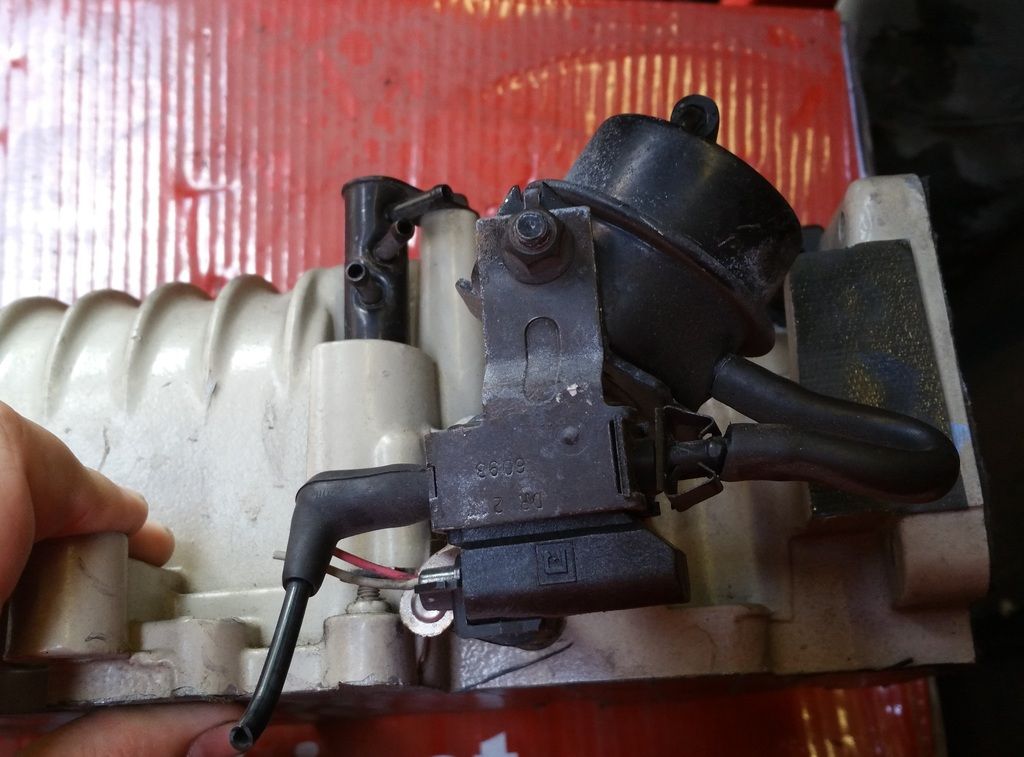
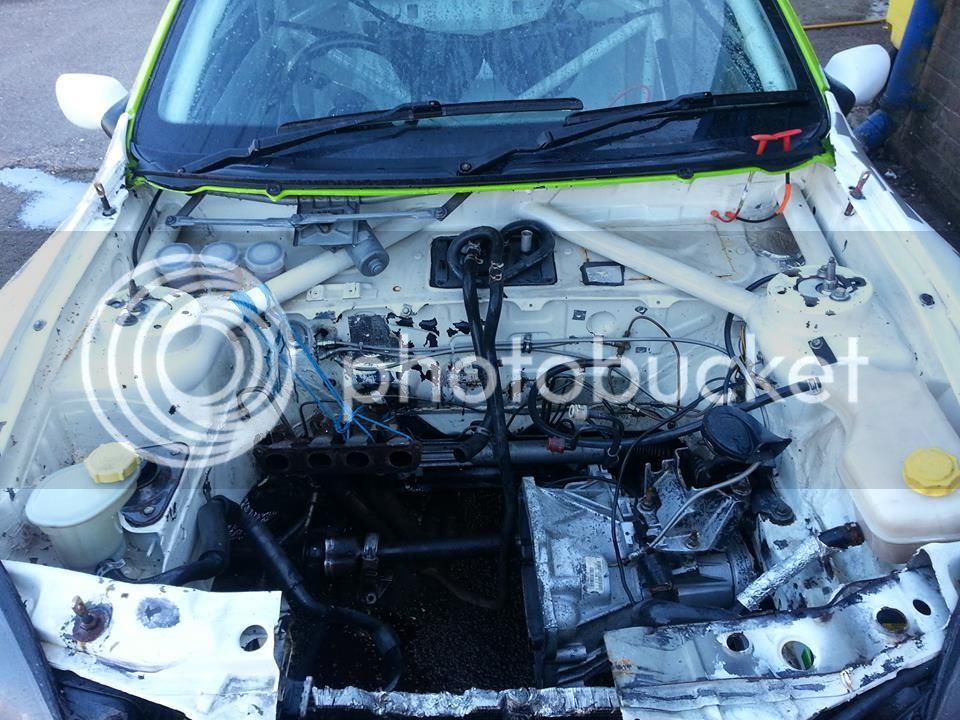
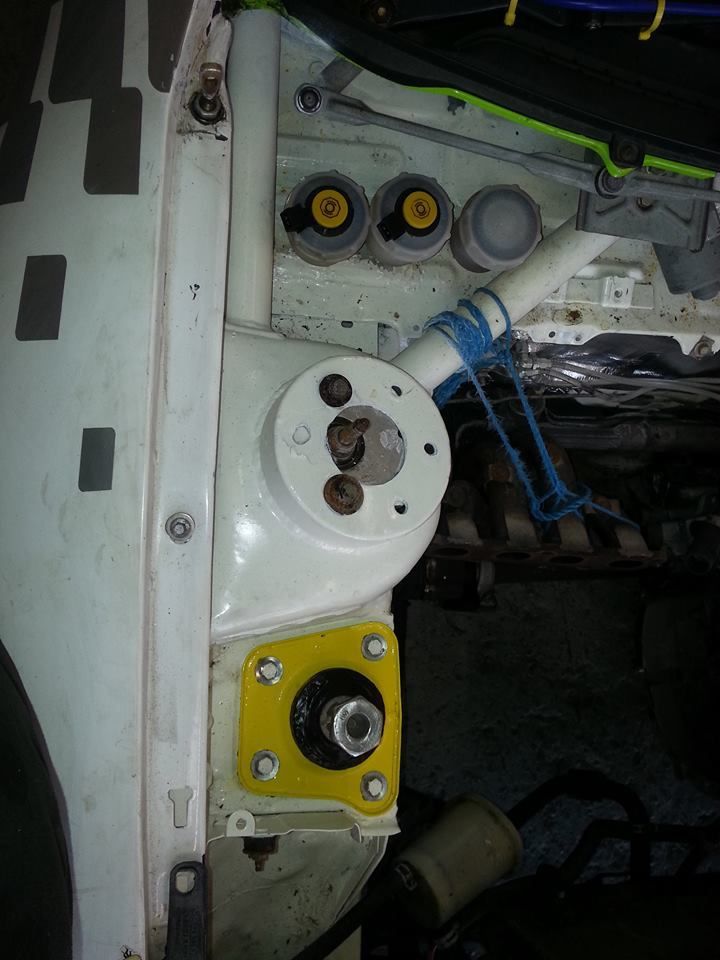
Stripped out the engine bay to give it a good degrease and clean then to repaint the bad bits and to fit some heat shielding. Also fitted a dual remote servo with adjustable assistance as I plan to use the car on the road as well as track and I want to keep the pedal box but still have it usable in traffic if needs be.

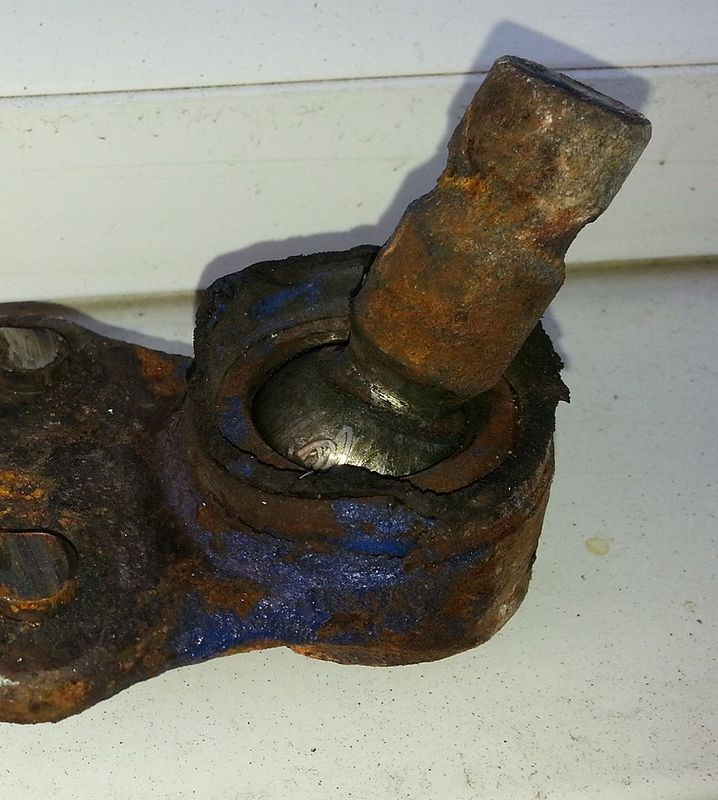
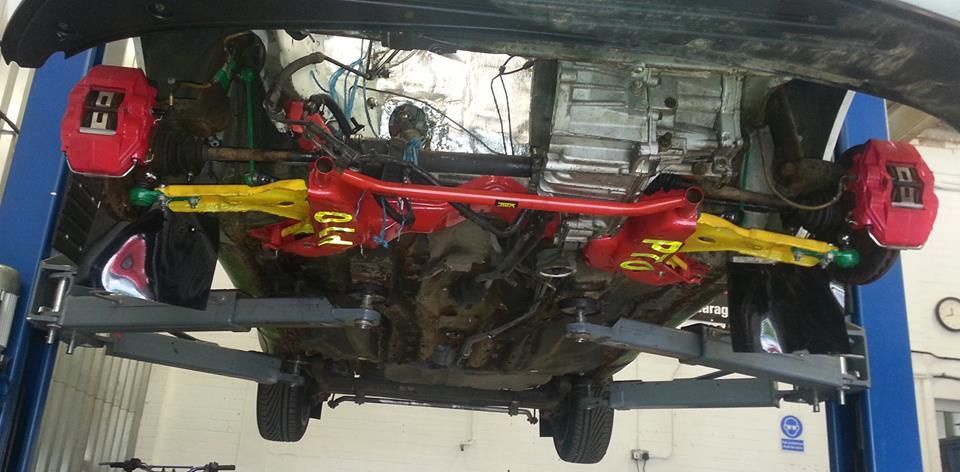
Then stripped apart the front subframe to derust and repaint, replacing anything knackered. Went for bright colours! You could see how wrecked one of the ball joints was!
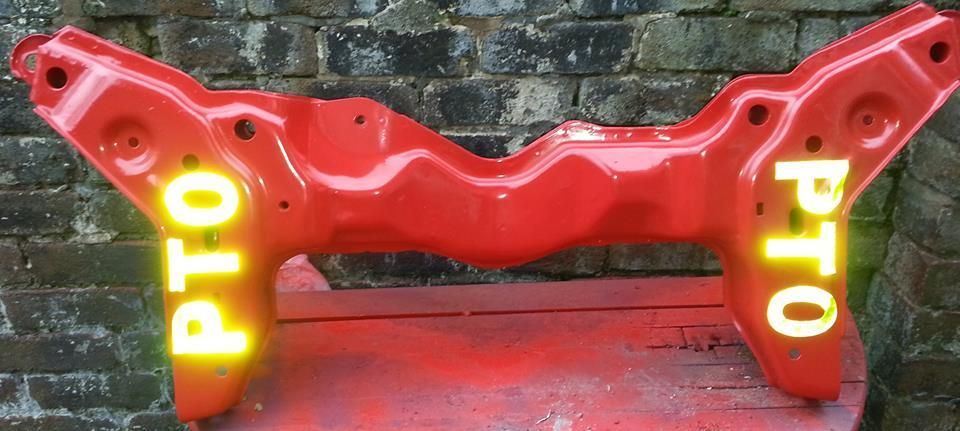
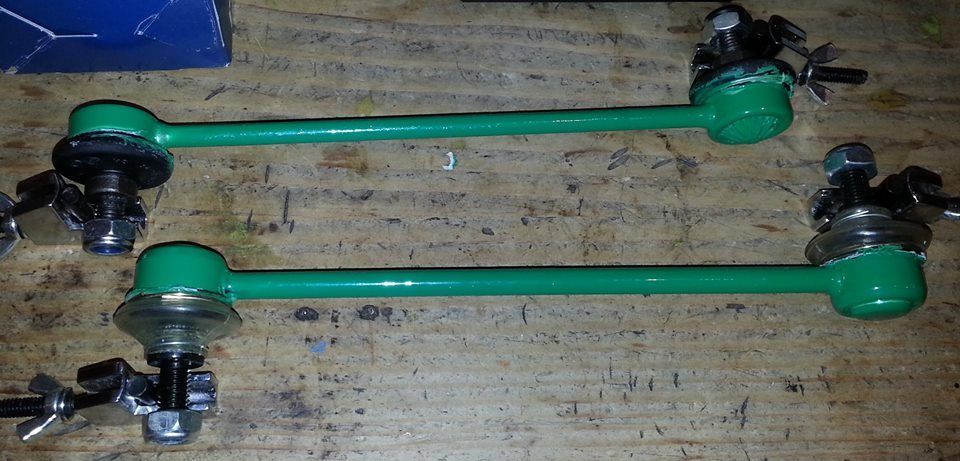
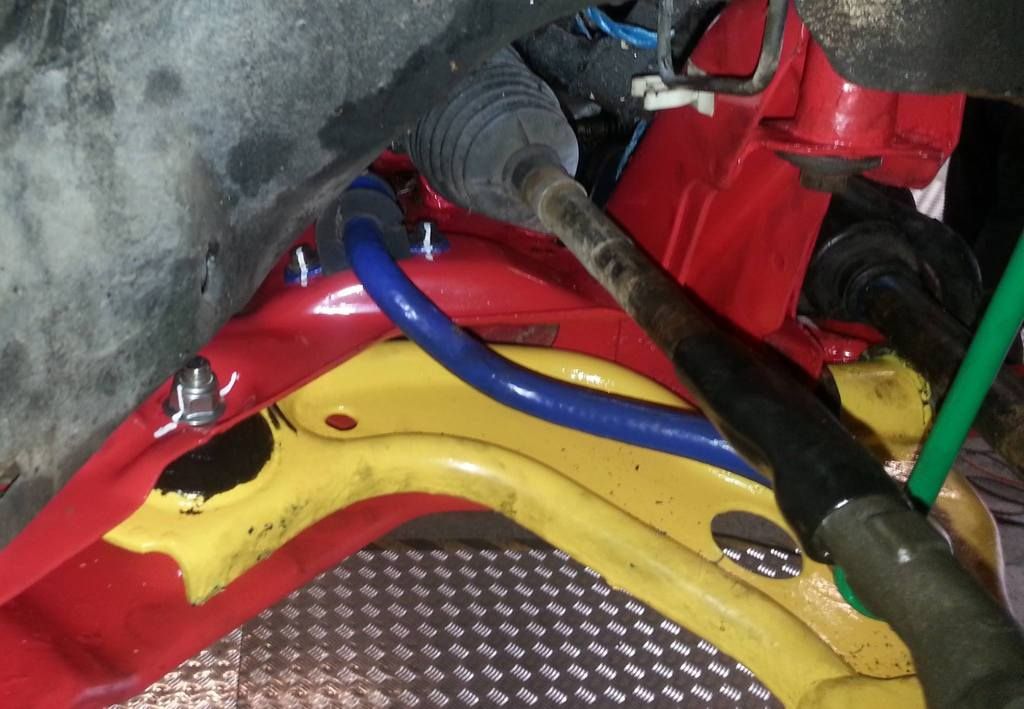
I then assembled the subframe with new ball joints, track rod ends, bolts etc as well as adding a fiesta ZetecS ARB which is stiffer than the racing puma one. Paint marked all the key bolts once torqued up to see if any movement occurs!
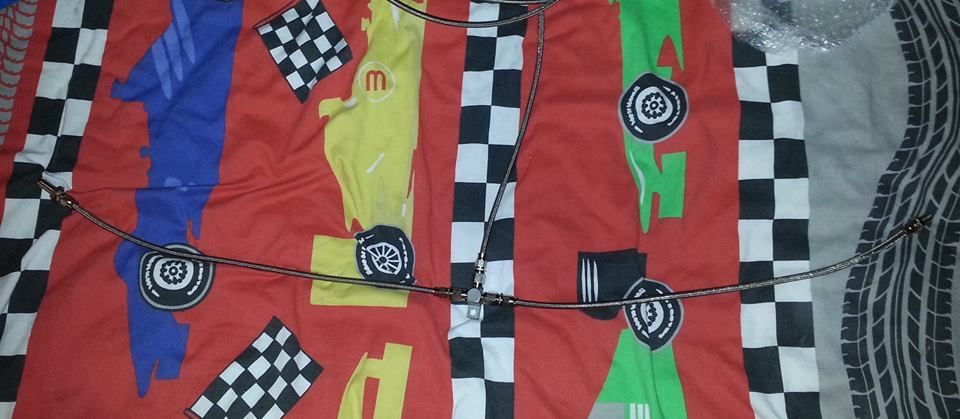
Also knocked up my new braided rear brake lines and hydraulic handbrake to be fitted eventually:
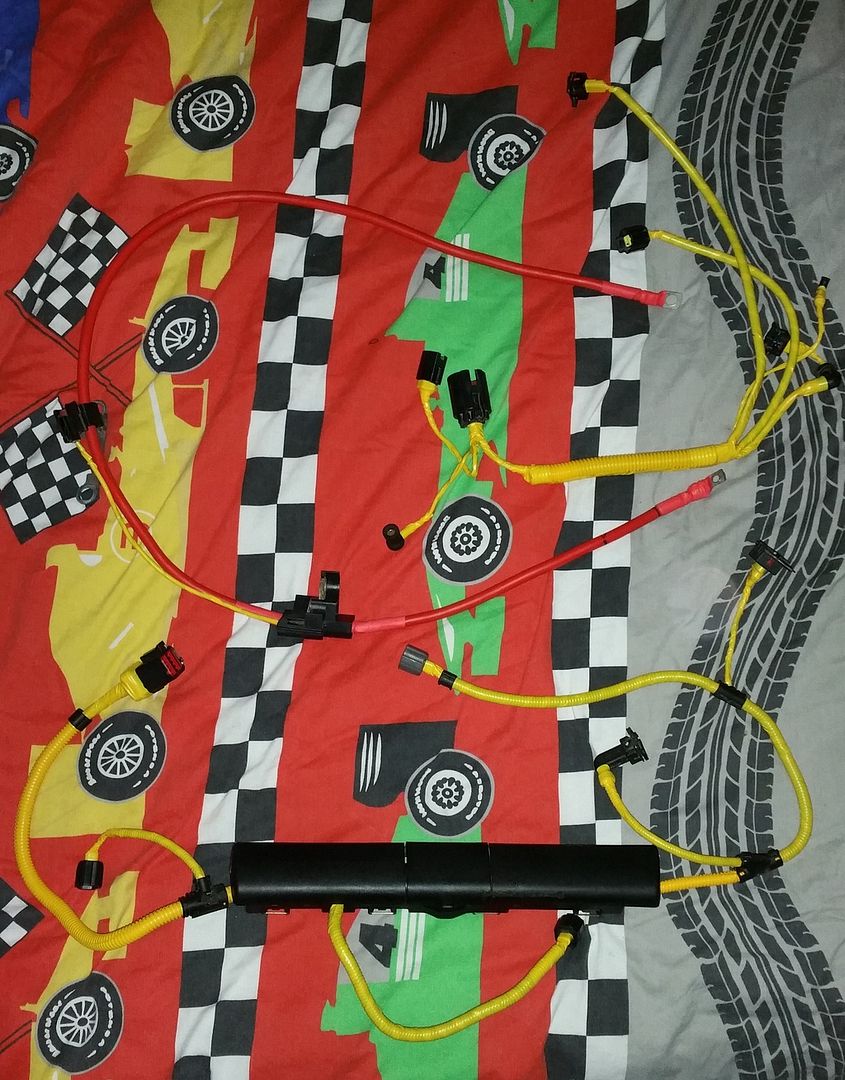
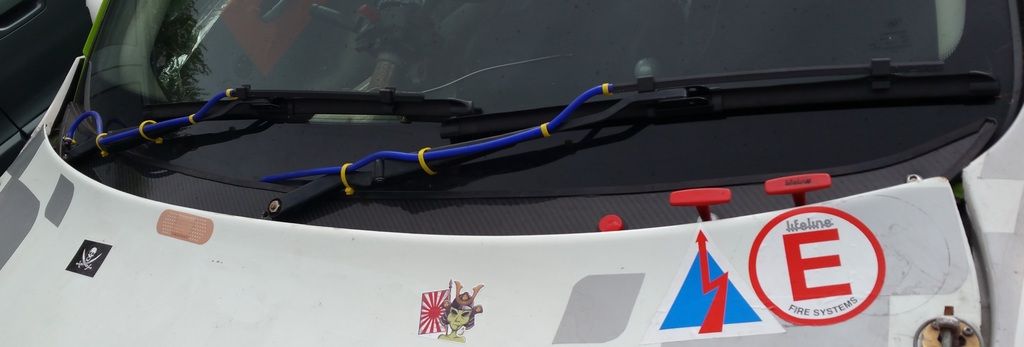
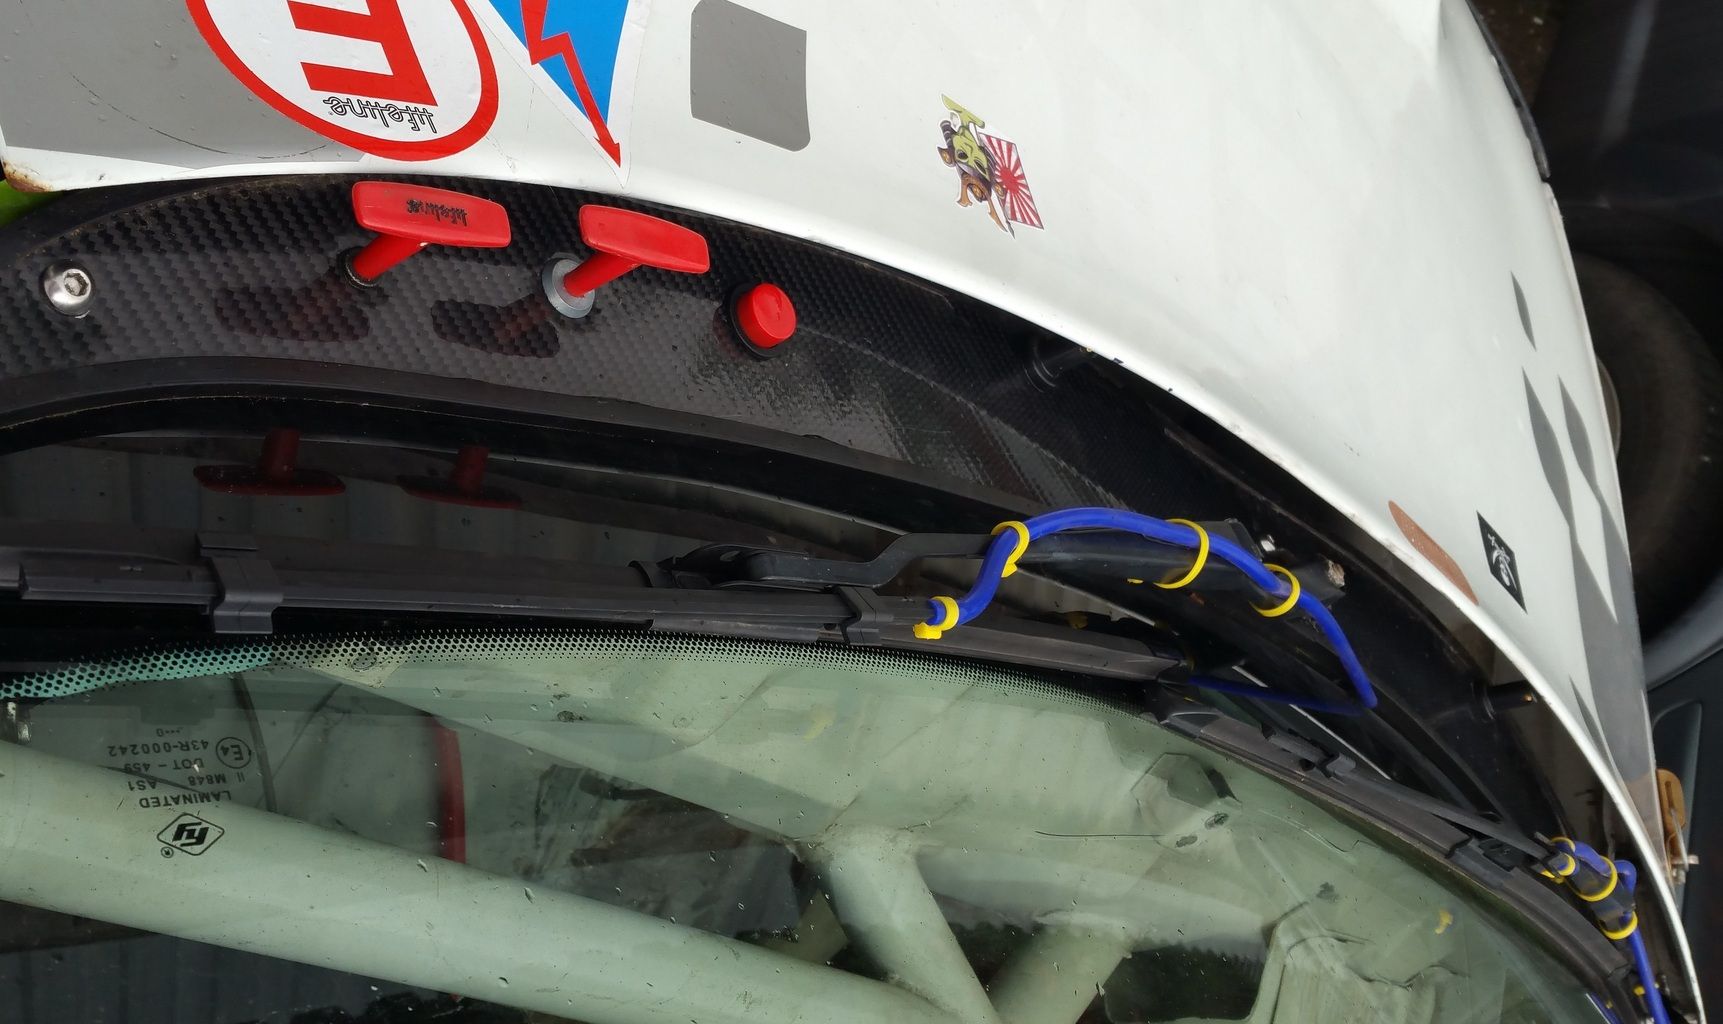
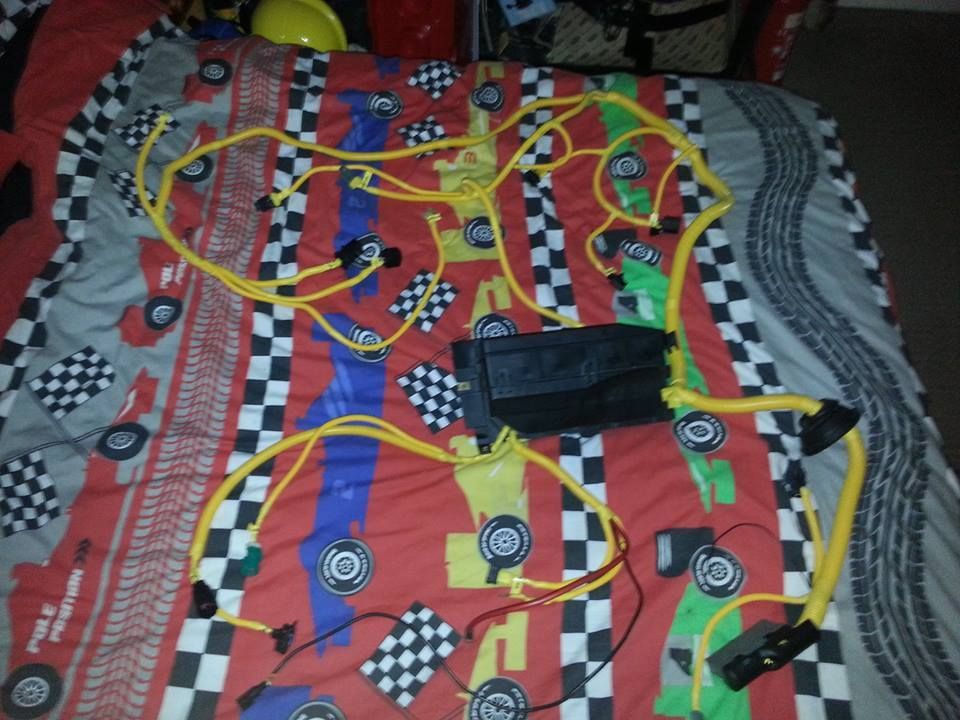
Started on the new loom. Stripping out all the unused wiring and wrapping in neat yellow tape. The engine bay loom is almost finished:
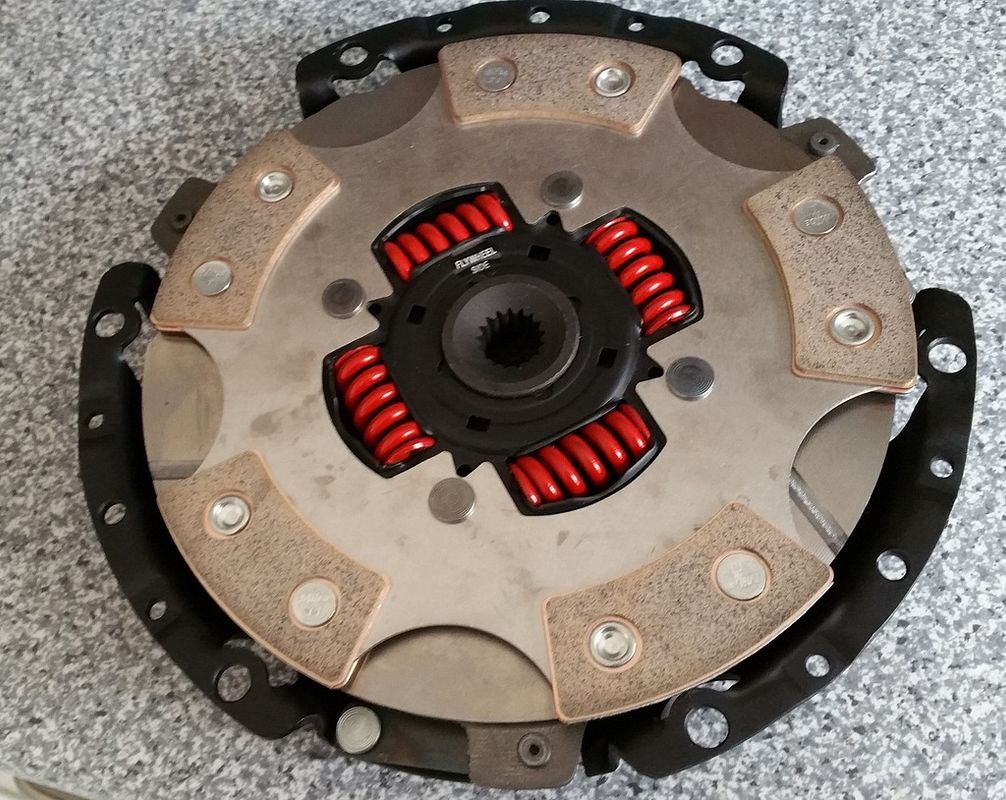
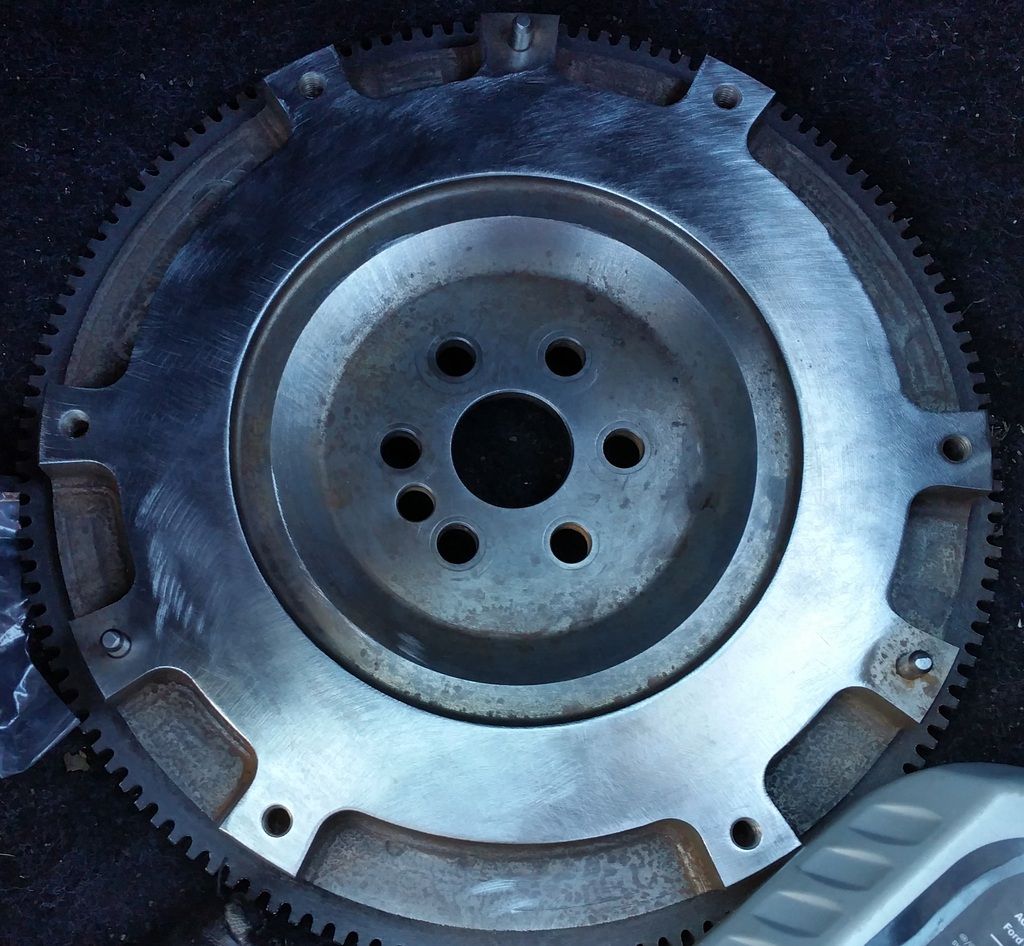
Have also picked up a nicely lightened flywheel for the new engine:
My new turbo and manifold have arrived:
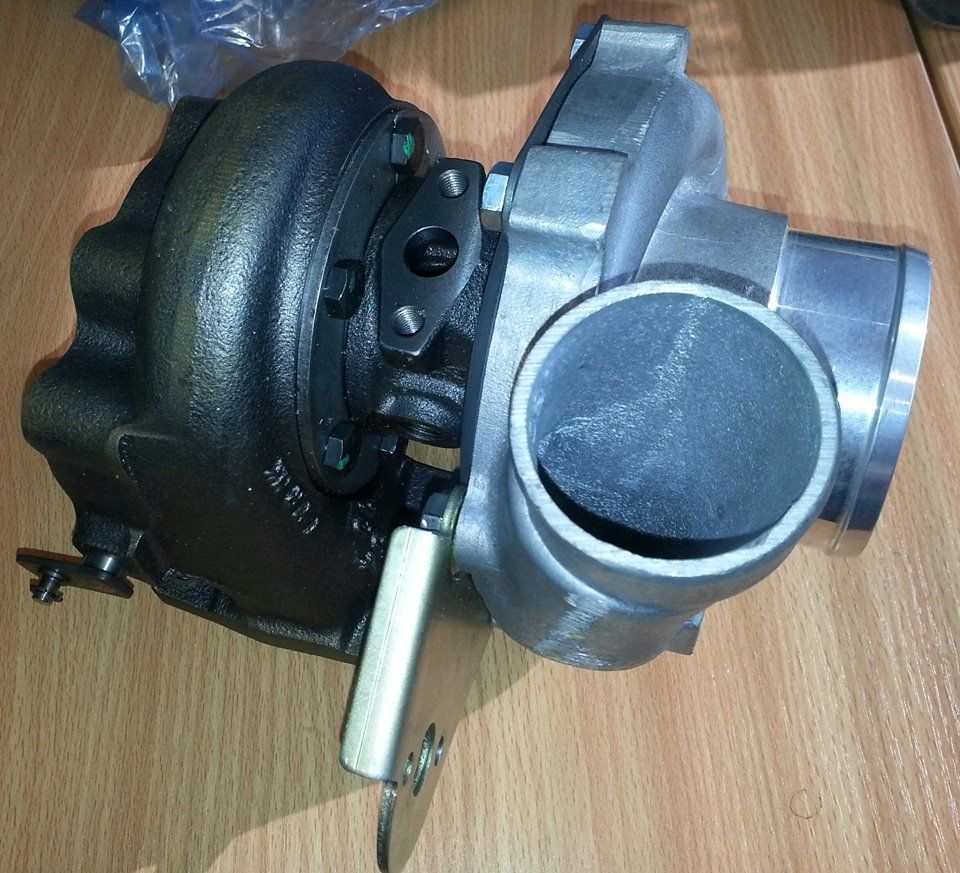
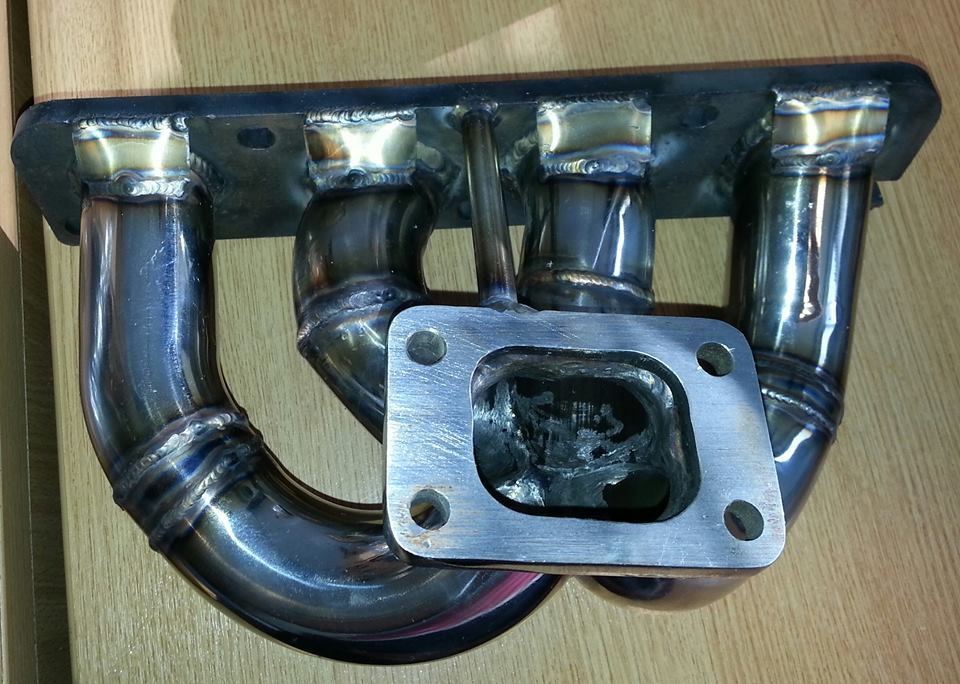
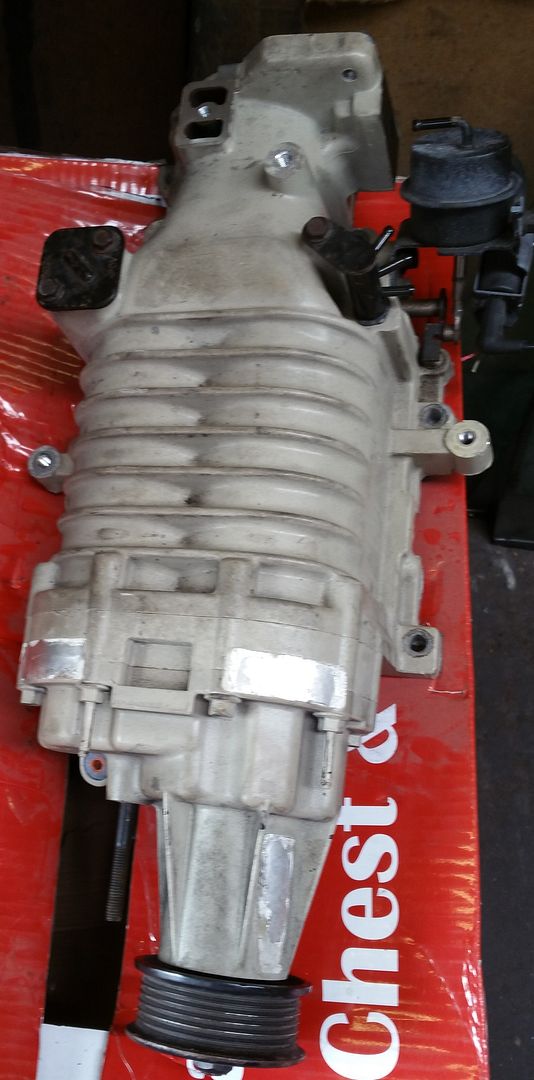
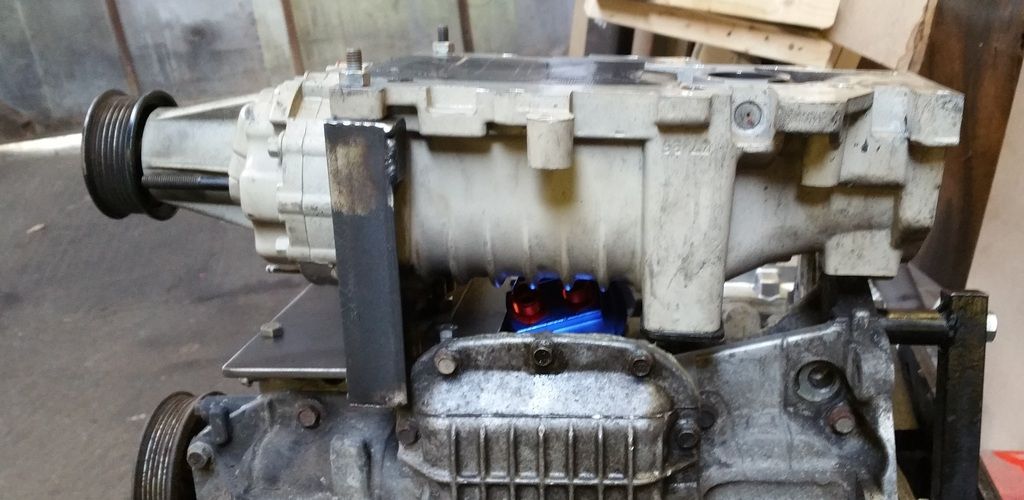
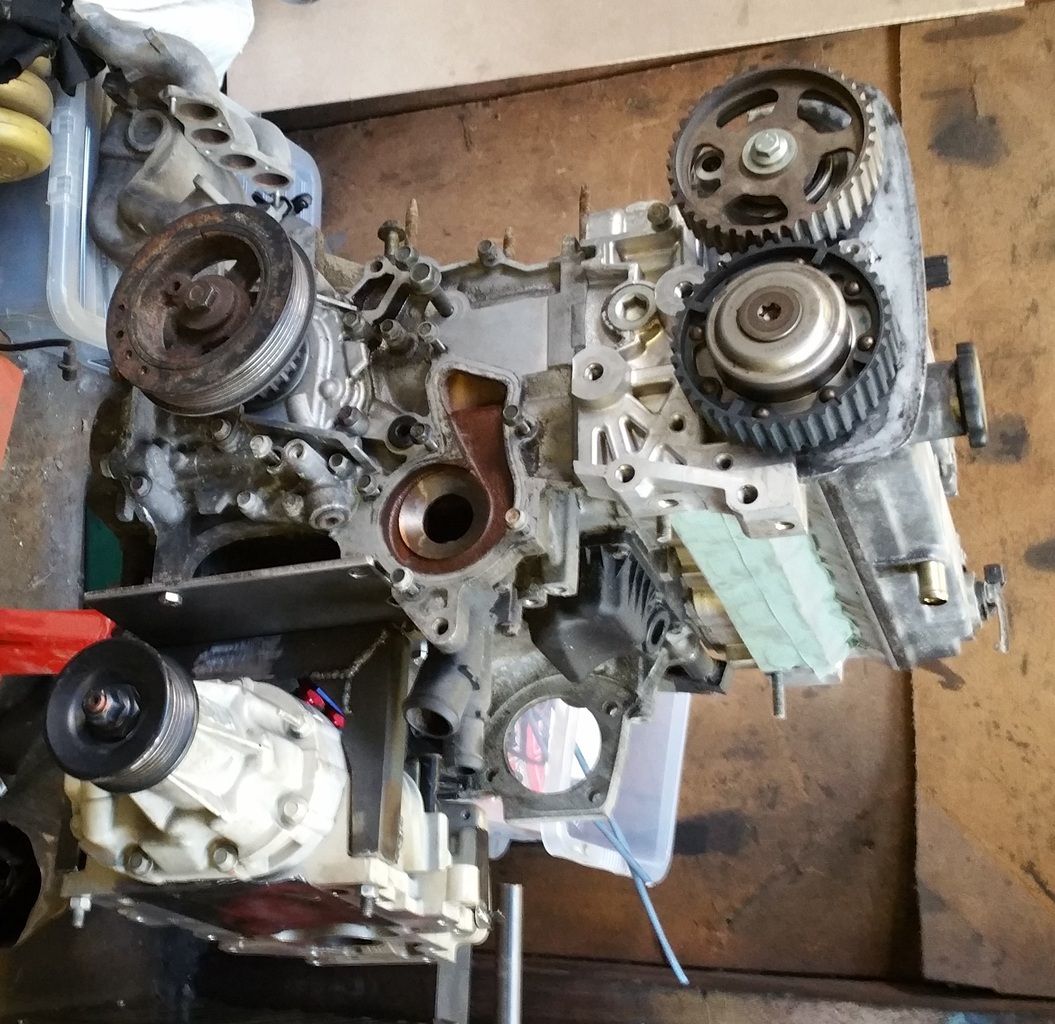
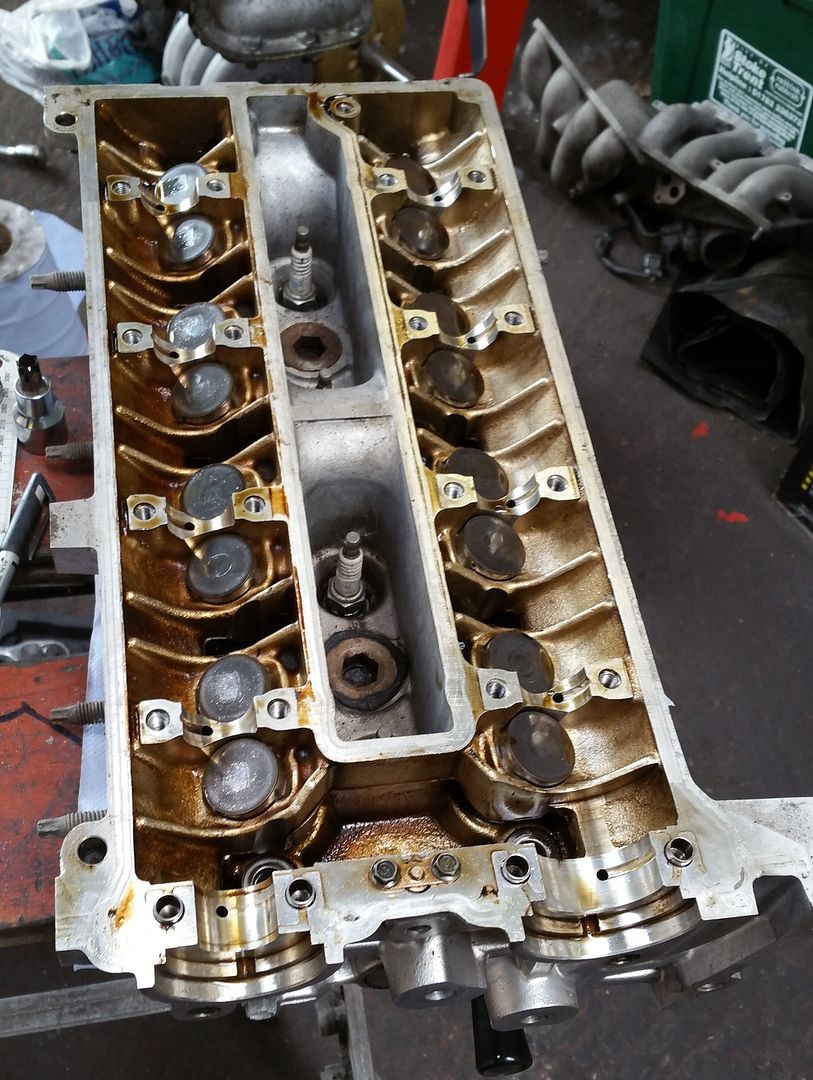
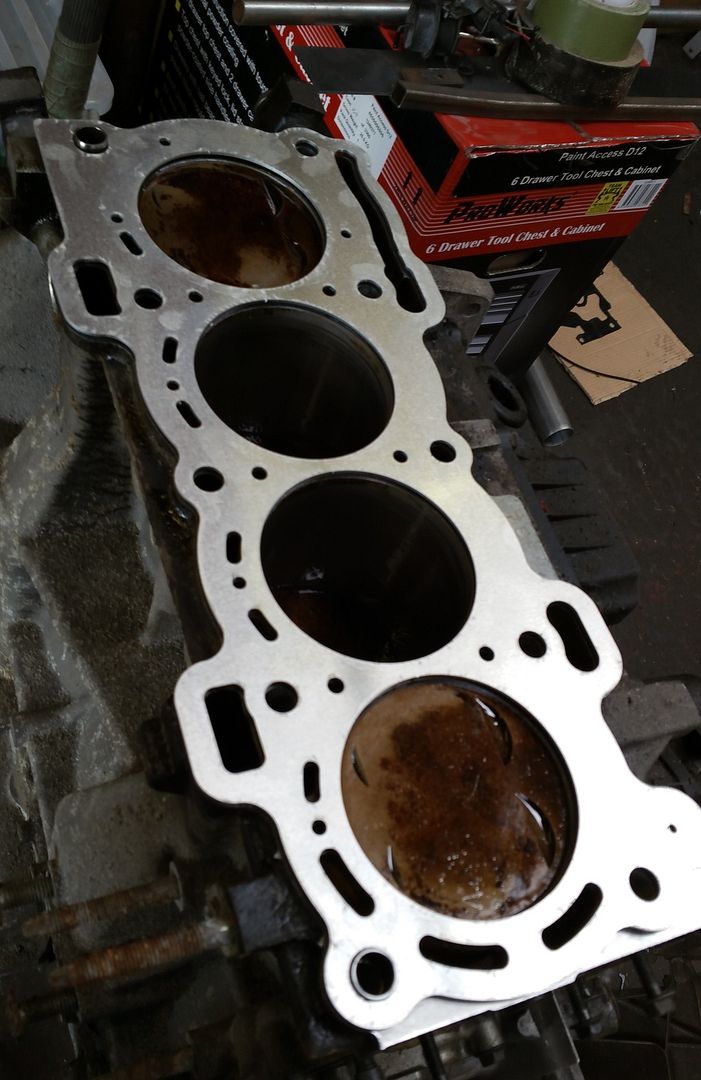
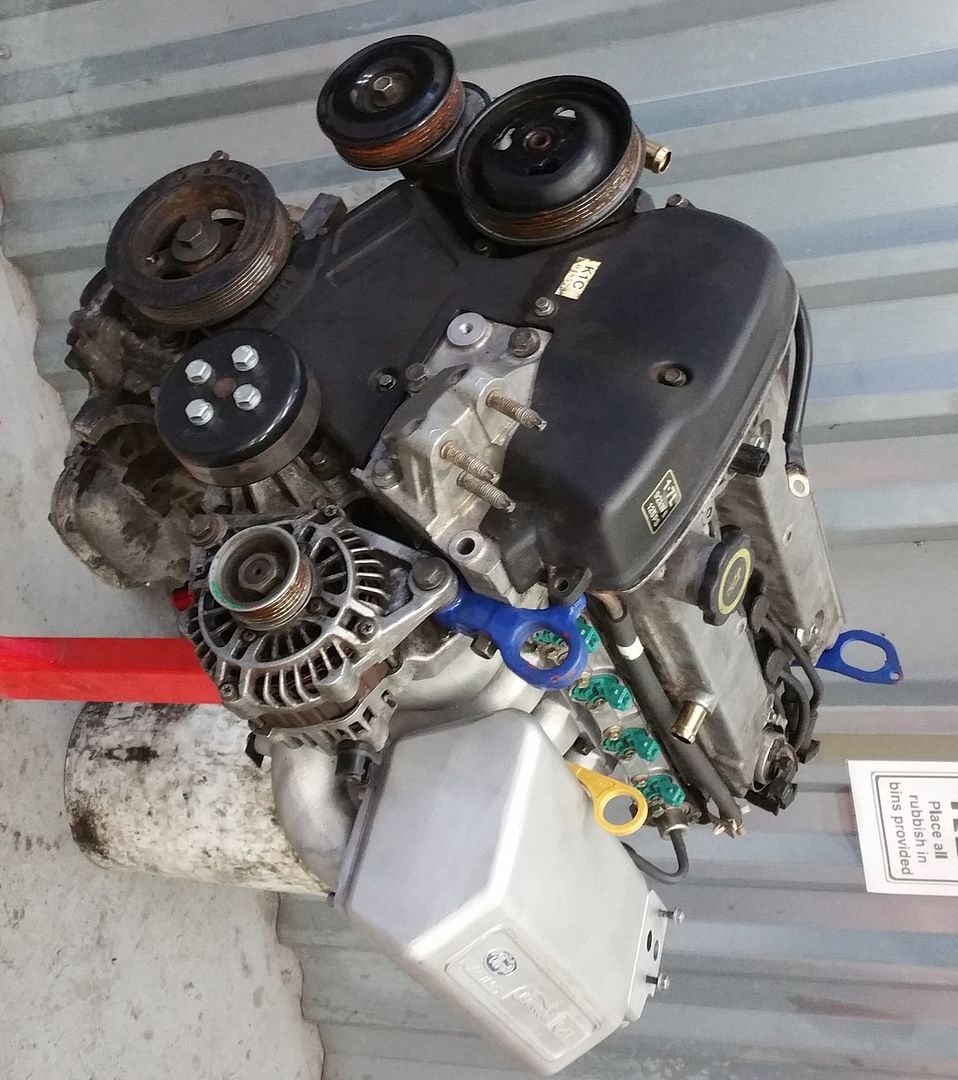
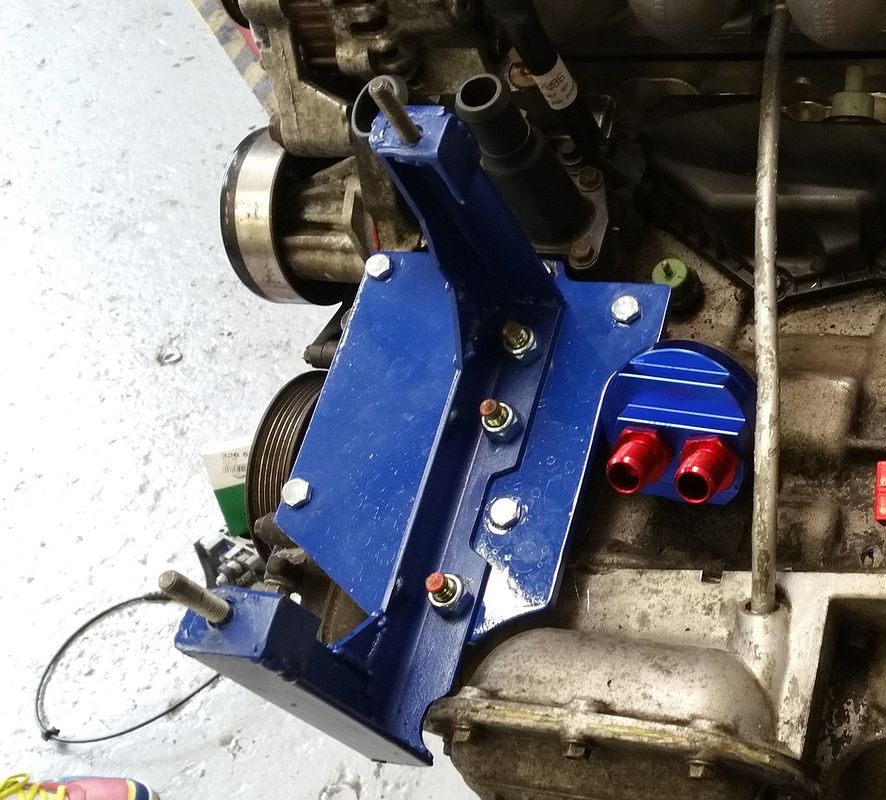
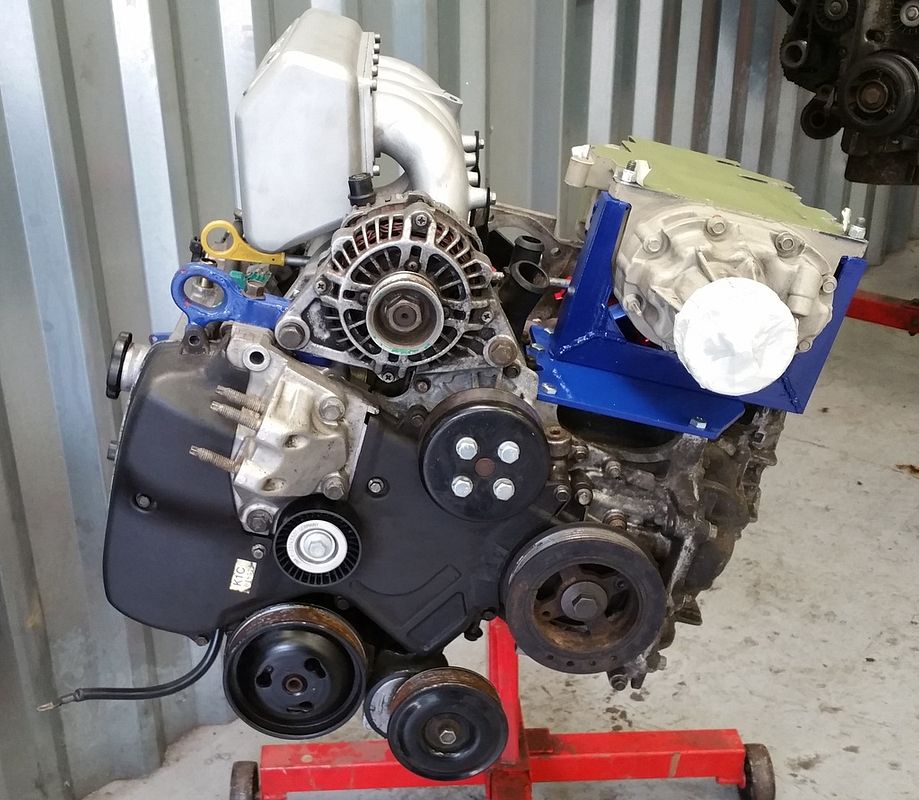
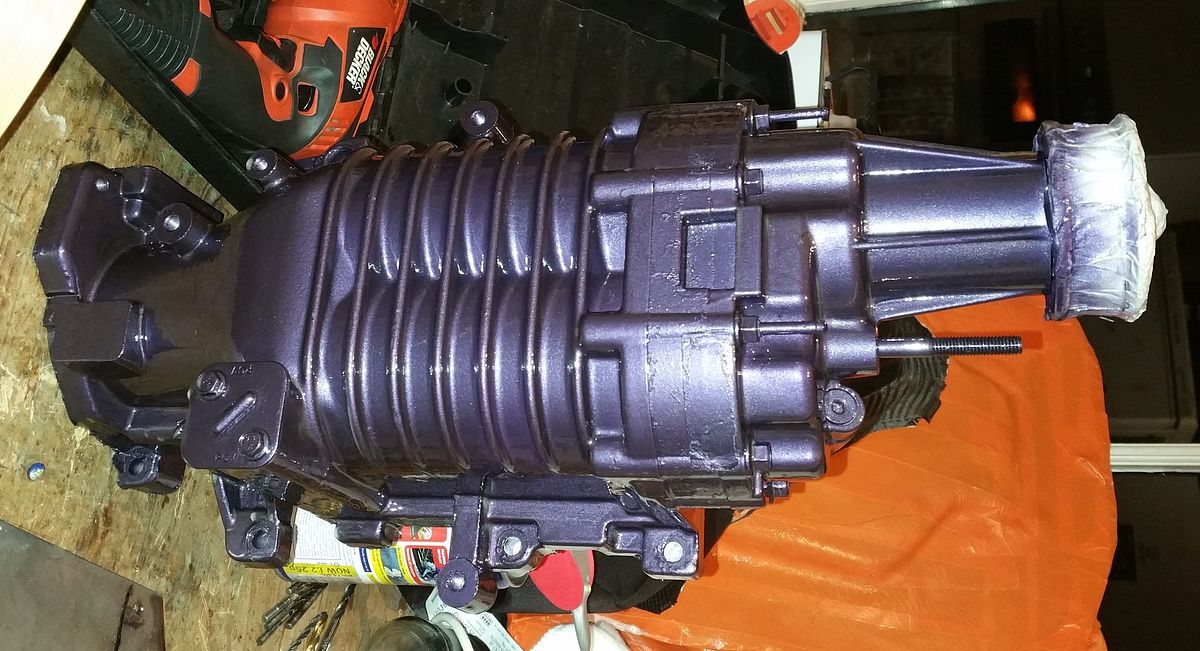
Initially Im fitting a NA puma lump with some mild mods then going to bolt on a simple supercharger I already have for a low boost conversion while I build seperately a highly specced turbo puma engine. The turbo lump will have uprated rods, pistons, liners as well as headwork. It will be running on the GT2871rs turbo on Emerald K6 management.
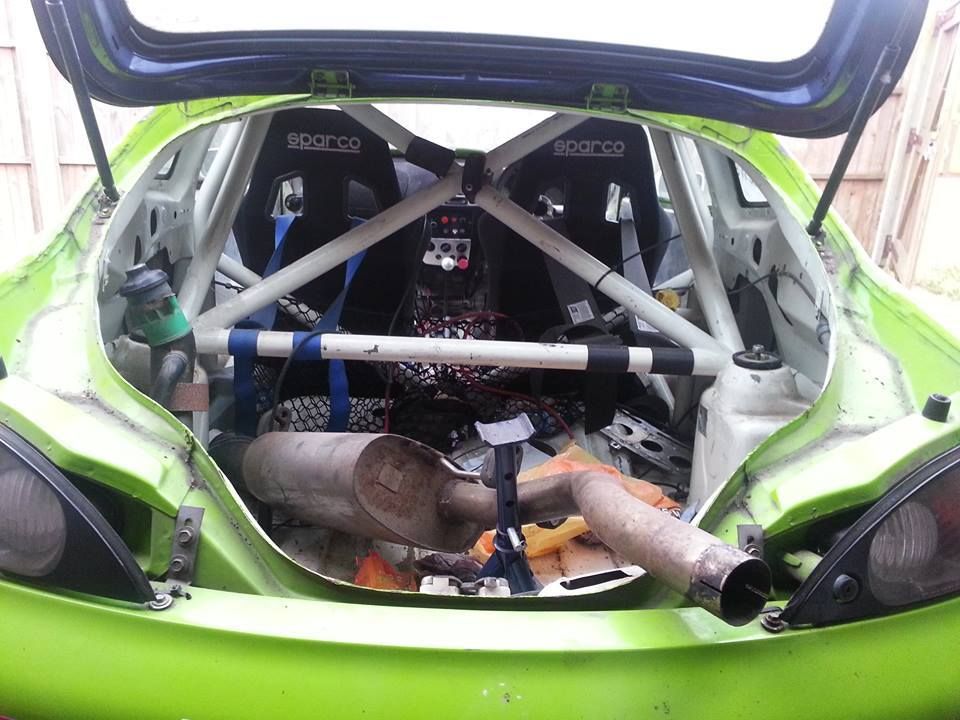
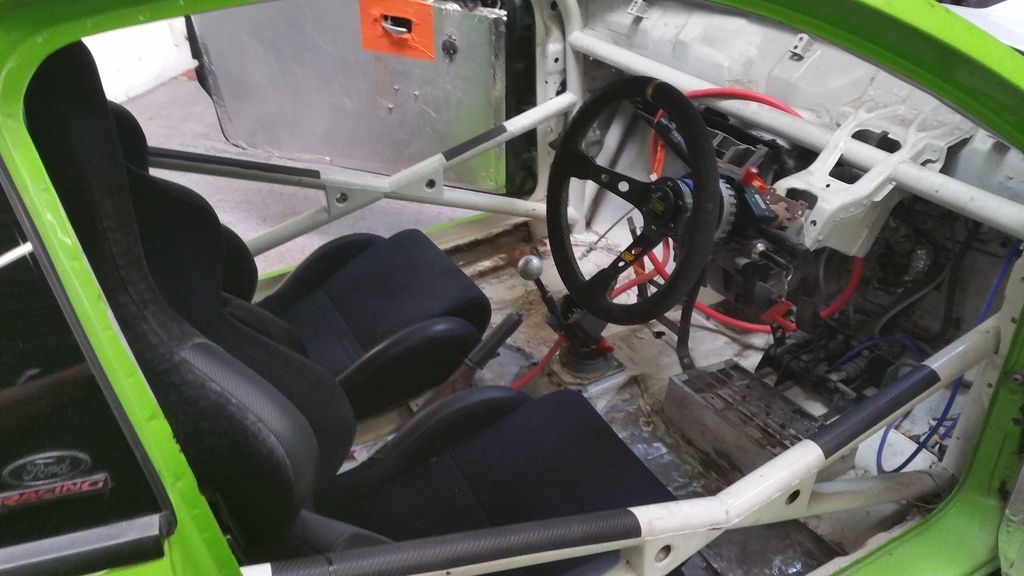
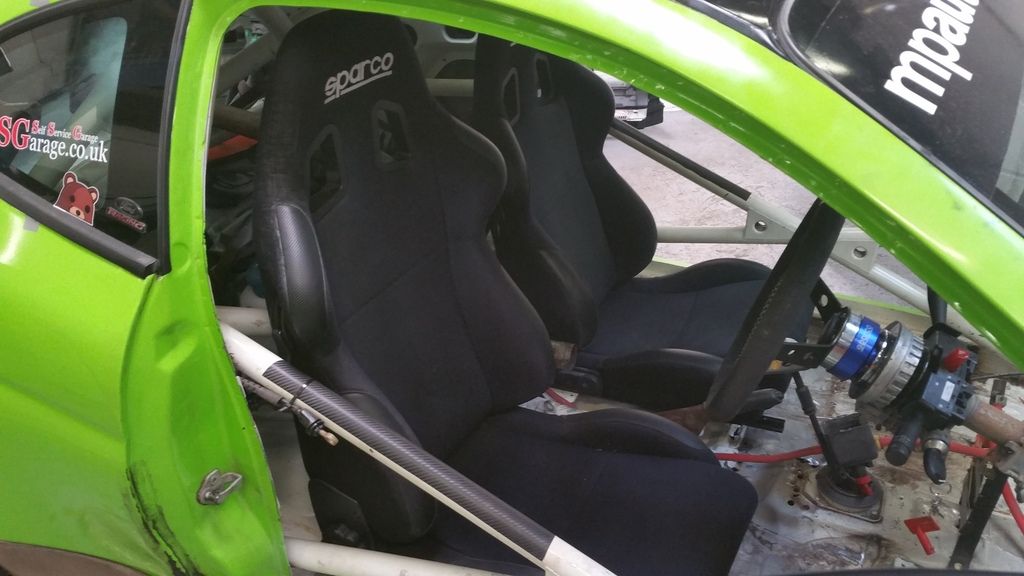
also trial fitted some Sparco recliners for now. I don't need FIA bucket seats for the series Im planning on competing in next year, so the sparco seats are a bit more practical in the mean time. Eventually as I improve my racing and uprate my engine, I will likely be class bumped into a class that needs buckets so will fit them then.
Plenty more to come over the next few weeks as I refit most the stuff I took out and get it ready for engine fitting!
That didn't last long!
A racing puma (471) rolling shell came up for sale at a bargain price so I simply had to have it. The engine had been sold on earlier but other than that the car was pretty much intact, albeit it had been sat for a few years so was in need of some tidying up and restoration.
Had been used for rallying, sprints and trackdays in the past so was already modified.
This is how it began:
Did the deal and my mate helped me bring it back with our trailer:
Just started off with the basics of working out whats what. The car already had a fair few bits on it, some I will be selling off to either replace with better or different spec for my plans.
The main bits it has that im keeping are:
Custom cages weld in cage,
Seam welded
Stripped out interior, including sound deadening.
Custom valved and specced Gaz dampers and springs
Solid top mounts
Stainless manifold and exhaust with added silencer to meet noise regs on track
Original FRP 471 numbered inlet manifold
Flocked Dash
Lowered steering column
welded in seat bars
adjustable pedal box
stripped out doors
My main aim is to get it running again but im not in a major rush. I could just get another engine, bolt it in and get it running but I am going to sort out as much as i can first rather than getting it running to then have to spend ages fixing all the bodges.
First thing was to give it a bit of a clean and peel off some of the stickers I don't want to keep:
I then managed to get somewhere I can work on in the dry So the big strip down began so I can see how bad things are and start to attack the rust!
The loom looks a bit wrecked:
So thats coming all out to be replaced.
Also stripped out the seats to leave an empty interior so I could see the amount of work needed:
Good old fords like to rust!! Plenty of rust to be sorted and cut out there. Got my mate Lee at SSG to do all the welding on the shell. At the same time I decided to ditch the floor crossbeam to save weight. With the cage and seat bars, theres plenty enough shell stiffness and side impact protection so any dead weight out the better.
Yes there was a lot of welding to be done, probably easier to cut out the whole floor pans and replace with new metal but i wanted to keep some of the original shape where possible.
Also decided to strip the heater out. Will be refitting a mini heater for screen demisting. Much lighter and more compact than the heavy ford unit. Looks a lot better now its welded up and some paint has been splashed on:
Also tidied up the door cards which were hanging off as the door handles wouldnt work. Replaced the looks, fixed the handles and refitted it all. Not ideal in alloy but will do for a while as they are supporting the window winder motor. I've got carbon for the new door cards and plastic windows to go on eventually at a later date.
Then I moved onto refurbishing the running gear. Got my mate Jacko to refurbish the Alcon calipers as he is an expert in them. Replaced with a mix of stainless and titanium fittings including all new pistons machined so I can fit standard sized porsche/ferrari pads rather than the overpriced racing puma ones which are machined down. Its as if ford racing deliberately machined down the caliper size so you are tied to buying pads off them. Makes no sense other than marketing as there was plenty of room for the standard alcon caliper under the wheels.
Decided to paint them a fancy colour and also fitted my comps at the same time.
Also made up some flexible carbon mudflaps:
Decided to fit an overkill washer system with 2 pumps and spray bars as well as jets for the screen. Mounted the washer bottle in the middle of the car as its quite big.
Got myself a battery box and some cable so I can locate the battery box and also work out where the cable and FIA cut off will go. Also painted the exhaust a bright red.
Made up the cable and a nice carbon box to fit the cut off into to raise it to a nice height. Modified the handbrake slightly so it doesn't get in the way of the switch. It sits a bit lower now the floor beam is removed.
Stripped out the engine bay to give it a good degrease and clean then to repaint the bad bits and to fit some heat shielding. Also fitted a dual remote servo with adjustable assistance as I plan to use the car on the road as well as track and I want to keep the pedal box but still have it usable in traffic if needs be.
Then stripped apart the front subframe to derust and repaint, replacing anything knackered. Went for bright colours! You could see how wrecked one of the ball joints was!
I then assembled the subframe with new ball joints, track rod ends, bolts etc as well as adding a fiesta ZetecS ARB which is stiffer than the racing puma one. Paint marked all the key bolts once torqued up to see if any movement occurs!
Also knocked up my new braided rear brake lines and hydraulic handbrake to be fitted eventually:
Started on the new loom. Stripping out all the unused wiring and wrapping in neat yellow tape. The engine bay loom is almost finished:
Have also picked up a nicely lightened flywheel for the new engine:
My new turbo and manifold have arrived:
Initially Im fitting a NA puma lump with some mild mods then going to bolt on a simple supercharger I already have for a low boost conversion while I build seperately a highly specced turbo puma engine. The turbo lump will have uprated rods, pistons, liners as well as headwork. It will be running on the GT2871rs turbo on Emerald K6 management.
also trial fitted some Sparco recliners for now. I don't need FIA bucket seats for the series Im planning on competing in next year, so the sparco seats are a bit more practical in the mean time. Eventually as I improve my racing and uprate my engine, I will likely be class bumped into a class that needs buckets so will fit them then.
Plenty more to come over the next few weeks as I refit most the stuff I took out and get it ready for engine fitting!
 Excellent progress Warren, I bet that'll be a cracking car. Look forward to seeing it at meets/shows!