tracyb
New member
Those of you who track the “For Sale” and “Newbie” areas of this site may know that I took the insane/sentimental decision to get my Puma back on the road after she failed her MOT.
For various reasons she sat a lot on the drive last year which had some devastating effects on her undercarriage. That’s my fault and now I’m paying the price :-( .
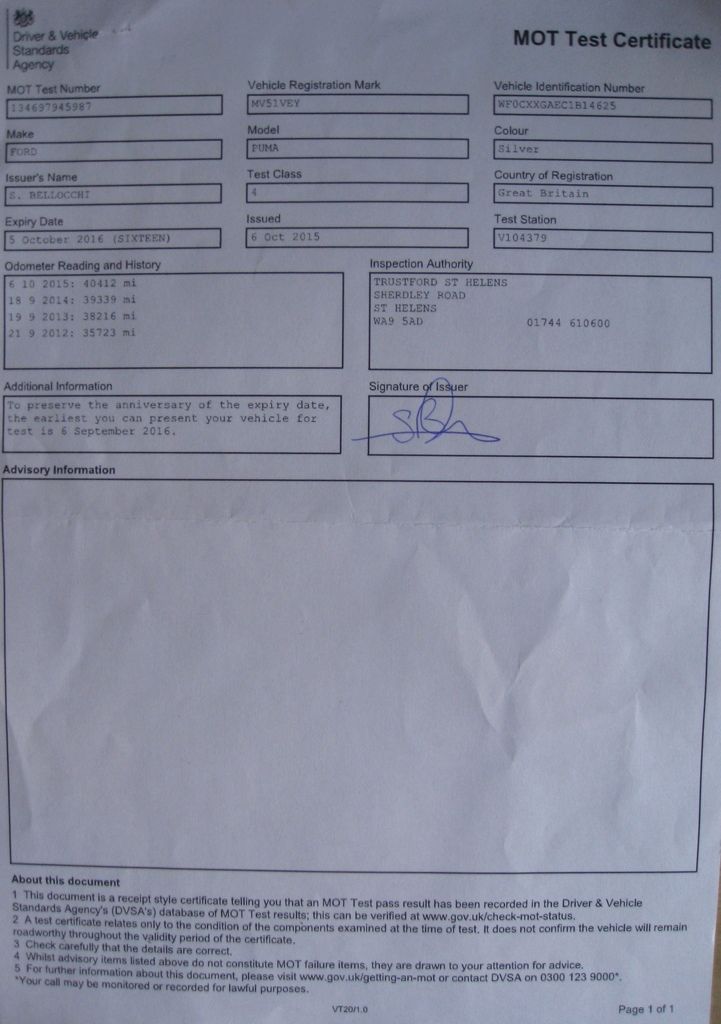
Looking at some of the other projects on here I’m envious that you guys have the knowhow and skills to do your own projects. My project, on my 1.7 Puma (mine from new with 40,412 miles on the clock), is a totally “hands-off” one with the exception of entering my pin number in the garage card machine.
It’s a three phase project as follows:
• Phase 1 – Pass the MOT Plus
• Phase 2 – Prevention is better than cure
• Phase 3 – Finishing touches
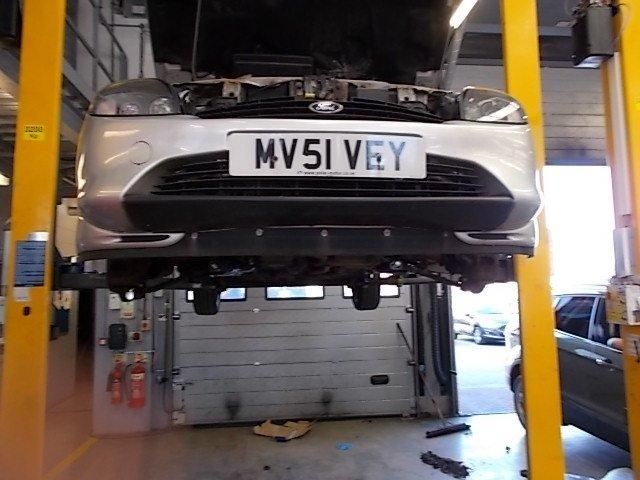
Currently, I’m still on Phase 1 which is taking longer than expected and costing a small fortune. After a slow start it’s now progressing well. She’s currently in a state of nakedness at TrustFord’s:
 .
.
She needed a new sub frame to pass the MOT so had to be stripped down. As that involves a lot of labour it made sense to deal with the advisories at the same time so she’s now got new coil springs as well … and so began the snowball effect! The shock absorbers inside the springs were ok but not great so I might as well do that now to save another strip down next year. Then there was a need to replace a brake pipe on the o/s/front where it secures to the shocker as the bracket had rusted (the pipe comes with the bracket).
Everything is being built back up now … with new bolts as the originals were seized up. She’s also having new tyres all round.
They found a small hole in the floor which requires a bit of welding work which they don’t do at TrustFord’s so, when she’s back in one piece, they are going to take her to the garage next door for that. Apparently, that “shouldn’t be a big job”.
Steve at TrustFord has been really helpful. He’s taken her under his wing and has been sourcing the parts and overseeing the work. I think he has an emotional investment in her too now; he’s been having nightmares about her and the escalating costs! He took some photos for me as I’ve been away on holiday and also away with work so haven’t been in to see her.
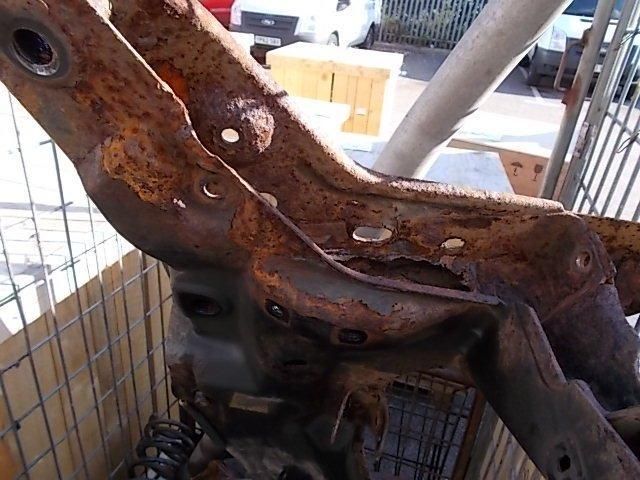
I’m ashamed and embarrassed to post this particular photo of her rotten cross member which has been consigned to the bin. I should get a laminated sign version of this for her saying: “Take me for a spin or I’ll end up like this again”.
I’m hoping to get her back on 12 October when I can draw a line under Phase 1 (Pass the MOT Plus) and can move onto the next phases.
Plans for Phase 2 (Prevention is better than cure) … I’ve been advised to find someone with a small garage with a ramp who can spend a couple of hours with a wire brush to take off some surface rust, put a layer of black paint over it, and then re-spray it with wax oil underneath. Does anyone have any advice for me on this preservation phase?
Plans for Phase 3 (Finishing touches) … I’ve had a recommendation for a skilled person who will do a good job touching up the back wheel arch/es so I'll get him on the case when I reach this phase.
More news soon ...
For various reasons she sat a lot on the drive last year which had some devastating effects on her undercarriage. That’s my fault and now I’m paying the price :-( .
Looking at some of the other projects on here I’m envious that you guys have the knowhow and skills to do your own projects. My project, on my 1.7 Puma (mine from new with 40,412 miles on the clock), is a totally “hands-off” one with the exception of entering my pin number in the garage card machine.
It’s a three phase project as follows:
• Phase 1 – Pass the MOT Plus
• Phase 2 – Prevention is better than cure
• Phase 3 – Finishing touches
Currently, I’m still on Phase 1 which is taking longer than expected and costing a small fortune. After a slow start it’s now progressing well. She’s currently in a state of nakedness at TrustFord’s:
She needed a new sub frame to pass the MOT so had to be stripped down. As that involves a lot of labour it made sense to deal with the advisories at the same time so she’s now got new coil springs as well … and so began the snowball effect! The shock absorbers inside the springs were ok but not great so I might as well do that now to save another strip down next year. Then there was a need to replace a brake pipe on the o/s/front where it secures to the shocker as the bracket had rusted (the pipe comes with the bracket).
Everything is being built back up now … with new bolts as the originals were seized up. She’s also having new tyres all round.
They found a small hole in the floor which requires a bit of welding work which they don’t do at TrustFord’s so, when she’s back in one piece, they are going to take her to the garage next door for that. Apparently, that “shouldn’t be a big job”.
Steve at TrustFord has been really helpful. He’s taken her under his wing and has been sourcing the parts and overseeing the work. I think he has an emotional investment in her too now; he’s been having nightmares about her and the escalating costs! He took some photos for me as I’ve been away on holiday and also away with work so haven’t been in to see her.
I’m ashamed and embarrassed
to post this particular photo of her rotten cross member which has been consigned to the bin. I should get a laminated sign version of this for her saying: “Take me for a spin or I’ll end up like this again”.
I’m hoping to get her back on 12 October when I can draw a line under Phase 1 (Pass the MOT Plus) and can move onto the next phases.
Plans for Phase 2 (Prevention is better than cure) … I’ve been advised to find someone with a small garage with a ramp who can spend a couple of hours with a wire brush to take off some surface rust, put a layer of black paint over it, and then re-spray it with wax oil underneath. Does anyone have any advice for me on this preservation phase?
Plans for Phase 3 (Finishing touches) … I’ve had a recommendation for a skilled person who will do a good job touching up the back wheel arch/es so I'll get him on the case when I reach this phase.
More news soon ...