Puma Swede

ProjectPuma

Help Support ProjectPuma:

This site may earn a commission from merchant affiliate links, including eBay, Amazon, and others.
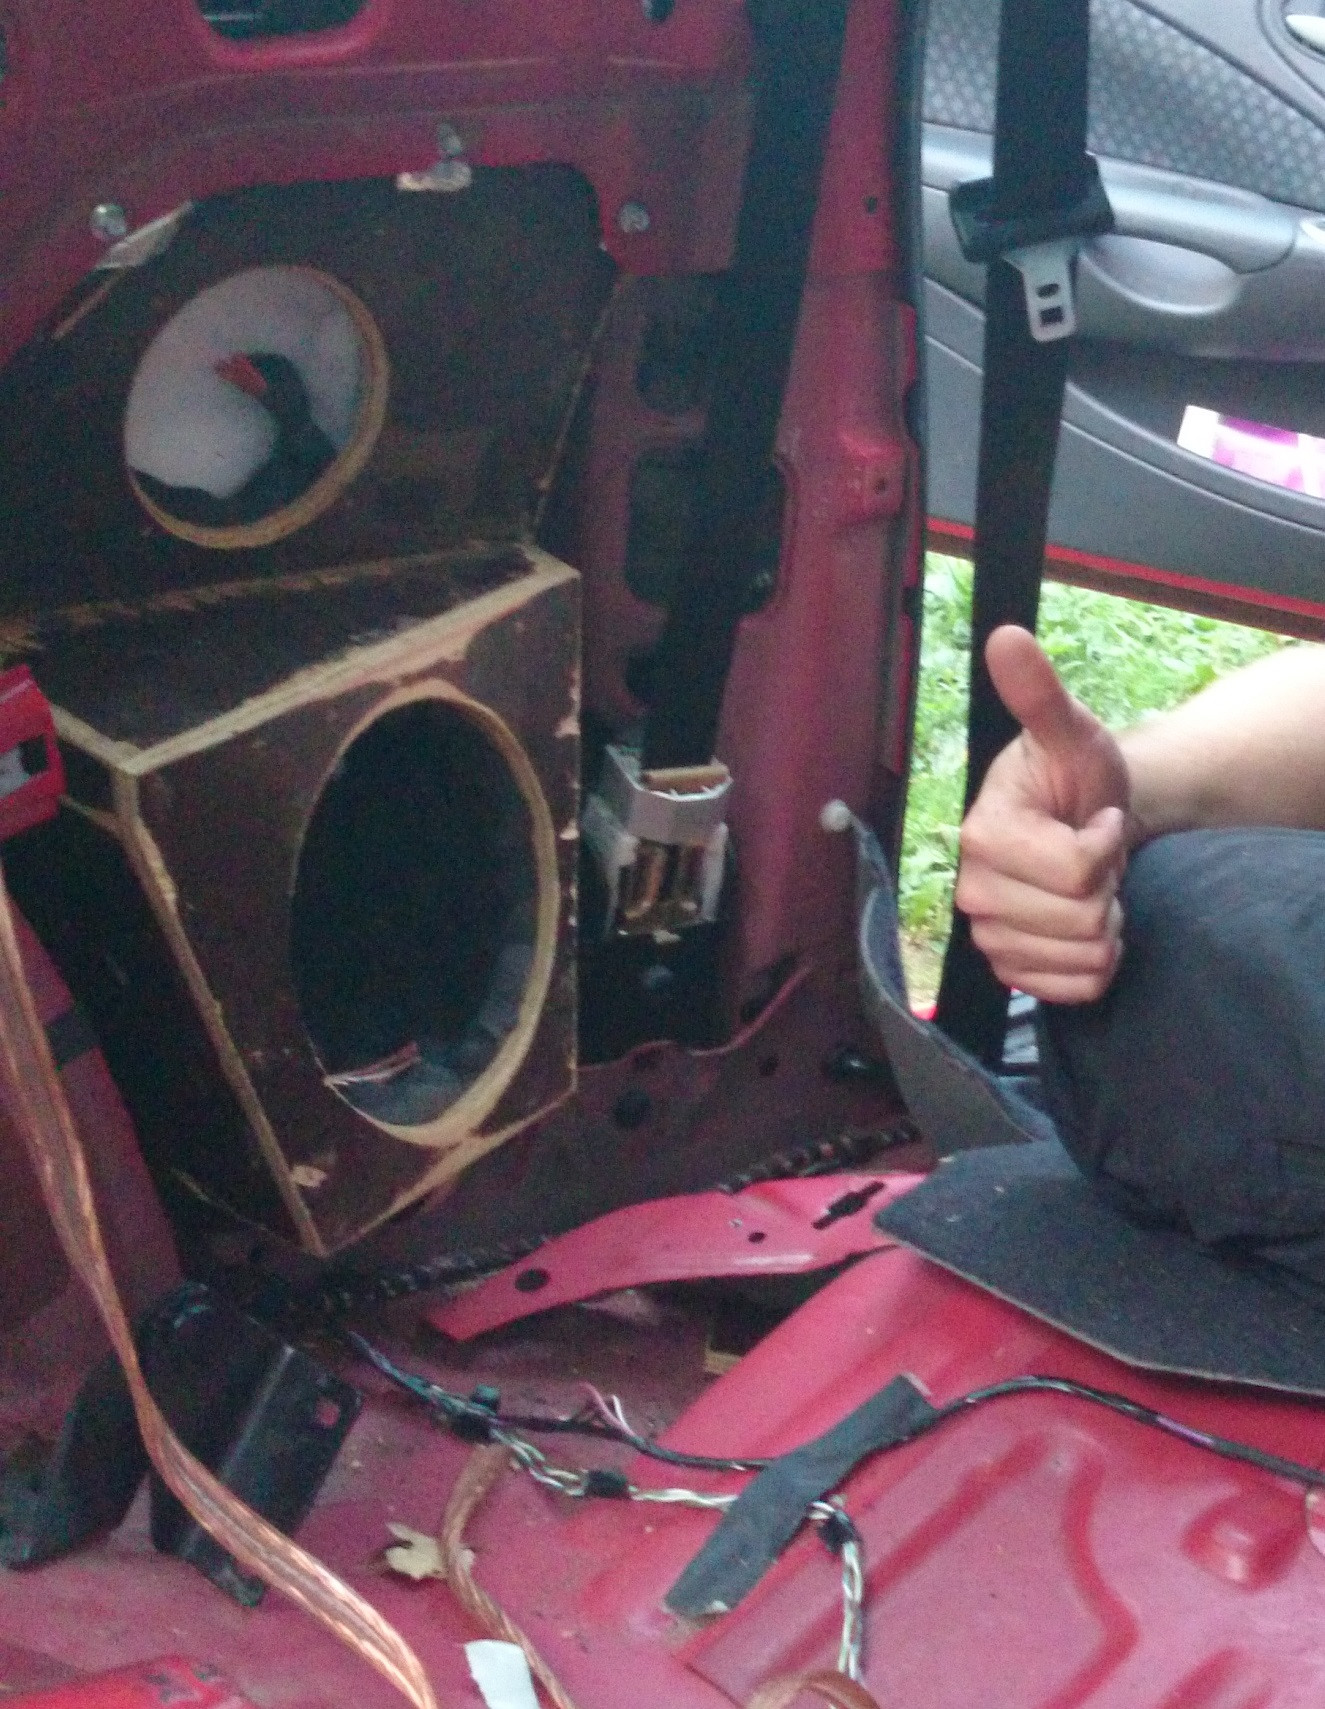
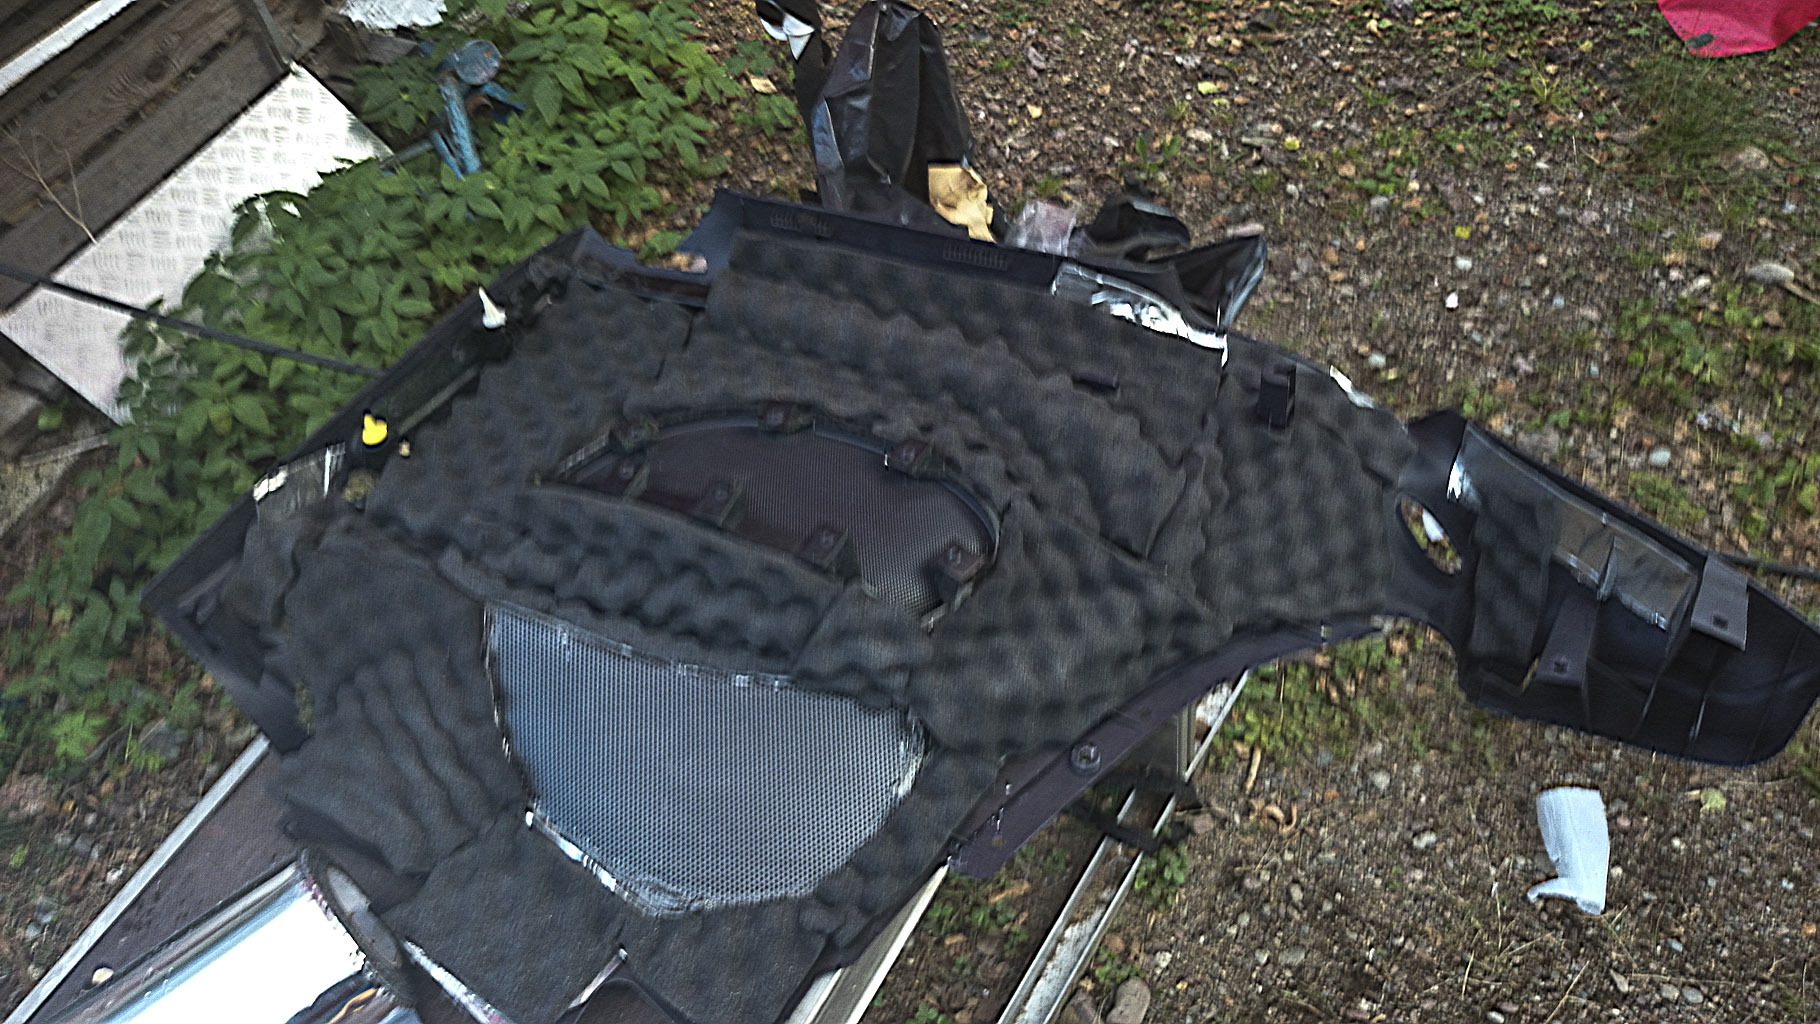
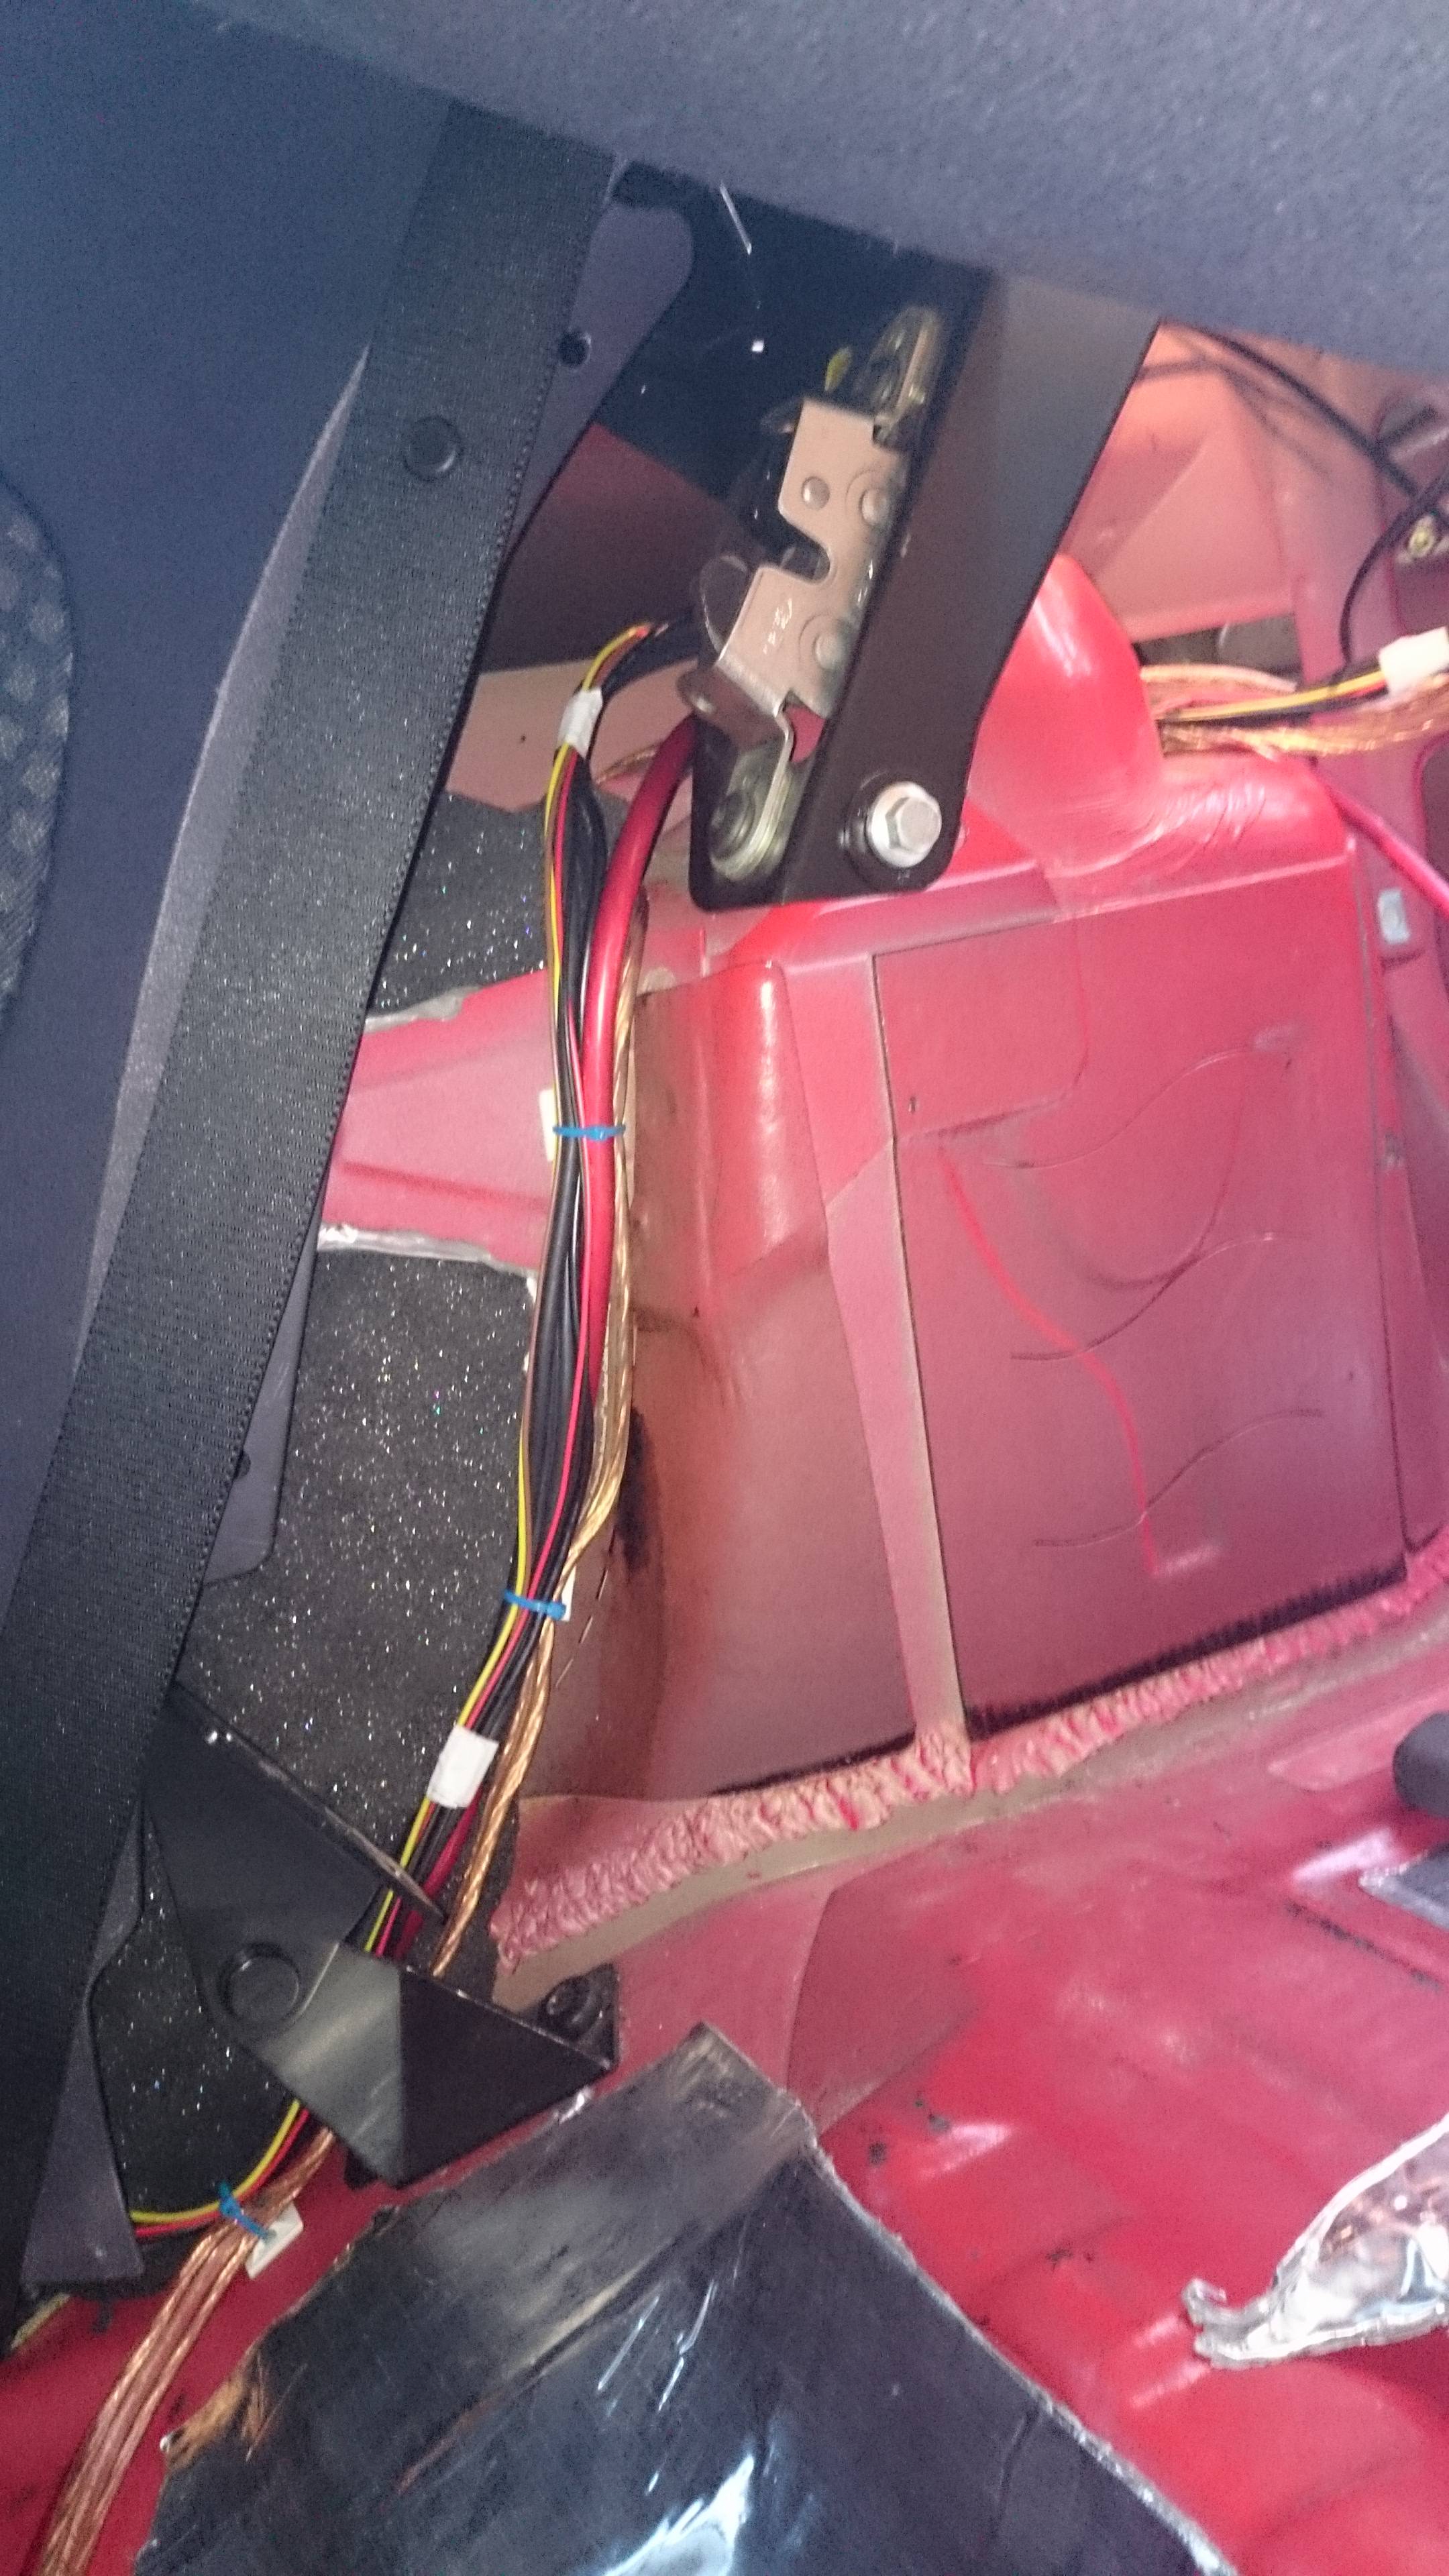
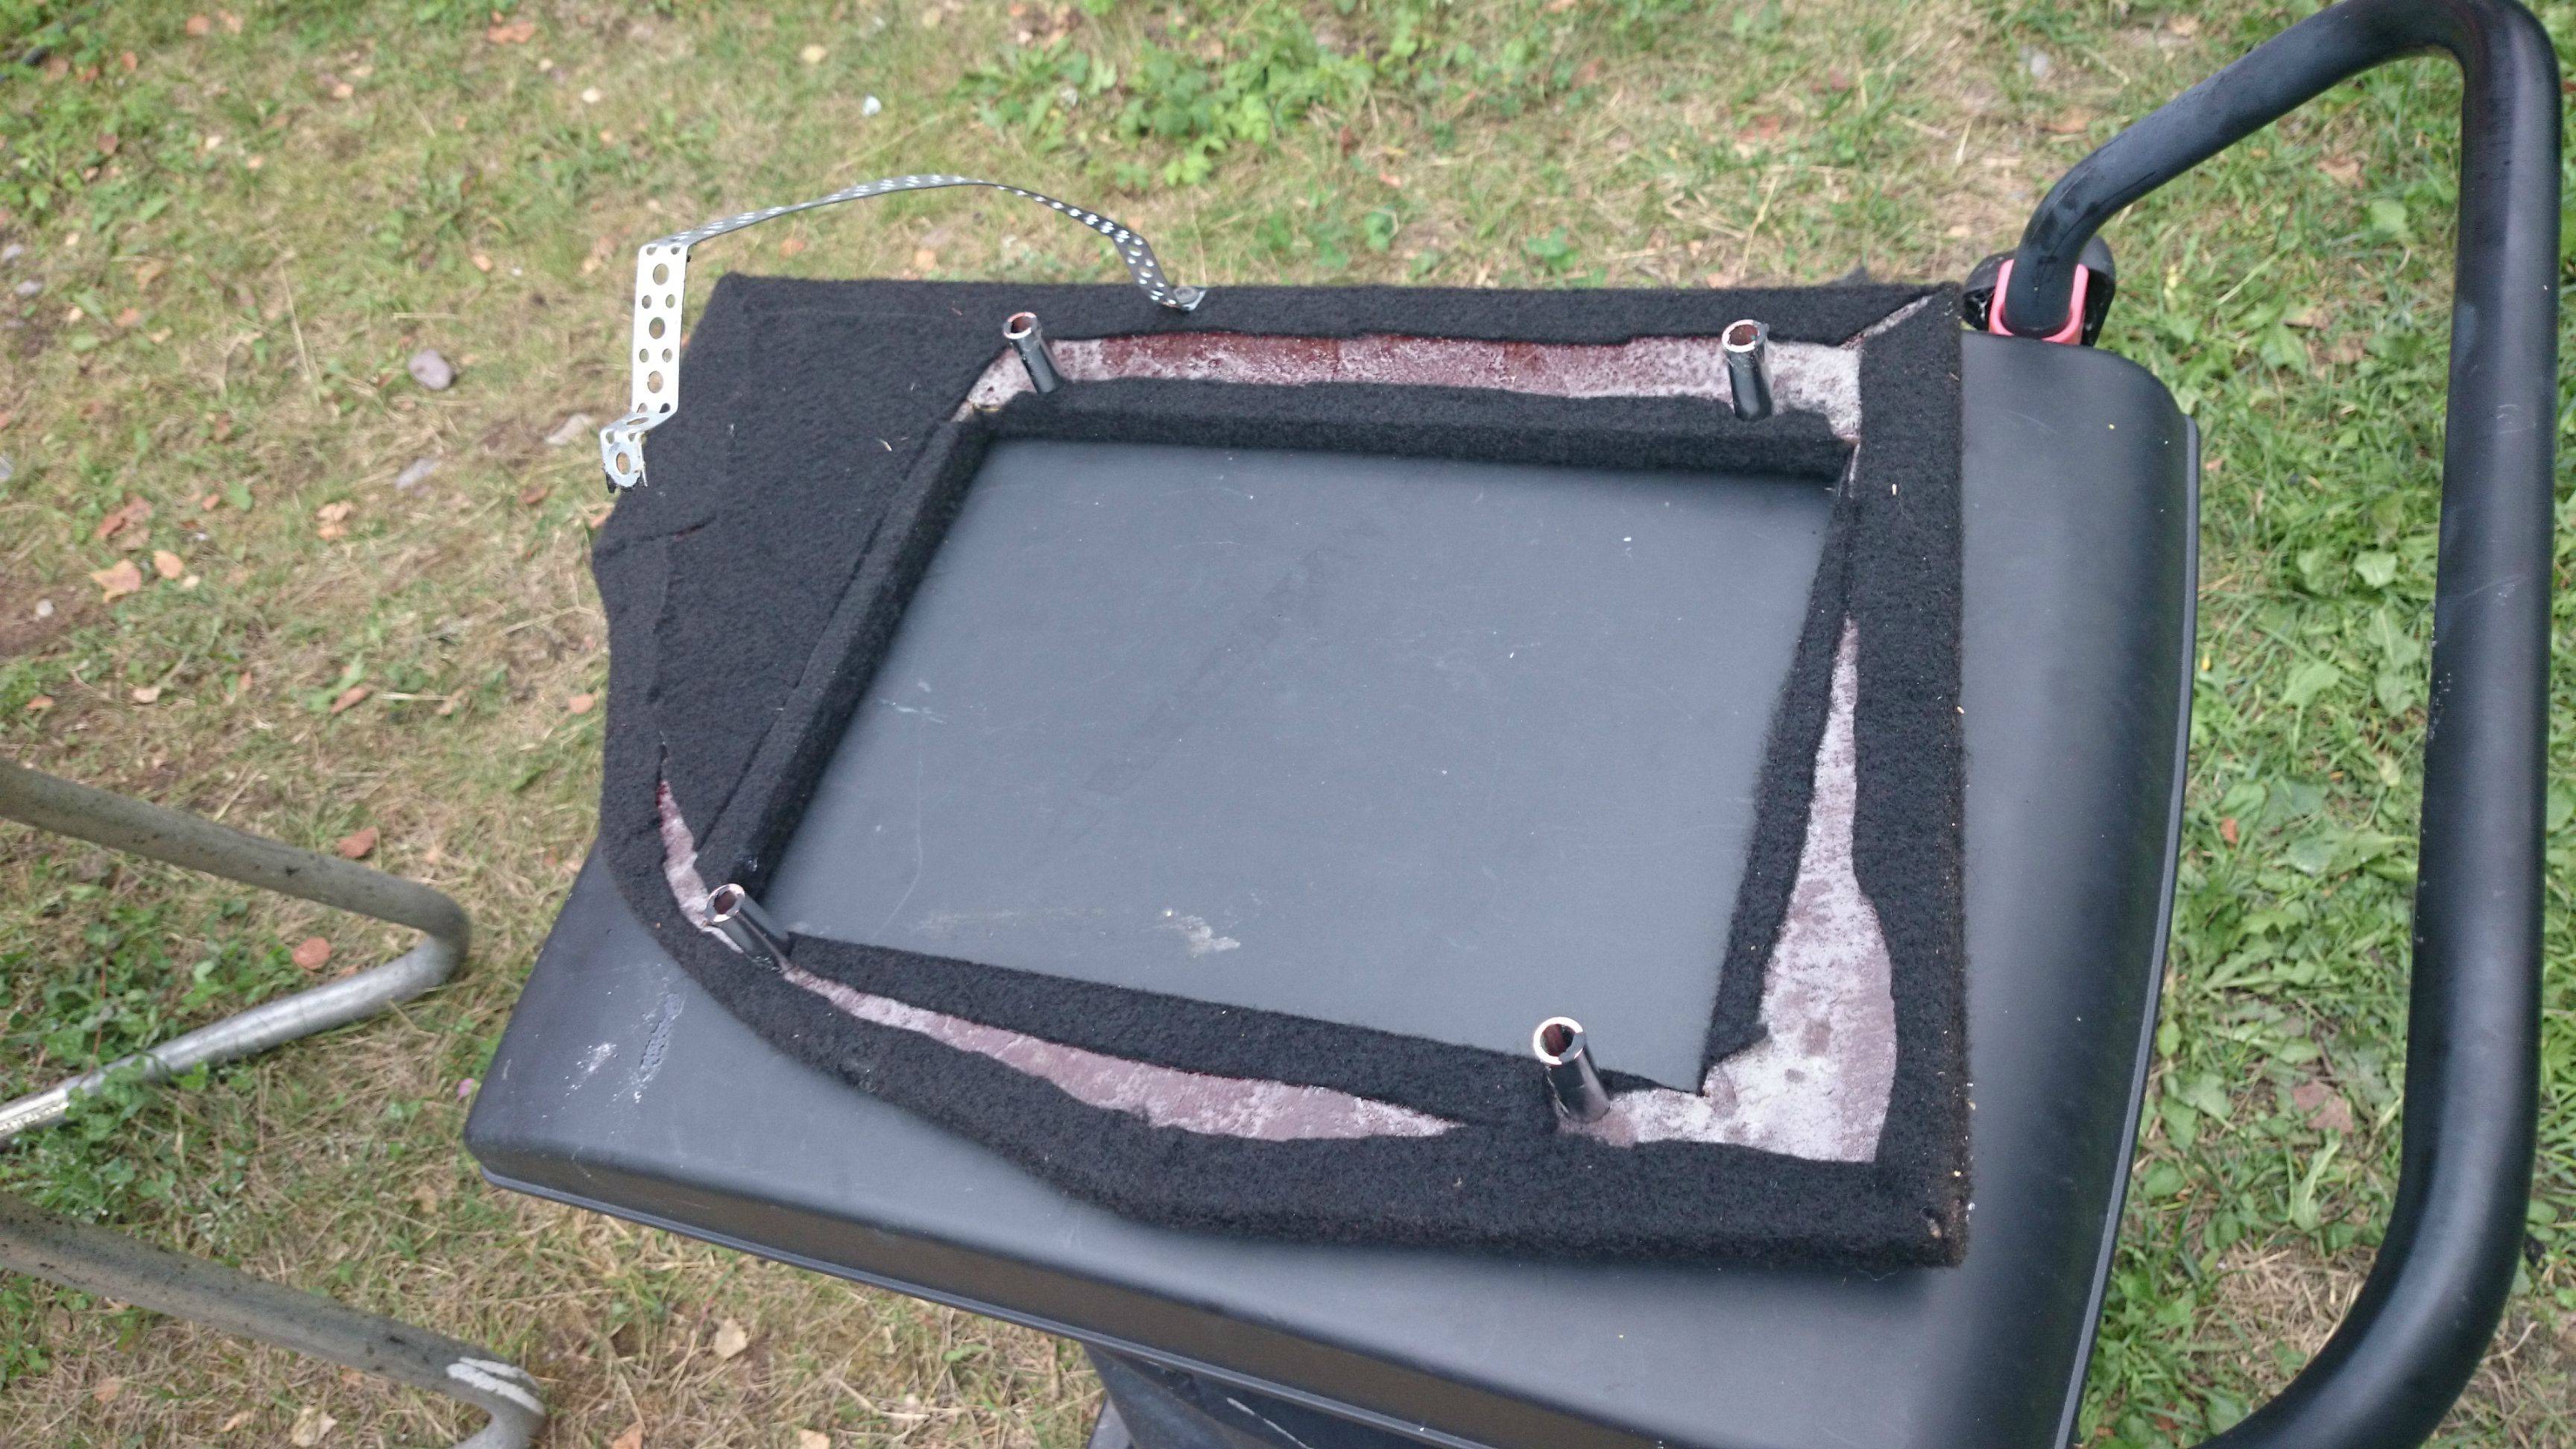
Hmm, I think youd be better of with strengthening the existing ones and just producing very stiff facia for the subs. That boxes are so deformed in 100.000 directions it would be a nightmare to produce them in MDF on your own. Also, the are suspended on three bolts IIRC and that might become an issue if the box gets to heavy? :?:
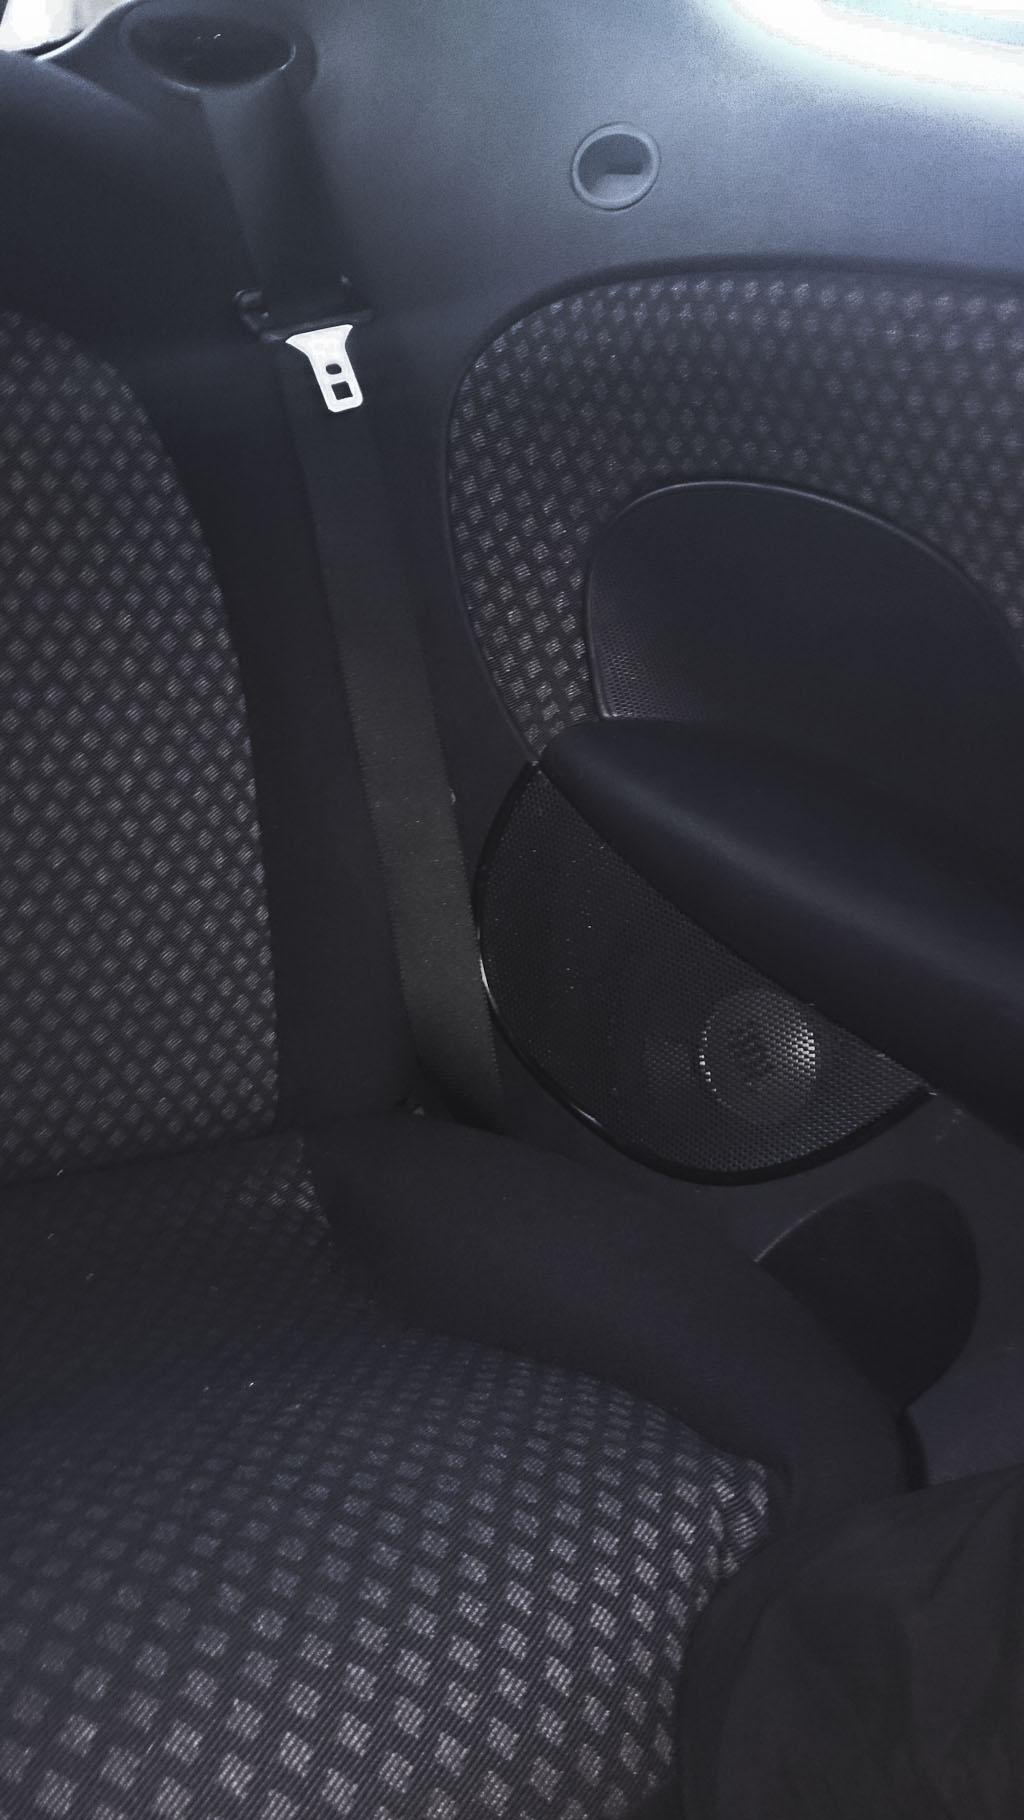
FInally, you'd have to be vrey true to their current dimensions, otherwise the rear panel trim might not fit in properly….
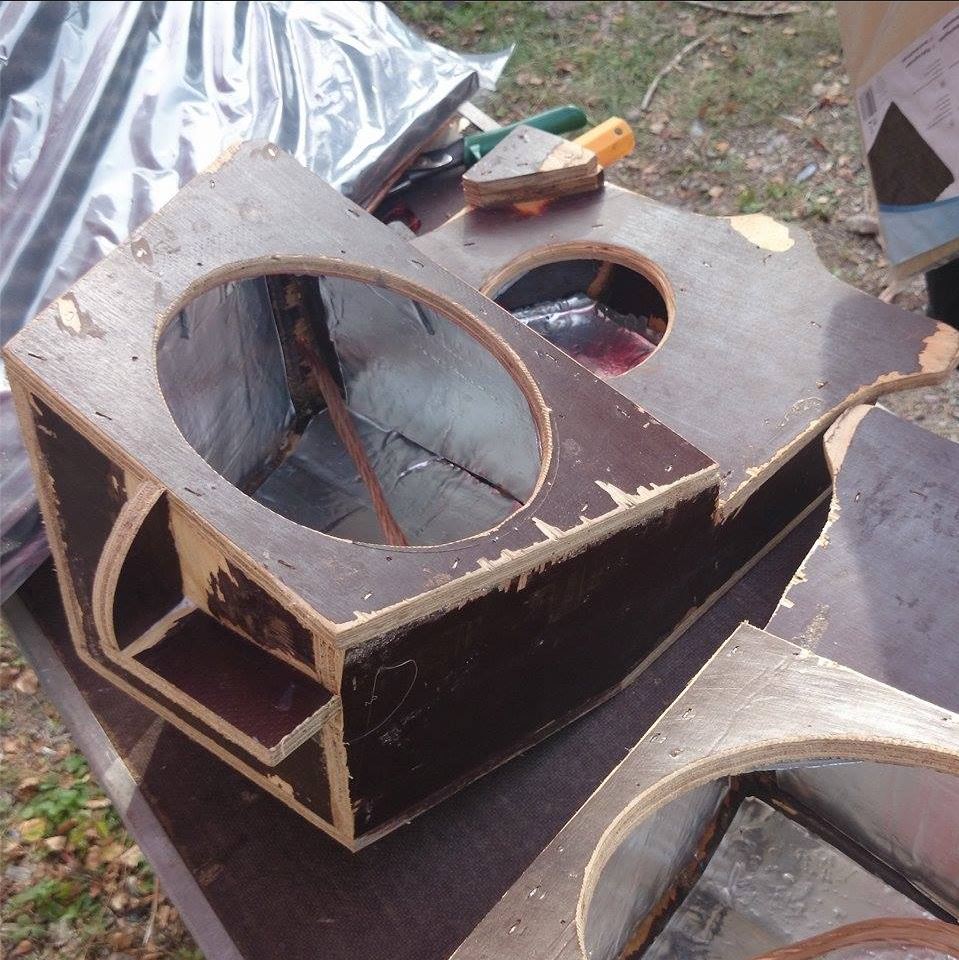
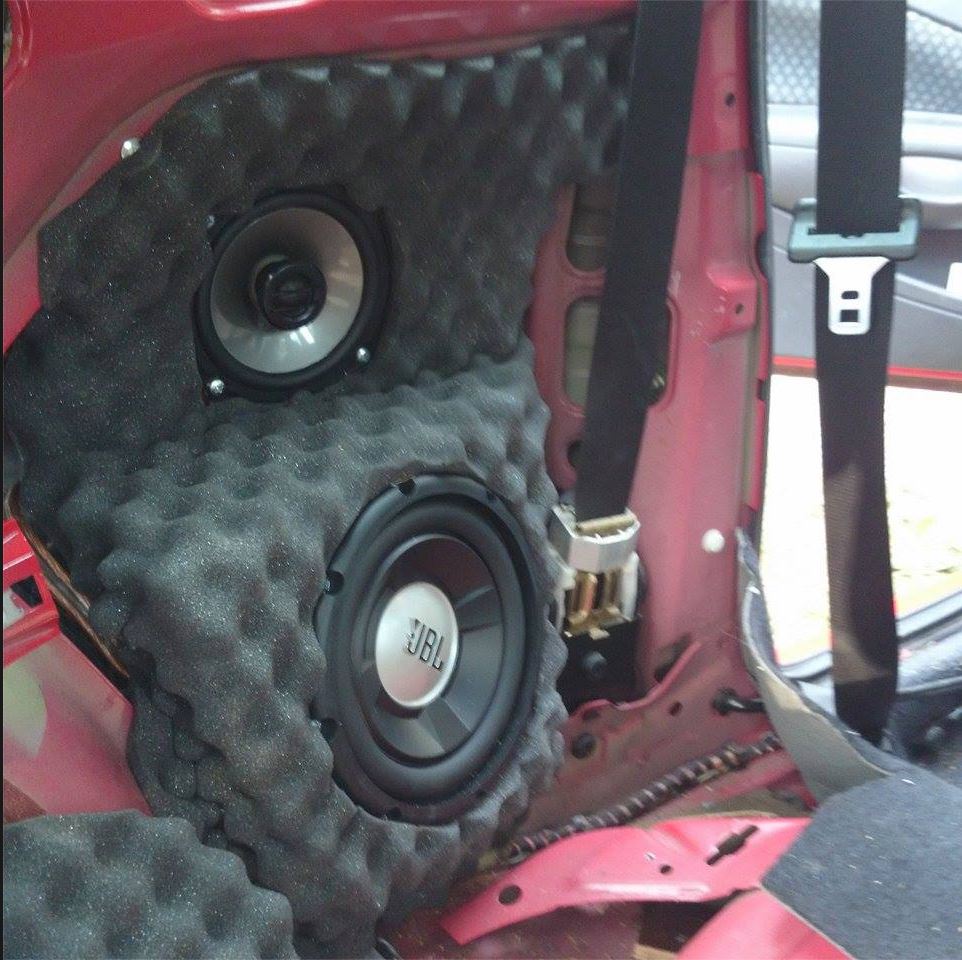
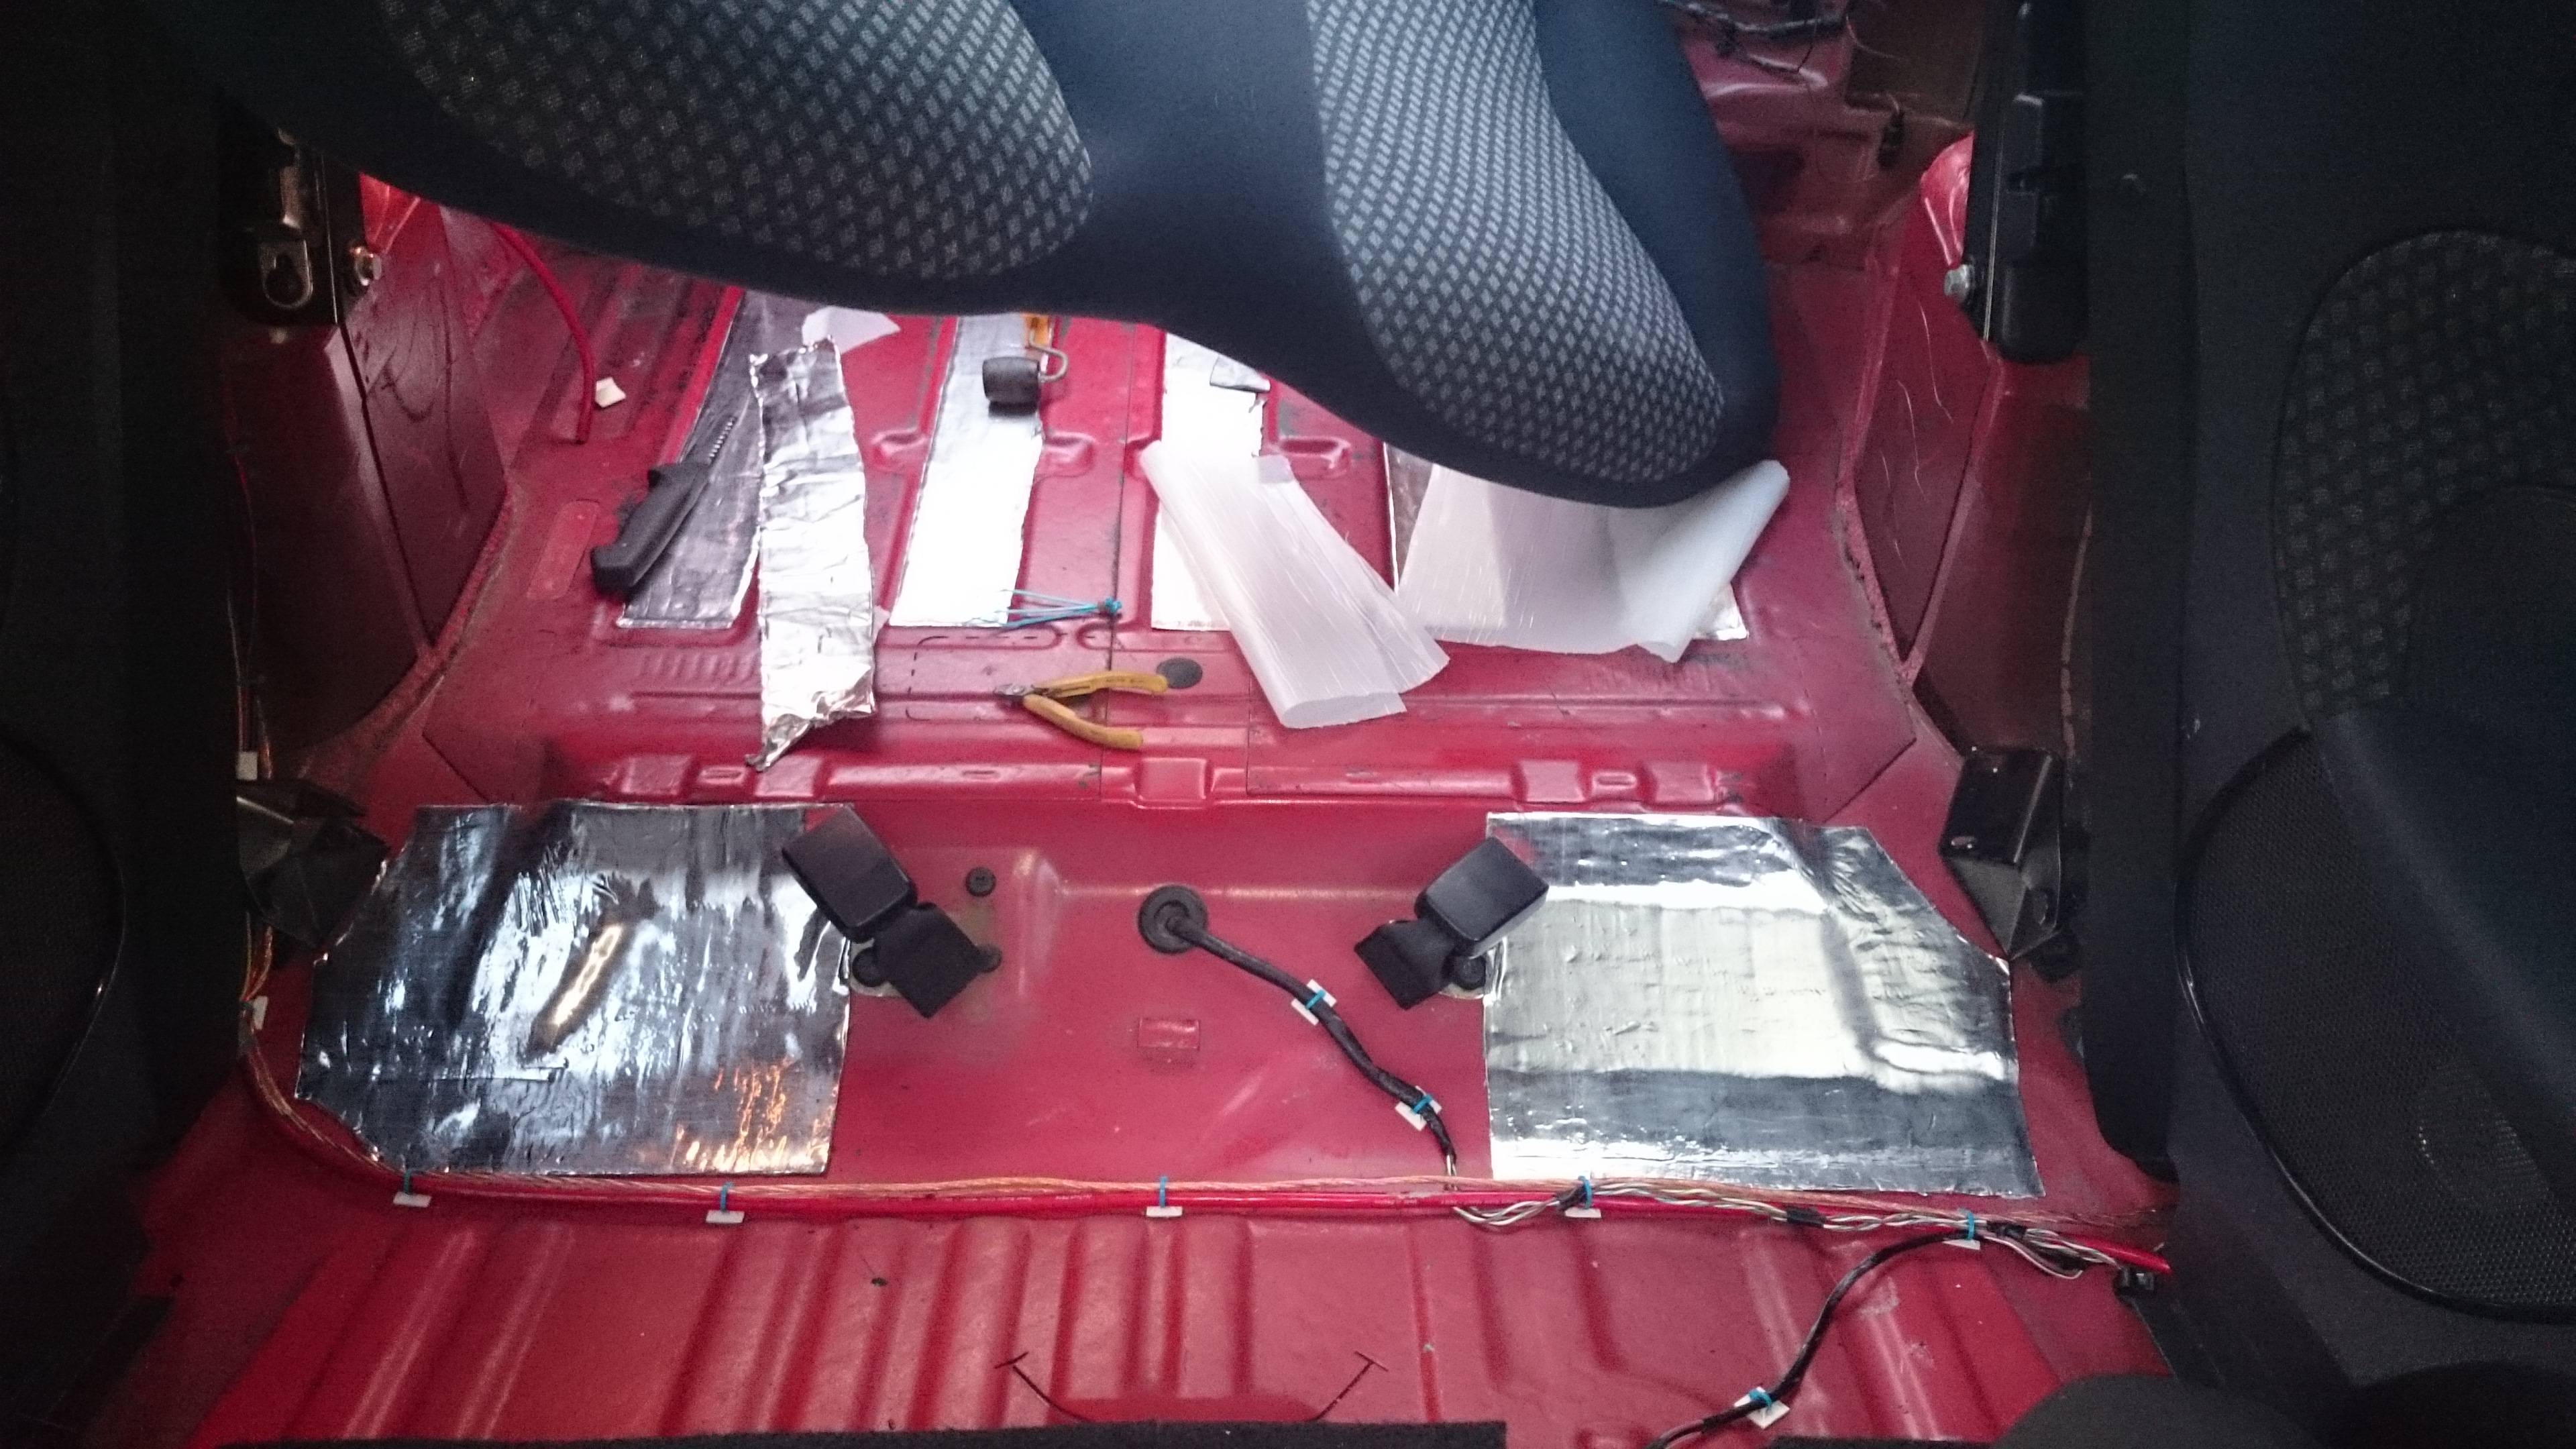
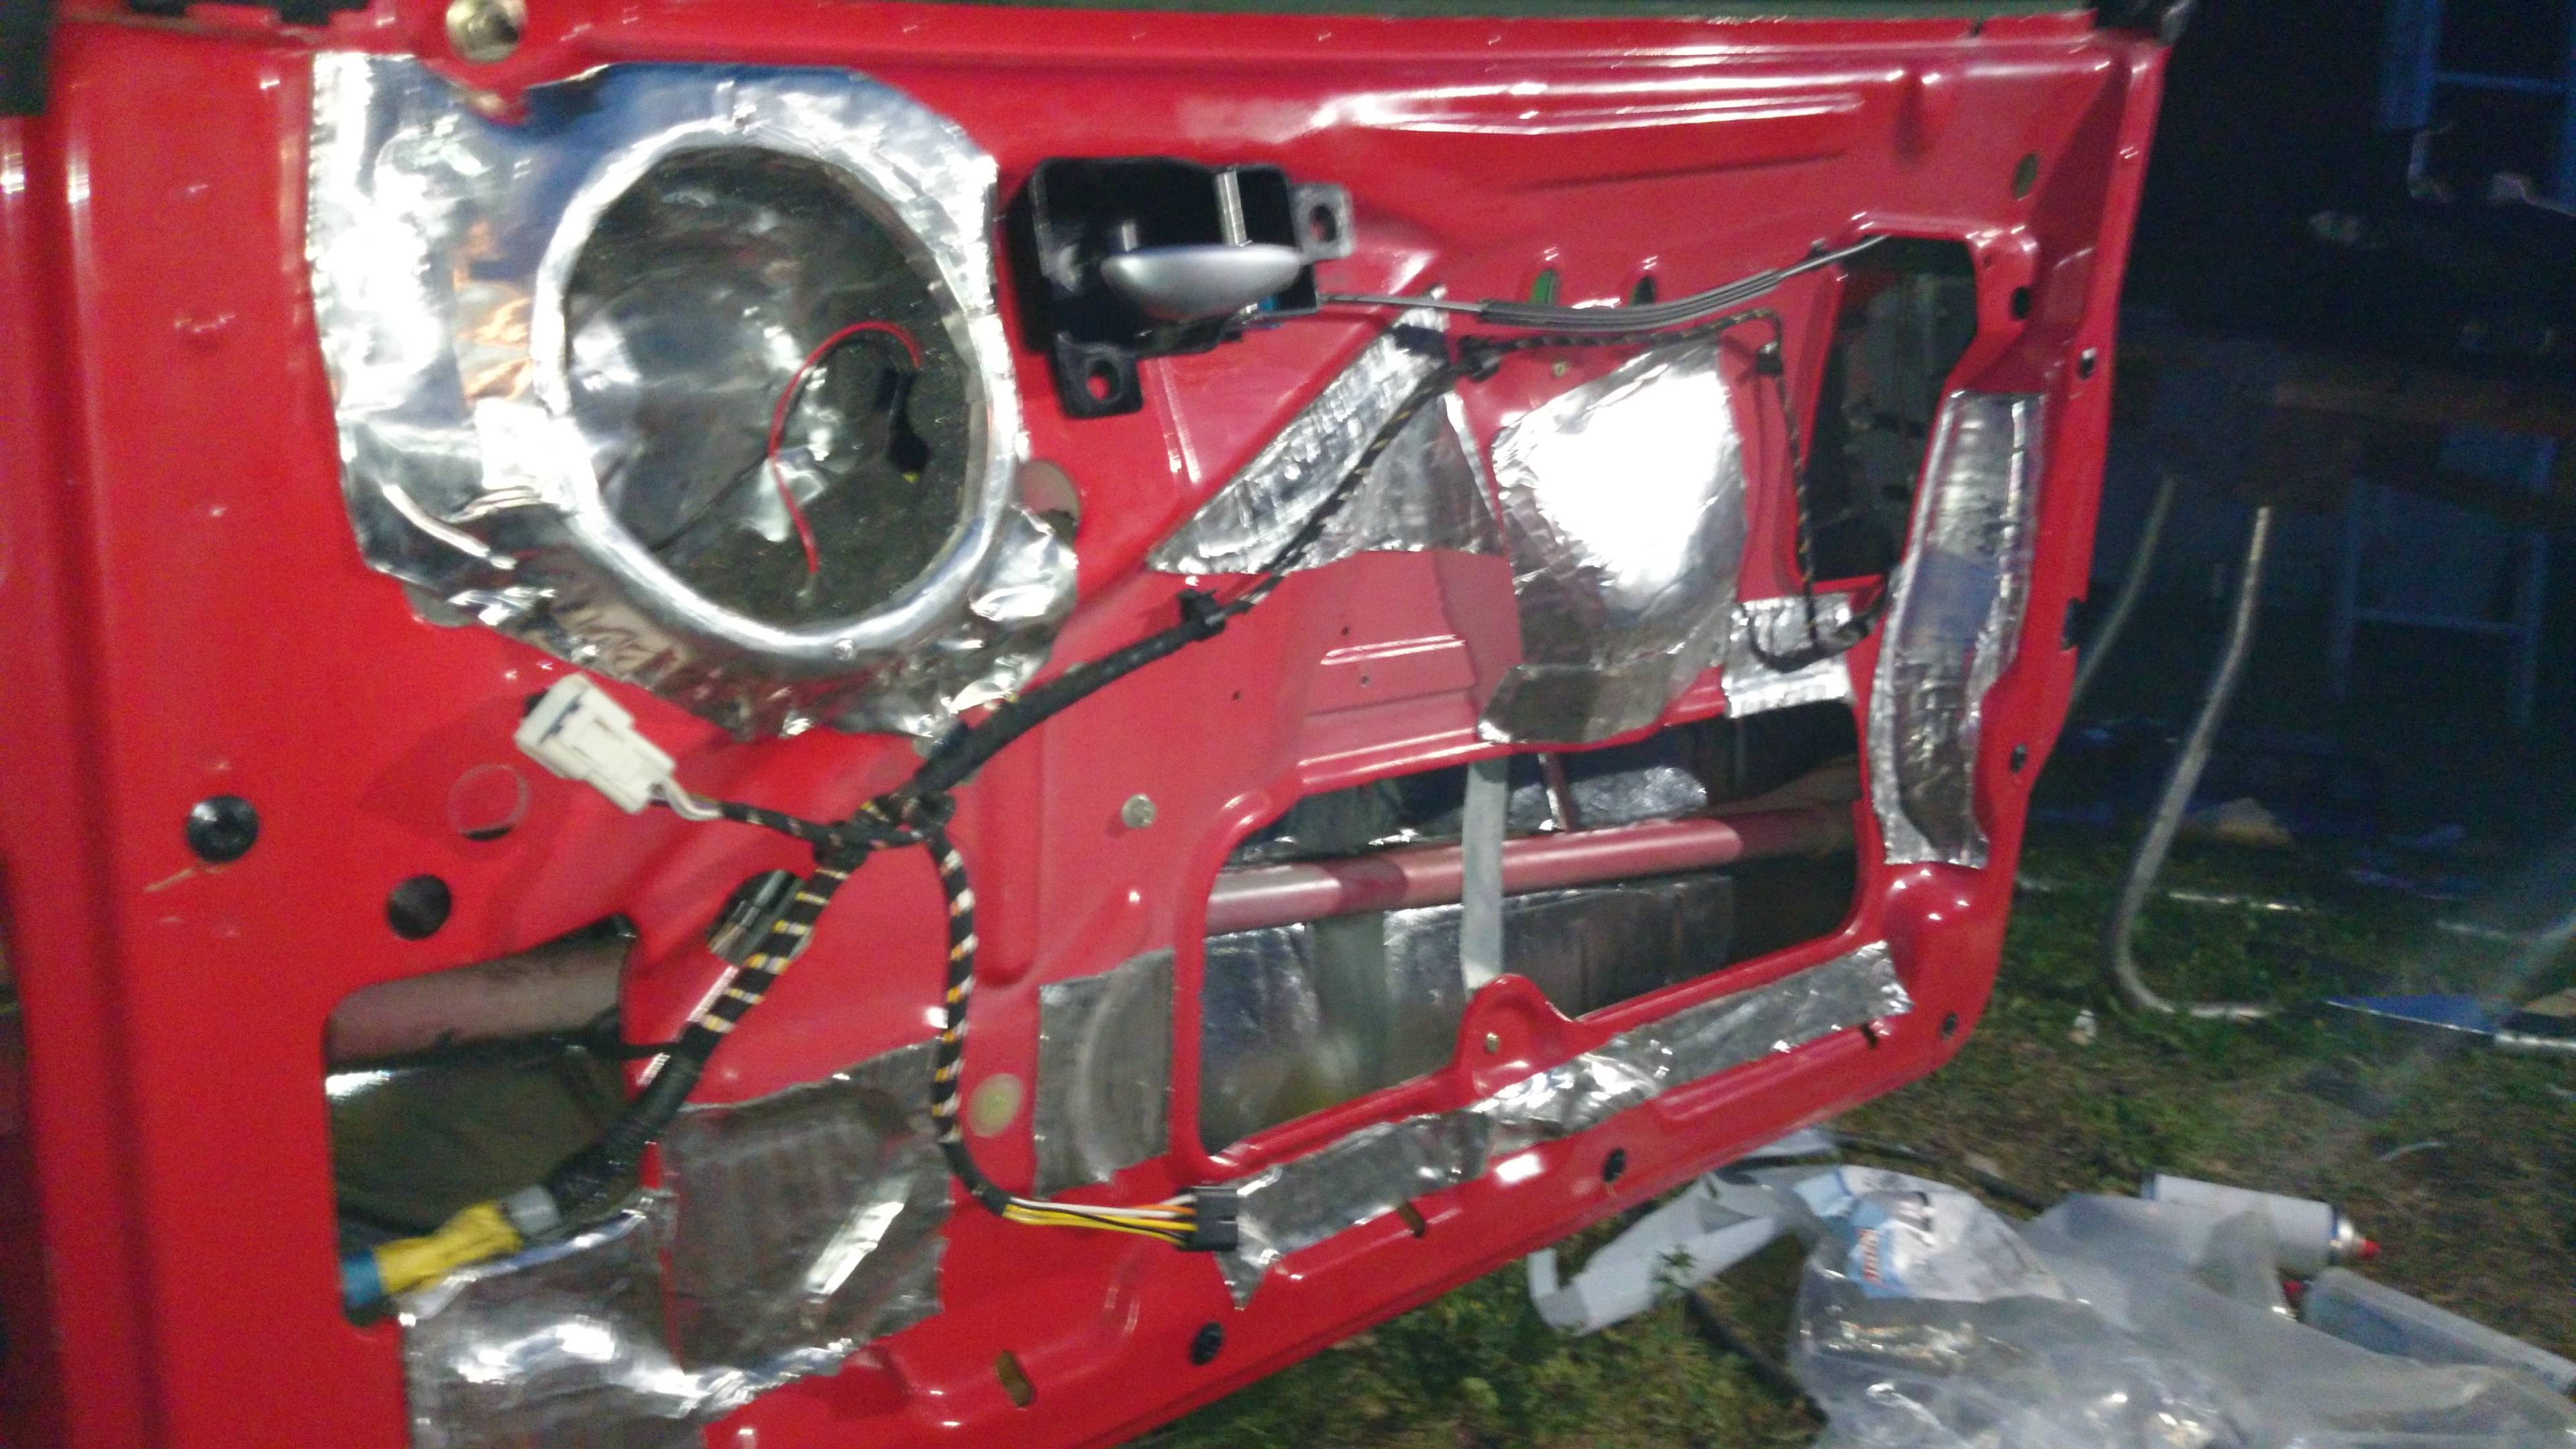
I have used STP on mine and some MDF on front and it did the trick. If I were to put in a subwoofer I'd put inside at least two additional layers of glass fabric and epoxy and after that has cured added dynamat (STP) and glass wool. Probably easier to do as well adn should be plenty enough. IN focus I had glassfibre subwoofer box (properly built, front in MDF and glass wool inside) and 10" subwoofer in it; never single problem with that setup so GF is strong enough
 
Glass fiber is so messy.. I've started to build plywood boxes. :D 
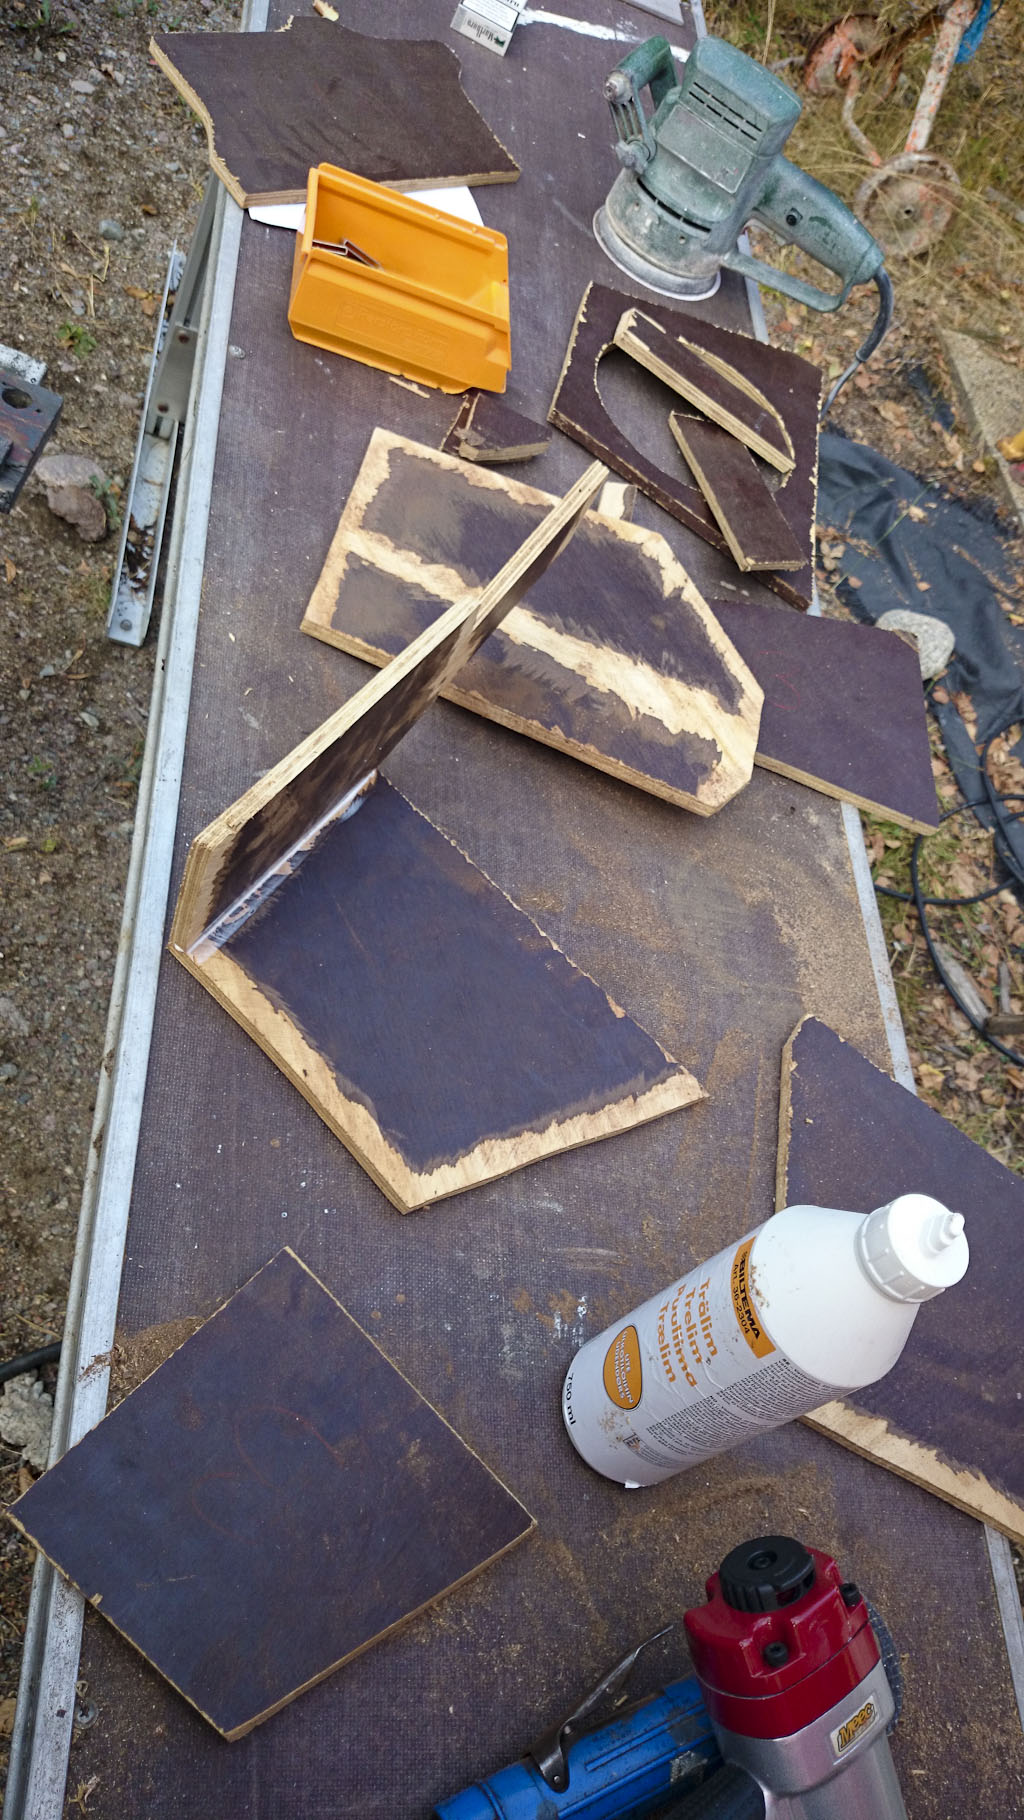
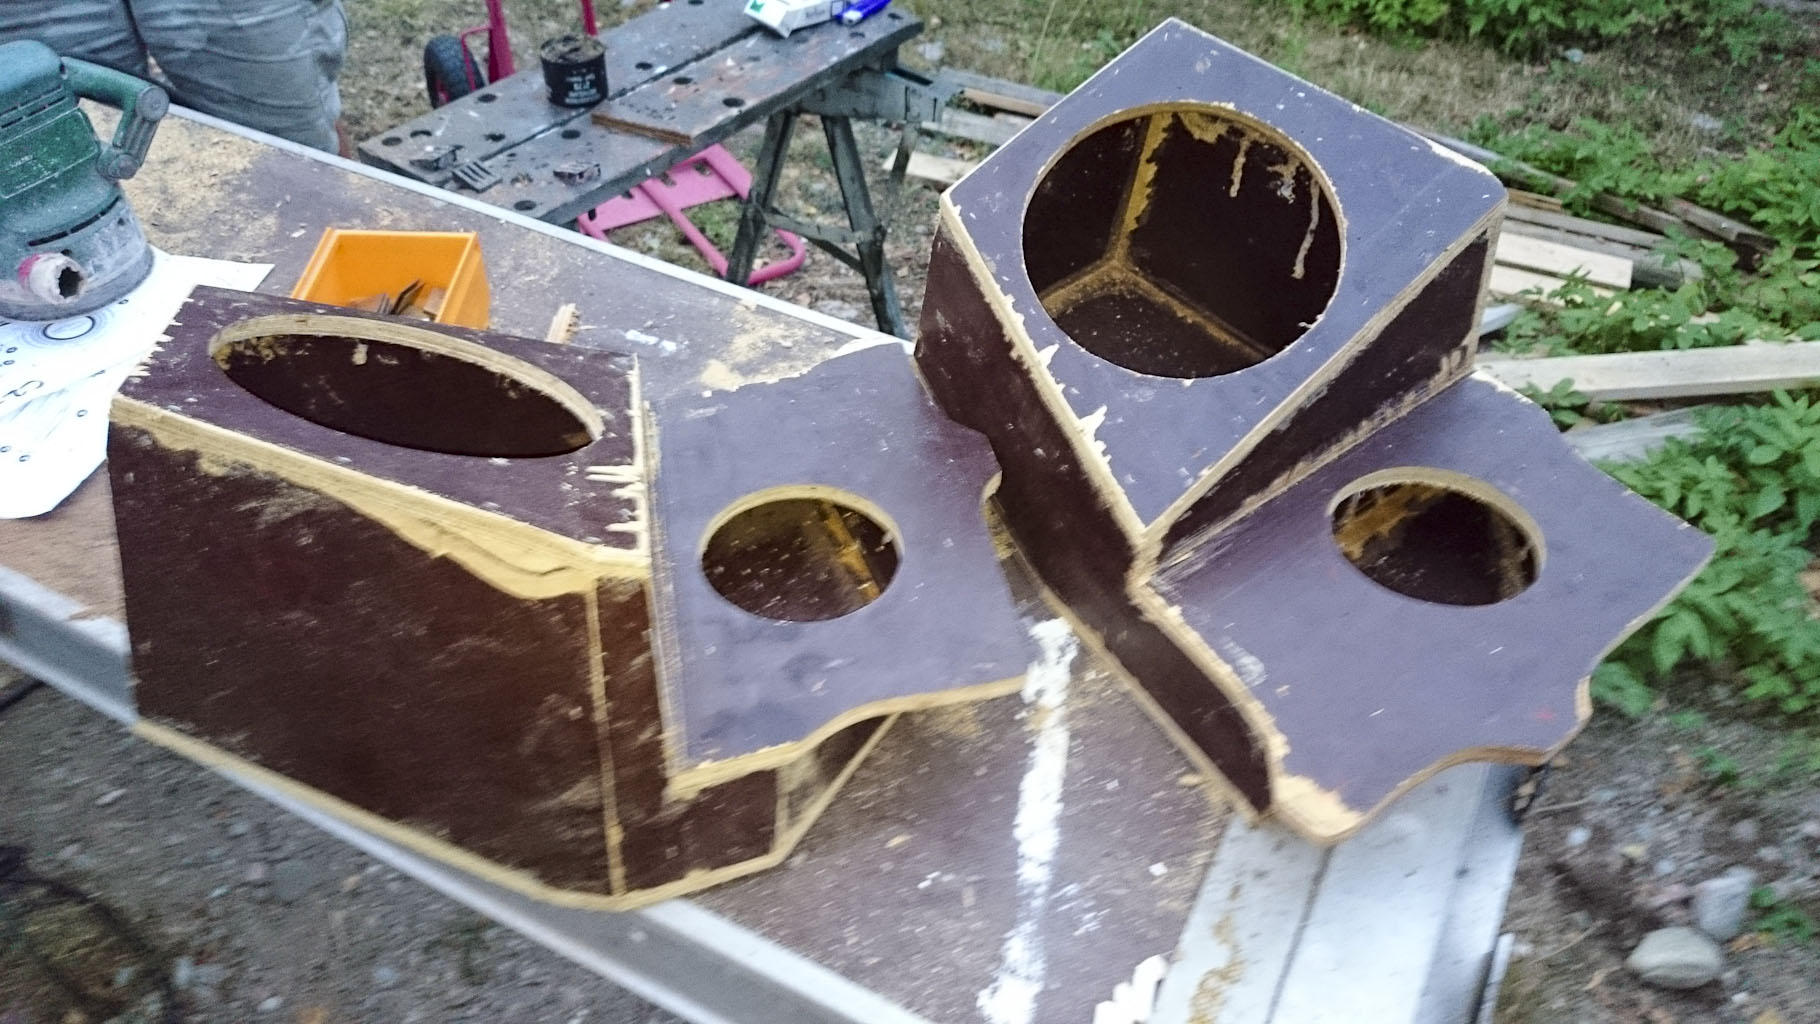
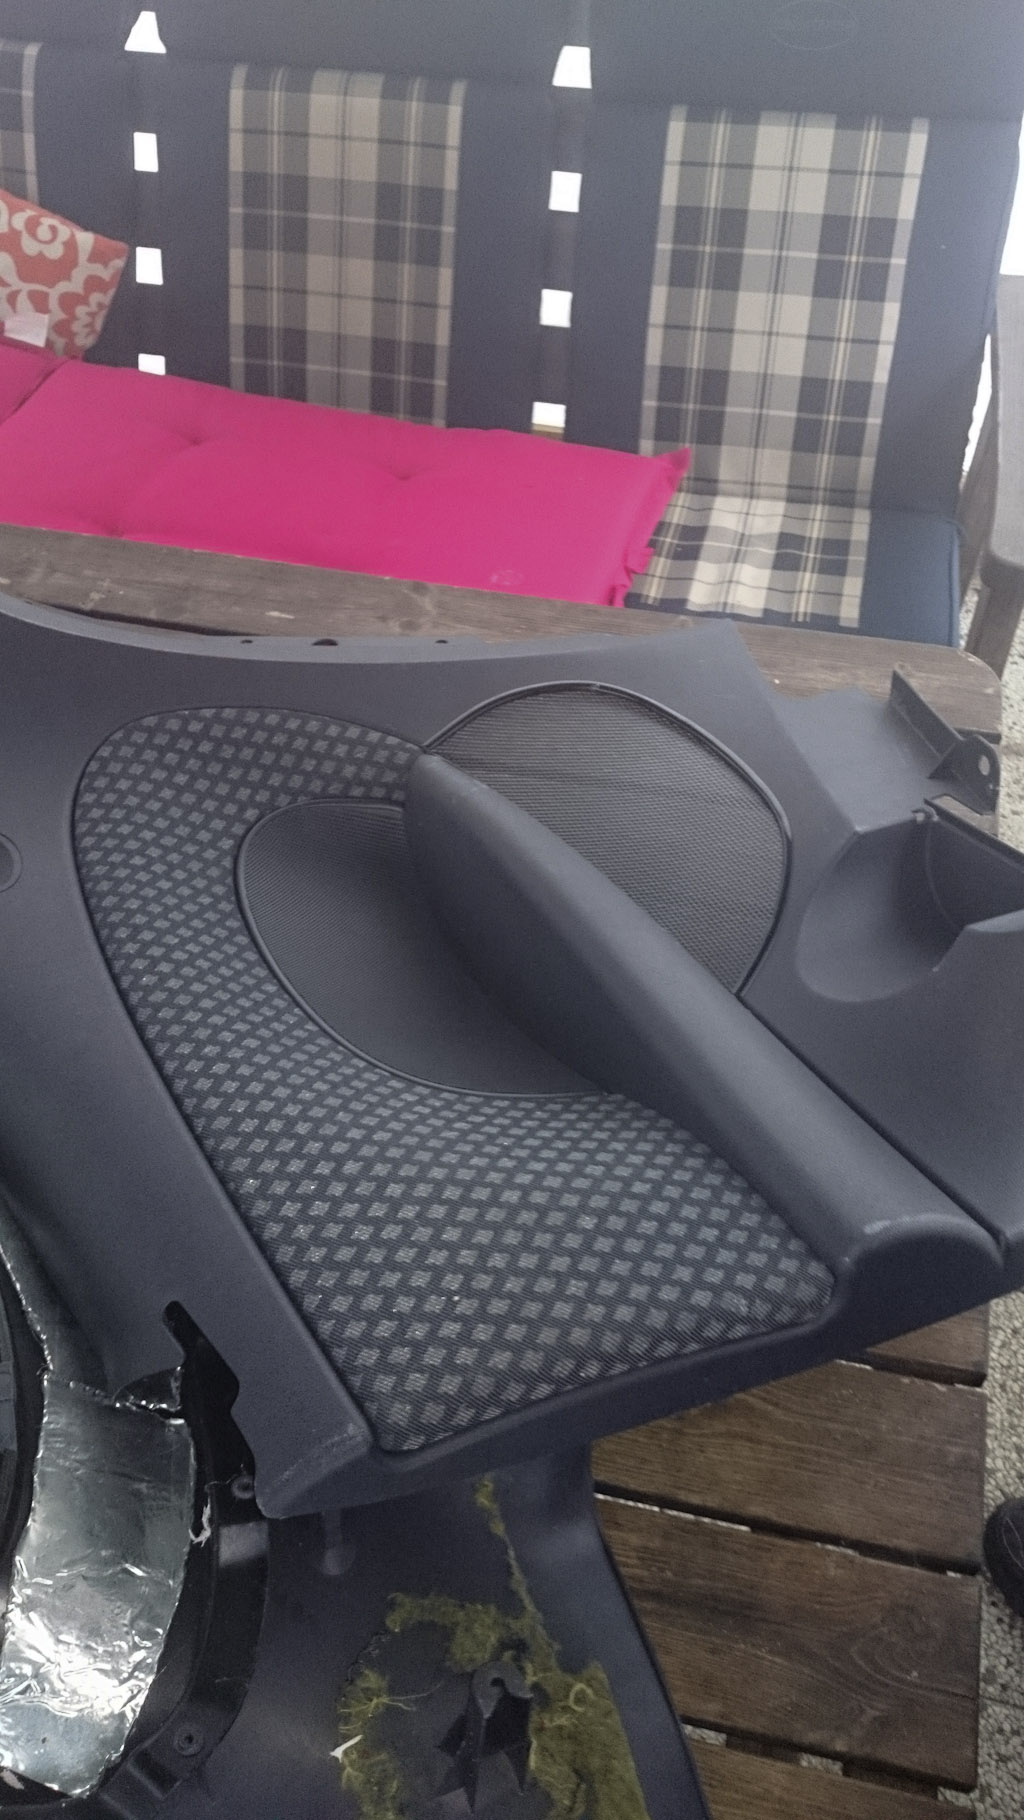
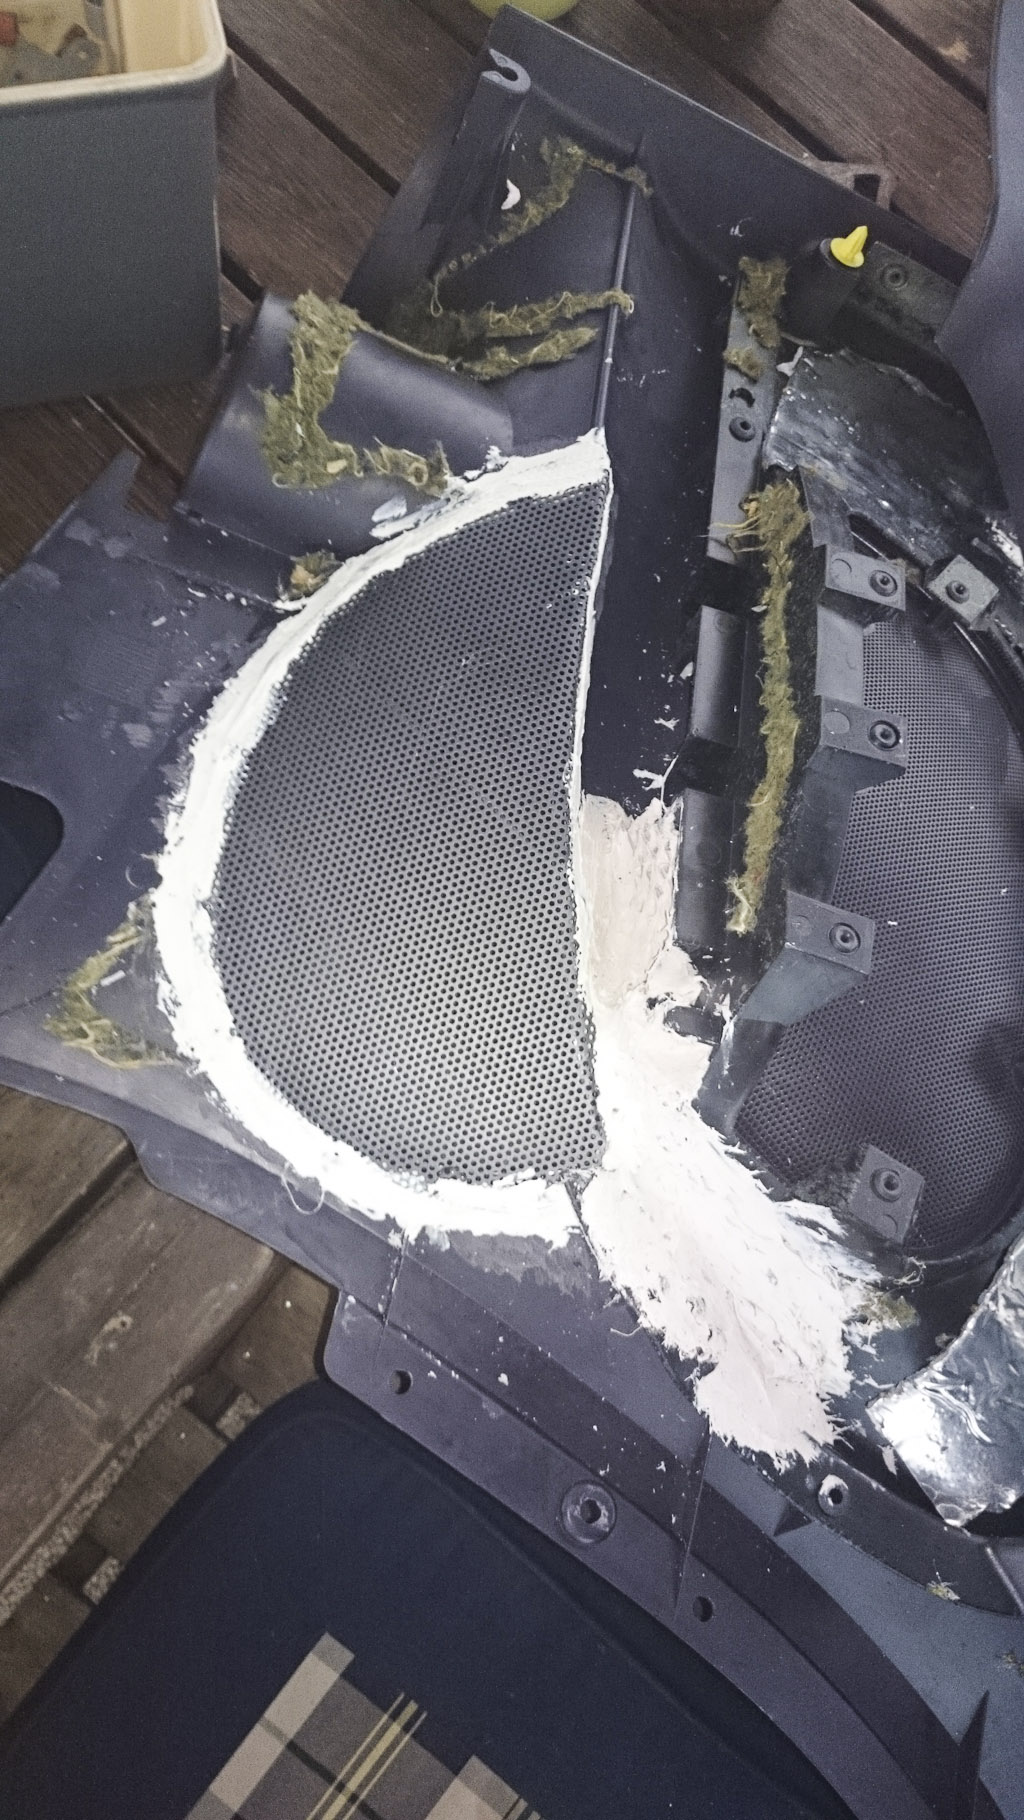
all pieces cut in one day. yes there are a lot of angles. I think i ended up with 11 pieces per box excluding mounting points.

test mounted them in car multiple times with trim during build and made them a fraction smaller so they should fit. remains to glue and screw them together. I think they will actually turn out lighter than the plastic boxes since i don't need to fill them with dynamat. only some small patches. I'll post pictures some day :) they will be super sturdy compared to my plastic bins. mdf might be easier to work with if surface finish is of importance but plywood sounds the best.
 
Put the main bodies of the speaker boxes together today with some help of a friend.

GEOG7qU.jpg

9u2ERII.jpg

cMZ2j0R.jpg
 
Thanks :)
If it's worth doing. It's worth over doing :D

Material usage was less than a board of 10mm marine plywood. I think 120x200mm is enough.

Removed the brown surface from the marine plywood on glue points. otherwise it won't stick together.
Glued with outdoor wooden glue and used a nail gun to bound the pieces. I might seal the plywood edges with glue or something to protect against moisture.

The design could probably be simplified a bit. Now i where mostly focused on replicating the plastic bins.

Whats left to be done on the rear boxes.
*Attach lower mounts
*Add distances on outer top mounts to follow car fastening points.
*wait for 5,25" lj speakers to arrive
*dynamat a little bit.
*cables to speakers.
*make holes in interior panels. Have not decided on speaker grilles or multiple holes directly in the plastic. or maybe a bunch of small bass port flanges.

Whats left of ICE install
*Front doors, sound proof, change speakers to jl.
*Change Head unit
*add amp in boot, make some fastening plate
*reverse camera
*power from battery to amp.
*rca cables to amp
 
Some resonance killing mat in the boxes
f9WsRKT.jpg


There is also open cell foam and fluff inside the boxes.
VFeikh2.jpg


Boxes mounted in car with foam on front (to dampen reflections from grille and refractions)
kbVljh3.jpg


I must say the sound from the small jls is a lot nicer than the infinity:s. Well balanced treble and no ringing in some frequencies. i can't wait until front system is installed properly too!
 
:grin:
Boxes are a bit smaller than the plastic bins and no problem clearing the rear plastic panels. i just need to finish the grilles and get some fresh plastic clips to mount them now.
 
I am really impressed with the result. It looks top-class. Hmm, I guess, it is time to start a new project :roll:

How do you like JL audio speakers? Ofcourse, they need bedding in first, but the thing you said they are not like Infinity is already tempting!
 
thanks! :grin:
Well the project have taken a lot longer than i expected and i haven't even begun with the doors yet.

I'll have to get the front system done before i can tell if the jls are better or a lot better.. :p

Initial thoughts is that the jls have a nicer high end. a bit laydback but still clear. nothing like the infinitys that kind of tear up your soul with treble. the mid and bottom is clear and with no ringing resonances. But now I'm comparing a box mounted speaker and a shitty mounted speaker so that might not be fair. Biggest point of the change is the treble.

Also ordered new door clips, rear panel clips and rear seat mounting clips.
 
Fixed up the rear inner panels.
Meshes painted and some edge trim. Tried to follow the lines of the upper grille.
9PbMyas.jpg


Mesh glued and some glass fibre reinforcement
AwxFmLv.jpg


Sound deadening and some open cell foam.
CQ1yHaF.jpg
 
Thanks. :grin: maybe not the prettiest mounting of the foam but can't see that when mounted.

Grilles painted in matching interior gray.

By mounting these in the car it is already a lot less road noise. Nice!
 
Rebuilt the power distribution. One fat cable from negative to the chassi where all the other cables are distributed from
CWu6reJ.jpg

Refurbished some snap on type battery terminals. the original ones suck..

Fuse on the amp power cable. should be fed to a secondary fuse box in the back. mainly so i can reduce the cable diam the last bit.
de52XWn.jpg

put flex hose over the amp cable to hide it a bit. and positive terminal is fed to a distribution block made of copper. and some heat shring tubing over it. only had yellow thou...

some patches of sound killer. Also tied up the cables under the seat a bit neater.
u1ee1ae.jpg


power and signal cables to amp, reverse camera, remote trunk, and some extra just in case.
gmniRYJ.jpg
 
Lots of effort, BUT:

While you can, I'd strongly recommend that the power cabke is routed differently and not that close to any form of signal cable (in your case reverse camera). Same thing with audio cables. Even the signal cable (switch on/off) for the amp (barely any current) is enough to give you hum in your speakers. At least try everything before you put the interior back

Love the work on power side of the things :wink:
 
I've never had any problems on 4 other cars having power and signal lines on the same side several meters.
On the puma it's separated until last 50 cm. Proper grounding is the key. Should be ok :)

mounted amp today in a wooden plate with felt.
TxWeBqx.jpg


My friend helped with some cabling. You can see the green bungee cord that pulls the amp plate into place.
W9cBXjY.jpg
 
How the rear speakers grilles turned out in car. (not the best picture..)
6CP9PJv.jpg


The previous installation.. what a joke :p
wD6r0Ko.jpg

The speaker distance ring was only mounted with one screw on one side.. and one cone was warped.


Doors cleaned from stuff and dirt
GAOQ5Qc.jpg


I was so much into the build from here that i forgot to take pictures but i think my friend did take some.
Did mount sound killer mat and foam inside doors.
expanded the speaker holes and put some paint on it.
foam on backside of door cards.
some new clips
glued some stuff that had come loose from the doorcards.
put sound mat in speaker bins and closed them.
mounted speaker
glued moisture barrier
put everything back.

Sounds amazingly good now :grin:
And even the original stereo can play loud.

Car a lot more quiet now.

Also fixed the passenger window that where sticking. one bolt to the guide rails had come of and some previous owner had put some cardboard between rail and door. of course it sticks then... Also put some silicone grease in moving parts. Now its like new :)

and boot gas struts changed to new ones.

Long day.

Tomorrow head unit and maybe some decent pictures.
 
Excellent progress! It is amazing how the car quiets itself down after the treatment, isn't it? Do the roof as well, while at it. You will appretiate after the first drive in the rain :wink:
 
almost annoyingly quiet :grin:
I should get the roof done too. but maybe with a bit less material.

Put head unit in today but needs some fiddling with the cables behind the unit before it sits properly in the dash.
had to remove 4 mm on the gray plastic thing on the bottom edge of the hole and bend up 2 small metal flanges a top, Then it was quite the push to get it in but it fits. kind of.. :)

Finally some sound tests. I'm a bit surprised how loud it plays! :grin: The jl:s sound a million times better than the old crappy installation. Very linear frequency response from the fronts and rears. Almost no eq required so far. Should take a good listening session and fine tune.

The android head unit have some interesting set of features and lack of some. Can't set sub roll-off freq and level for example. Lucky me it's quite ok set up from the beginning. Could always use an external rca filter for experimentation.
 
Door.
sound killer and foam panels on whole outer panel and some left over pieces on the inner parts.
ce8aGuF.jpg

Looks funky but works :)

You can also spot the closed speaker bins filled with some fluffy stuff.
 

Latest posts

Back
Top