Mr Fox's Puma

ProjectPuma

Help Support ProjectPuma:

This site may earn a commission from merchant affiliate links, including eBay, Amazon, and others.
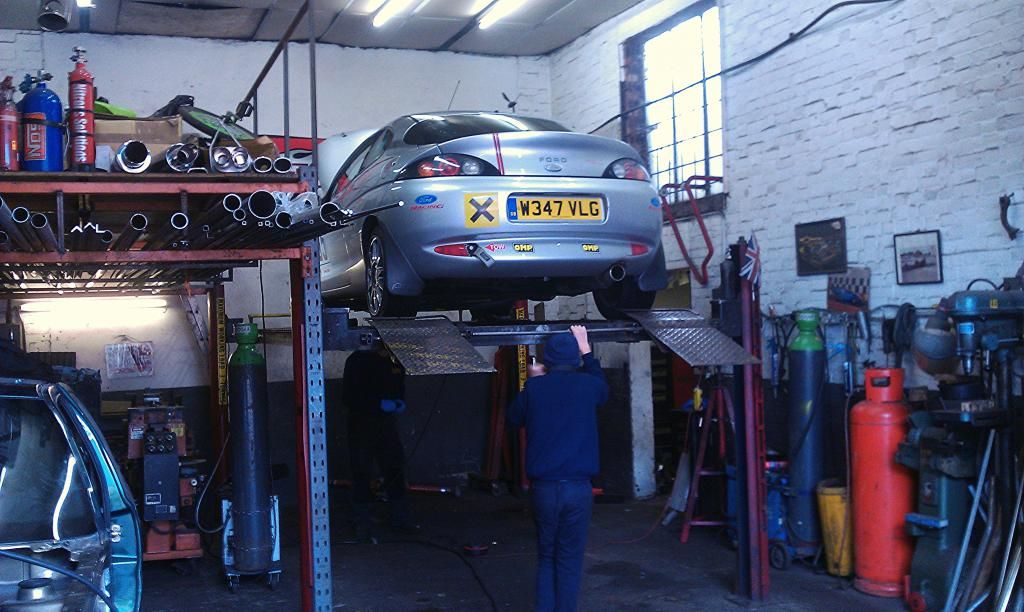
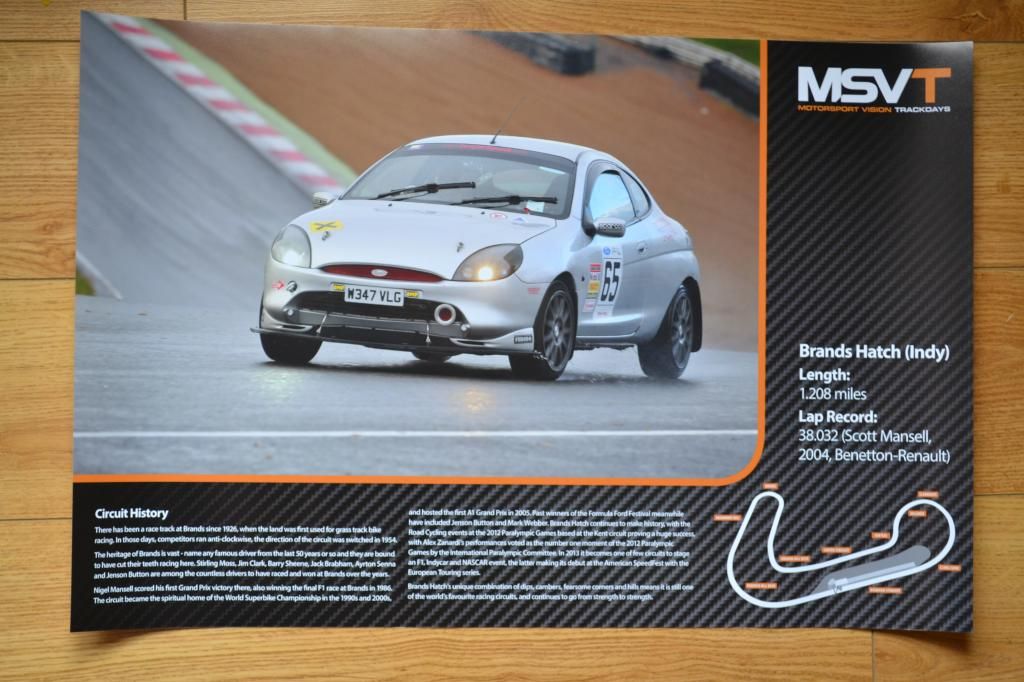
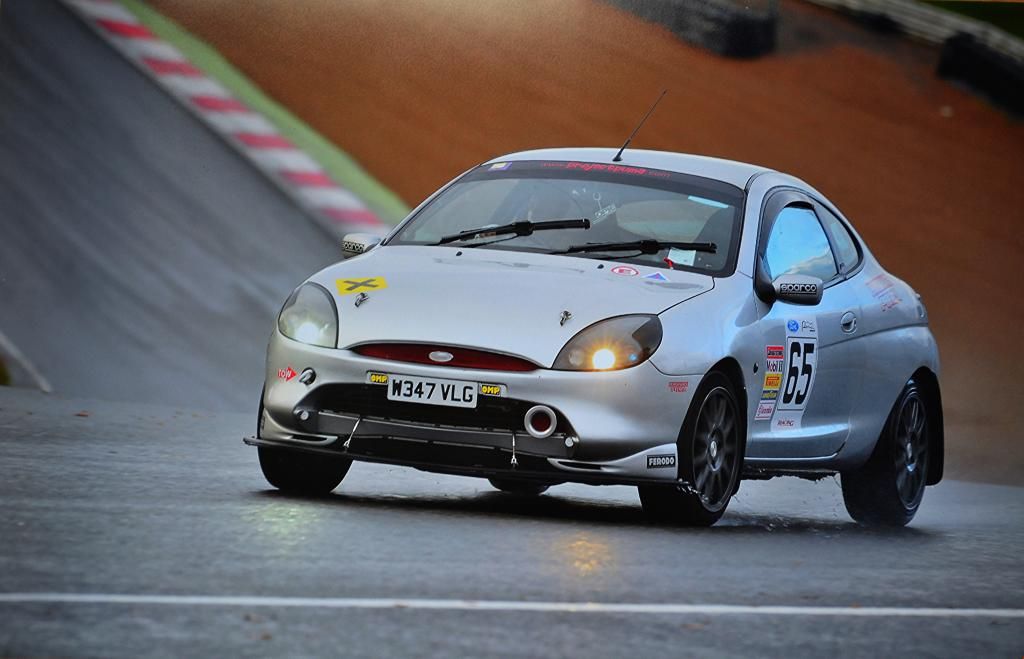
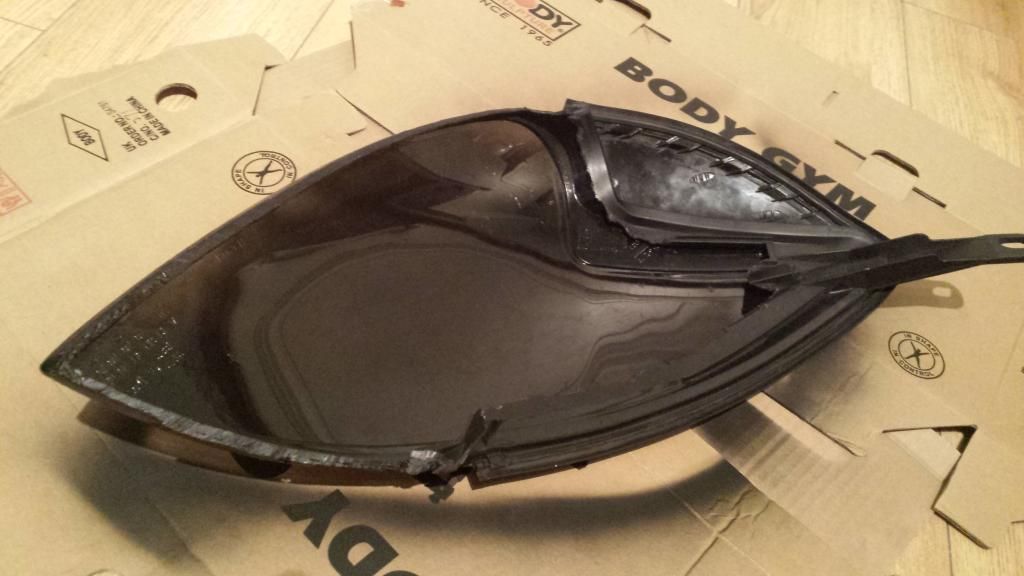
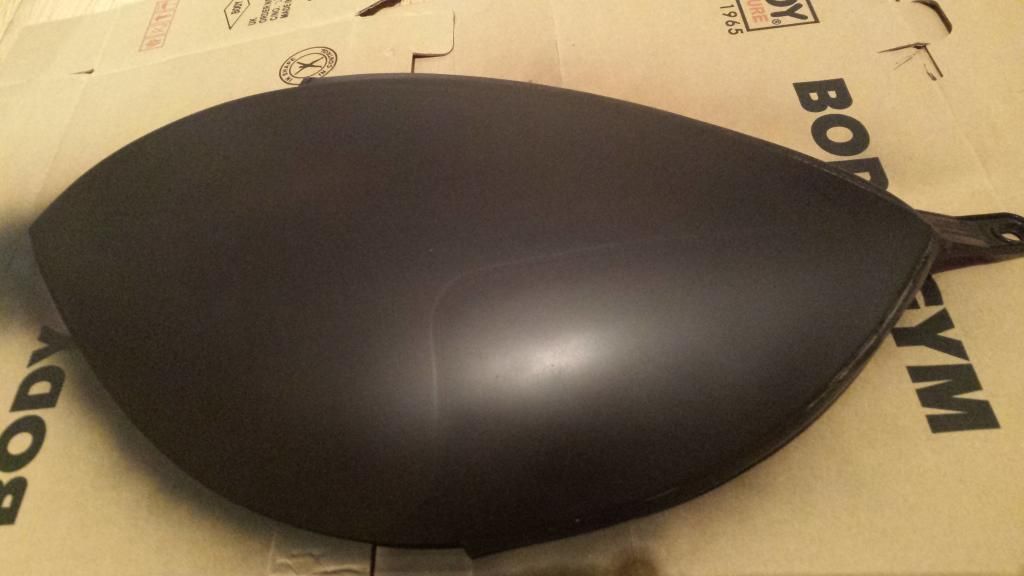
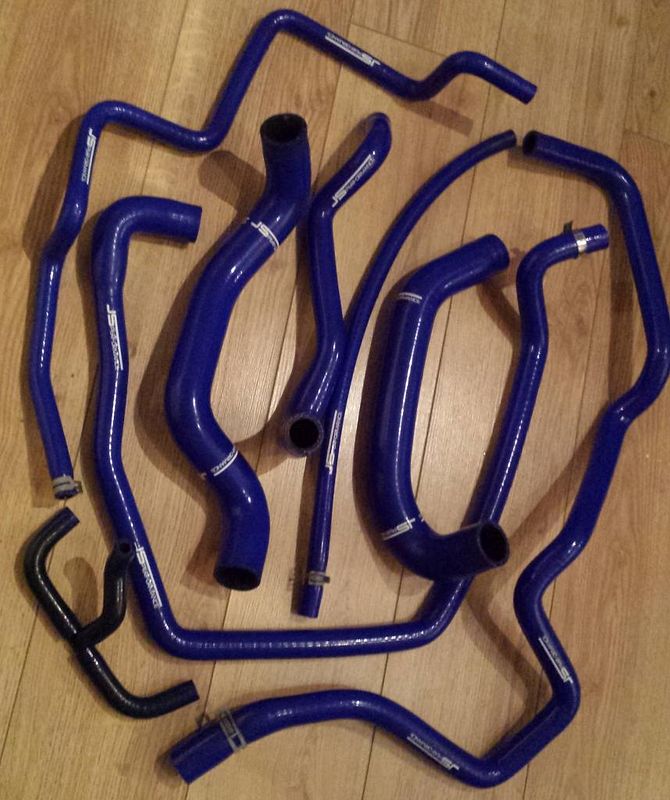
All Fitted! :grin: :grin: :grin: ... well almost.

Couldn't get the brake pipes bent for the Mondeo servo and my horn worked only twice then broke but part from those two things all went well. Another stuff done not pictured above are:

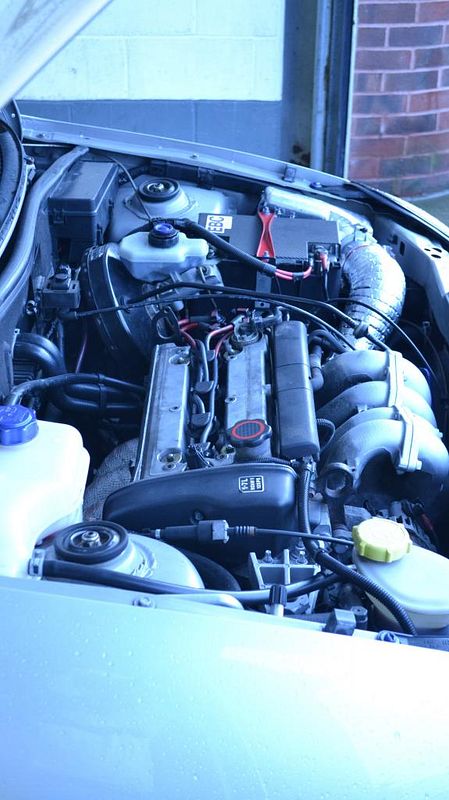
Cambelt Change + Water pump, Rocker Gasket and new Idle Pulley (belt was worn and brown in places causing nasty tick over noise)and a VibraTechnics Engine Mount (Gearbox)

I absolutely LOVE the VibraTechnics Mount, it's homed the whole car together I know people rave about the lower strut brace but this is a different league and car doesn't dip like it used too under braking which gives you lots of confidence!

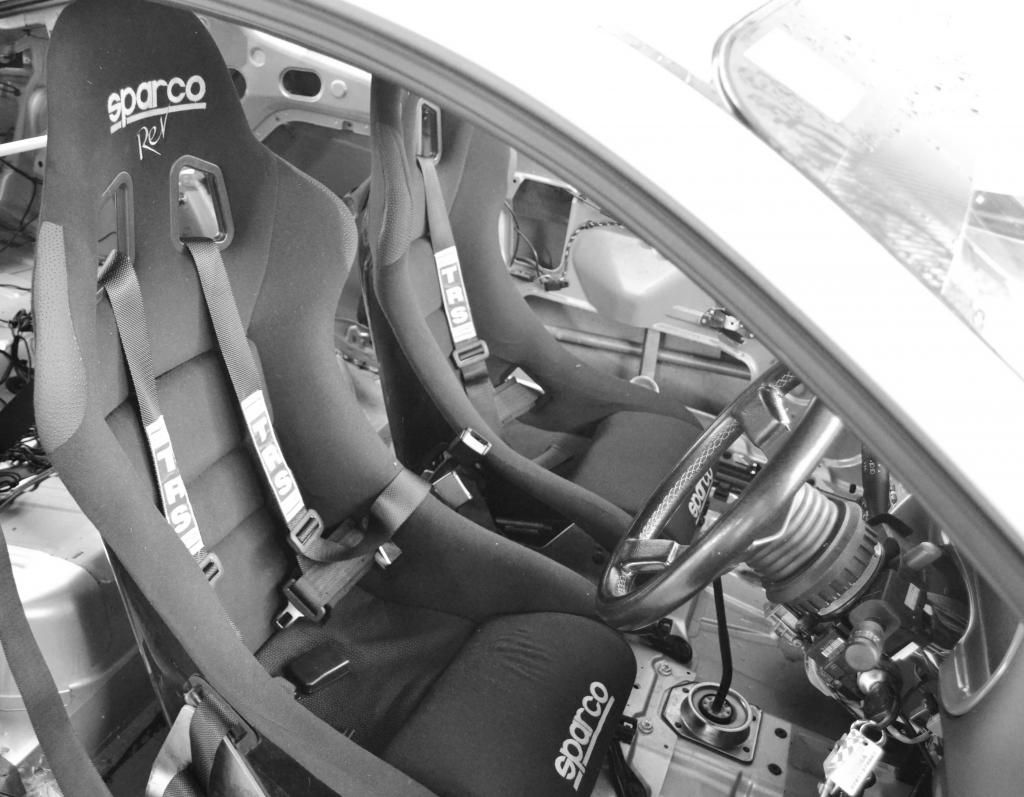
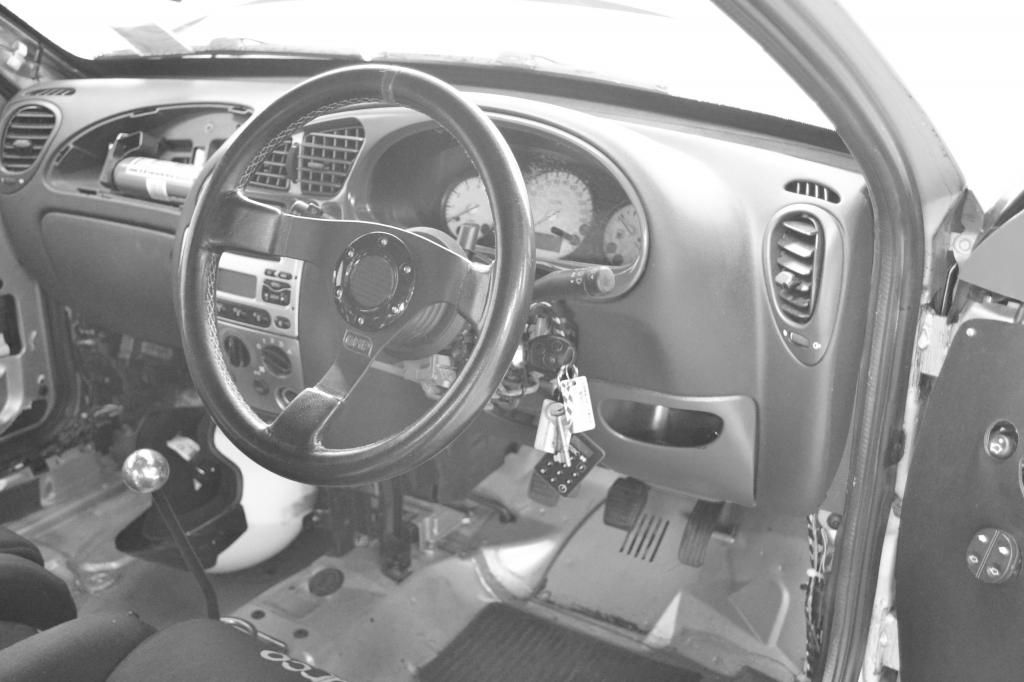
I thought my Daytonas were bucket seats, how wrong was I!, Sparco Rev are REAL bucket seats there’s no going nowhere, wheel lovely too and you can throw the car into corners much easily with more accuracy

Restoration Time!

Before you read the below please note I am a total, total novice when it comes to body repairs and everything carried out was for the first time...but thought why not give it a crack!

I was all into polishing and waxing the car like a madman a few years back but jacked it all in and not fussed with the body condition at all anymore (that becomes normal when your car gets bumped regulary on a public street (no drive or garage)
:( the reason I spent a long weekend doing the below work was so the rust didn't take over the car and become a bigger problem than it should!

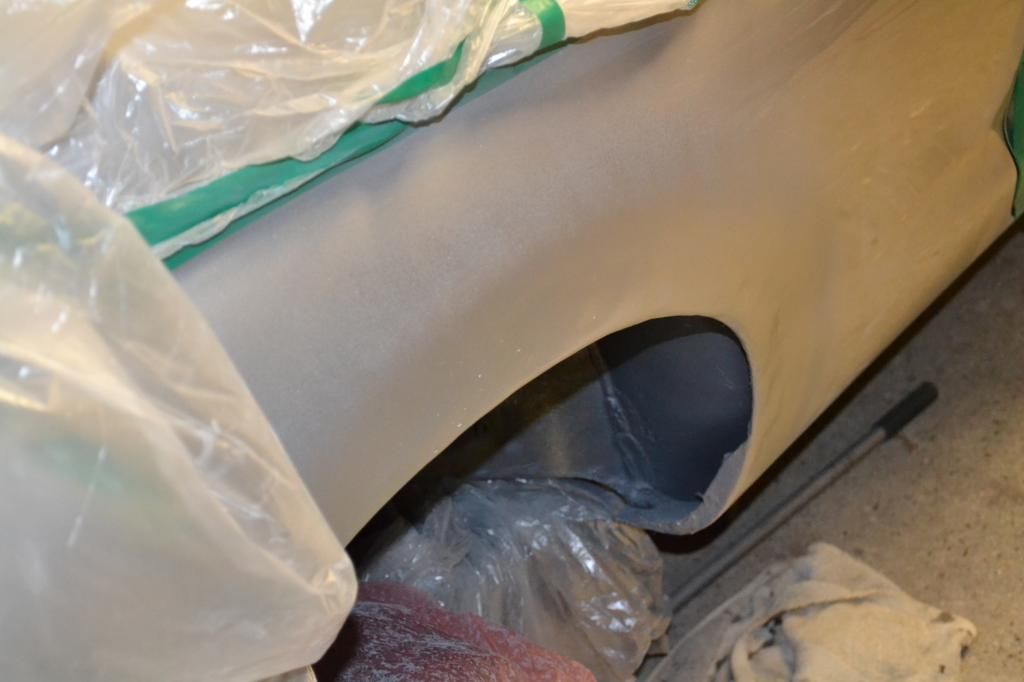
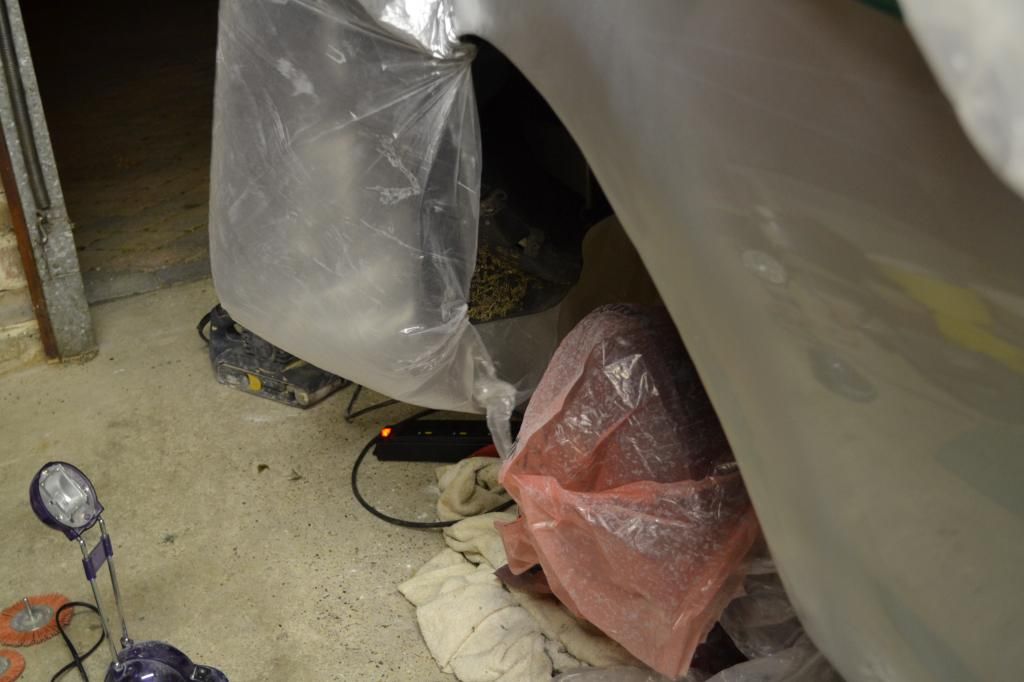
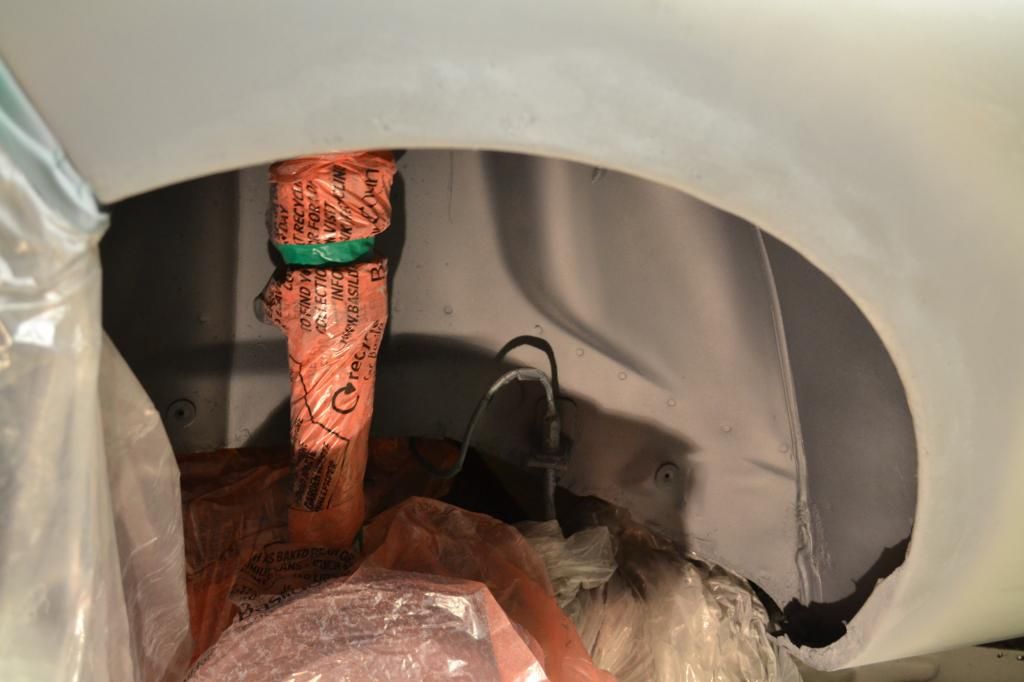
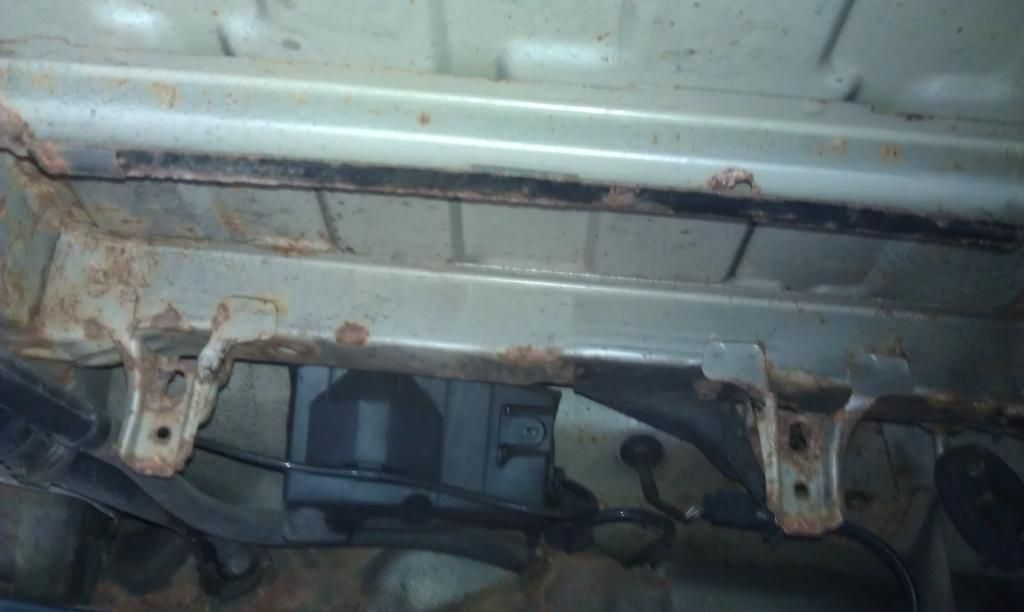
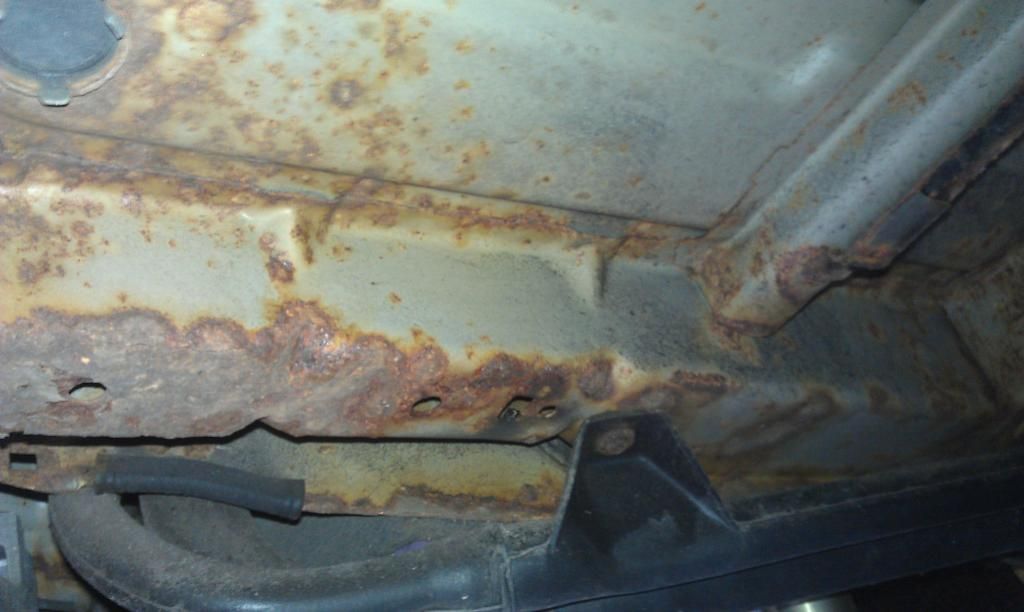
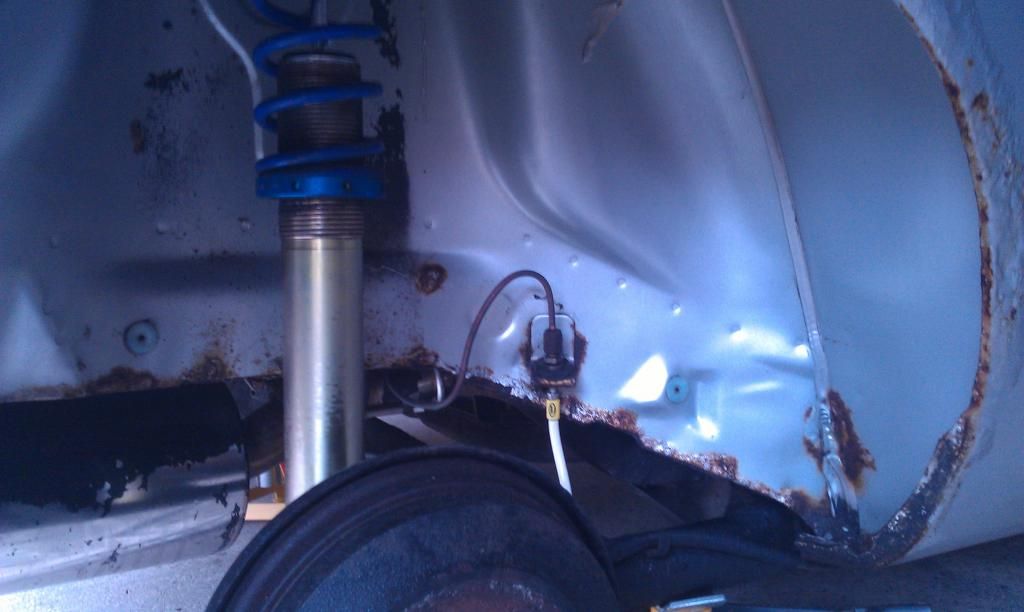
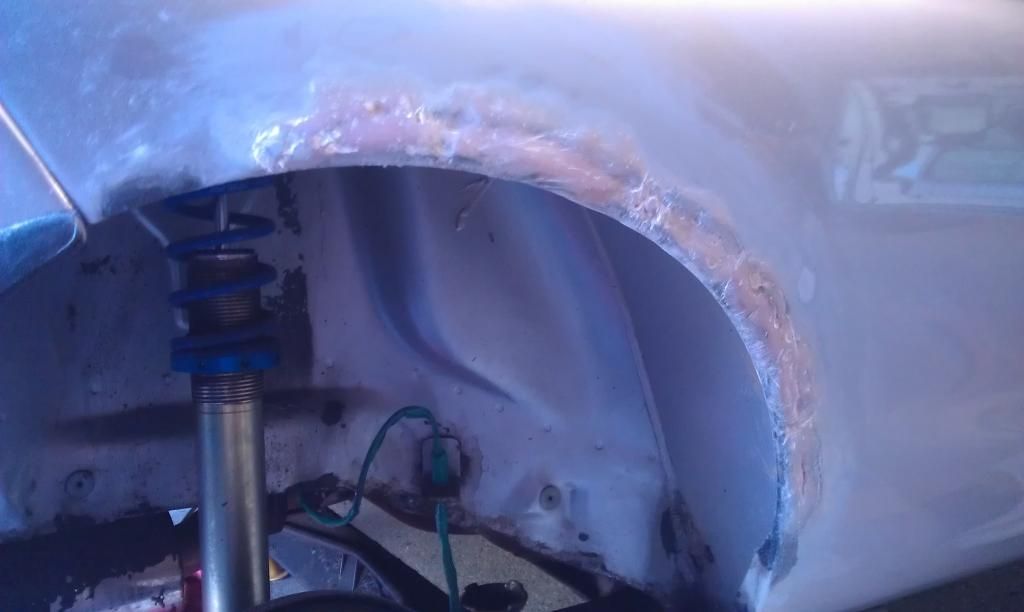
I left for my parents place in Essex for the use of their garage the next morning with some LONG overdue preventive treatment in mind. Firstly I removed the rear arch carpets, wire brushed rust, degreased the inner arches and the drums I then started grinding out the nearside rear arch rust with a twist knot before treating everything with Kurust and leaving for 3 hours.

You can see how bad the rust got...


IMAG0357_zps35fb3c00.jpg


IMAG0358_zpsbedd0223.jpg


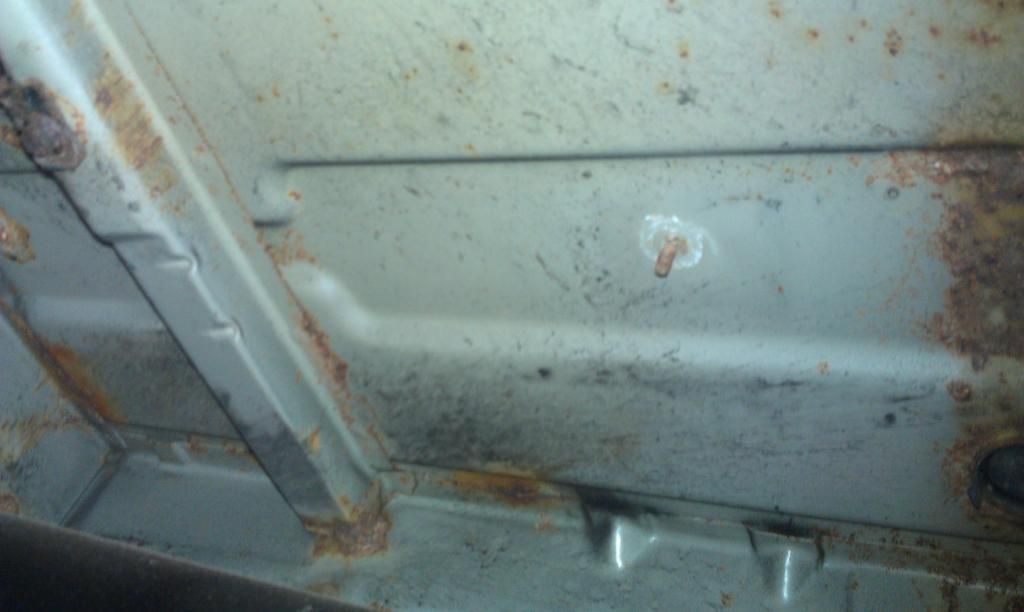
Starting to grind out the rust!

IMAG0359_zps0e582339.jpg


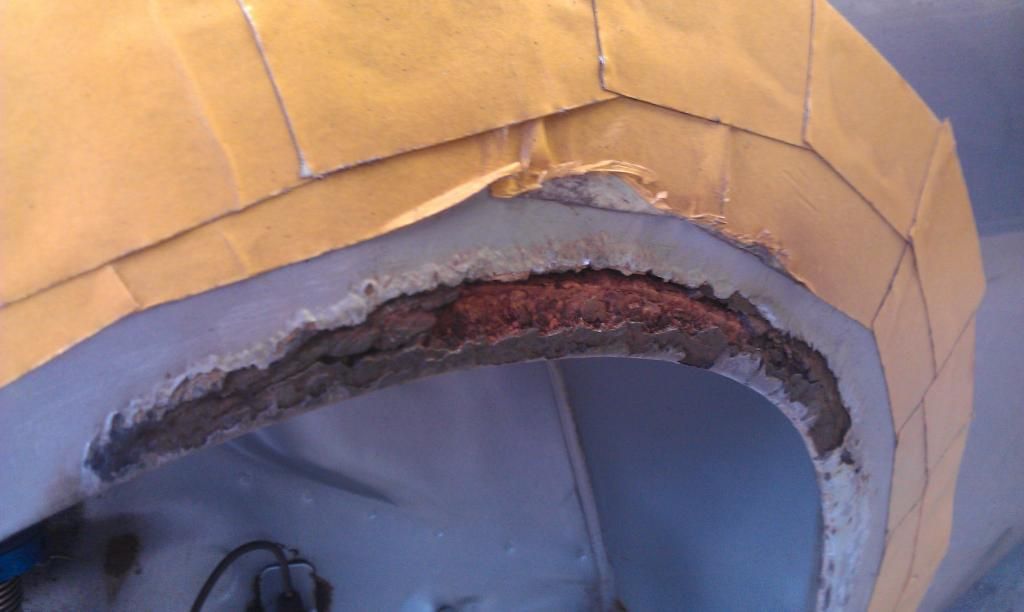
Thats not a hole... this is a hole!

IMAG0362_zps8112b564.jpg


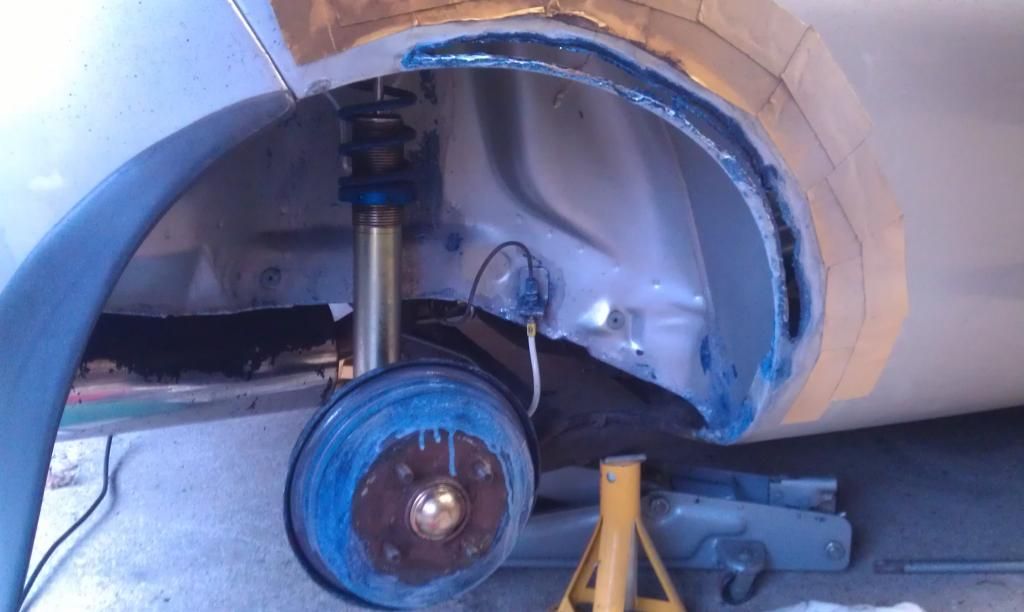
Then started Fibreglassing!

IMAG0371_zps7922859c.jpg


IMAG0373_zps57a45148.jpg


Starting to Rub down after P38 also applied!

IMAG0379_zps2753fac0.jpg


DSC_0496_zps7ed4fa85.jpg


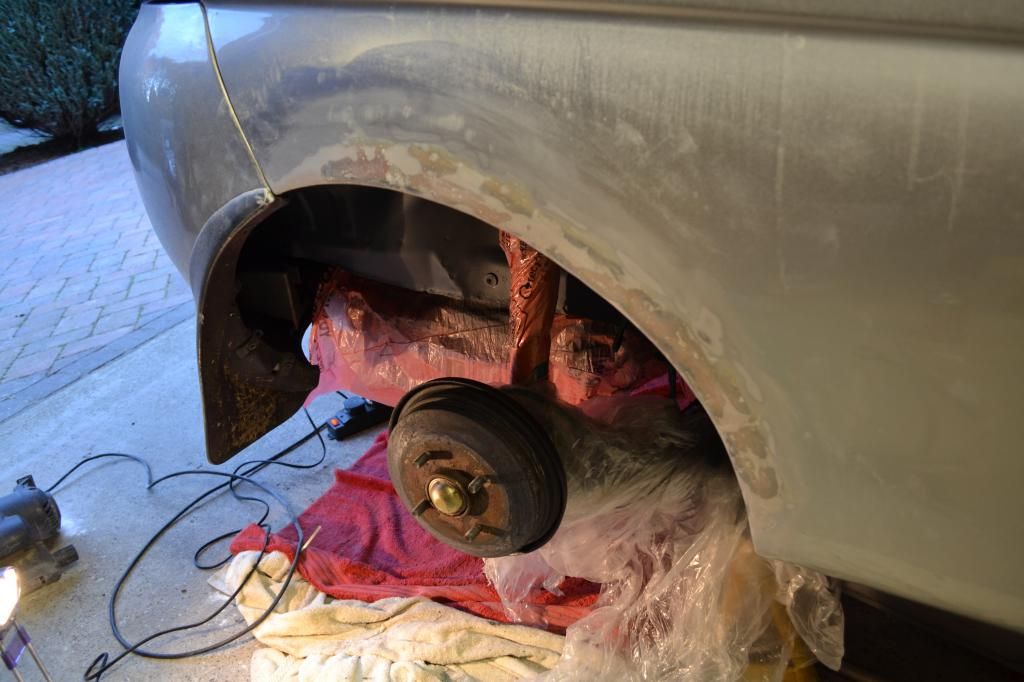
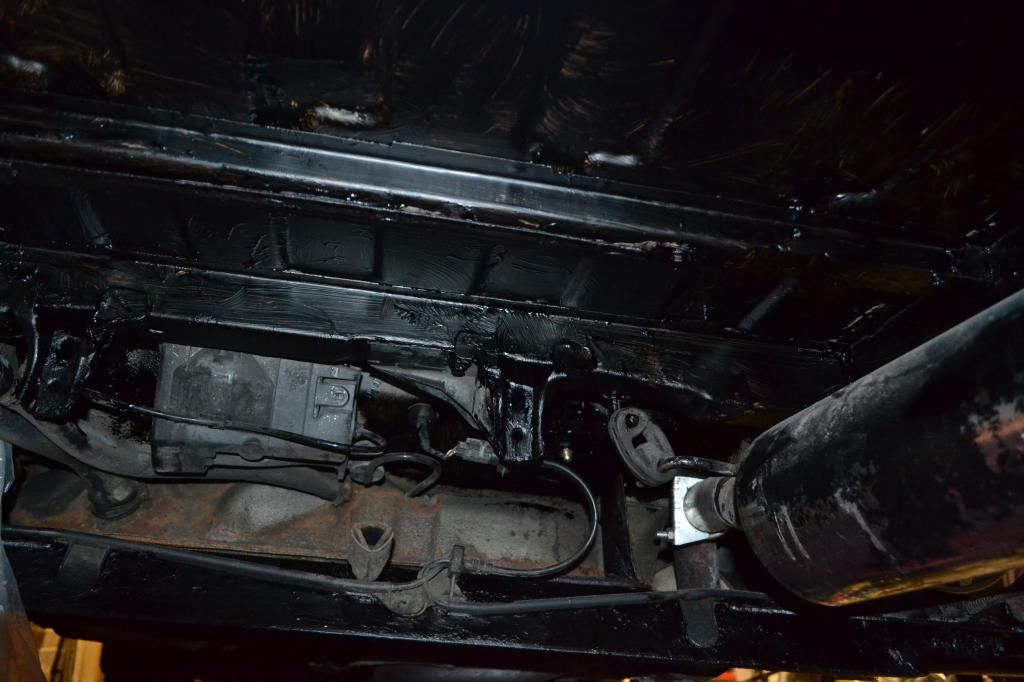
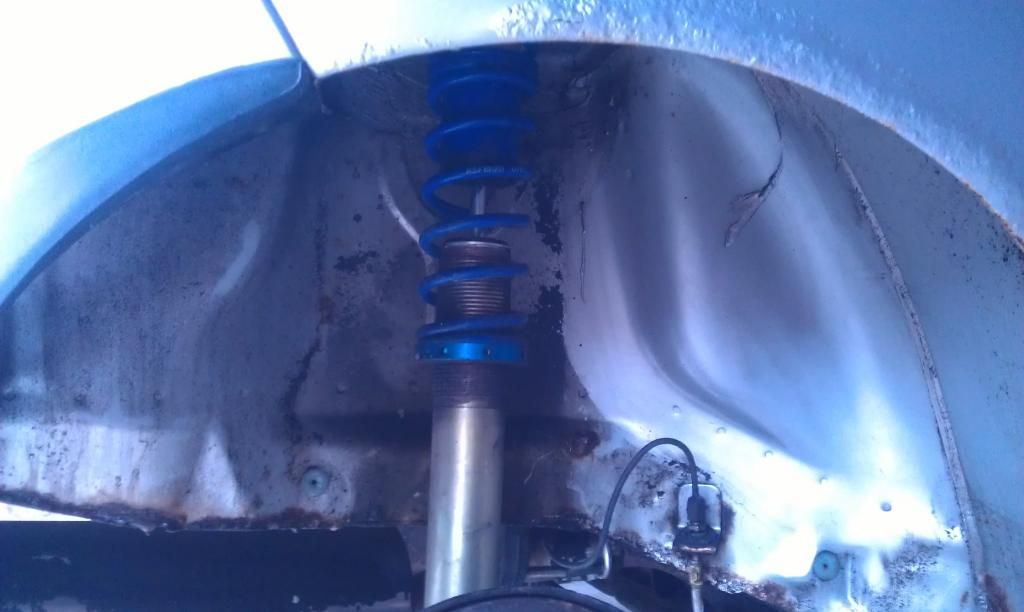
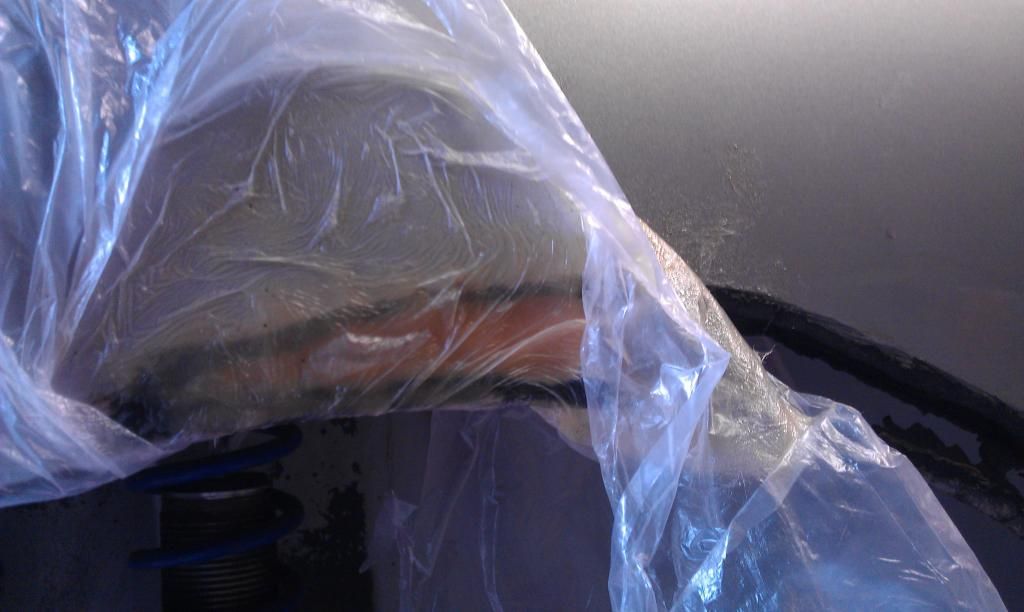
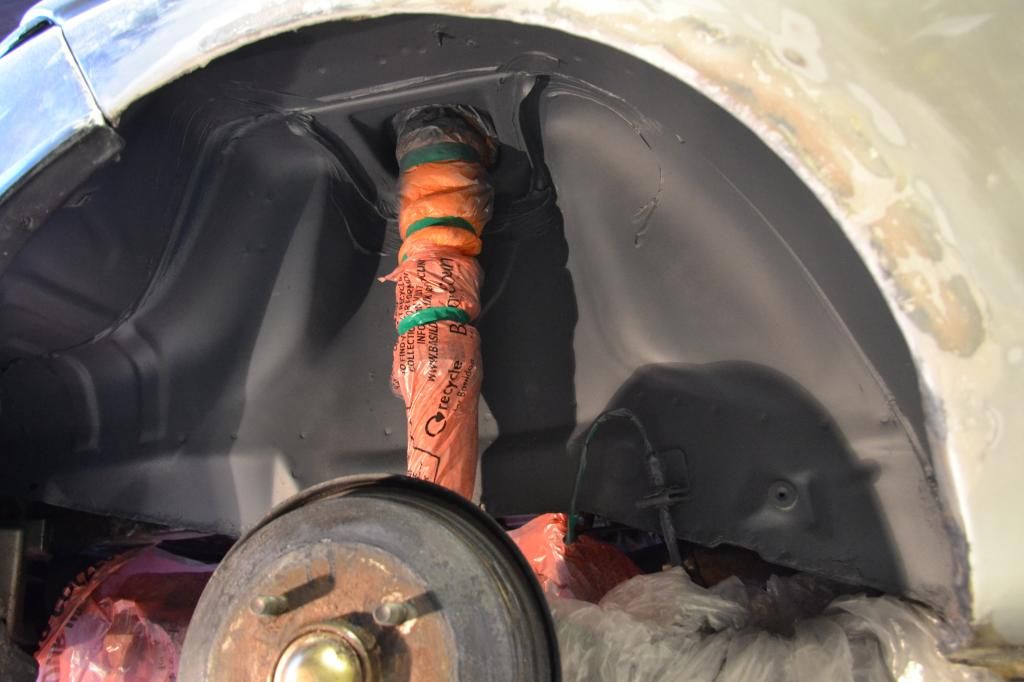
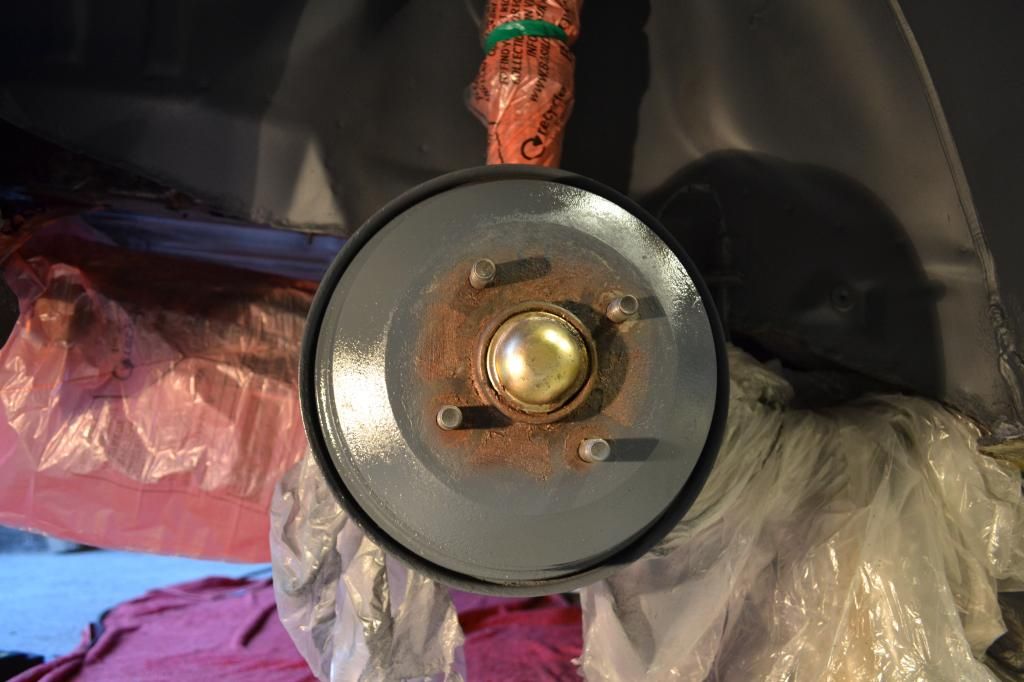
Wrapped up coilovers and brake lines/hoses and applied Hammerite Stone Chip Shield


stonechip1_zpsfb2368c8.jpg


stonechip2_zpsb0704ebc.jpg


Next half to follow, I'm at Work and run out of my lunchbreak!
 
After all that work I did...including fiberglassing them, mine have started to bubble through again, going to have to do the Peugeot thing and cut them out completely
 
Looks good so far. Hopefully the fiberglass will hold.
Will probably keep the rust away for a few monts to a year. Like Noobrider said; If your skilled enough (and can weld) you could try the Peugeot wing/Kizza arches.
 
Noobrider said:
After all that work I did...including fiberglassing them, mine have started to bubble through again, going to have to do the Peugeot thing and cut them out completely

Well that's the thing I didn't spend long doing it, much less than a day as I knew I could spend a week trying to get the surface just curved correctly but I don't obviously have the skill or experience, the surface is bumpy as a finished result but at least its not bumpy with horrible rust for now, if it keeps the rust from growing for a year I'm happy!

Brian' said:
Looks good so far. Hopefully the fiberglass will hold.
Will probably keep the rust away for a few monts to a year. Like Noobrider said; If your skilled enough (and can weld) you could try the Peugeot wing/Kizza arches.

Fiberglass will definitely hold as its a good thickness, I have a pair of puma arches from the group buy from Germany on here if it gets to the point where I have to use them I will but I'd rather spend money on enjoying the car rather than it looking showroom.
 
Second Half

Finished Result, as I mentioned its poor and bumpy but couldn't do much better especially in the time

painted2_zps8e7b65a5.jpg


painted3_zps07ddb096.jpg


painted1_zps52117aef.jpg


Rear Underside

IMAG0368_zpsbc668360.jpg


IMAG0369_zpse8f46e1f.jpg


IMAG0370_zpsff99da9c.jpg


From the Petrol Tank back (including rear beam) I taped up/covered all electrics/plasics and wire brushed rust, degreased, Kurust'd, etch primed and coated with Hammerite Underseal (with added Waxoyl) annoyingly it's a little thin on some of the flatter surfaces

DSC_0541_zps99243809.jpg


I mocked up some Door Cards from a couple of sheets of matt black foam board, I only got to do the drivers side and still got a little to do (including fitting a handle, lol) but marked up a template for the passenger side so will be quick and easy to cut out the other one. Keeping my front speakers but ditched the heavier rear boxes.

DSC_0536_zps07ffd366.jpg


Will finish it off Sat/Sun ready for the Track on Monday :pose:
 
As some of you may know a blew my exhaust at Brands Hatch on 3rd November so popped into FlowTech in Dagenham this morning, the fexi had cracked almost all the way around, it had sapped the power big time and was louder than you could imagine! Reason it cracked as the nice bloke there explained was the weight of the centre pipe and some of the backbox was acting on the flexi so they welded in a brand new one and an extra custom mount just before it for support..

nabbed a quick photo of it on their lift

IMAG0400_zps22a9286d.jpg


Forgot to mention before but a new bosch coilpacks been fitted and a rear strut brace helped sniffen the backend while retaining ride comfort. I'm going to underseal over the stonechip shield on the rear wheel arches, the noise the rain and stones make without the carpet is surpising! so hopefully should tone that down and provide extra protection at the same time. Also added a fire extinguisher where the passenger airbag used to be, I actually had one too!

Love my driving position, a gear stick extender like Jay's done will improve my coordination and help me keep me more focused on the road/track. couple of B&W's

DSC_0588_zps25f43c8b.jpg

DSC_0585_zps1803c67c.jpg


Pic of engine bay while cooling down at Brands

DSC_0587_zpsce0de231.jpg
 
Nice build thread, just bought my first Puma a few months ago and thinking of doing the very same thing...you have given me the push to go for it. I shall be keeping an eye on your build :wink:
 
Duster said:
Nice build thread, just bought my first Puma a few months ago and thinking of doing the very same thing...you have given me the push to go for it. I shall be keeping an eye on your build :wink:

Cheers bud, good to hear I provided some inspiration.

Had a little set back the other day when a truck reversed into the front of the car, driver settled out of the insurance so with the money I plan on buying one of kizza's fibreglass imtec bonnet's and having it carbon 'dripped' (depending on the price).

64b5a8c8-af94-446d-a525-afffe750375f_zpsa75cc408.jpg


Received my Poster from my day at Brands earlier this month and going to get it mounted in a glass frame to go on my bedroom wall.

DSC_0602_zps4b598ce4.jpg


bfa8ffb6-a90e-4835-afe4-7d77350feae1_zps9ee5eb8a.jpg
 
Brian' said:
Great looking picture! - Do you have two different light bulbs in your Puma? One whitish and yellowish?

My N/S 6k HID ballast blew so was replaced by a standard bulb. Quite like the look but need it replaced for night driving.
 
While I'm waiting for my New Bonnet to arrive (and as Sunday's the day to fiddle about) I thought I'd give something I go which I thought of a while back to reduce front end weight purely for track use (need to file down the rough edges still)

Get a couple of used headlights (conditions not important long as the top mounting brackets aren't broken) and gut out the lens interior - these weighs over 2.5 kg each as standard and I got them to 460g each saving over 4 kg's in total. Then I painted them matt black. As this weights at the very front two corners of the car imagine it might help a tad. Along with my lightweight bonnet I'm looking at 26 kg saving / over 4 stone. Will update once bonnets fitted, also have some other goodies arriving which I'll let you all in on soon.

d016f8d9-a7e5-44b5-9ada-353511700916_zps52a2d890.jpg


20150111_192309_zps3b65e2bd.jpg


20150111_192713_zpsb2306054.jpg


20150111_192528_zpscaabf837.jpg
 
Hi Neil
I like the stripped out lights.
I've taken a sack of spuds in weight out of my front end and it makes a huge difference,
And I want more..

How do you plan on fastening the lower edge of the lights?
 
trublustu said:
Hi Neil
I like the stripped out lights.
I've taken a sack of spuds in weight out of my front end and it makes a huge difference,
And I want more..

How do you plan on fastening the lower edge of the lights?

Good to hear, cheers bud, really don't think they'll need any further fastening with how light they are and how strong the top mount is.
 
On the breakers I get, the top headlight mount is often broken, (makes em worthless)
but more to the point its not up to much on its own...
 
trublustu said:
On the breakers I get, the top headlight mount is often broken, (makes em worthless)
but more to the point its not up to much on its own...

I'll have to test them out and see lol.
 
I could easily reinforce the bracket if necessary and use a larger washer perhaps, I've tried bending them using my own strength from tip to tip and I can't so they're certainly going nowhere with the air hitting them.
 
Thanks to Olly for the awesome hoses! Not the most exciting mod but as rubber hoses are really only good for 7-10 years and mine are 15 years old and used for the track reliability has to come first! Will get some stainless hose clamps for em, cheers mate.

20150115_203722_zps3001af3b.jpg
 

Latest posts

Back
Top