Project thread- Cuirass 1998 barn find

ProjectPuma

Help Support ProjectPuma:

This site may earn a commission from merchant affiliate links, including eBay, Amazon, and others.

adampuma

New member
Joined
Oct 9, 2011
Messages
1,015
This project thread has both my pumas in it, i no longer have the 2002 msb as the mileage got too high etc.
I currently have a- S reg cuirass puma with 46k genuine miles.

Righhhtt, where to start, well i bought my puma 2/3 months back from some lady in a mansion, it was their (we paid £2400 for this from a garage with receipt) which is overpriced for any standard puma in my eyes, yet i got by swapping a 1.25 zetec 02 plate with 50k and £400 so not bad at all!

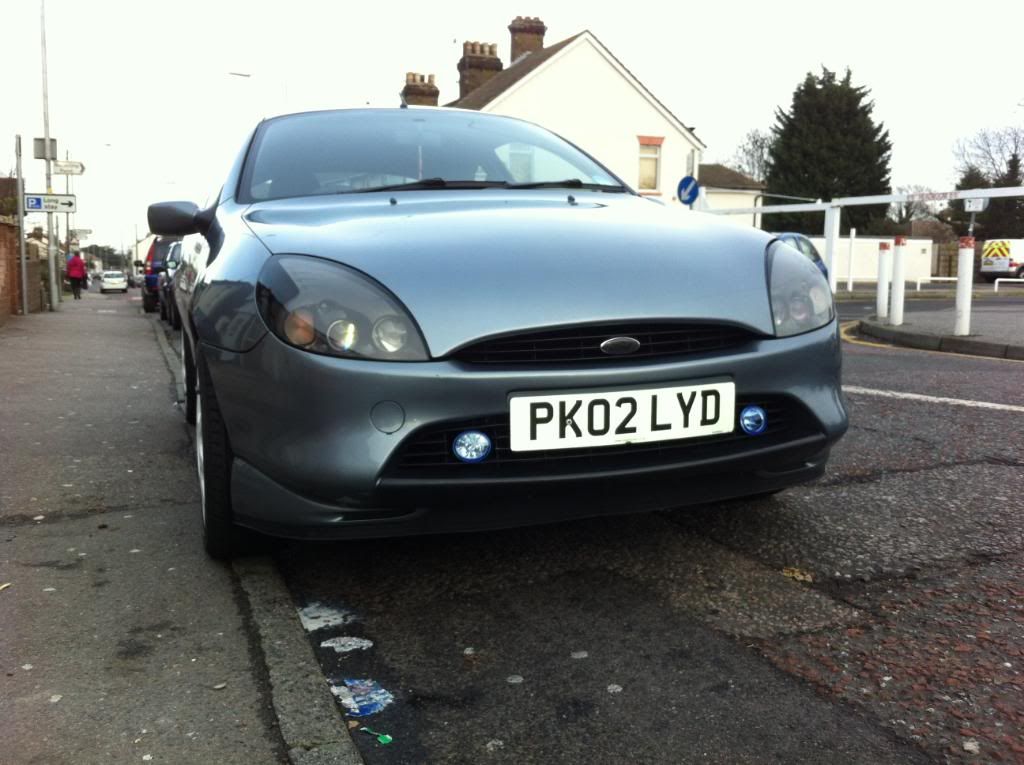
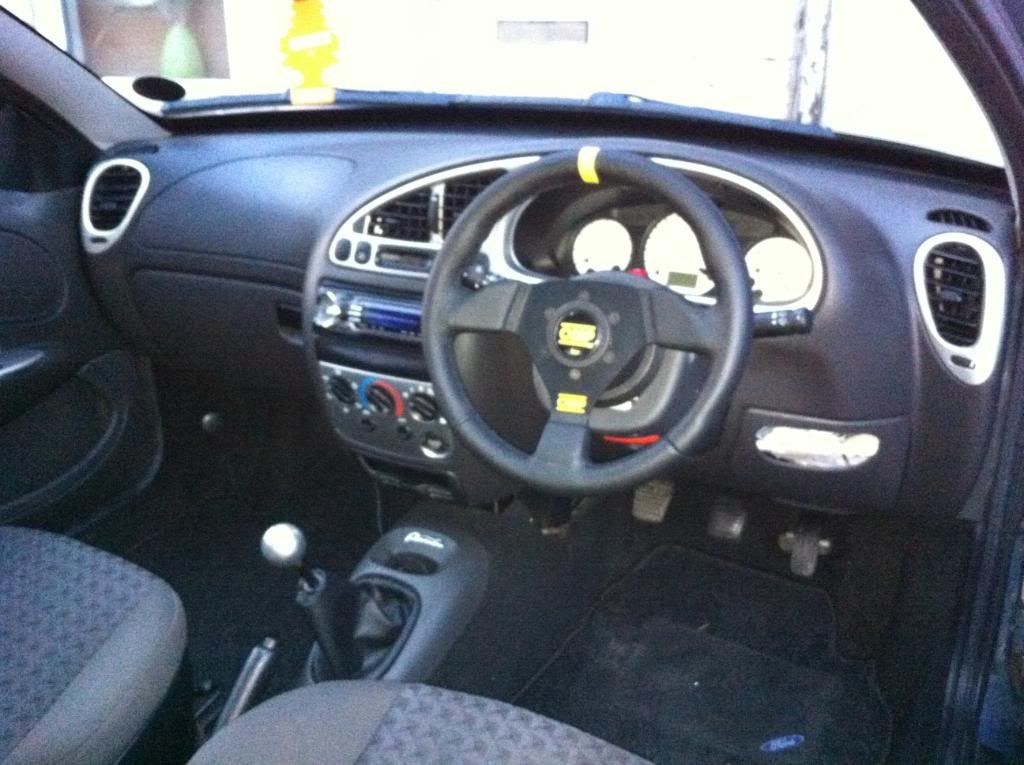
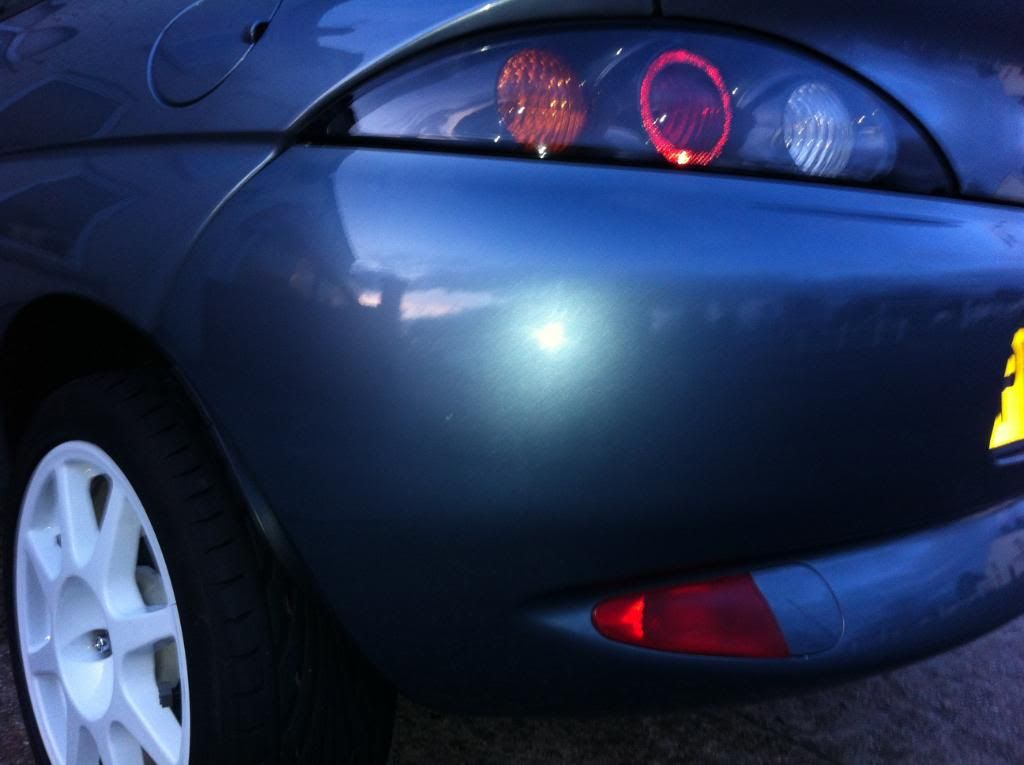
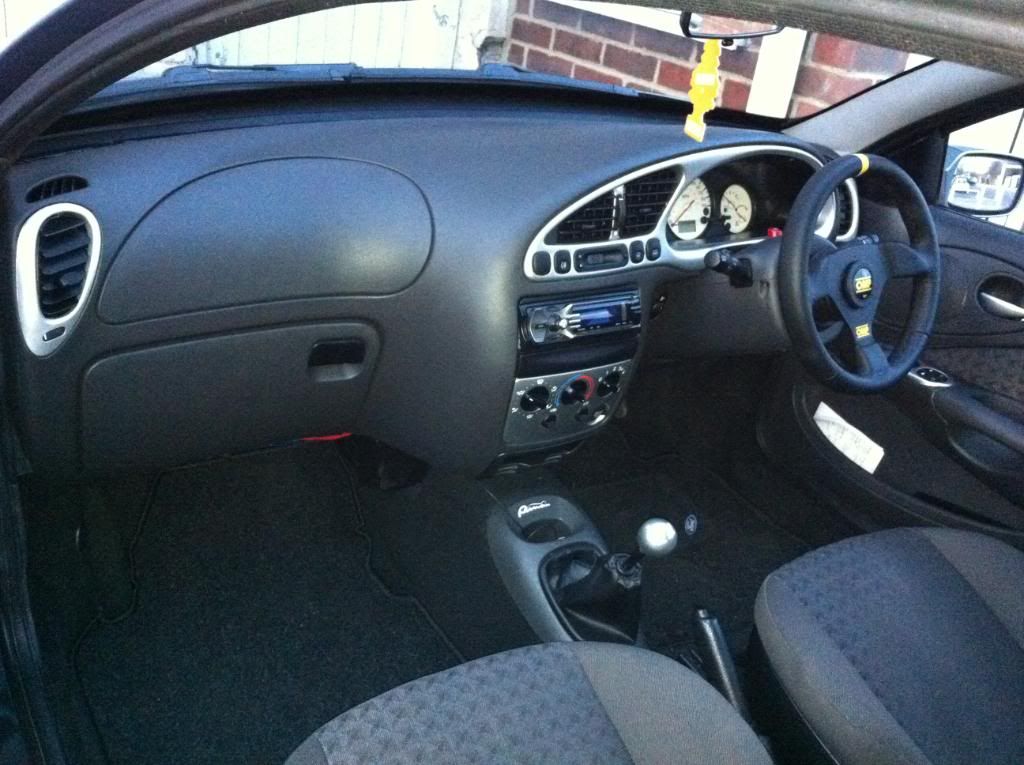
the puma has 60k on the clocks, medium steel blue, decent bodywork and potential :)
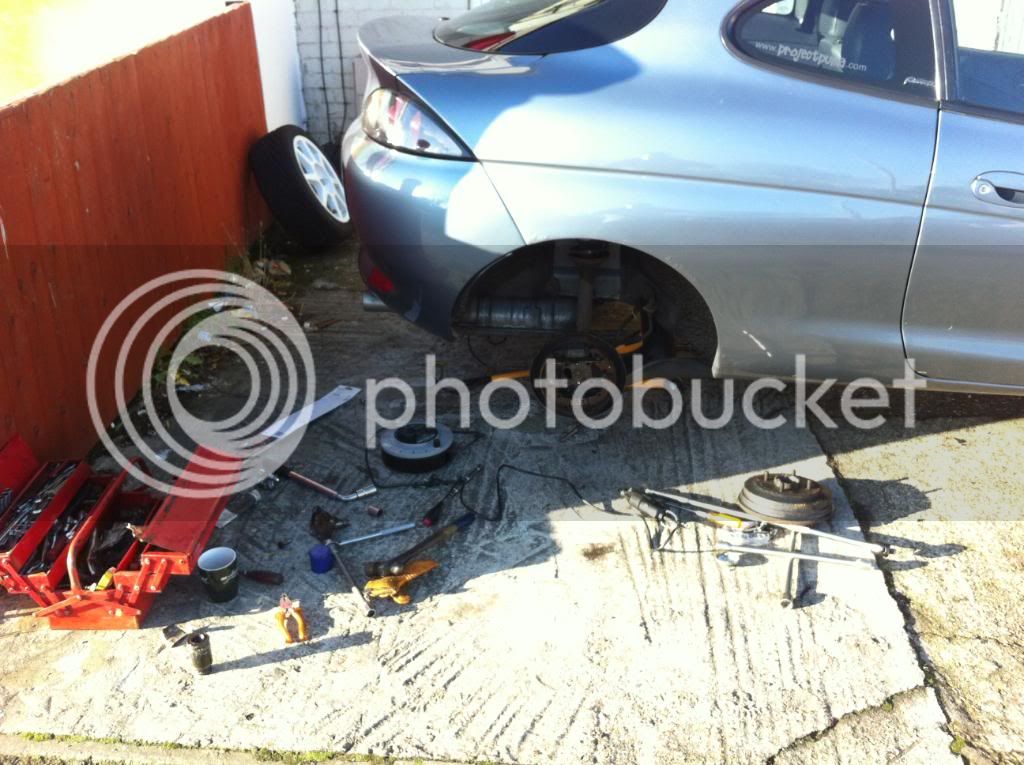
anyhoo i have done quite a bit so far so thought i would make a project thread.
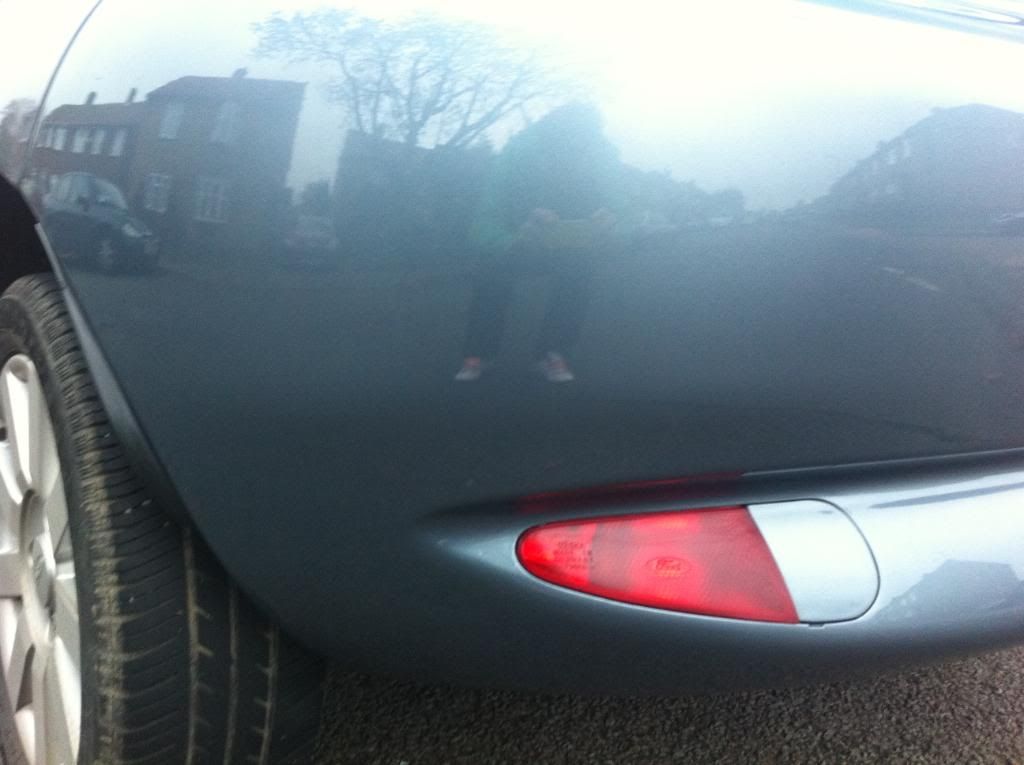
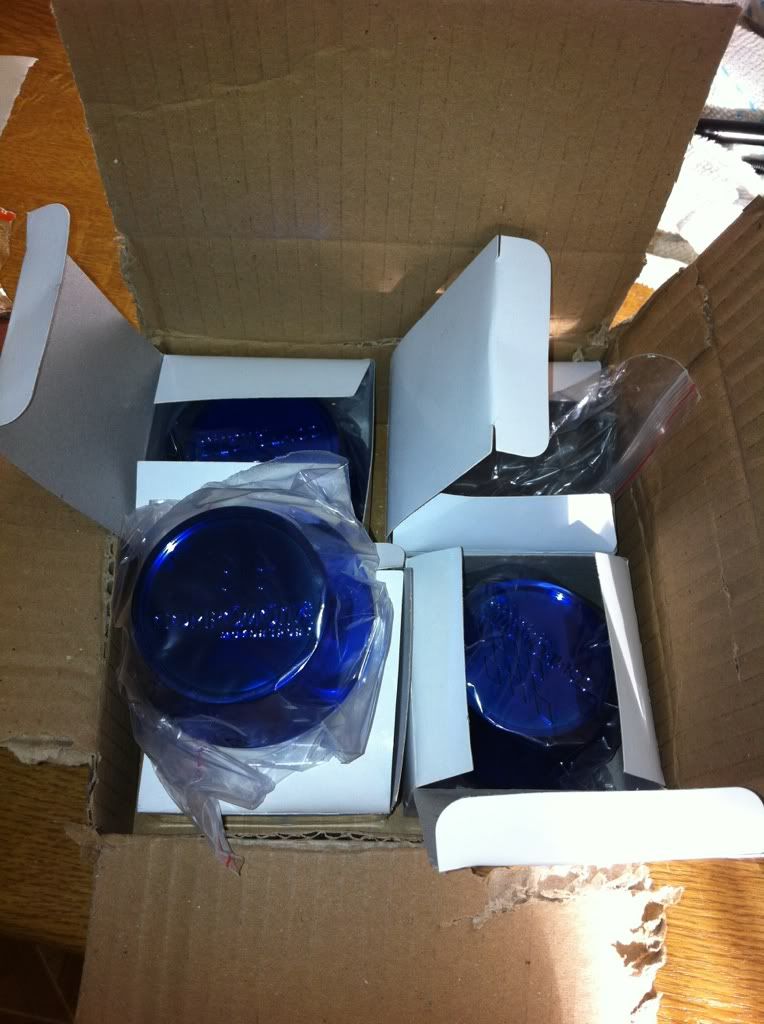
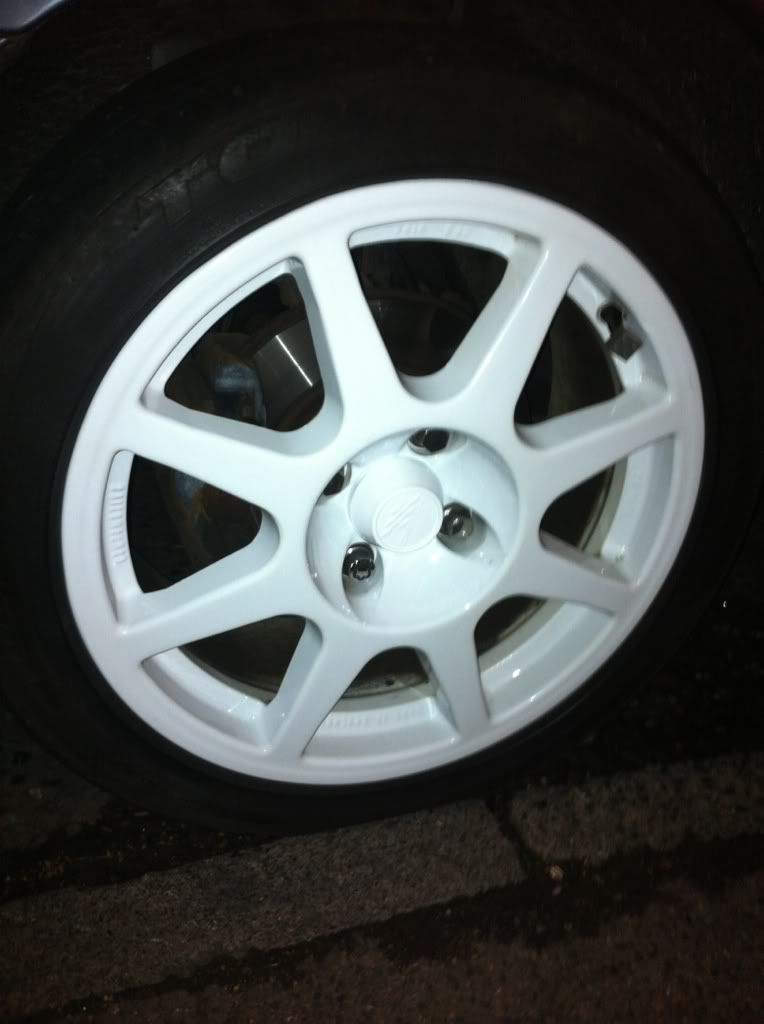
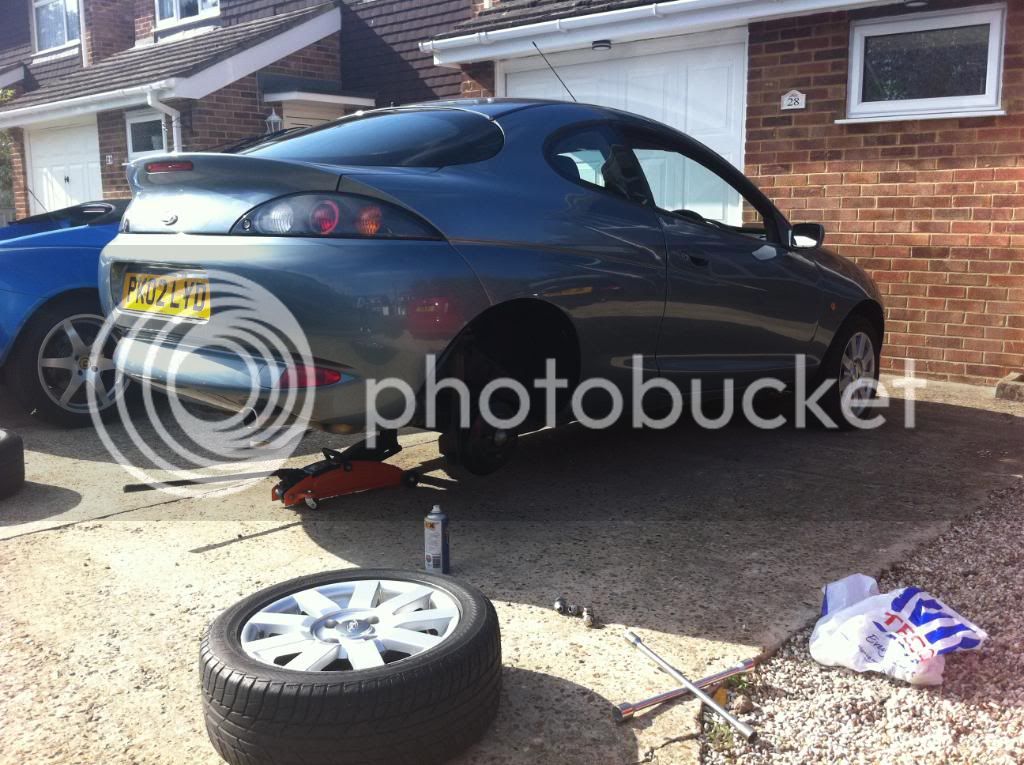
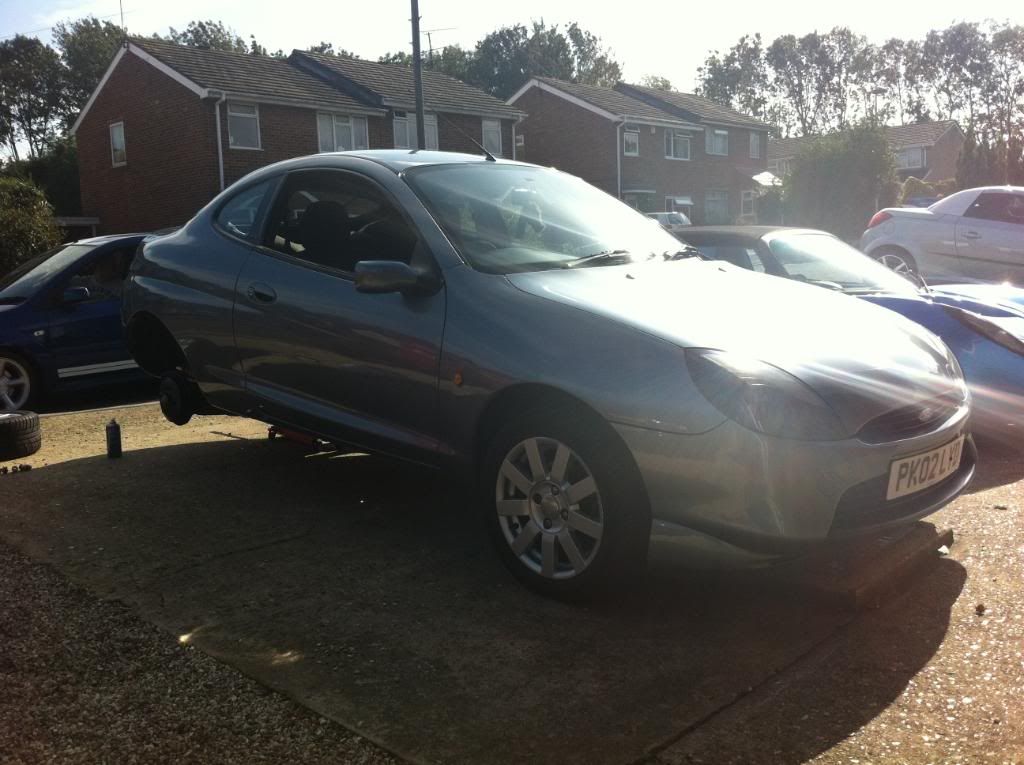
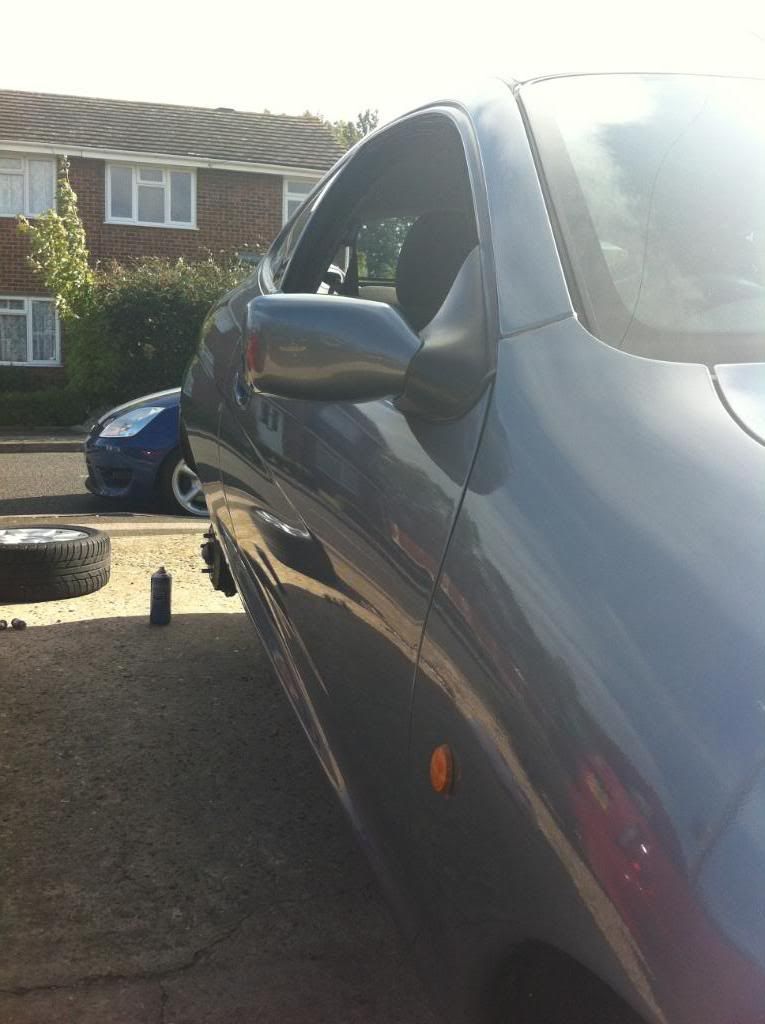
here it is the first day i bought it, spraying rear drums hammerite black with halfrauds ford graphite grey top coat, and also after a few weeks took it to have its scuff repaired at a bodyshop,i will upload a few pics to show whats been done.
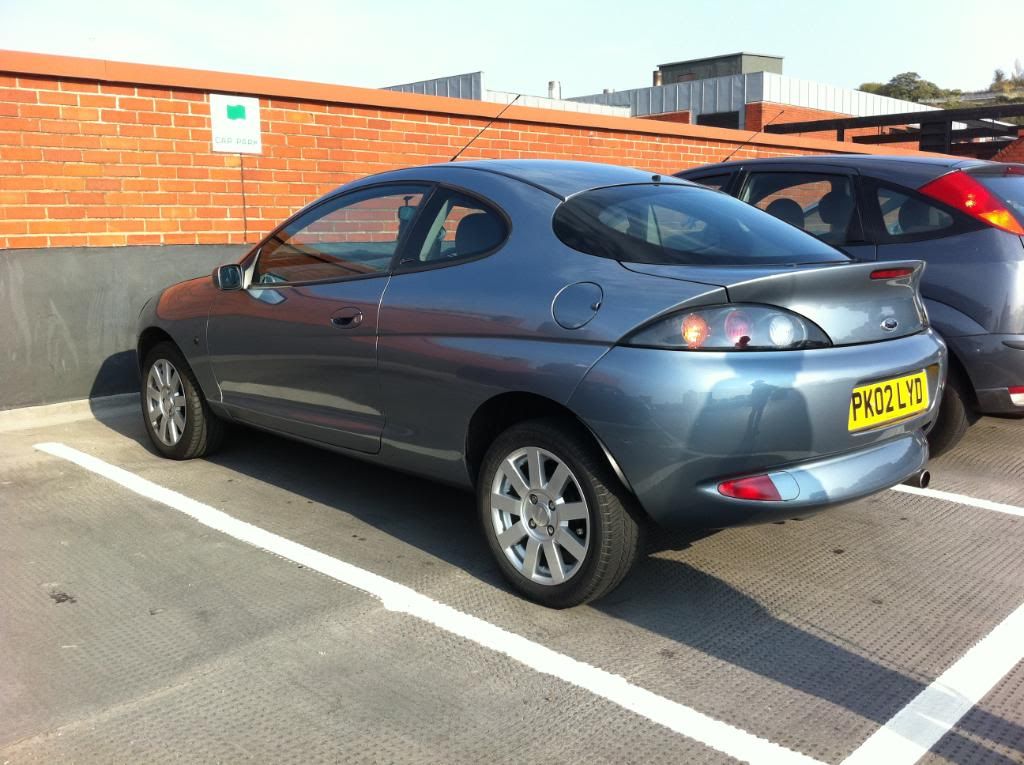
IMG_0257.jpg

IMG_0259.jpg

IMG_0260.jpg

IMG_0293.jpg
 
the pictures just show as loading to me, why do they do this? anyway i can see the thumbnails,
so i carried on with the mods-
flat wiper blades
smoked side repeaters
dmb gel overlays- dark grey with black writing.
de wipered the rear and put a bung in
projectpuma stickers :)
terrance and phillip stickers from usa on rear boot.. lol :)
12.5mm ka axle spacers for the rear
compomotive FR 16" wheels in gloss white all wrapped in toyo proxy t1r's
k&n panel filter and deresonated airbox
omp steering wheel 300mm and boss kit,
green led dash conversion- havnt got pics of yet!
leds behind the heater control panel
ford fitted mats
fitted the soundsystem- and im a bit of a bass junkie so there is a sub which upsets some people lol.
brand new puma gearknob
sprayed dash vents silver to match dial surround
temperature clock fitted with green leds and pink flashing light
hammerite'd the front of the radiator as it was a bit rusty
fitted halfords ultra brilliance bulbs
changed spark plugs -bosch super plus 4
full oil change with mobil one 5w30
bee sting stubby aerial which looks oem :) but short. right heres some more pics...
 
also fitted some cutstom fogs which arnt wired in yet, but will be!
before
IMG_0337.jpg

after
IMG_0340.jpg

IMG_0402.jpg

IMG_0293.jpg

IMG_0457.jpg

IMG_0474.jpg

IMG_0492.jpg

IMG_0494.jpg

IMG_0496.jpg
 
future plans for the next few weeks, are, fit polybushes to rear beam, sort out squeeky idler pulley and belt replaced, change sticky throttle cable. i have bought all these parts just waiting on a friend to help fit them.
Think thats about it for now!! im sure i will update with more, i just made this project thread in like 20 mins, go me :) sorry for any bad grammar,lack of caps etccc i dont care tbh :p comments welcome. Adam
 
The pictures do that with IE9 it still works OK in FF and Chrome. If you press the compatibility button at the top it should show up correctly.

Nice looking car you have there.
 
Looking good Adam! Loving the wheels. Would be good to see it, do you often go down MCE on Fridays?
 
pipcars said:
Nice Puma, was the steering wheel easy to do?

Depends what u mean by easy lol,i can write a guide if needed as theres a few
Technical bits to know to make it easier,let me
Know and ill write u one when im on the laptop not
Iphone :)
 
Sparx said:
Looking good Adam! Loving the wheels. Would be good to see it, do you often go down MCE on Fridays?

Yeah,think im gna be going next friday as i havnt been
For a while.just bought some compomotive
Centre caps for my wheels,theycame in electric
Blue so sanded down,primed and sprayed gloss white,the wheels look epic gna upload a pic now,glad u like the car :)
 
Hi Adam, A guide would be great as I'm looking to replace my "Sticky" wheel! :?
 
okay dokay, heres your guide!

Tools-
10mm spanner
crosshead screwdriver
5.5mm socket bit with small ratchet
15" socket for steering wheel nut

make sure steering wheel is straight and put on steering lock.
pop bonnet and use 10mm spanner do disconnect battery and leave 5 mins
stubby crosshead screwdriver to undo steering column plastic surround theres 2 parts to it top and bottom
- 5 screws alltogether 3 on bottom, one is in the middle a bit further back, two on top just underneath indicators.
now remove plastic surrounds.
there is a yellow wire which connects the airbag,its kept in there by a ring thats around your key barrel, simply undo the screw holding it with a crosshead
move your head out of the way and disconnect the clip as if you were expecting it to inflate, this way if anything were to happen you would be out the way, not trying to scare u just keeping u safe :) now its disconnected and you can undo the two 5.5 socket bits on the back of the steering wheel, u cant miss them, theres one on each side, this is where the small ratchet is used, remember righty tighty, lefty loosy :)
once both are undone the airbag will pop off, dont be afraid to yank it, try pinching it at the sides and popping it off and u can unclip it.
now you have a steering wheel nut in front of you, i forget which size nut it is, its a 17 or 19,

now u need to be careful as the horn device bit needs to be lined up. make sure u get it back where it came off, with the red button bit of the back of the wheel in between the metal clampy bit it came from and the plastic stopper bit. sorry if that sounds confusing, just make sure when u pop the wheel off, maybe take a pic of the back bit so u can see what i mean, trust me later on u will wonder why its not going back on right!

when u replace it with you new wheel it goes in at an angle sort of bring the top of the wheel more towards your chest then the bottom, thats the angle u want, now slide it back in, dont be afraid to jiggle it hard, making sure the red bit on the back of the wheel goes in its home :)

i know this might sound confusing but ive changed about 10 steering wheels and its good to know the niggly bits to save hassle!

so now u should have ur new wheel in place- put it all back together, do the big nut back up, clip the airbag back in and do up the 5.5 sockets on the back of the wheel, hide the yellow airbag wire behind the screw again and do it up. screw in the bottom plastic surround, slide the top back in, make sure its on properly, its a bit fiddly but u will get there, do up all the screws and job done!

reconnect battery, all is good :) hope that guide helps
 
I personally would have left the centrecaps blue thats an awesome colour! But then I do have blue & white bits all over my MSB :lol:

I might start coming out again when the weather gets warmer :lol:
 
They were nice jut totally the wrong colour scheme,white will blend in,less chance of them being nicked,im considering uisng
Bonding putty so they are
Permanent...
 
looking good,

what size grommet did you use on the rear wiper?

Cheers
 
thought the steering wheel nut was 15mm?

its a piece of piss anyway lol, id just have a go you cant really go wrong
 
Back
Top