Puma 4x4 Cosworth

ProjectPuma

Help Support ProjectPuma:

This site may earn a commission from merchant affiliate links, including eBay, Amazon, and others.
So another update of progress over the last year..

Head off.. You can also see the mess in the engine bay, pipes and wiring loom everywhere! I have got around to sorting this now so will show that later on.


This shows the 'coopers rings' grooves around each cylinder - a good head gasket just dam expensive to replace


Long studs


Low comp Pistons


Underside of the head - not in bad condition so with a clean it will be good to go back on


Everything apart on the bench for a check over and clean mainly!


Here you can see the porting work on the head - not sure why the photo is dark!


One stripped thread to repair and a weird bodge on one of the plenum bolts


Yes that's a 10mm socket used as a spacer!

This might be the cause of some of the idling issues!


Thread repaired


Another shot of the engine bay


Head and inlet cleaned


Started cleaning up the block and various parts


Found this in the oil cooler.. Not the best but it's all out now


If someone can explain this to me that would be a great help.. Why was there a need a some point to attack the bulkhead with a hammer.. It looks like this was done prior to painting too.. Bizarre ! Will deal with this at another stage.


Engine bay looking a little better


New cometic head gasket


Head given a clean


And back on..


To take the head off I had to remove the inlet cam as the socket wouldn't go down past the body of the camshaft.. In doing so I noticed that one of the cam cap studs had stripped it's thread, so repaired the thread and checked all of them... Turned out a few needed doing so glad I found this now!


Did a few other jobs while it was apart, split the turbo and manifold to for new studs and nuts, also out riv nuts in for the strut brace.. Probably not the strongest thing to use but for now it will do.. I may have plans to change this arrangement anyway, so will come back to it at a later day. For now it makes getting the strut brace off a lot easier!


So with all this back in place and the engine bolted together again I have it a quick test run.. Which ended very quickly after I noticed it started pumping oil onto the workshop floor.. After a quick investigation found this seal had gone on the remote oil filter housing


A quick trip to a hydraulics place and a new one was sourced


Back together again and outside the workshop


Also made a quick modification back to standard wipers again, after a bit of thought decided I wanted a cleaner look so changed them over


So with that set, back out on a drive.. This time a very successful one, the engine came back as clean as I left and the car driving smoothly... All be it a little rough running due to the management.

More to come still to bring it up to date so will get this up soon.

Thanks for looking.
 
I still can't believe just how shagged this car was, it's as if somebody had intentionally gone around and broken everything they could.

Madness.
 
The car was never built properly in the first place sadly!!

Never noticed the hammer attack before!! Although i never had cause to remove head etc to see it. Maybe the original engine mounts were such the engine touched when coming on load due to movement of engine mounts?? Im sure they are vibratechnics mounts when i had it so maybe that was the solution??
 
Thanks for the comments guys.

It's amazing how so many problems can occur on one car, but hopefully there are fewer each time.

There are vibratechnics mounts on the engine and gearbox so I don't think it's that. It looks to have been done before the bay was painted as the lbulkhead lip has benn bent over and seam sealed the painted. It's something I'll look at later on.

A bottomless pit... Very much so!

Thanks again for the comments, I'll try and get another update soon.
 
Wild E. Coyote said:
TBH, he is rebuilding the car again; I think he is updating the thread more than regularly IMHO :wink:
i know regular updates,
but was just being a bit curious about what is going on on the moment
 
So another update..

After getting the car running and all things being well it was left on the driveway. Few days later I was out for the evening and it rained, came home to find the car battery flat as the alarm had been going off. I knew the car had some leaking issues shall we say but this was a little silly.

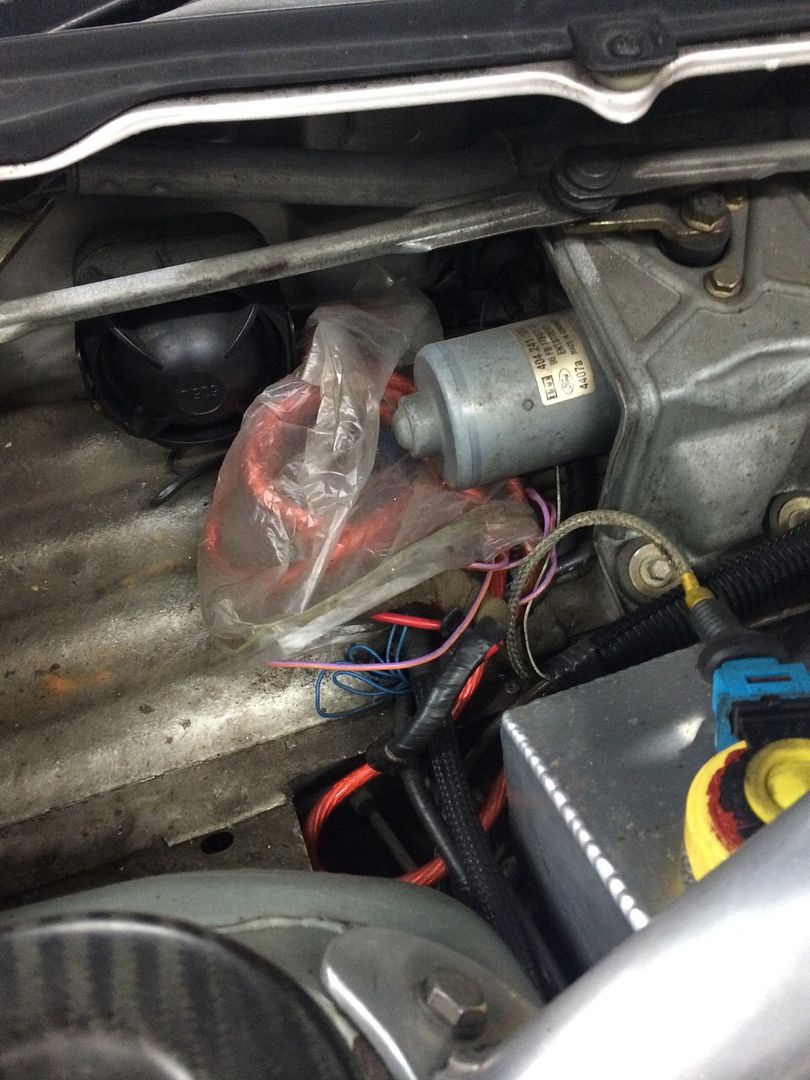
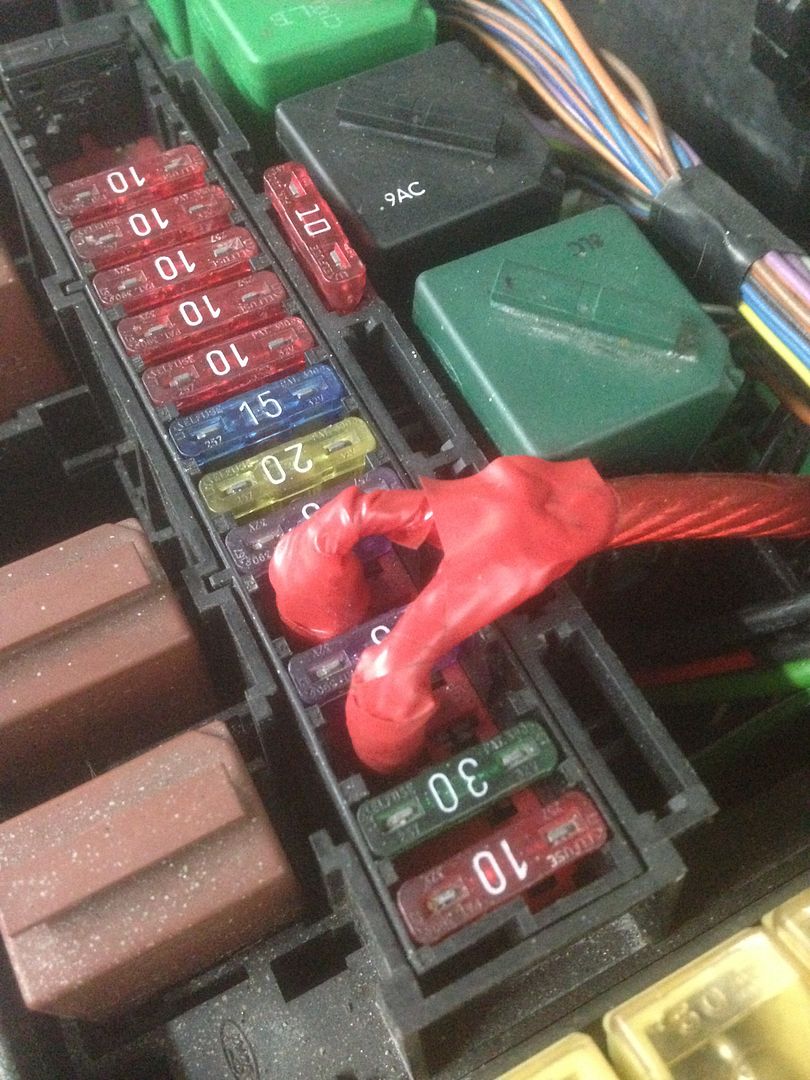
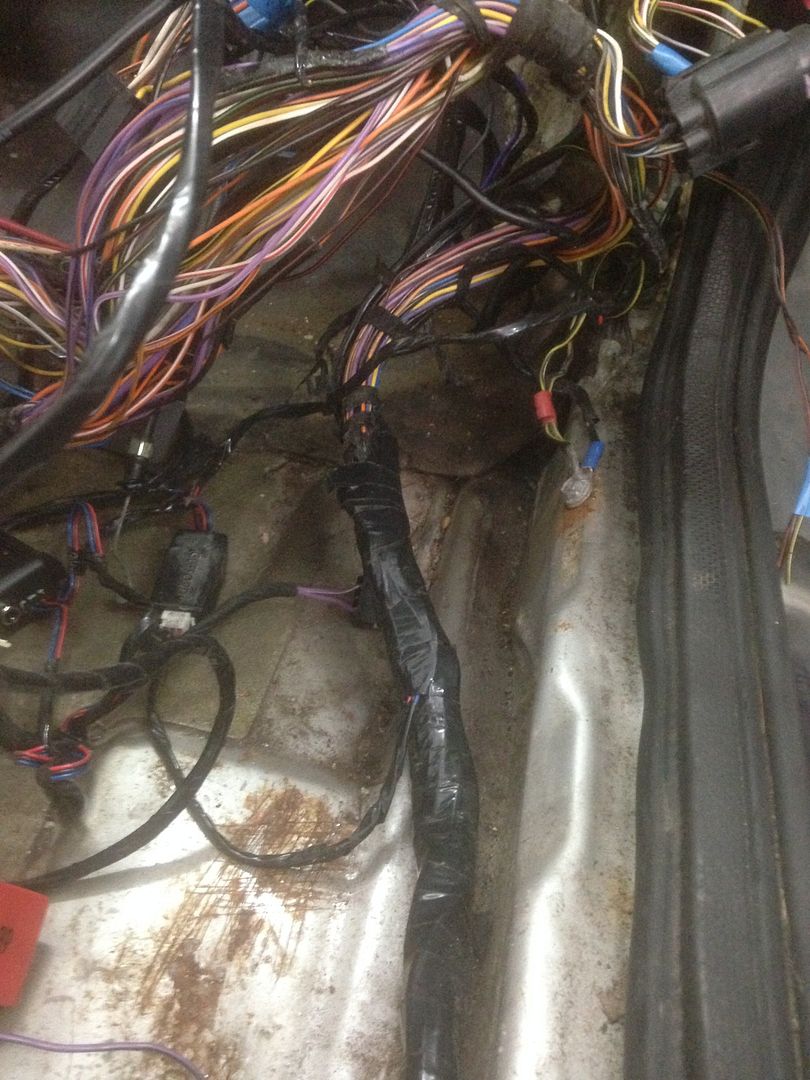
So put the car battery on charge and went inside for a while. Half hour later came back it to find the fuel pump running and the auxiliary fusebox relays clicking like crazy. Water had tracked down the wiring loom on the passenger side due to a massive hole through one of the bulkhead grommets, it had then run into the engine loom relays that were just hanging there and caused them to fail and get stuck on.

So with that and always knowing that the wiring on this car was interesting to say the least, it was time to strip it apart and find out what's going on.

Some of the photos are a little 'misty' as my phone was playing up so apologies for that, but hopefully you'll get the idea.

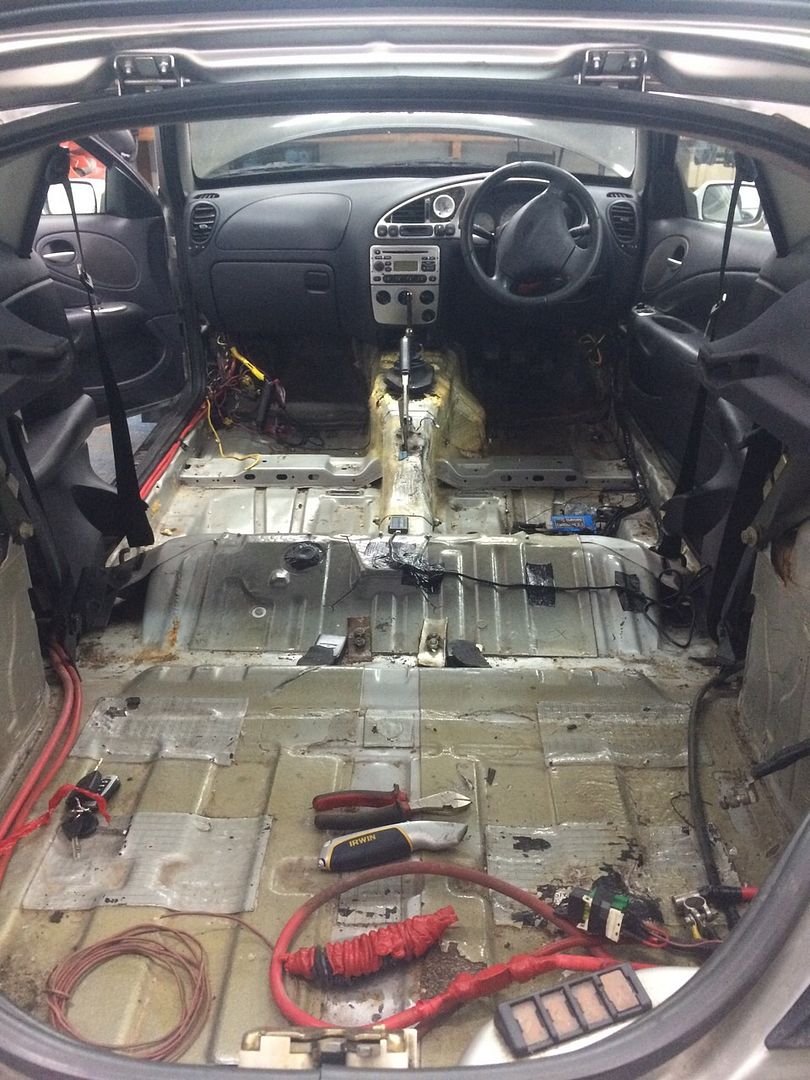
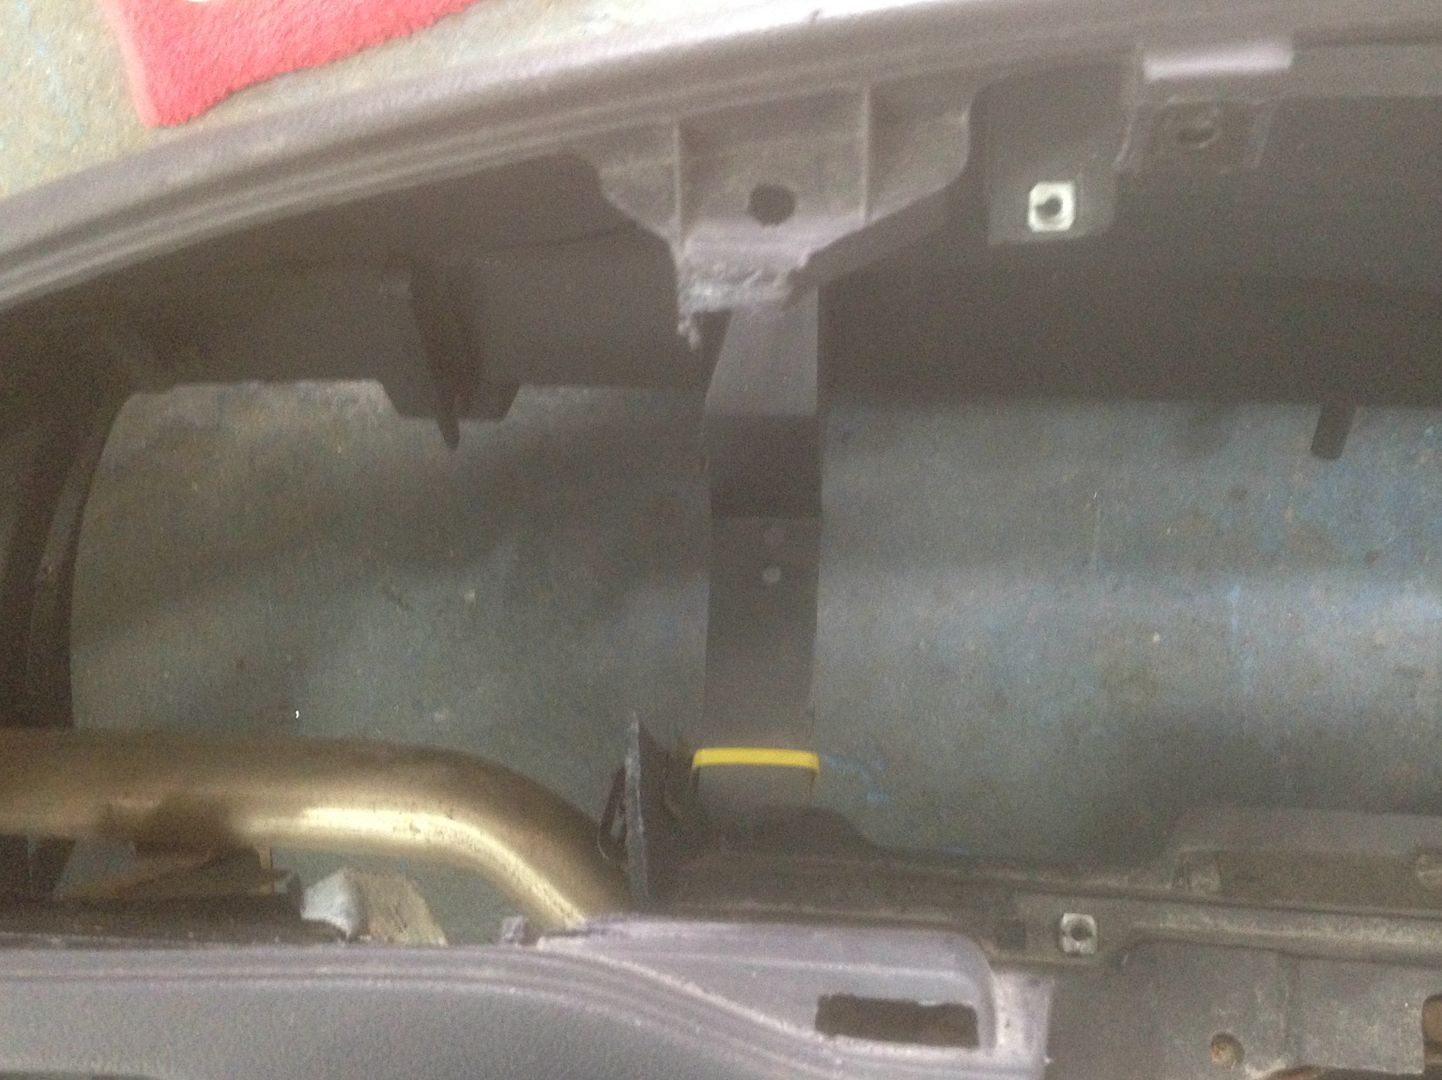
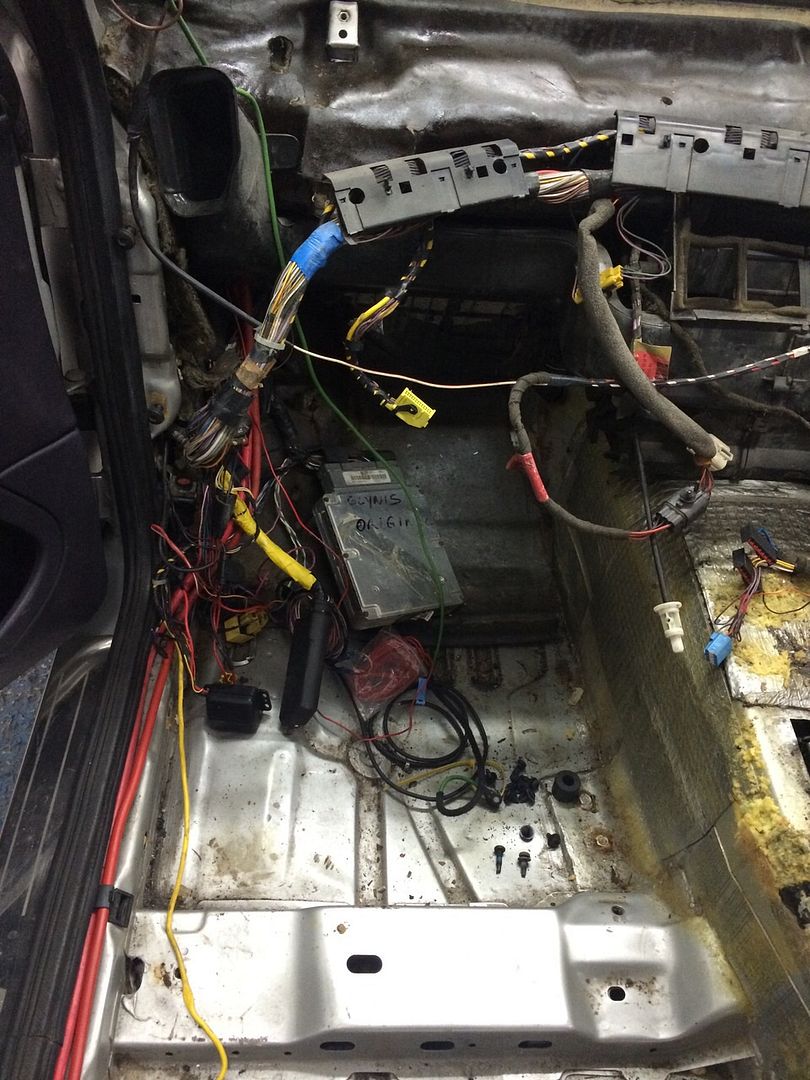
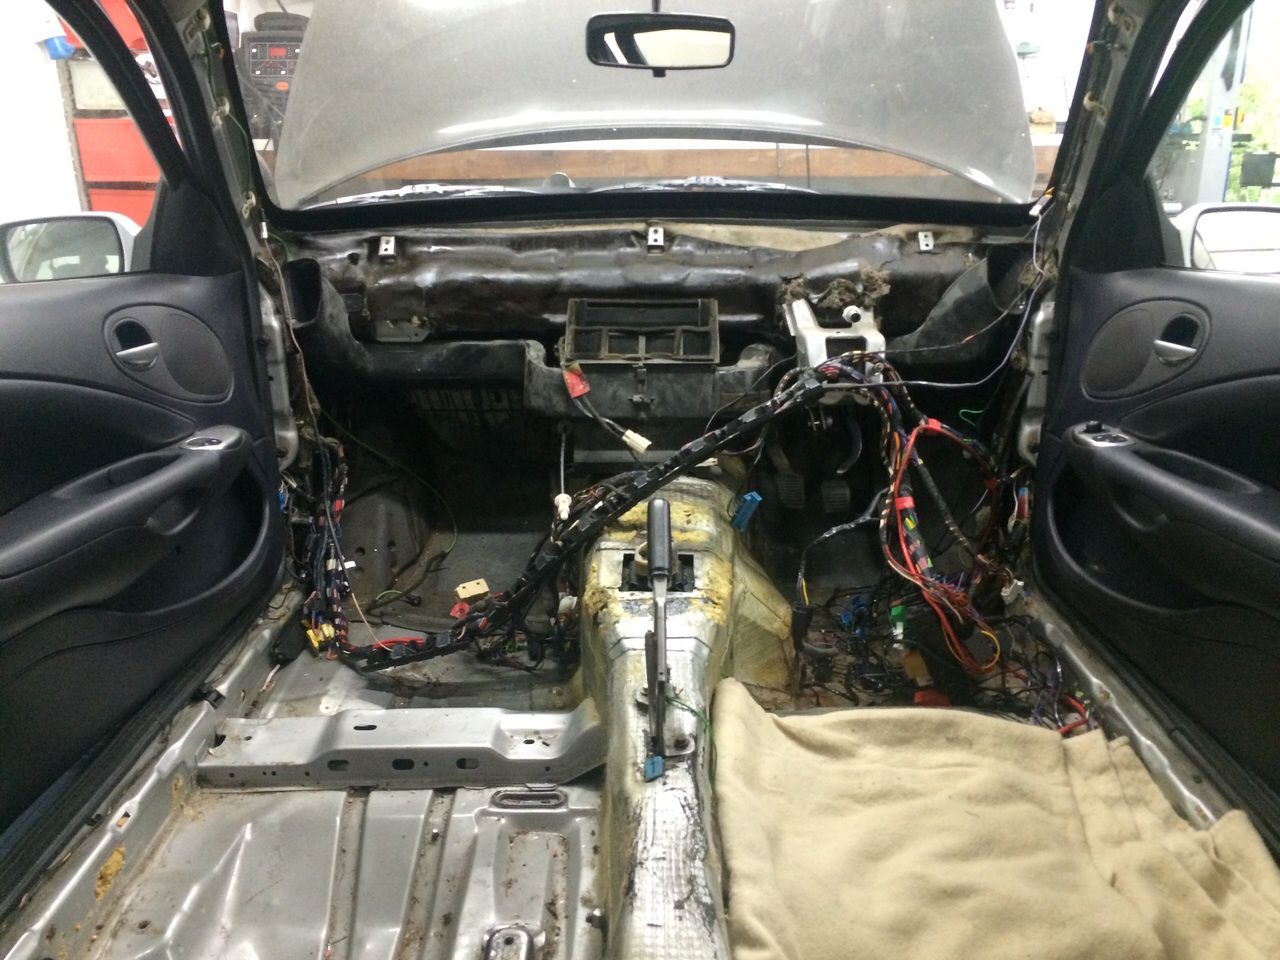
Interior out ready for dash to come out, and some of the messes I will need to sort.


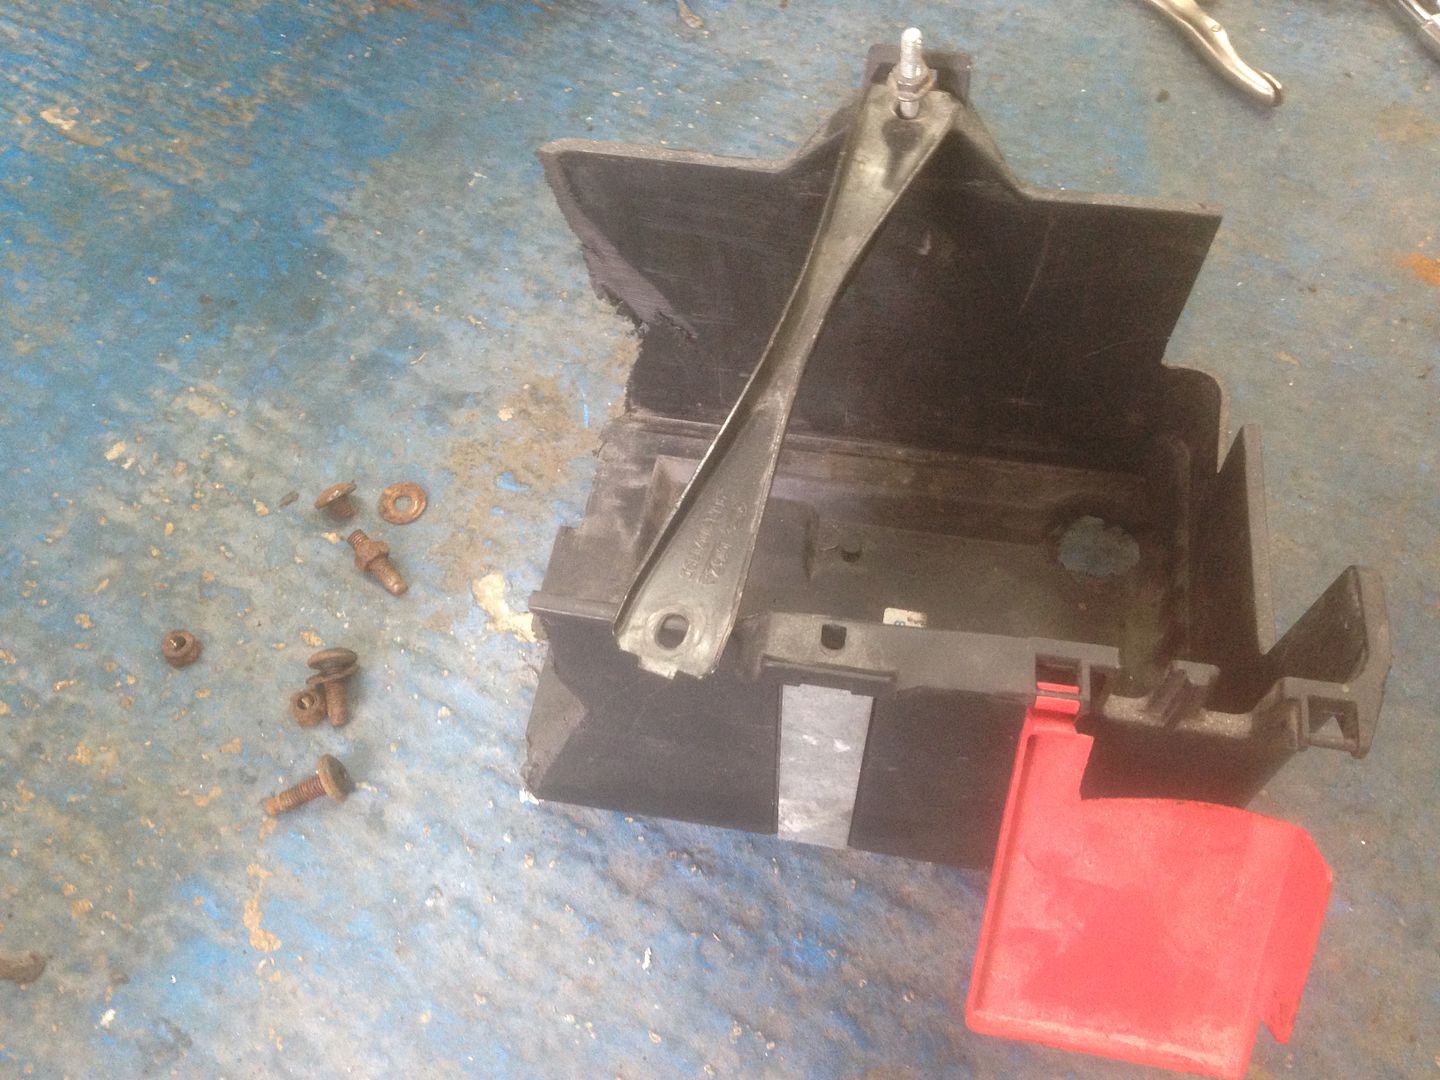
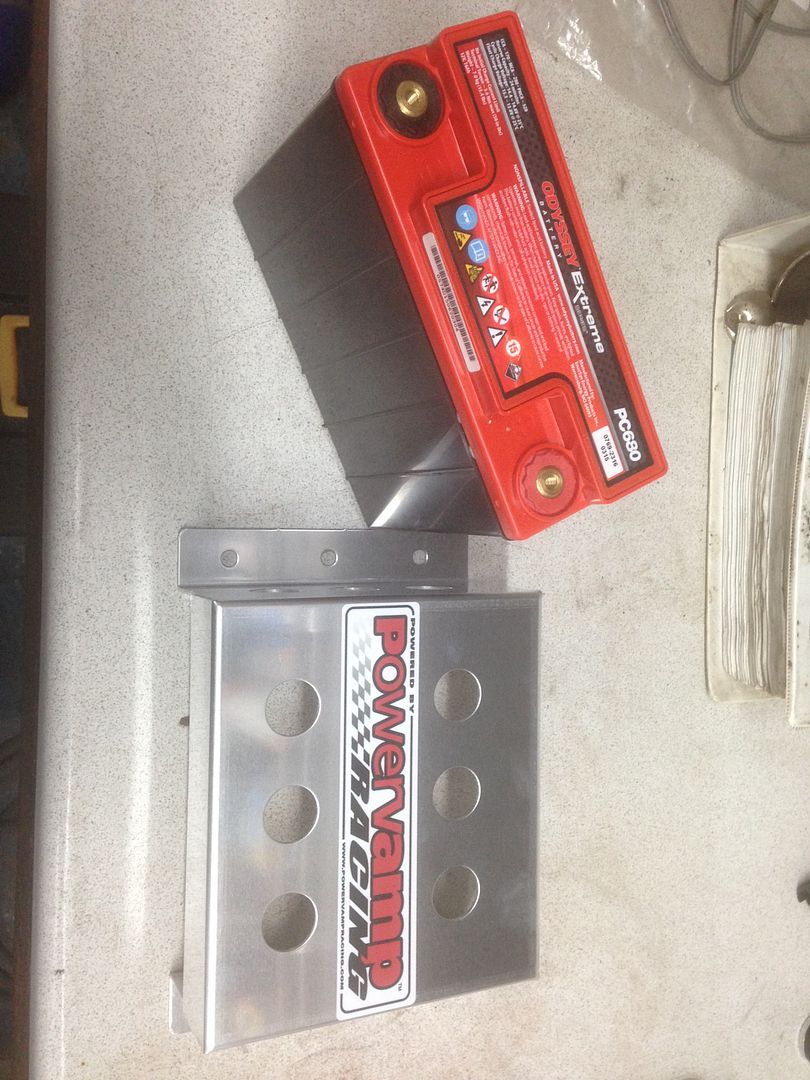
Battery box was a mess to fit a larger battery than it was made for


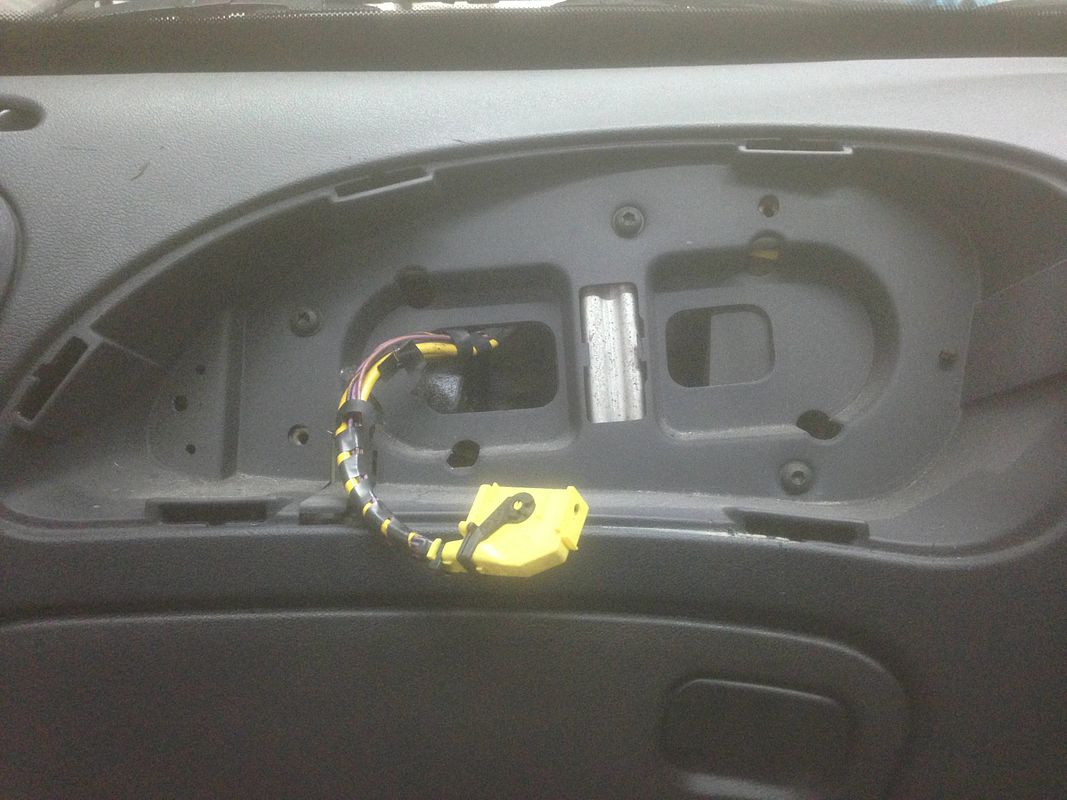
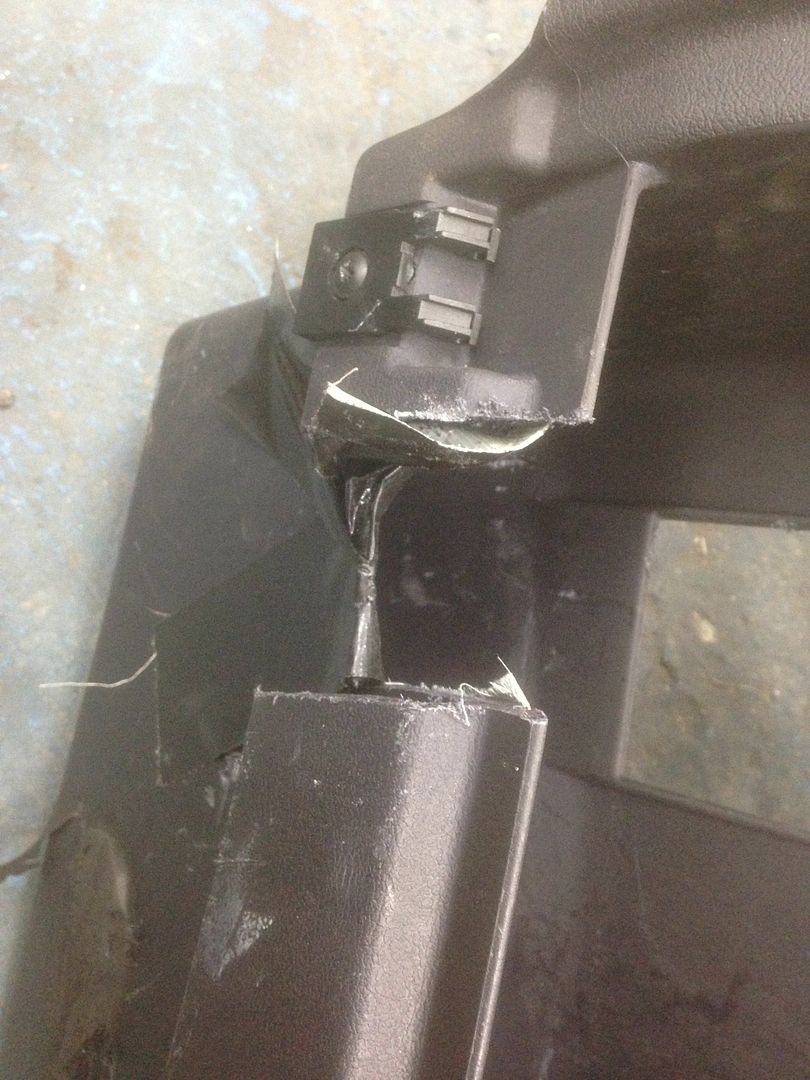
Lack of airbag module means the drivers airbag is useless, seat restraints had also been cut out so I made the decision to remove it all and at some point change the steering wheel for something more desirable!


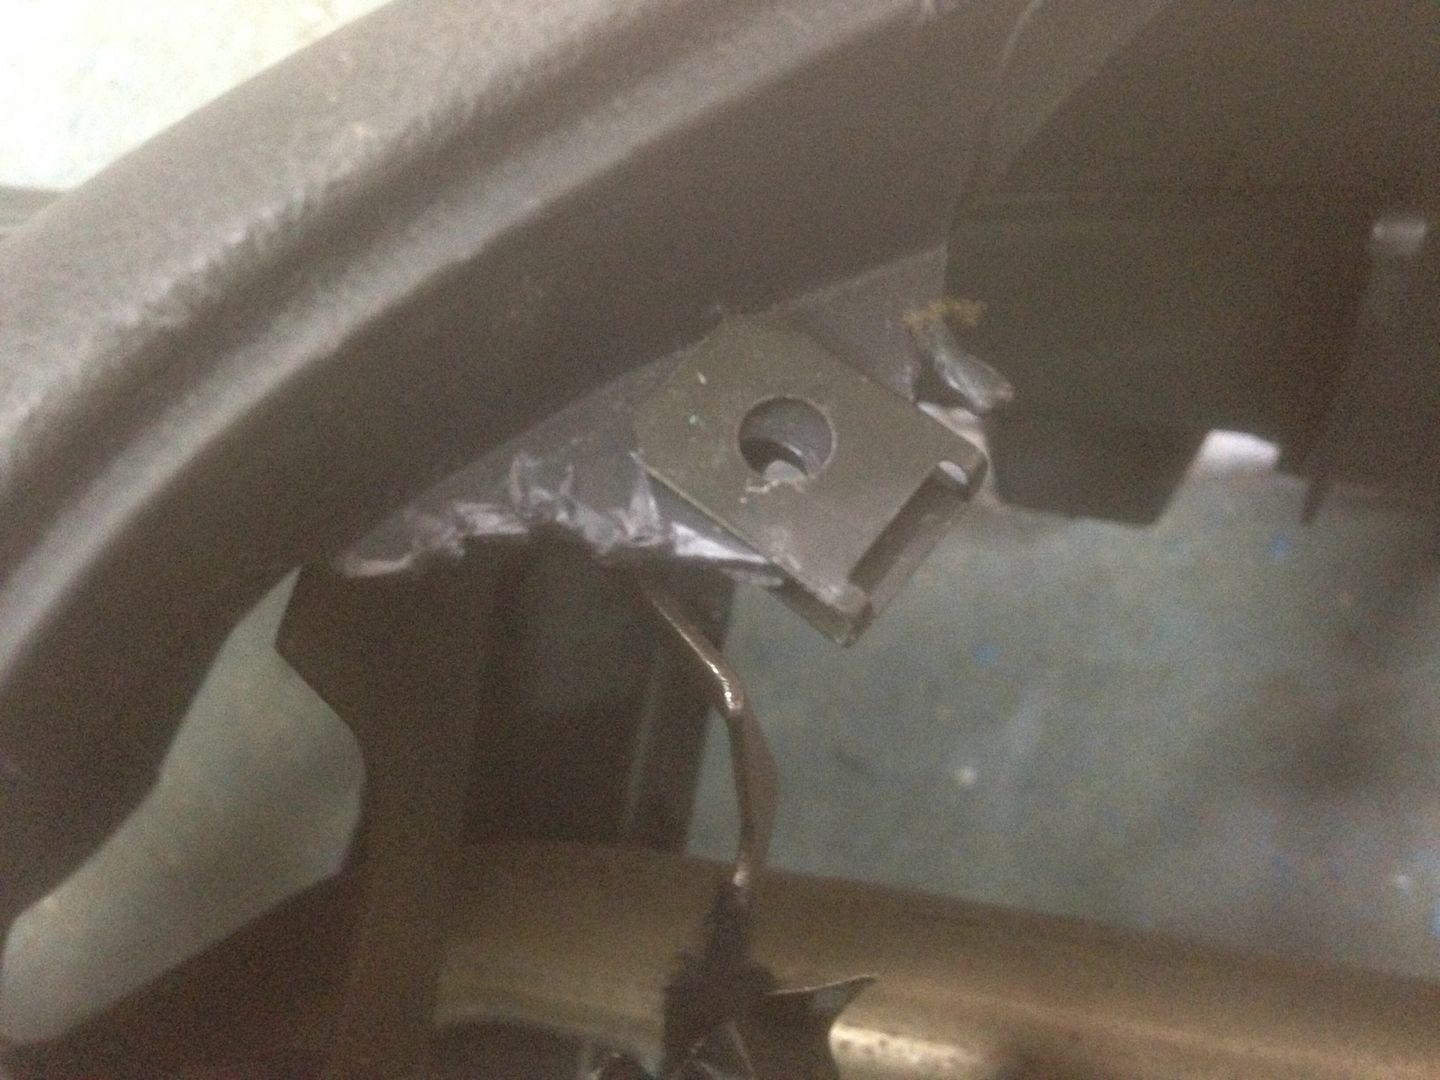
Once I got the dash out I realised it had seen better days, it had been hacked about all over the place. So a new one was sourced to be refitted


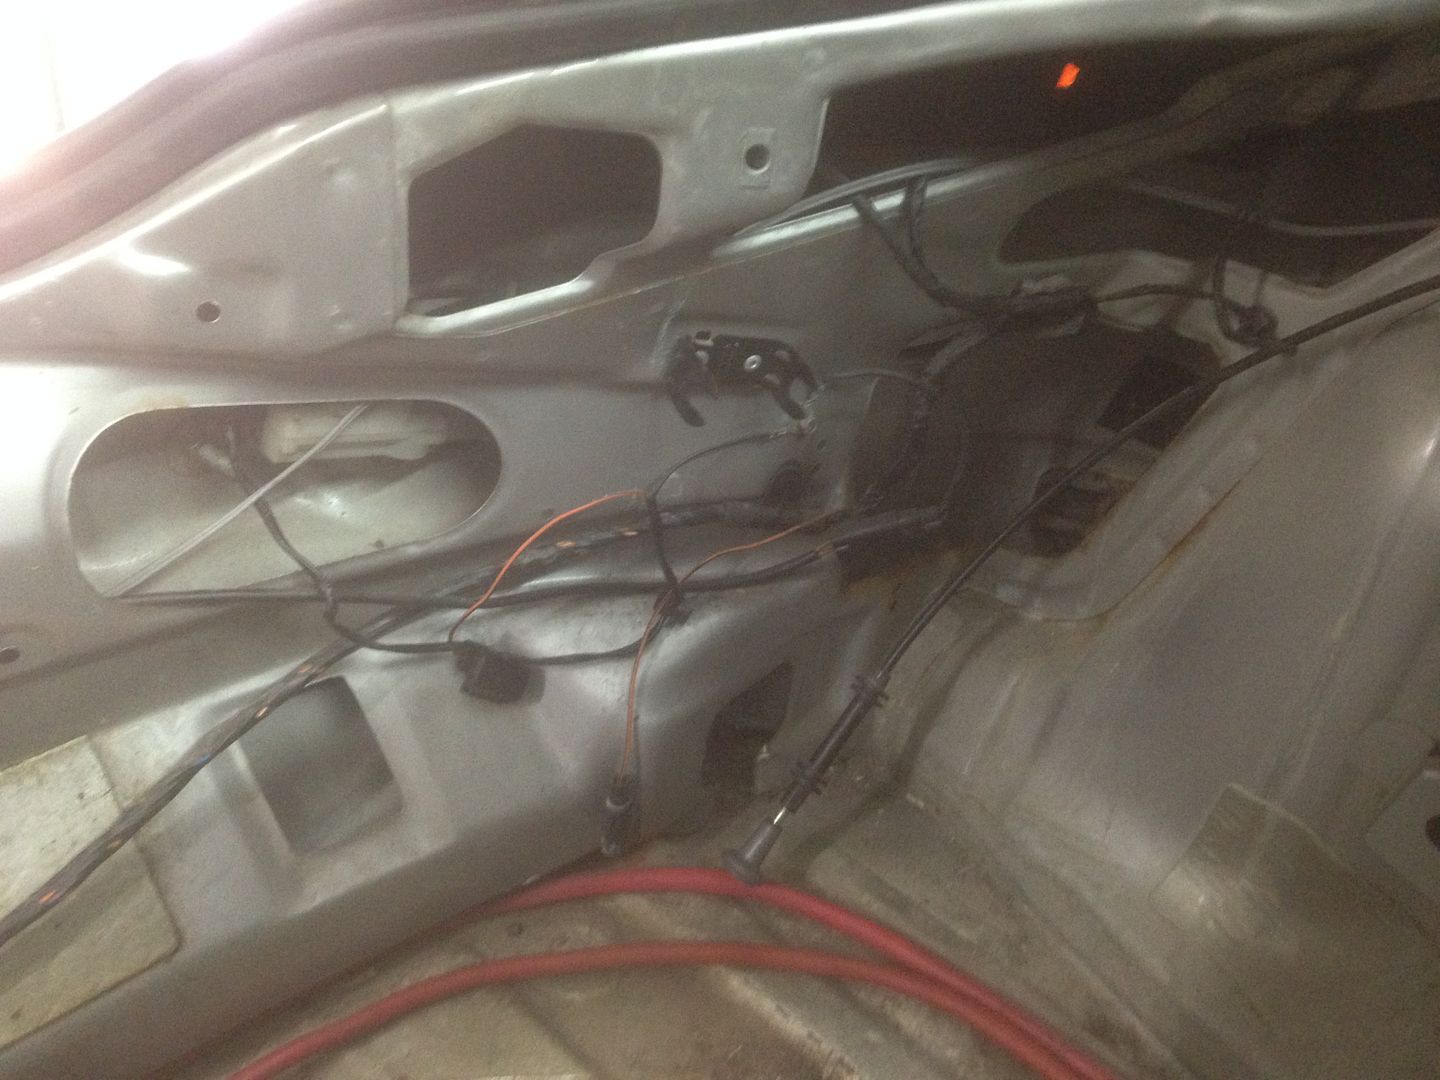
So with the dash out and all the wiring exposed I can now begin to repair and remove as required, the plan is to remove the old 1.7 ECU and all associated wiring, remove airbag wiring, repair any bodged connections and re-jig wiring for the conversion... Properly this time!


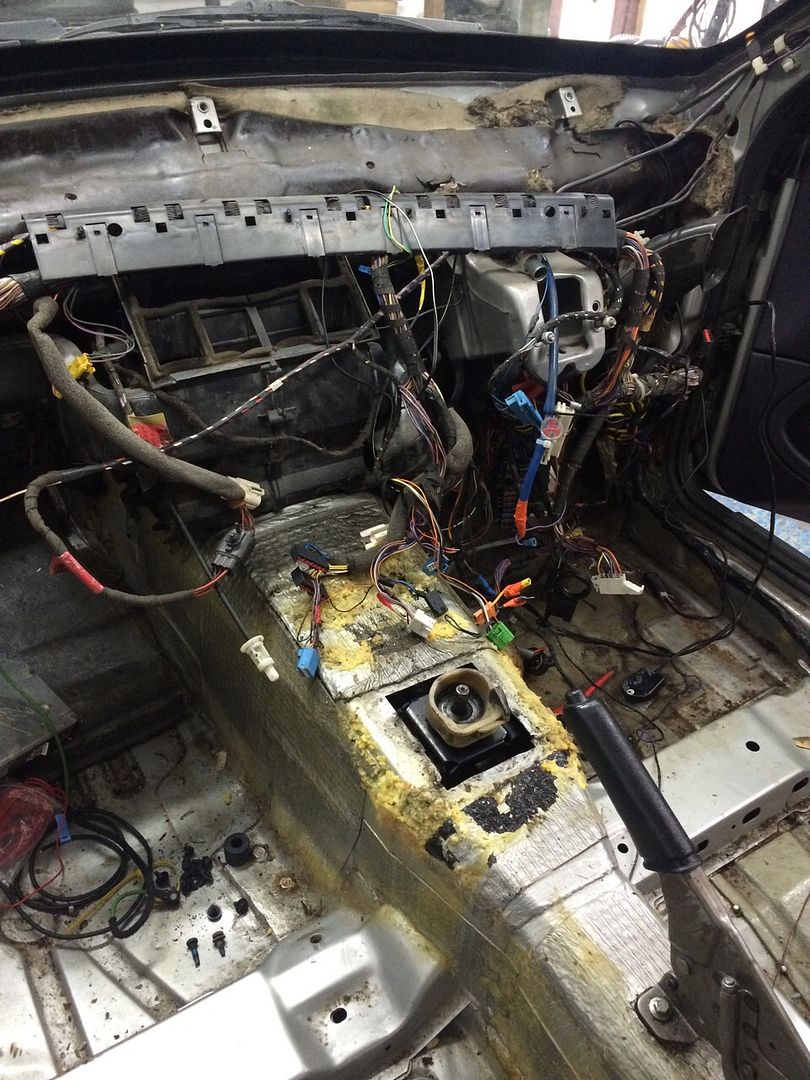
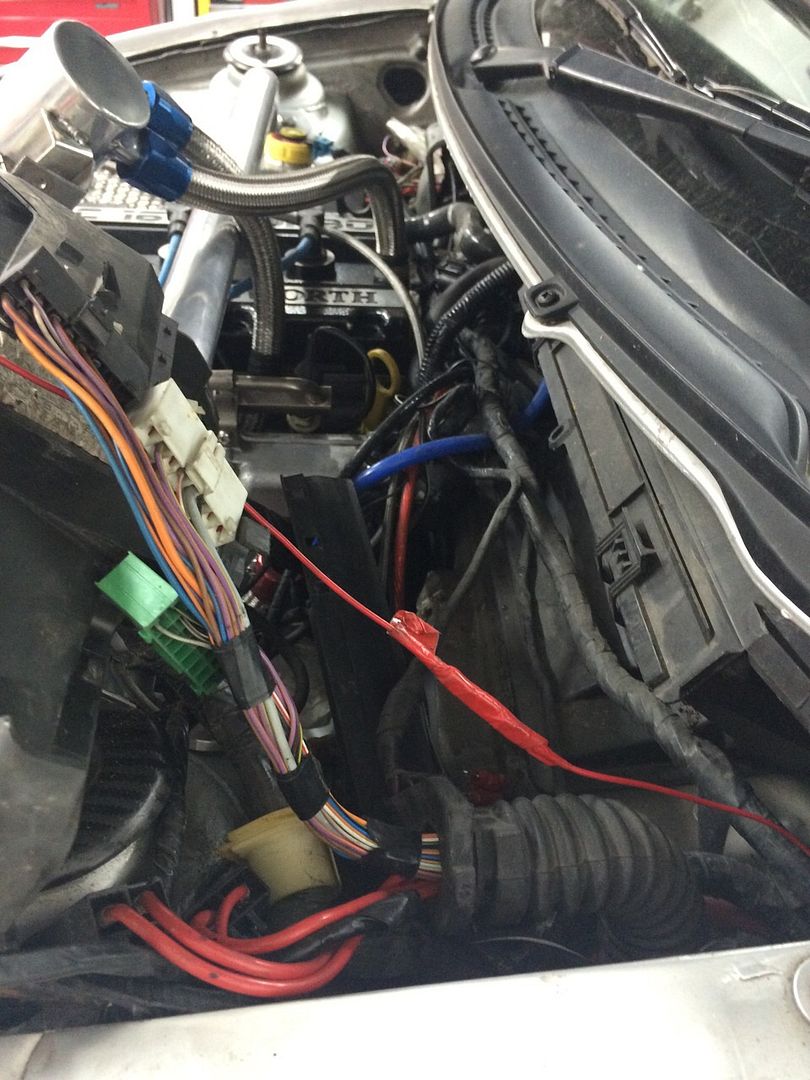
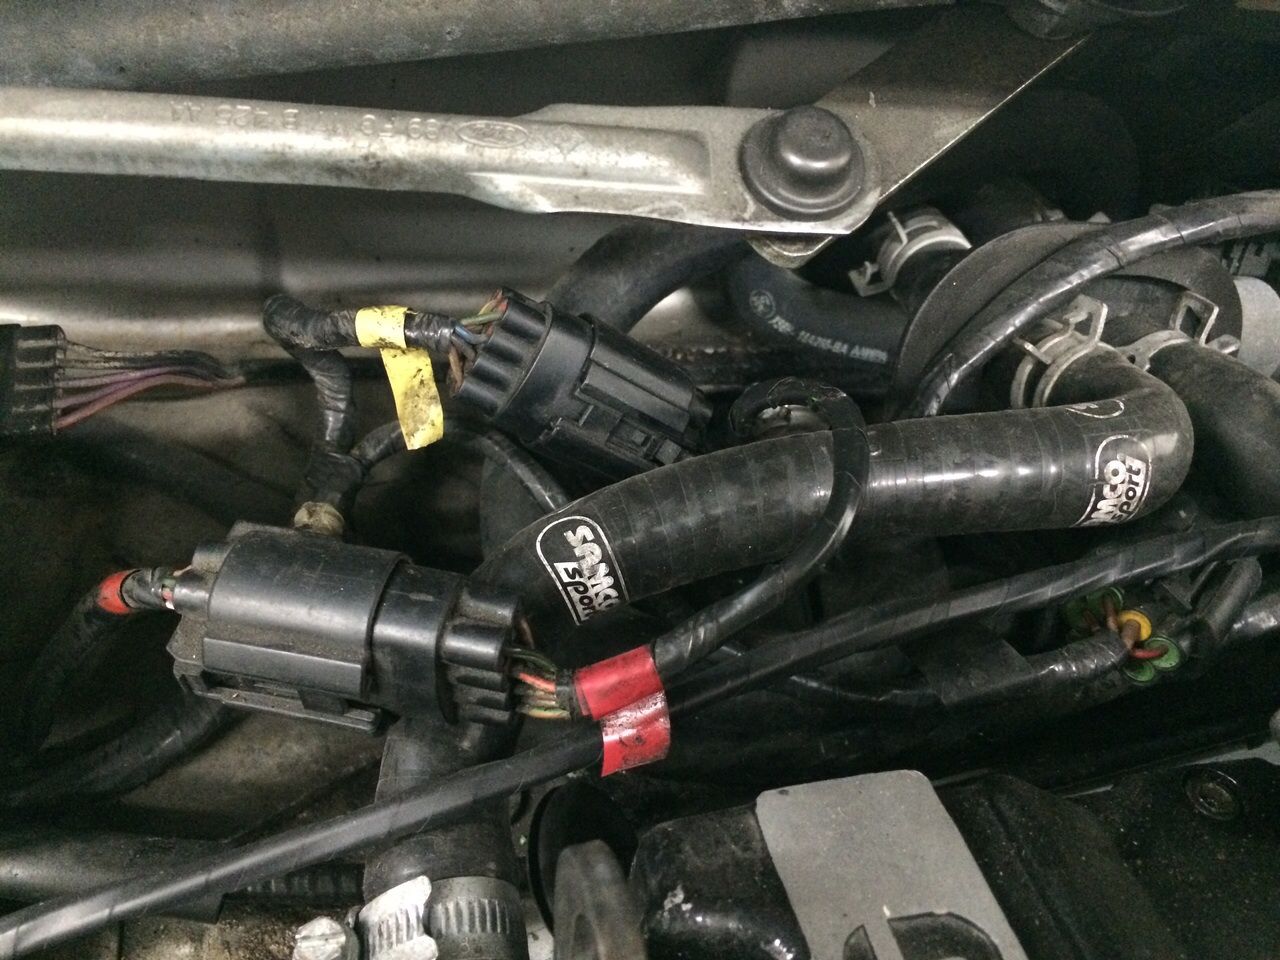
I'm also going to address the engine bay wiring as that is a little less than desired!


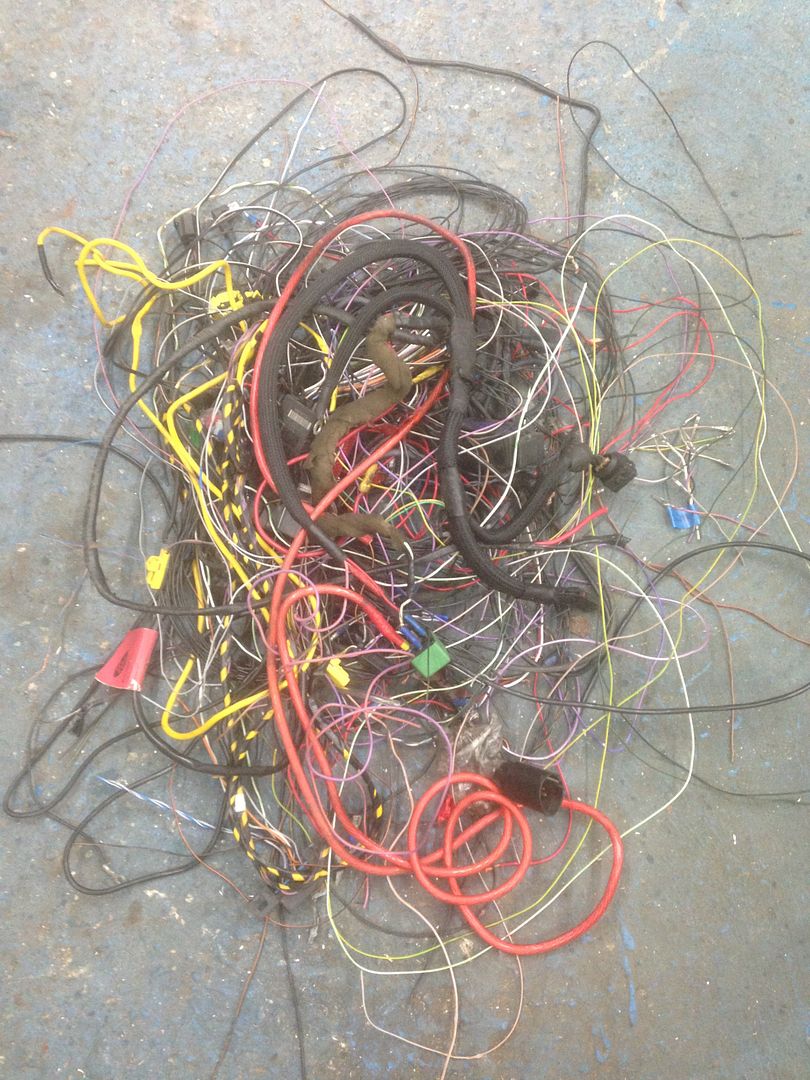
So I got to work and this is what I managed to get rid of


Decided to upgrade to a new battery, something a little smaller for the boot


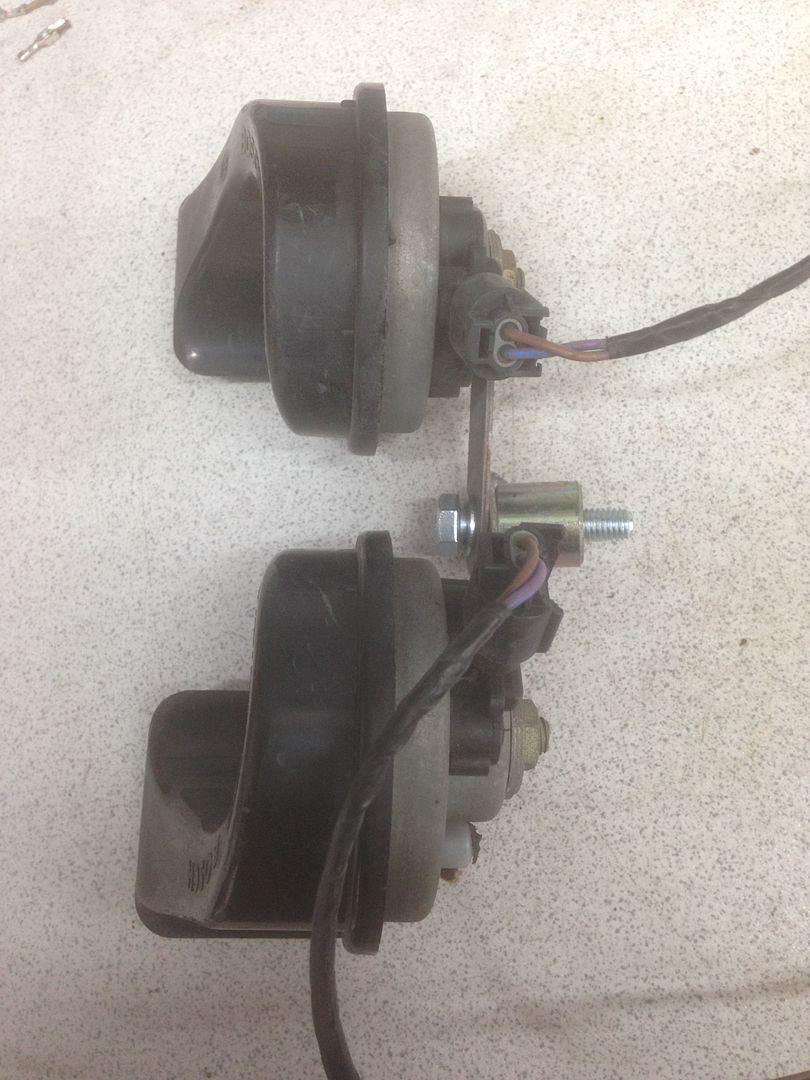
Wiring to the horn was a bit suspect and the horn itself, so replaced with a newer dual tone item


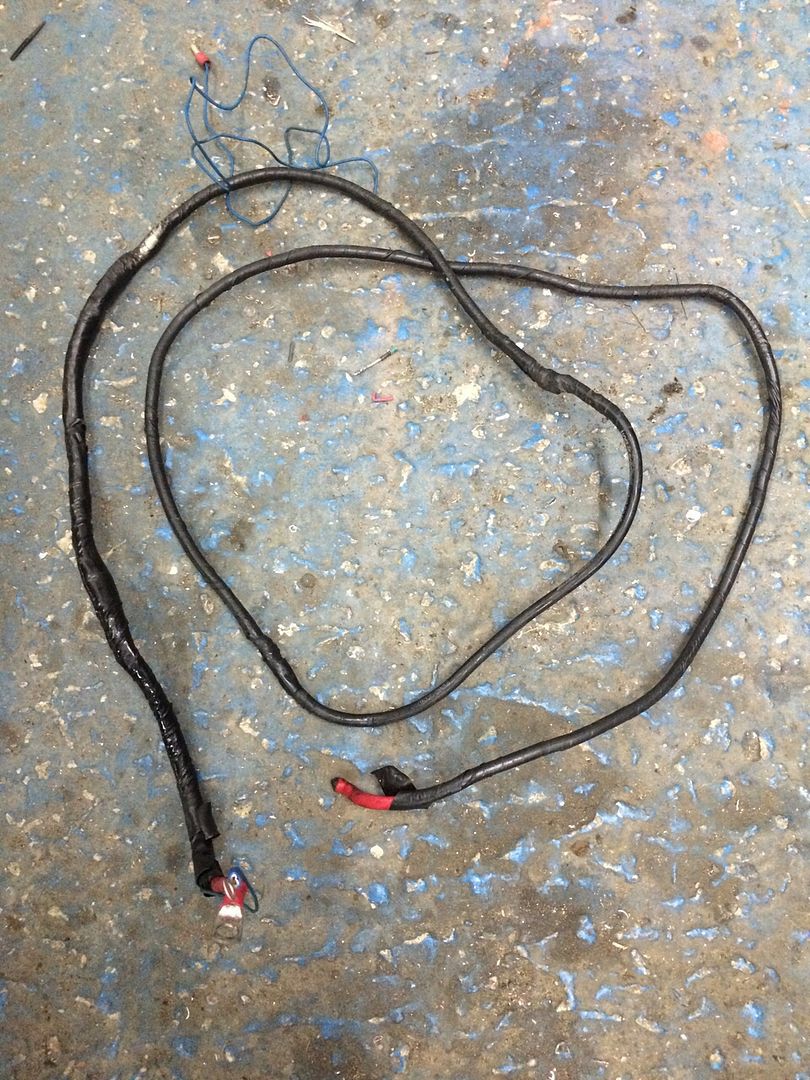
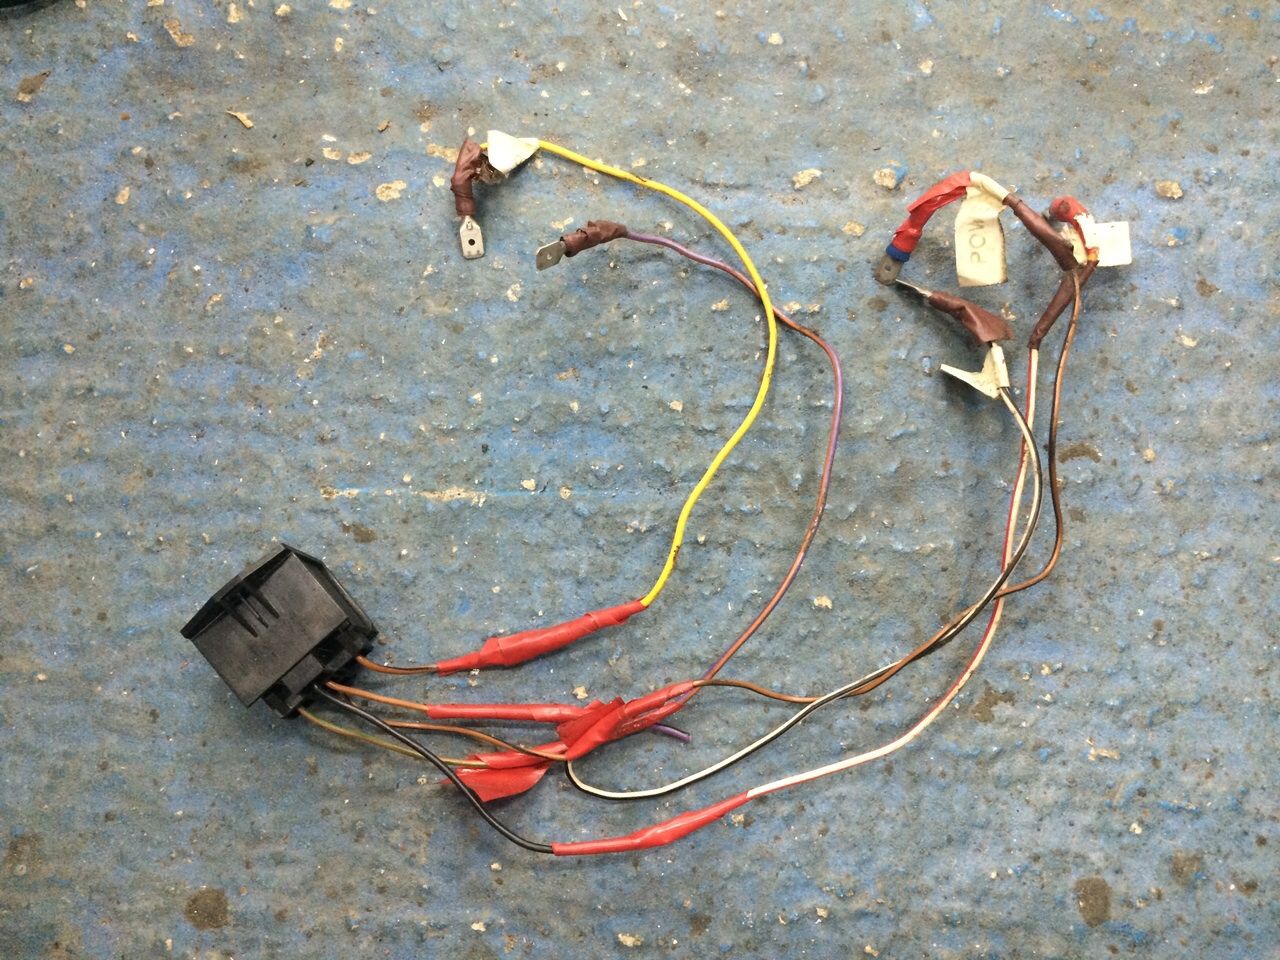
This was the cable between the alternator and starter.. It had 4 joins in it!
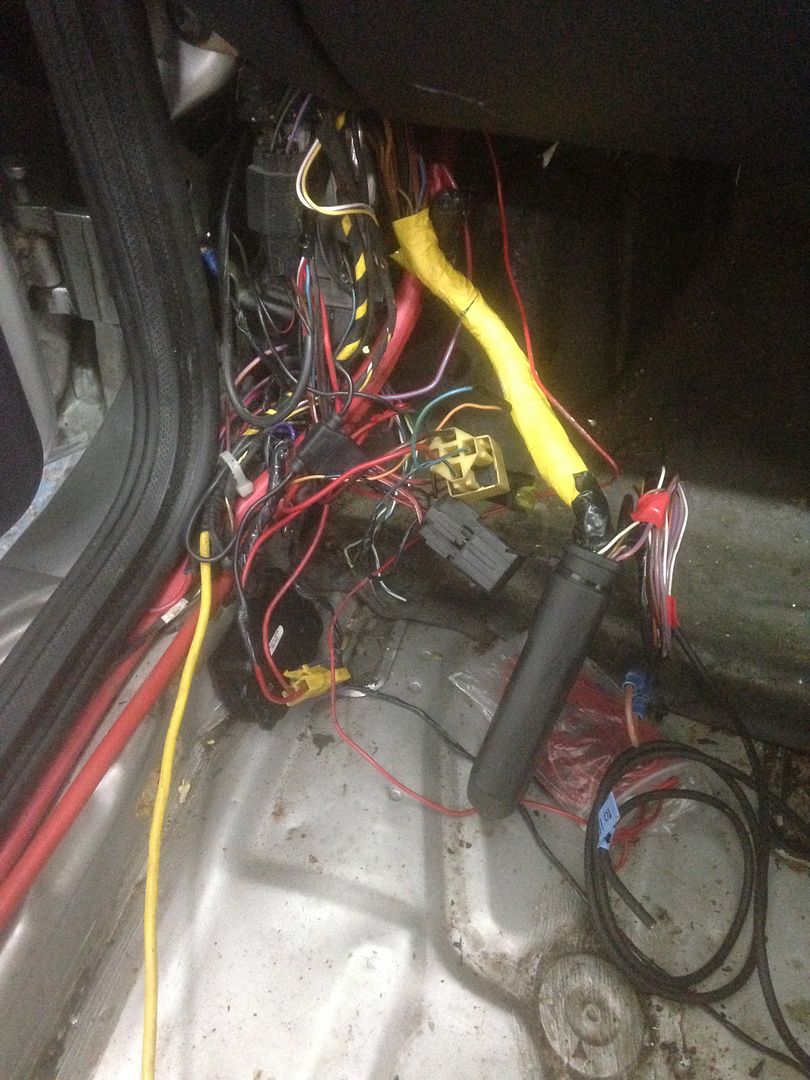
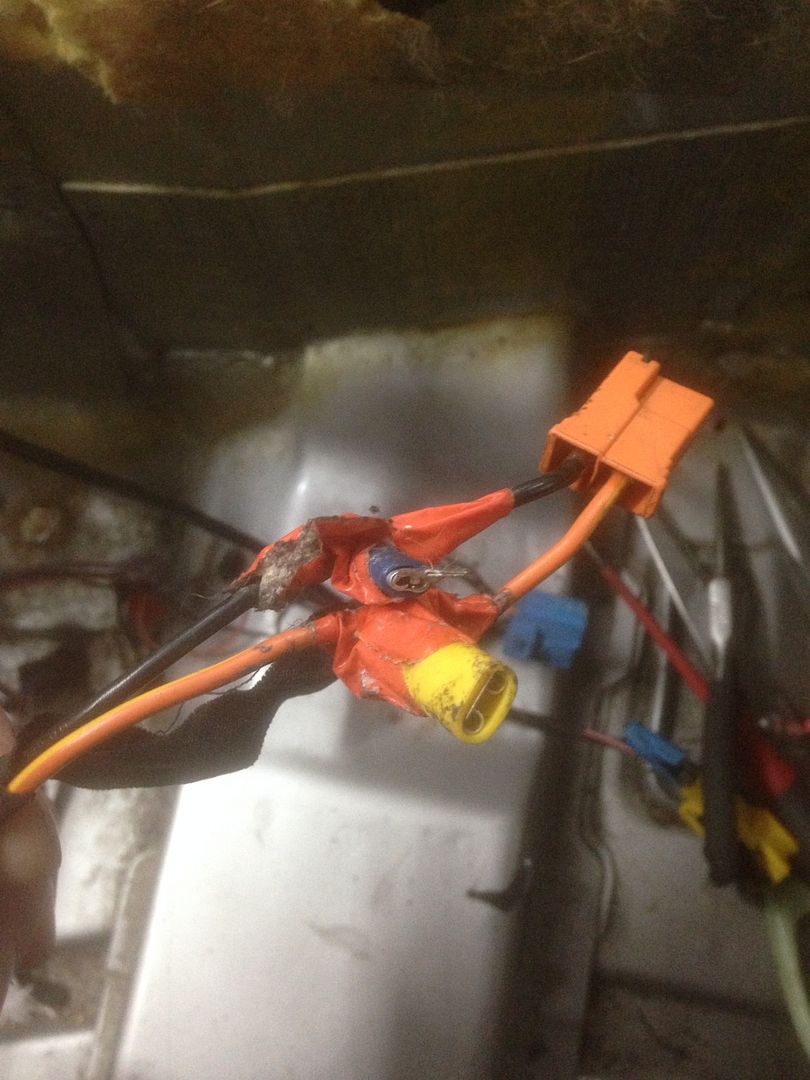
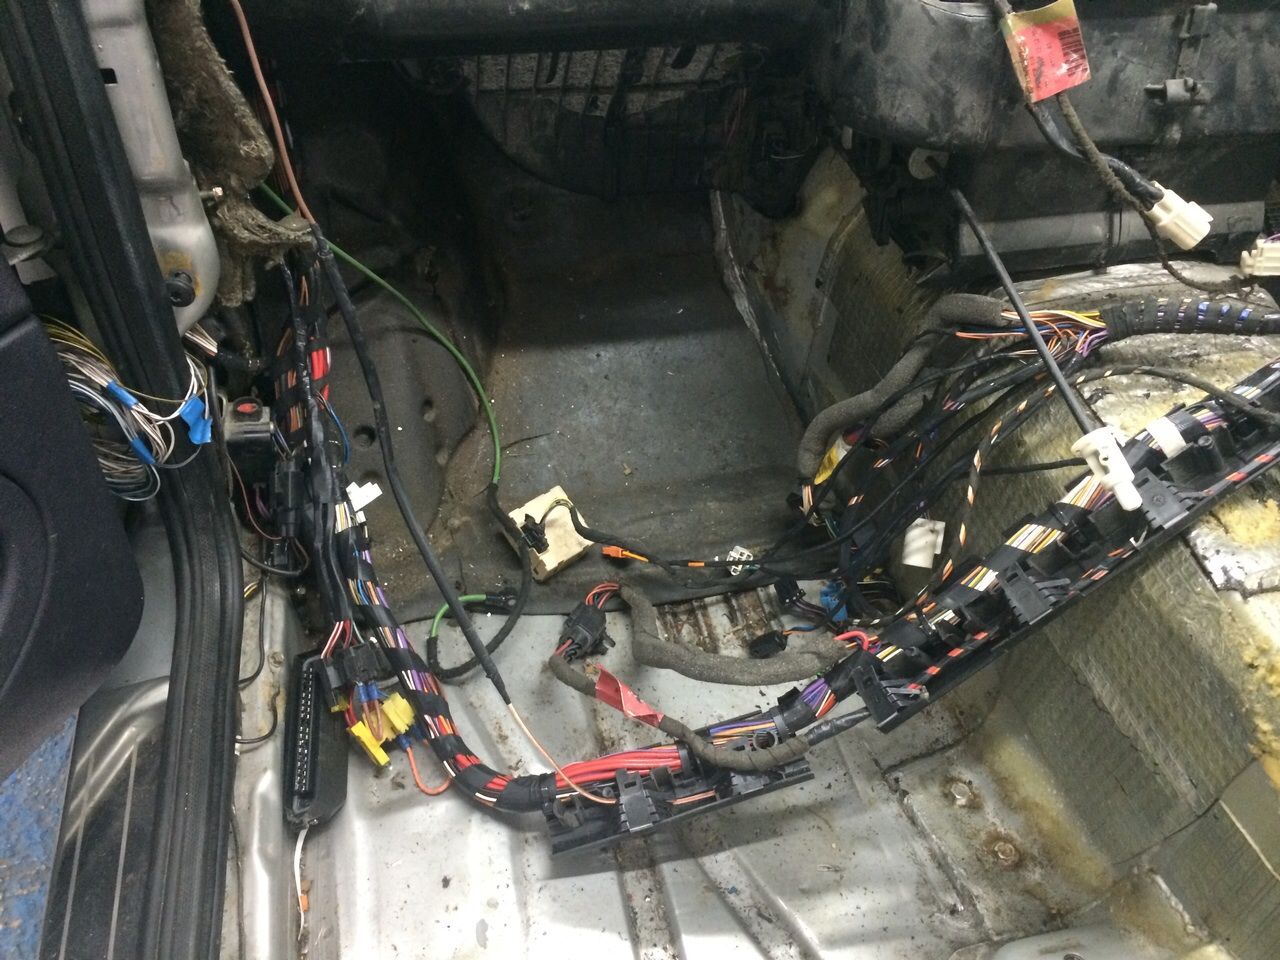
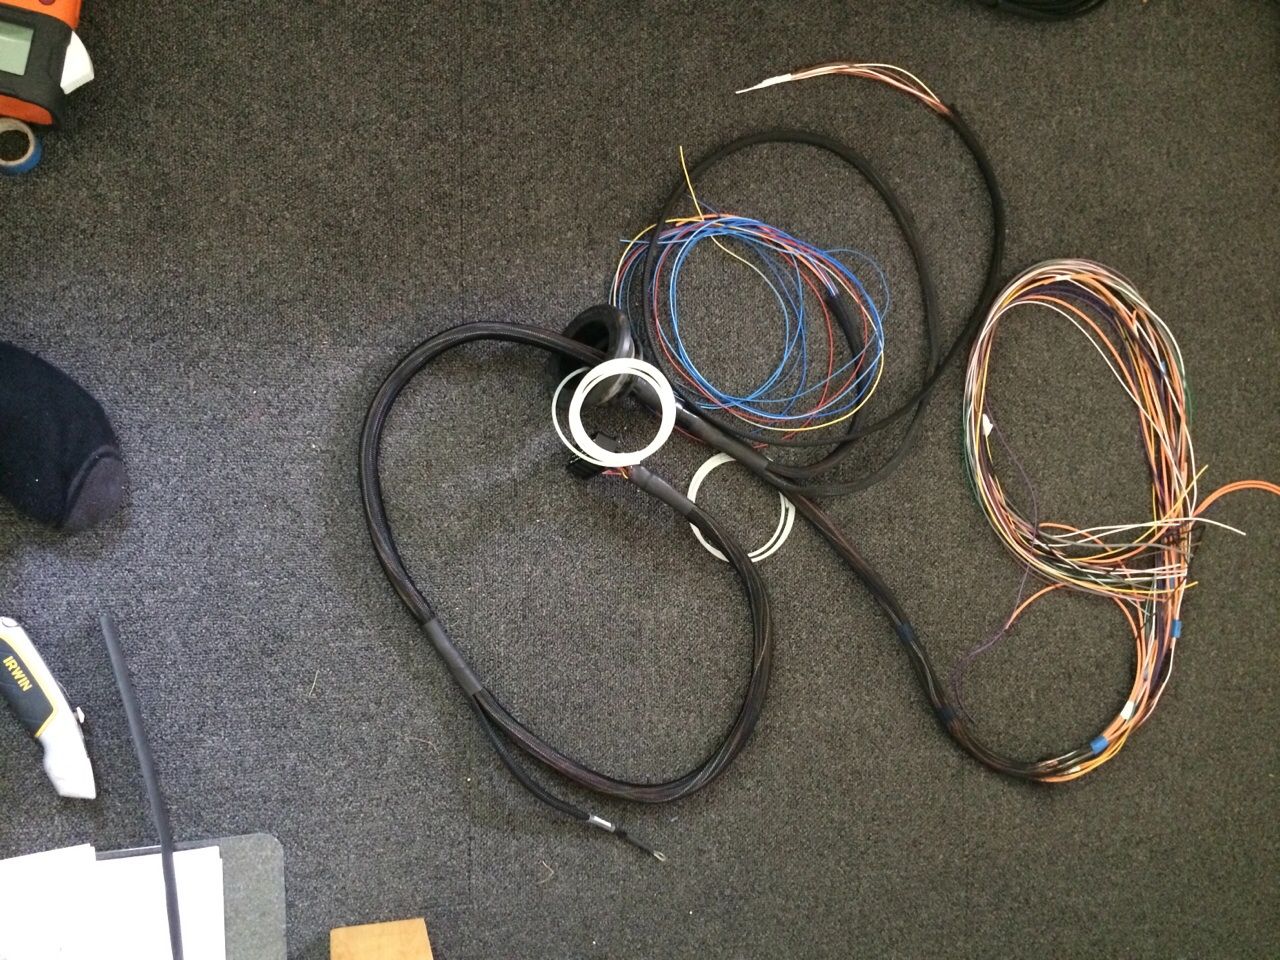


More of the mess


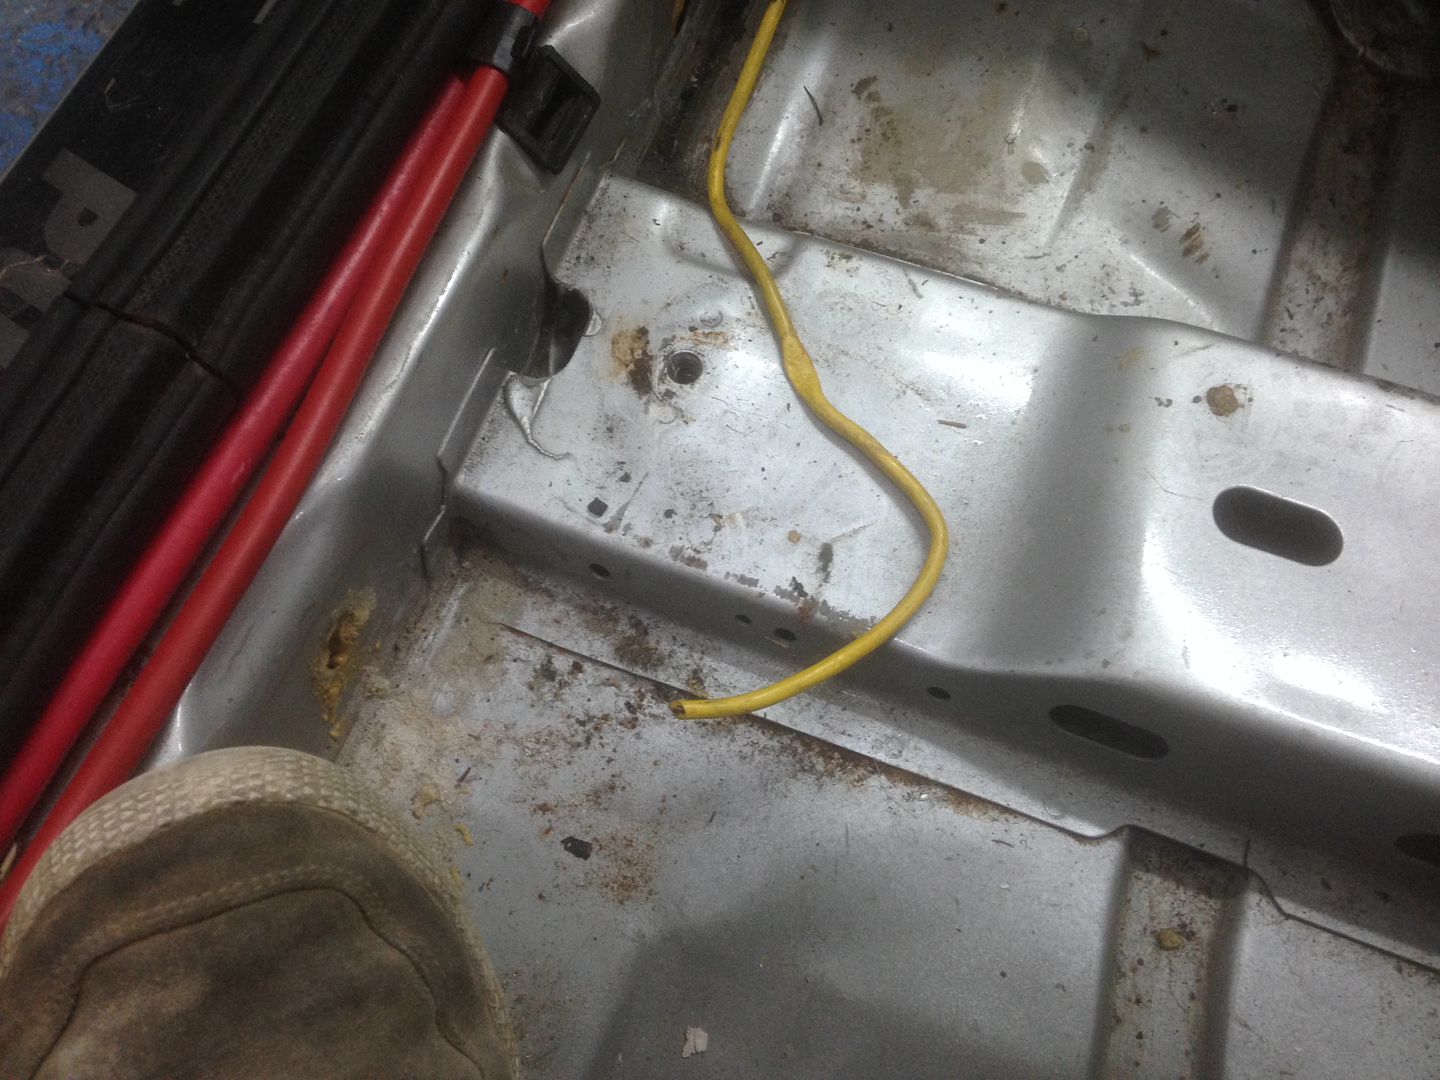
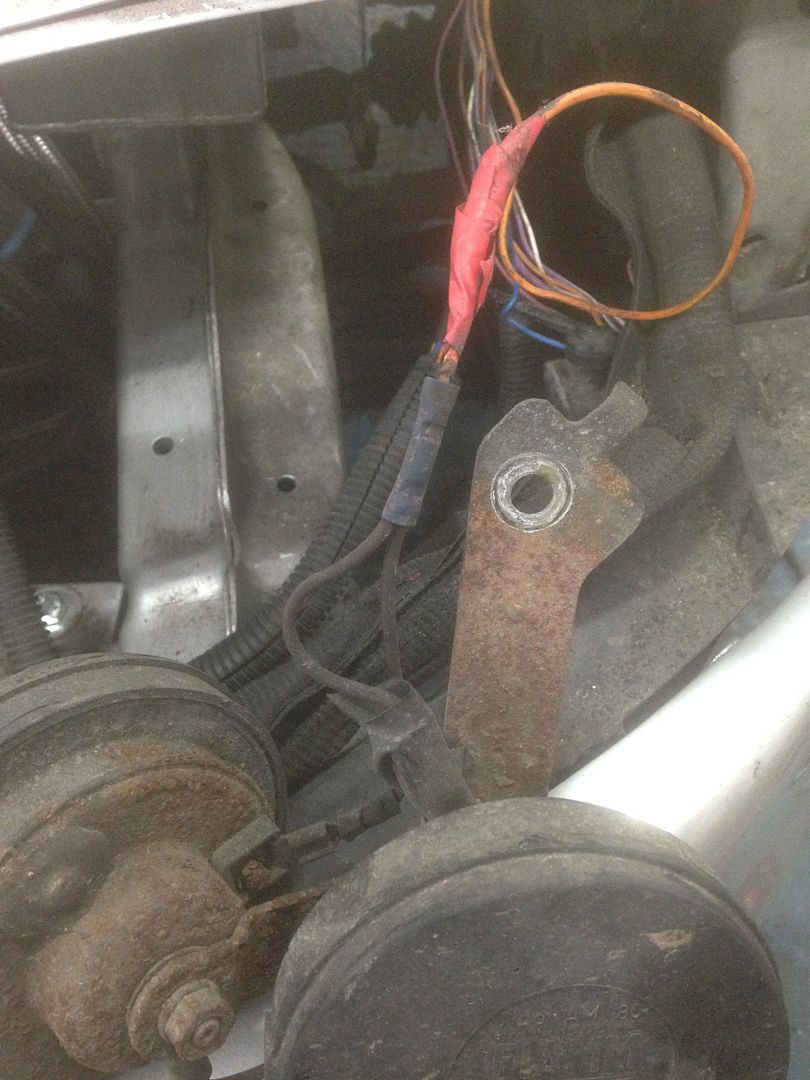
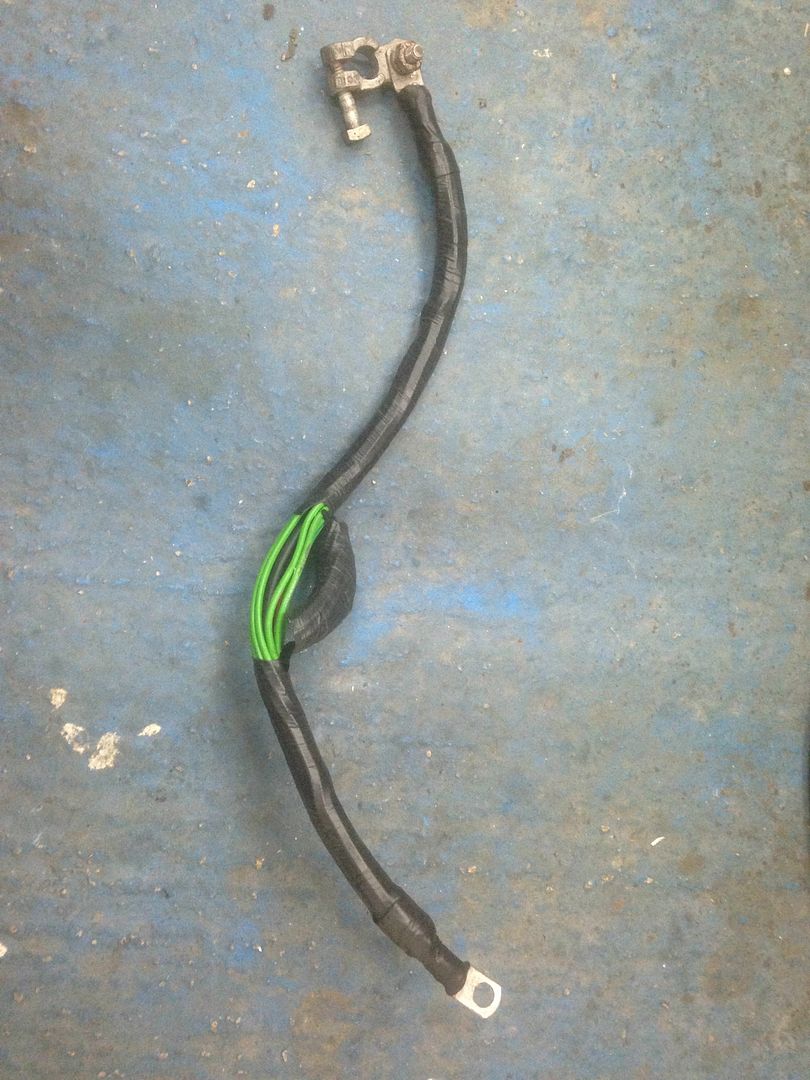
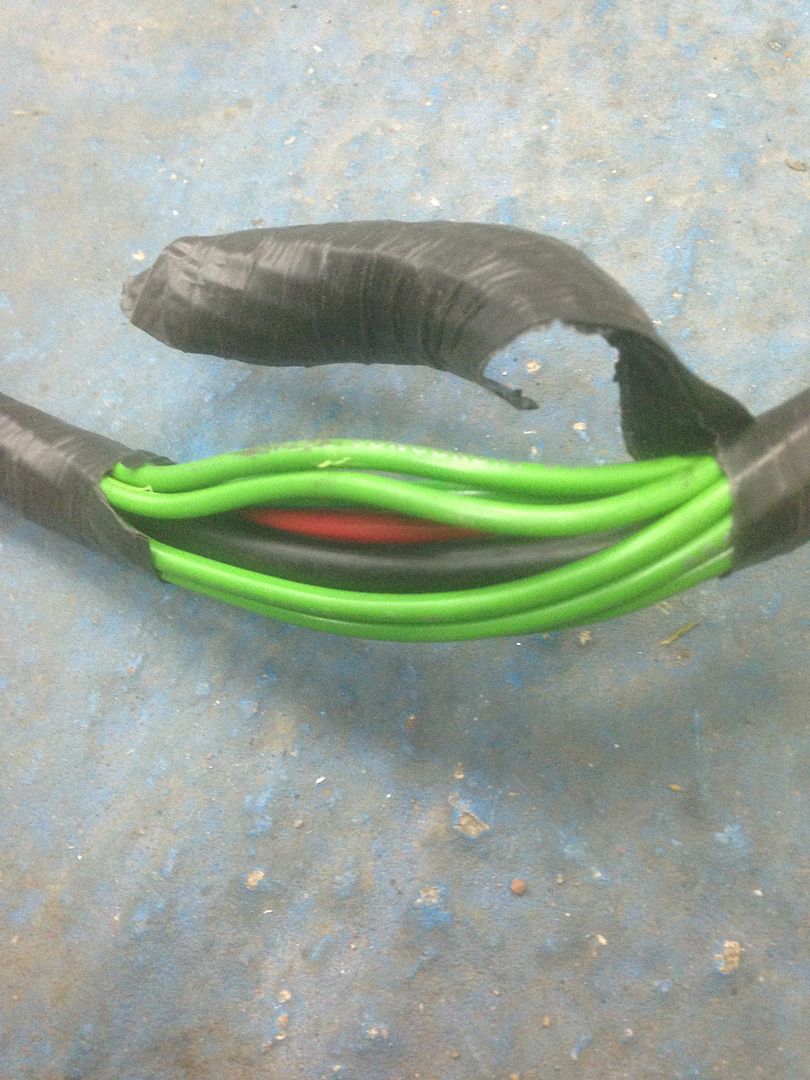
Strange battery earth cable


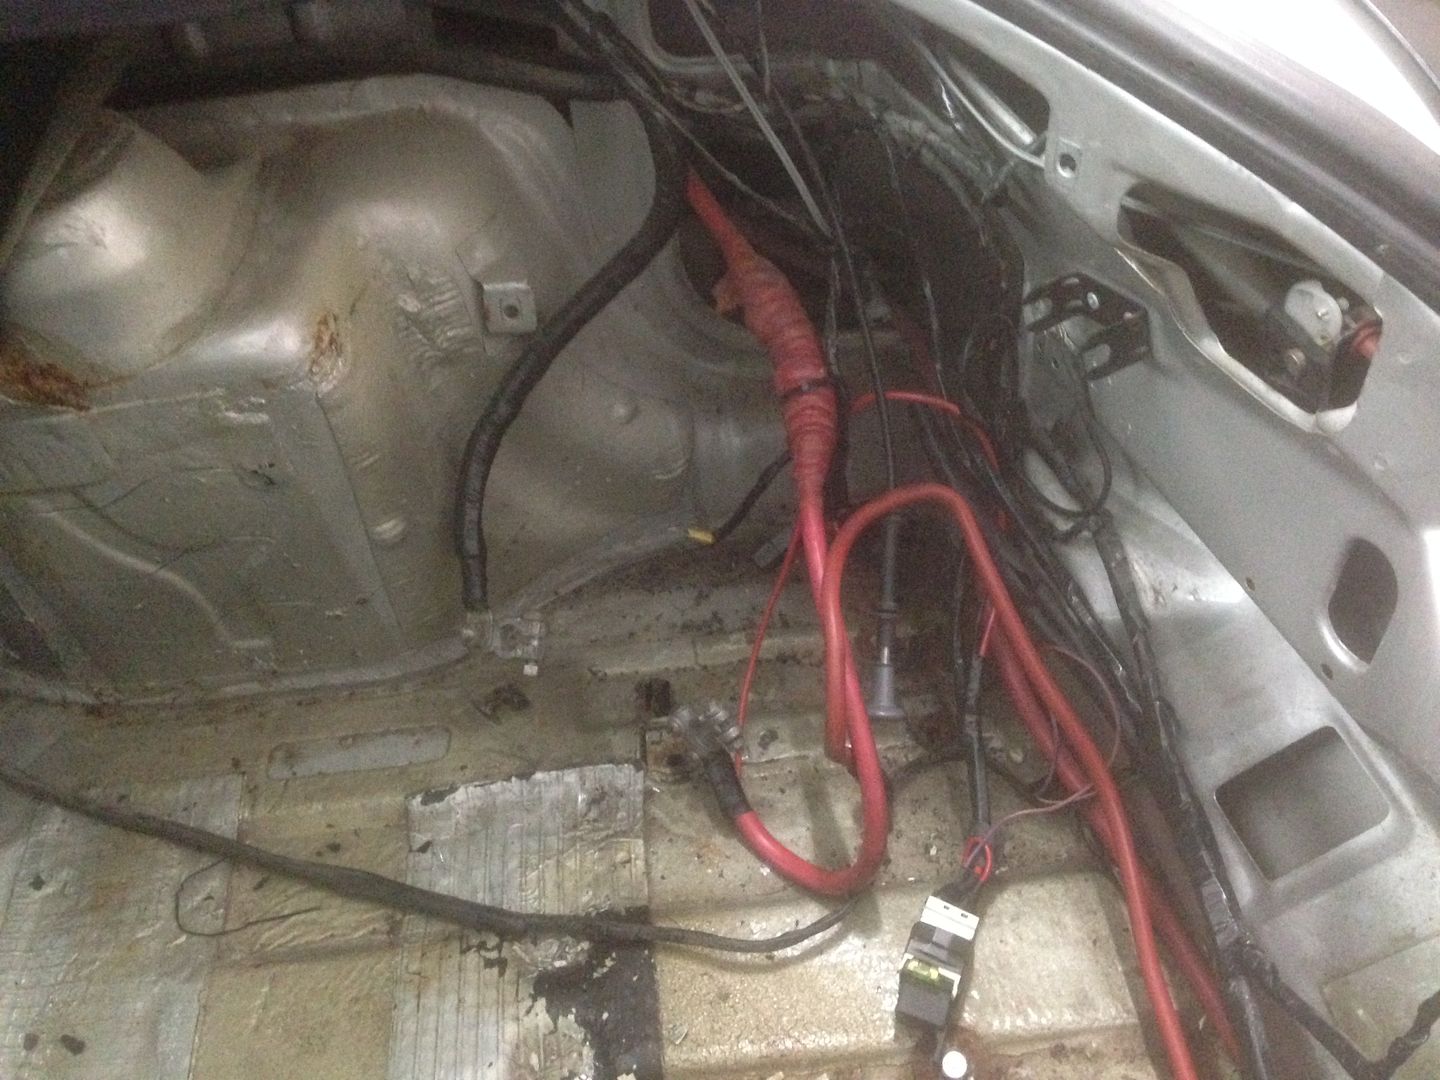
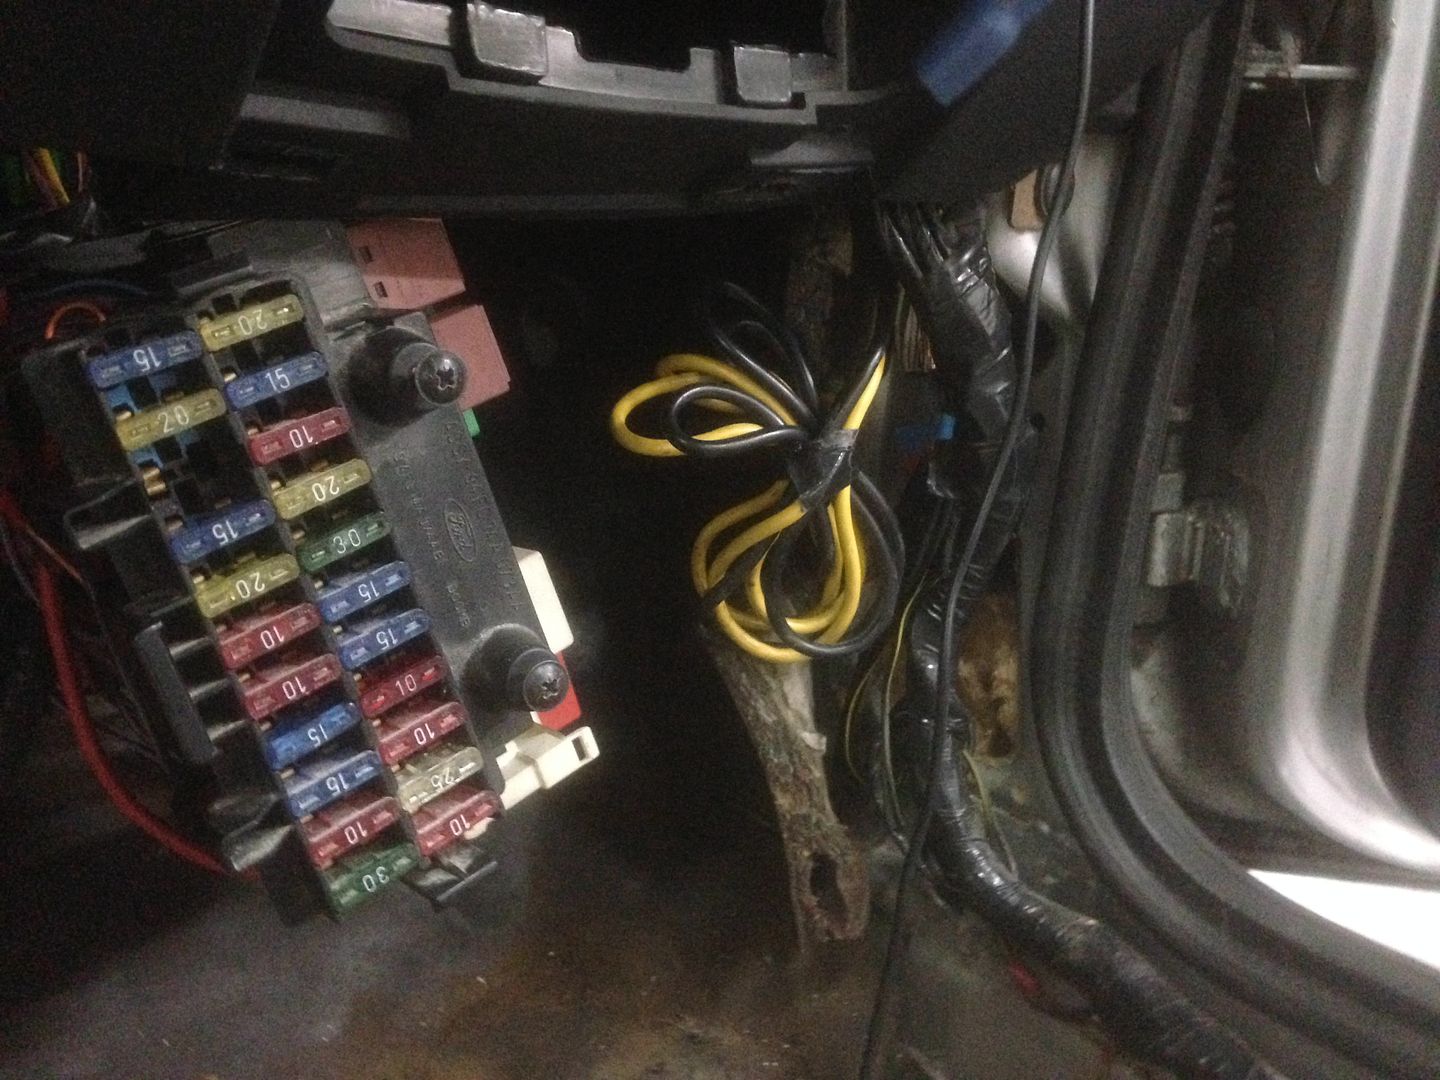
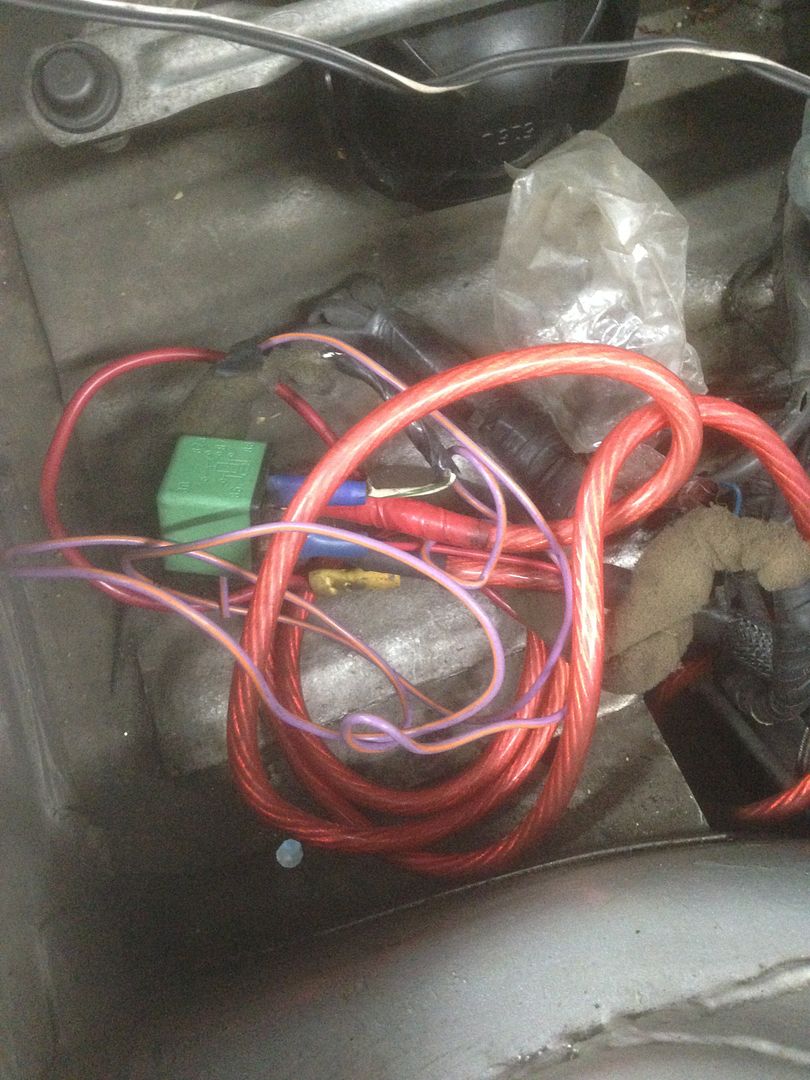
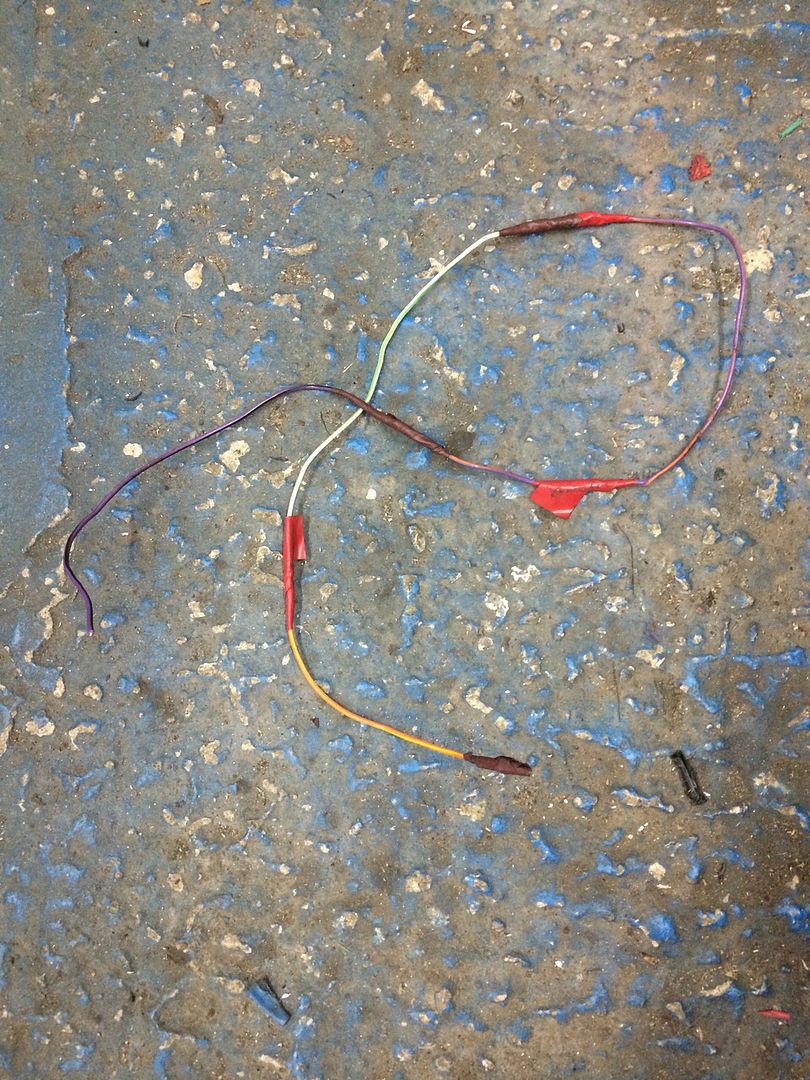
Some interesting wiring in the boot for the fuel pump.. Changing cable sizes


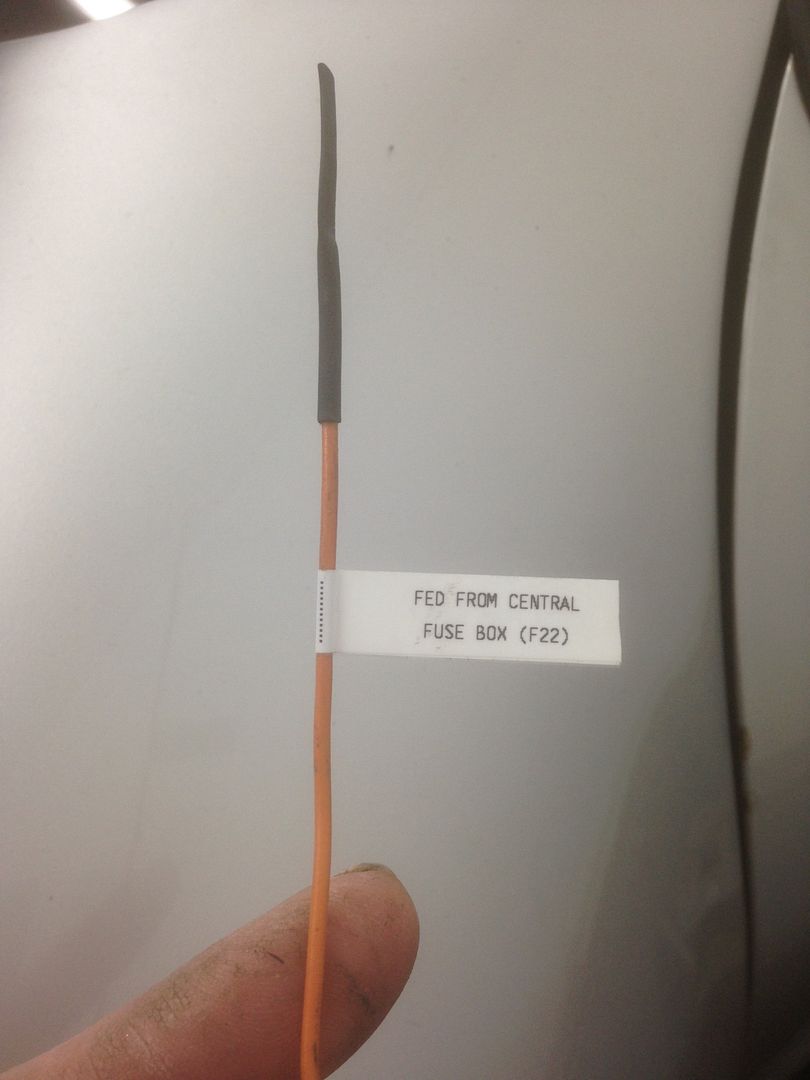
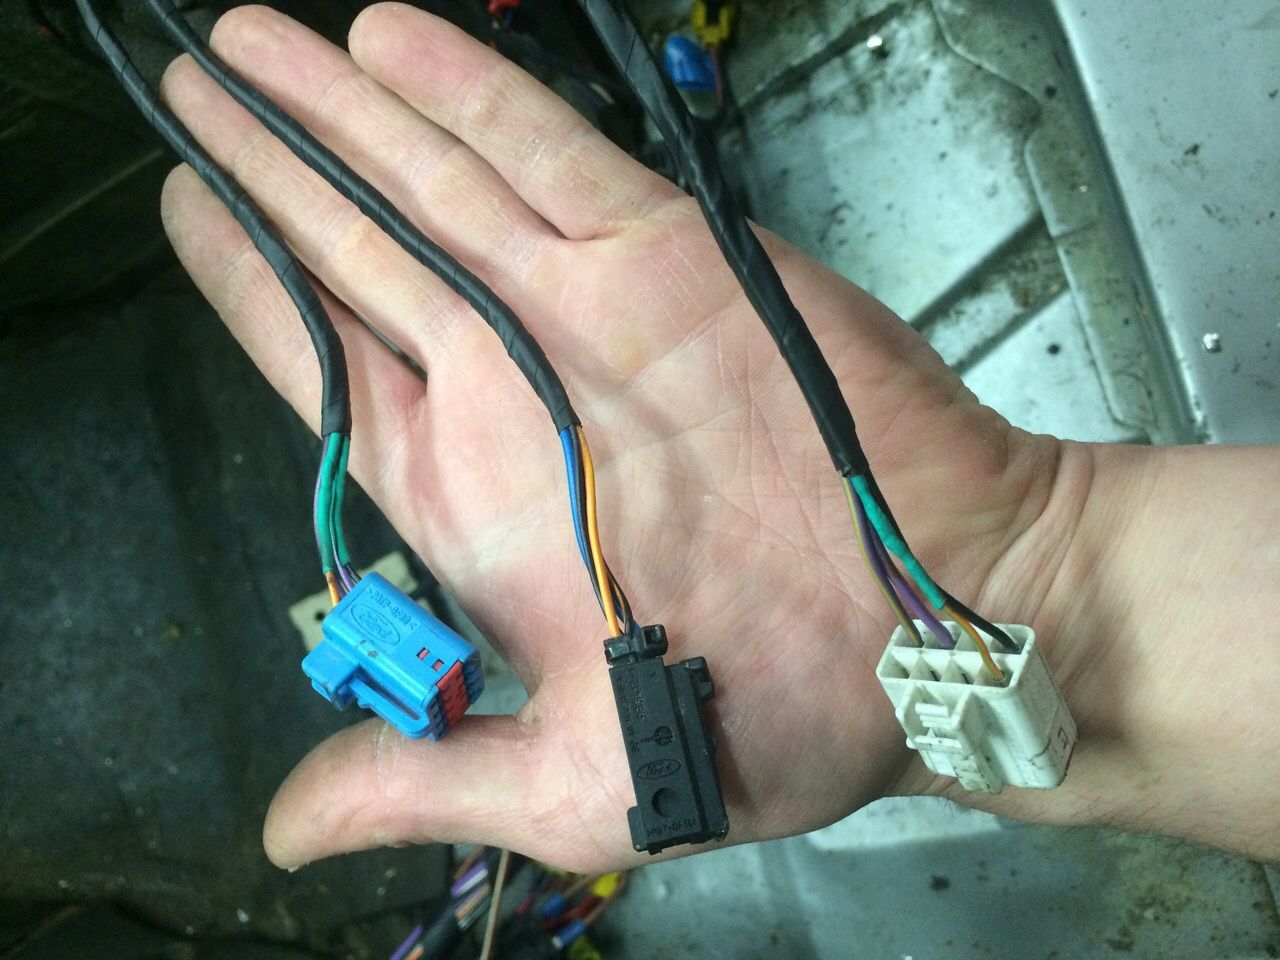
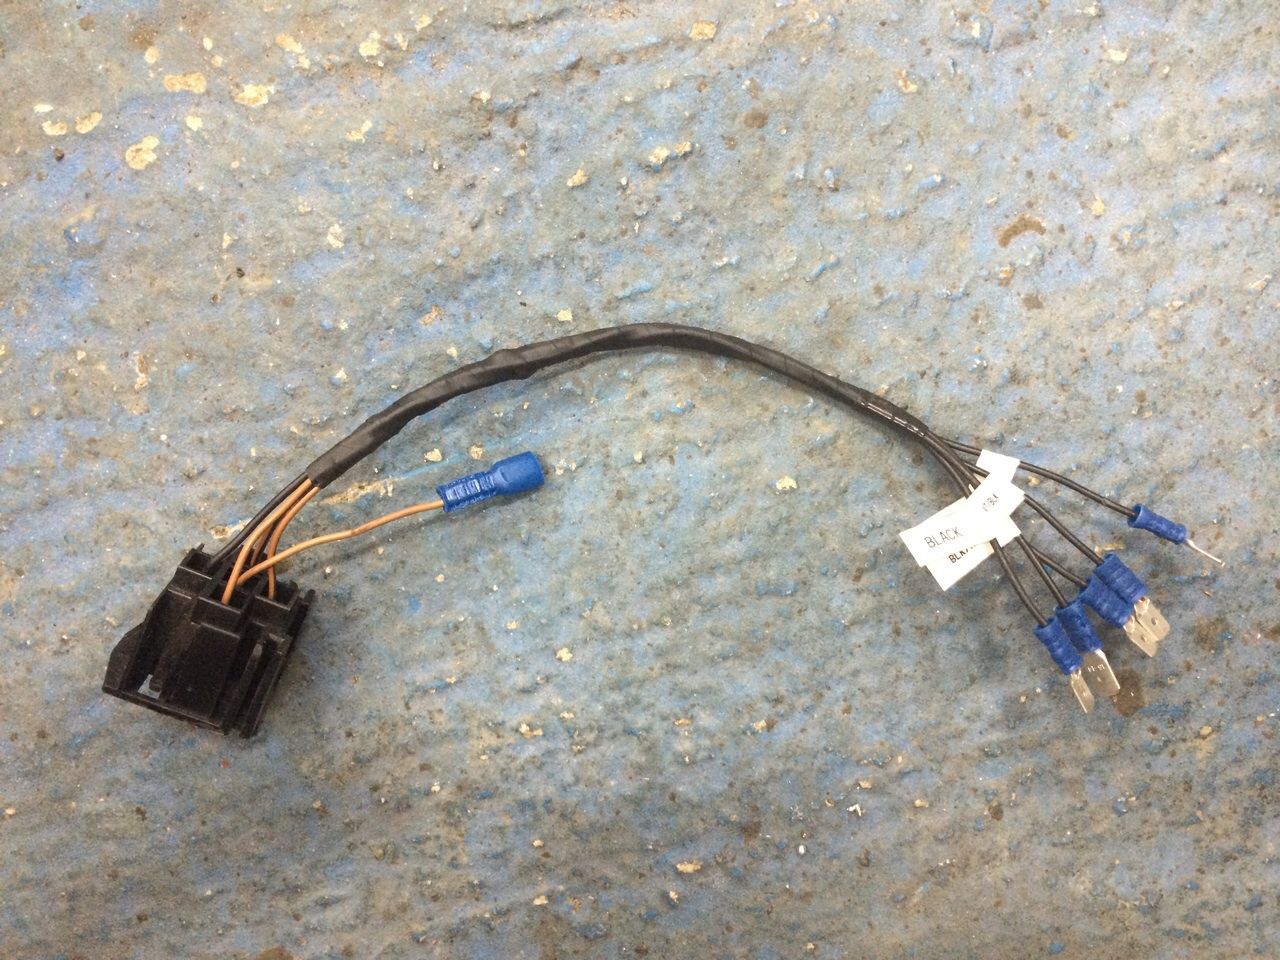
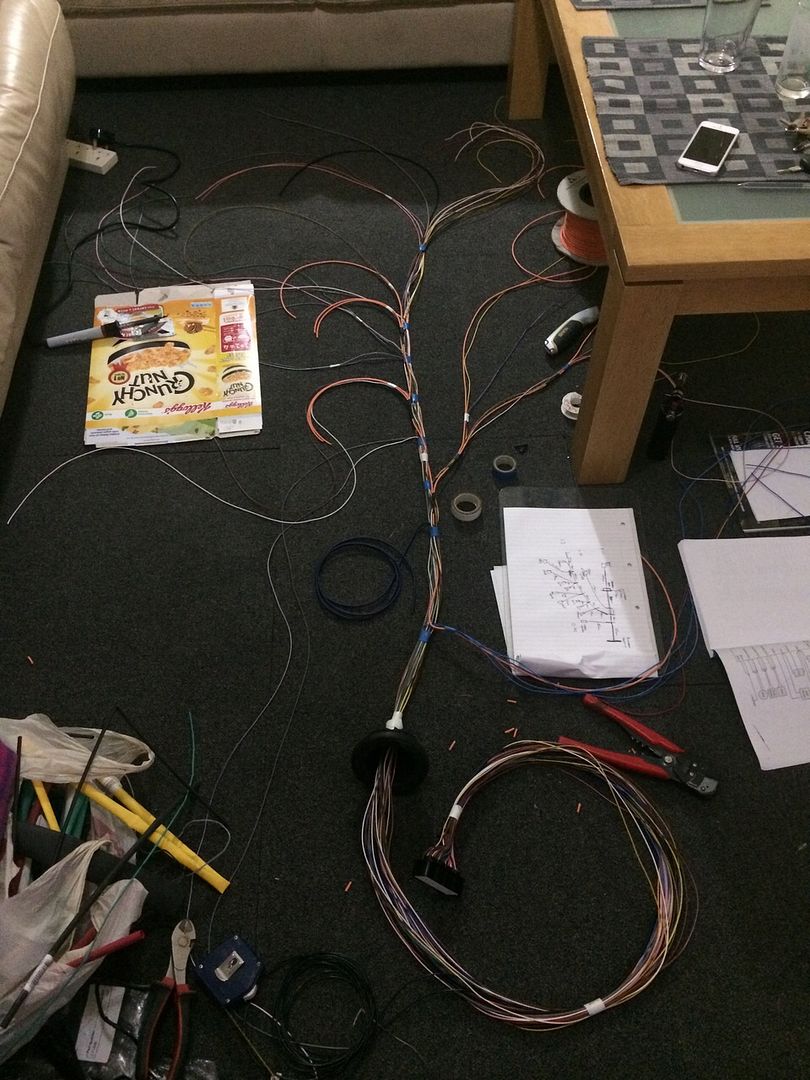
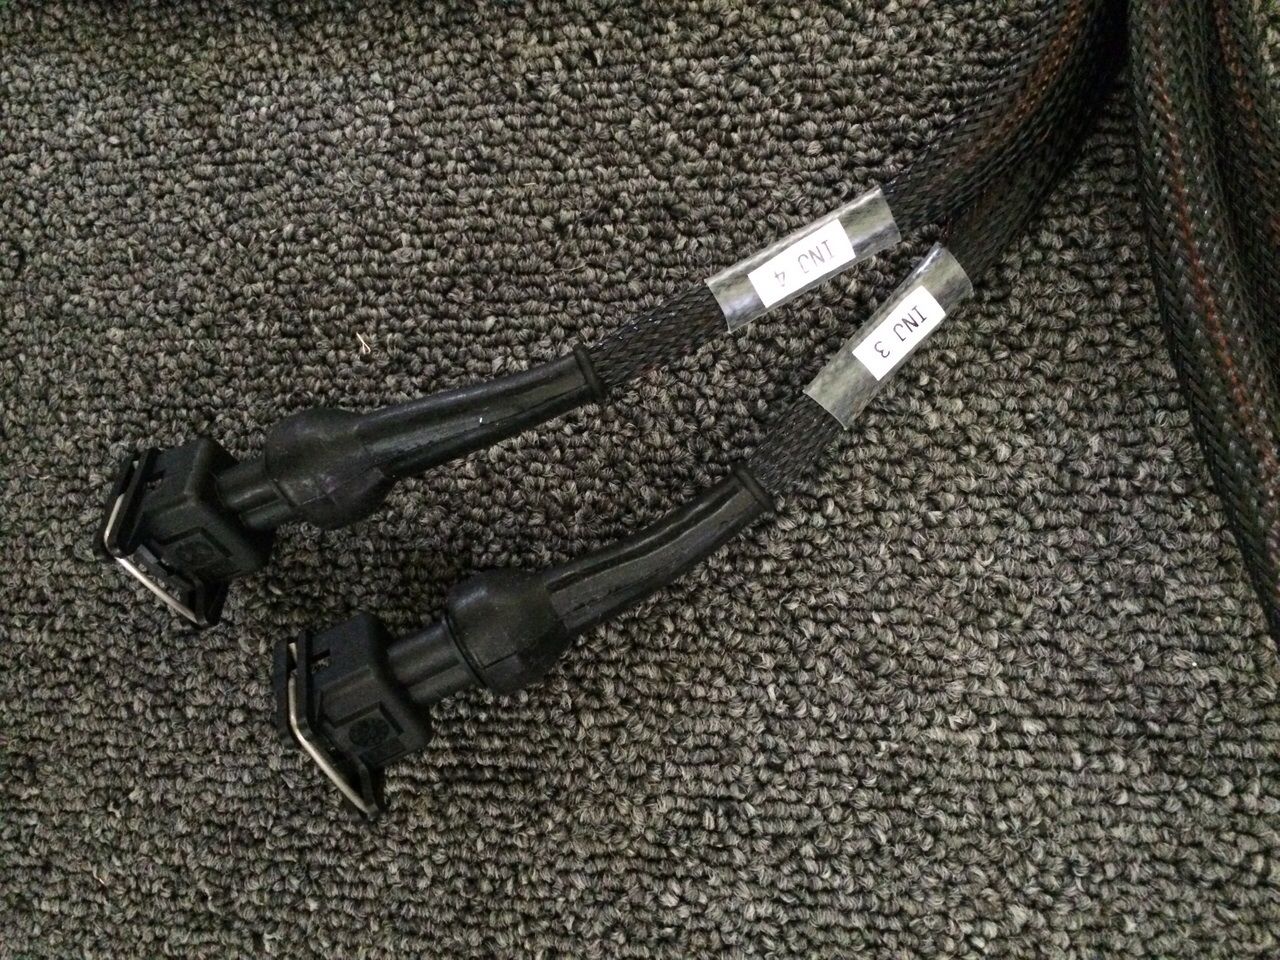
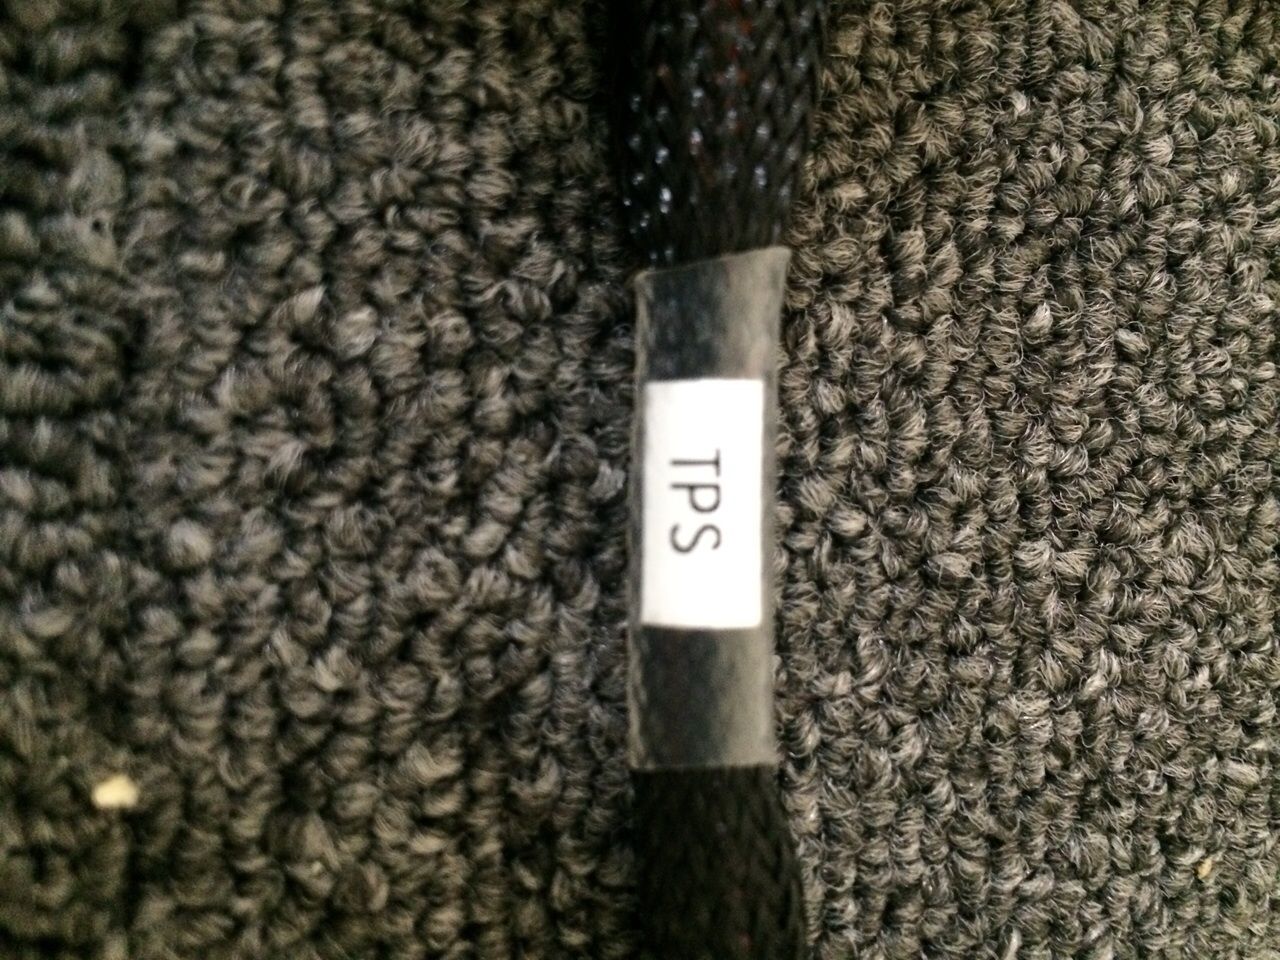
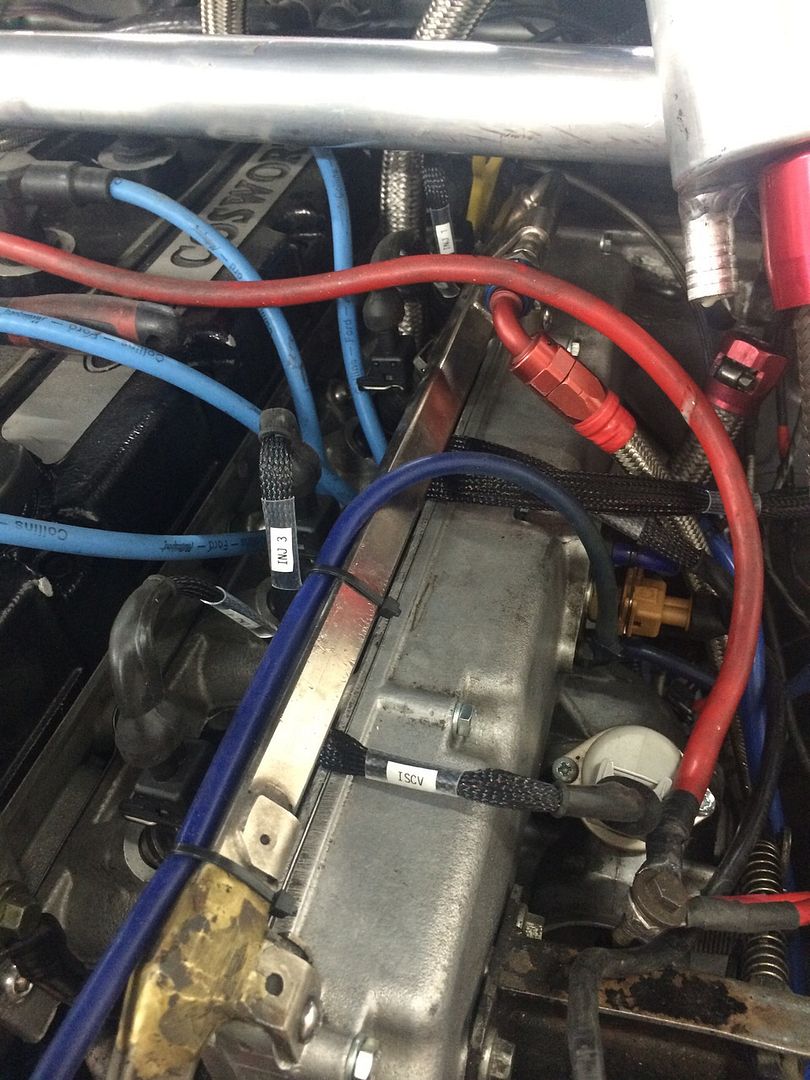
Using cable flags to identify wires in the future


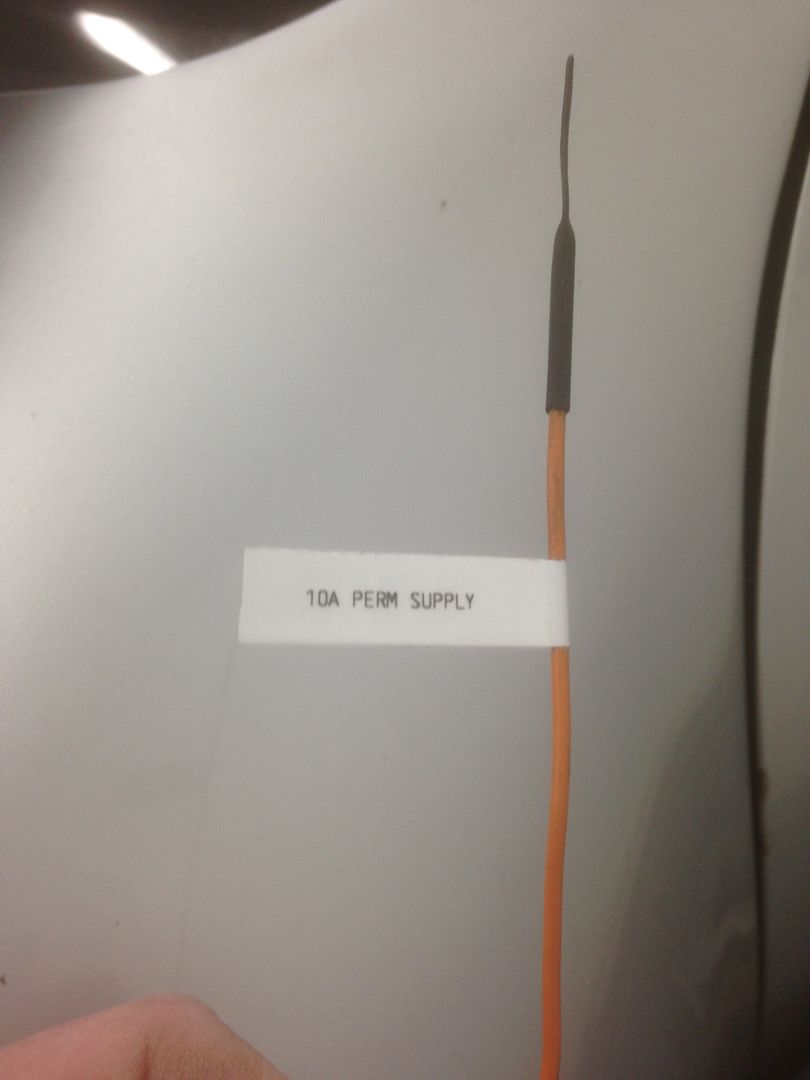
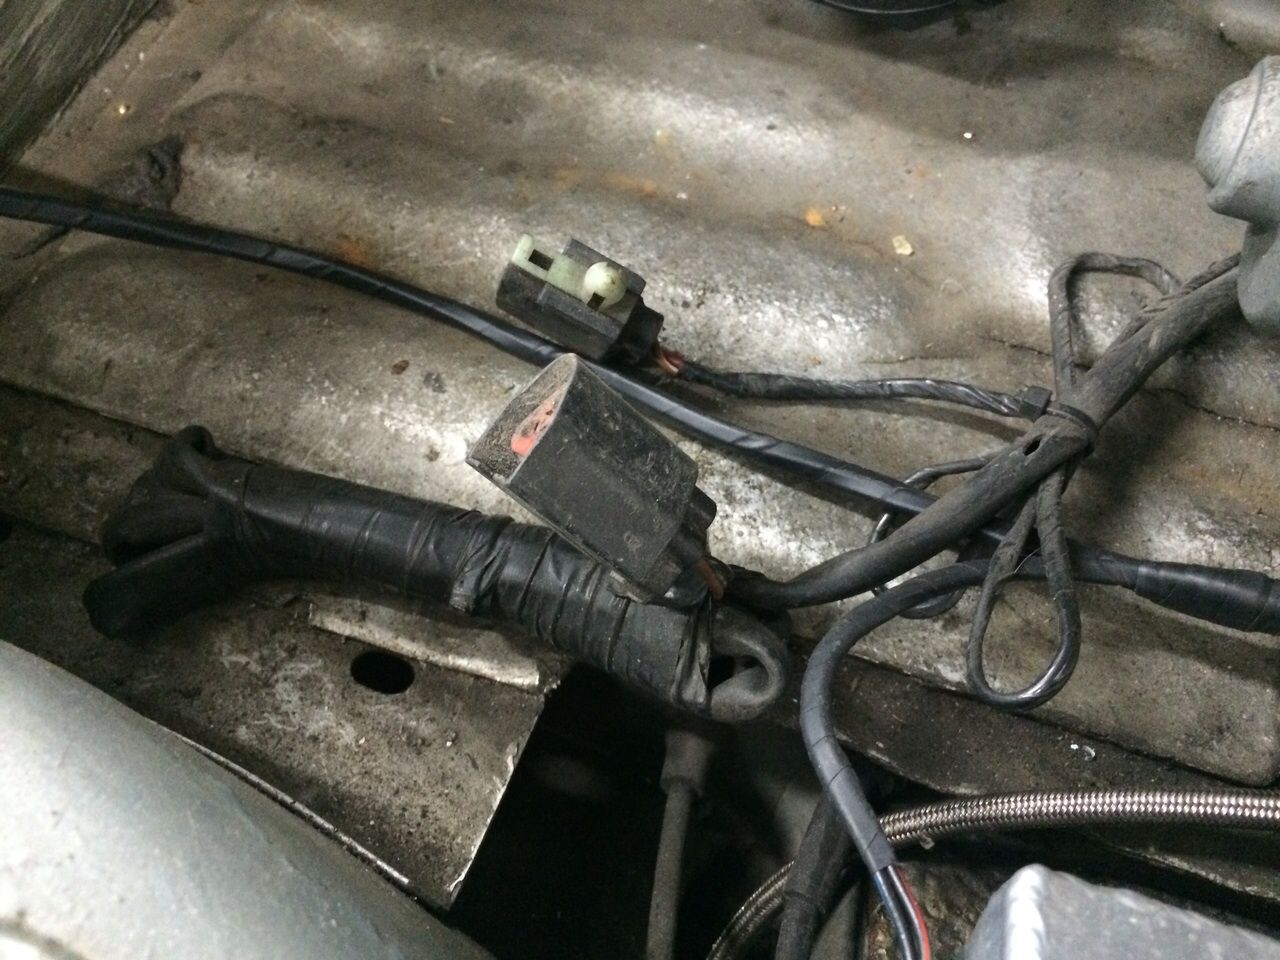
Might have something to do with why the 12v socket doesn't work


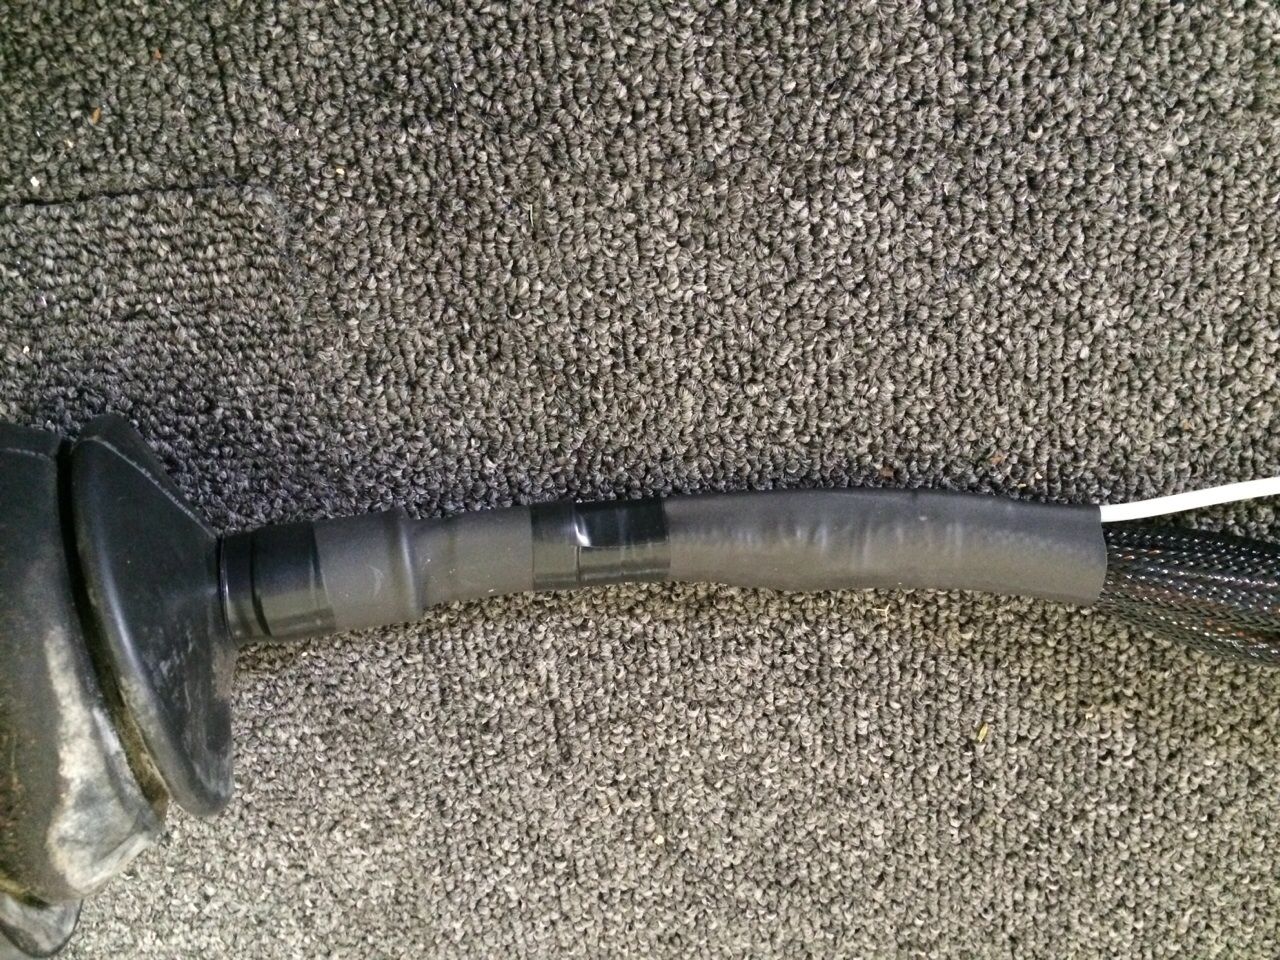
Although it doesn't look much this is towards the end of the loom tidying.. The larger red cable has now been removed


Wiring repairs to the car loom.. Soldered joints and heat shrunk


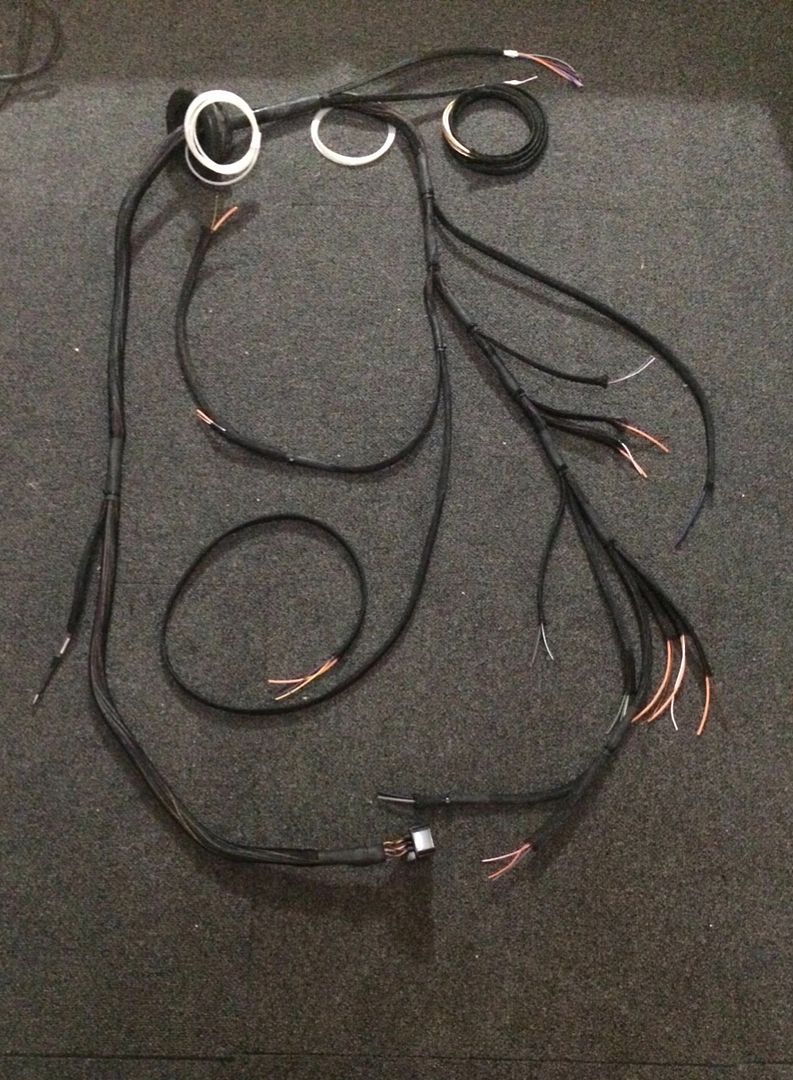
Loom starting to get taped up and tidied


This is the small loom for the variable intermittent wiper, seen better days so made a new one


New alternator cable made ( only have a photo of one end?!)


Car loom tidied and finished, hopefully you can see the differences!


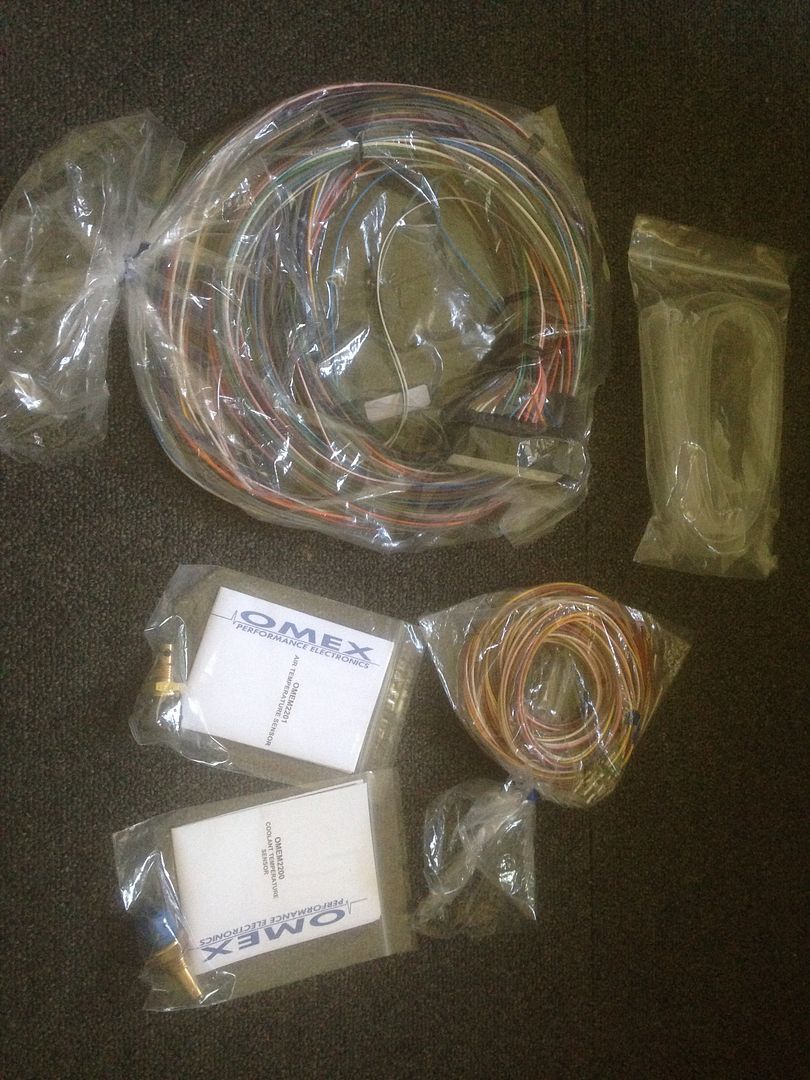
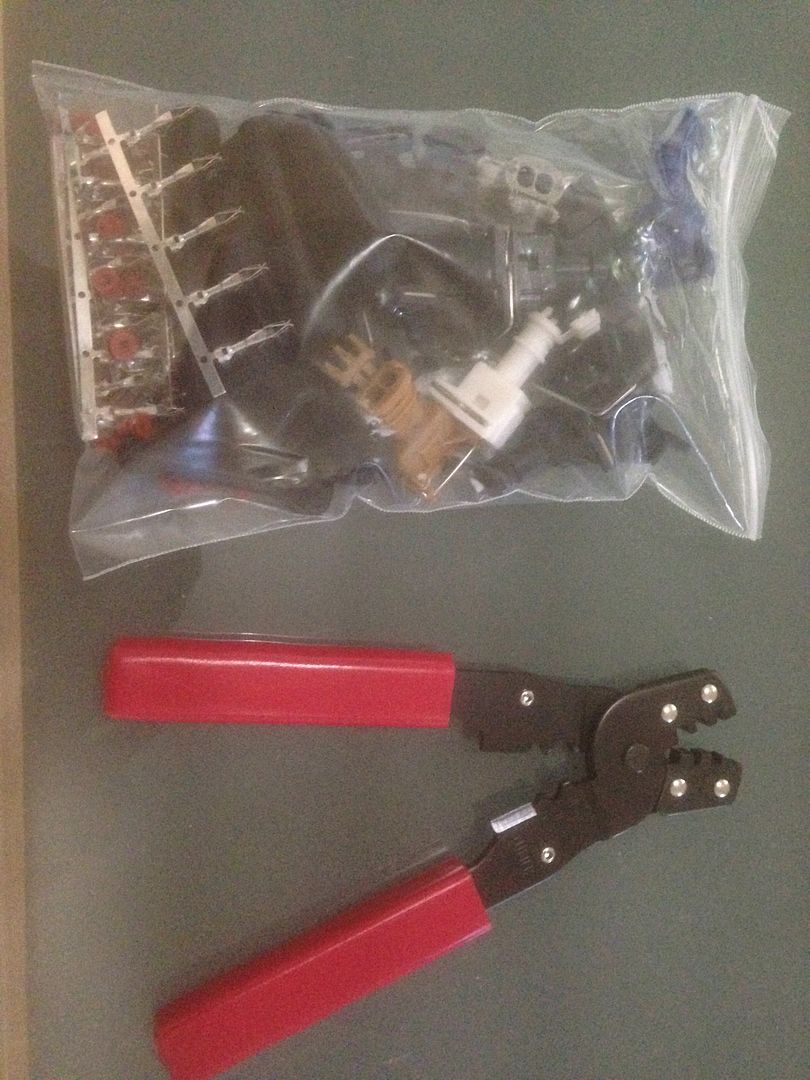
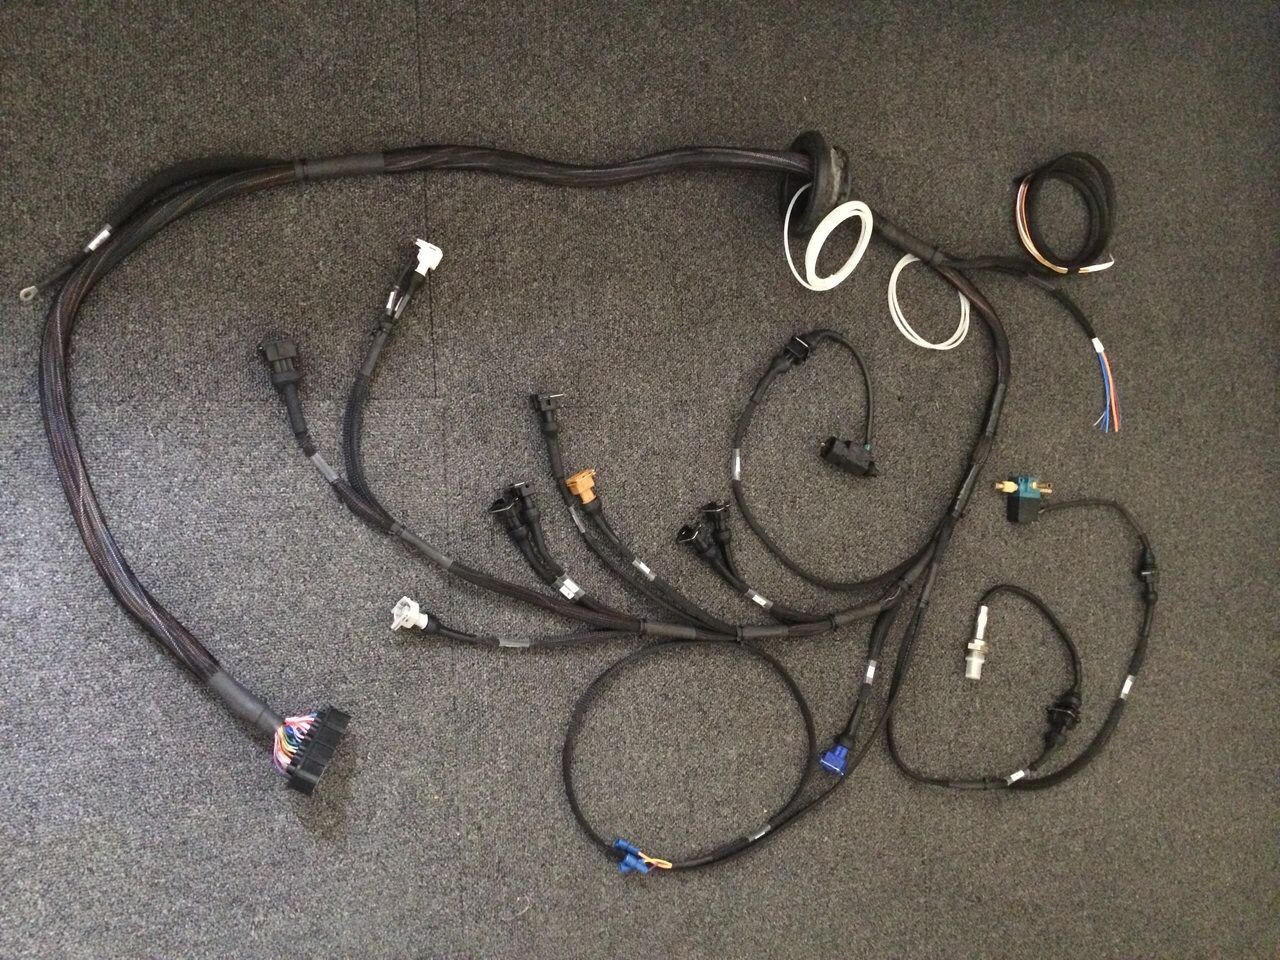
I then made the decision that now was the time to do something about the engine management and loom. The loom was the only area of bad wiring left (excluding planned re-do of the fuel pump wiring) and was letting the engine bay down. So I had a spare omex 600 ECU and thought for now this would work to get a better drive from the engine and allow me to make a new loom. So the parts were bought to make a start.


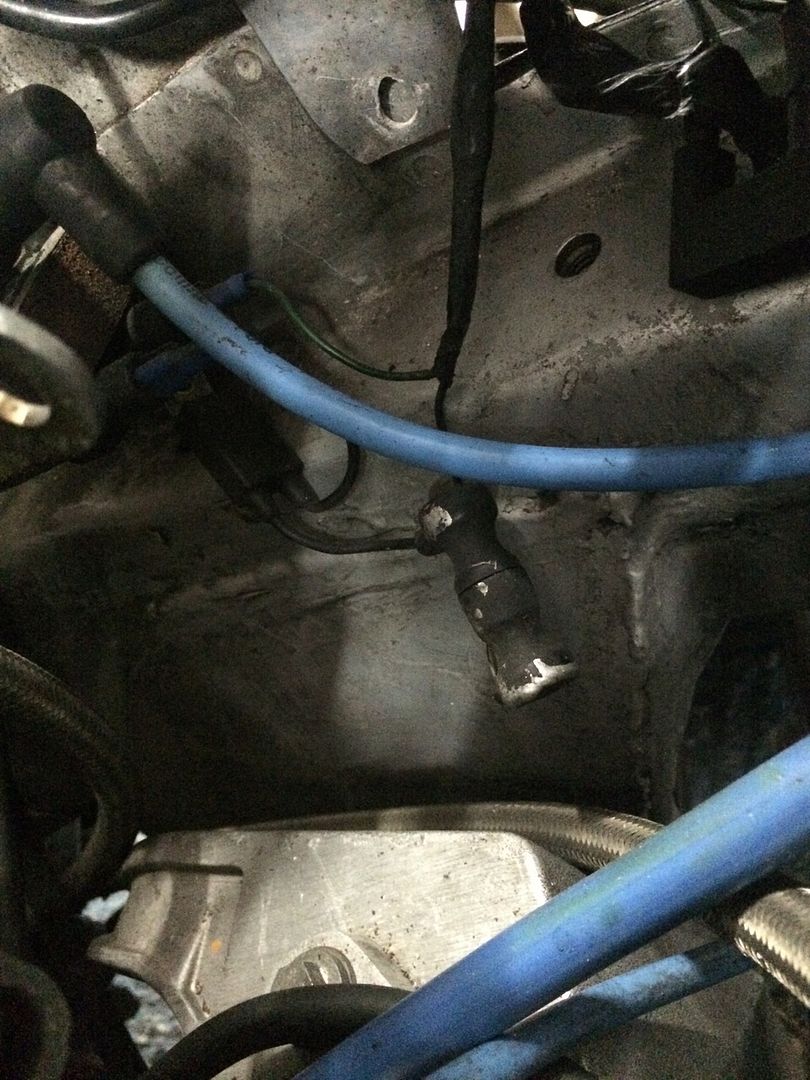
The all important bulkhead grommet that caused all this to happen in the first place.. Went to the scrapyard to source another one just for this loom


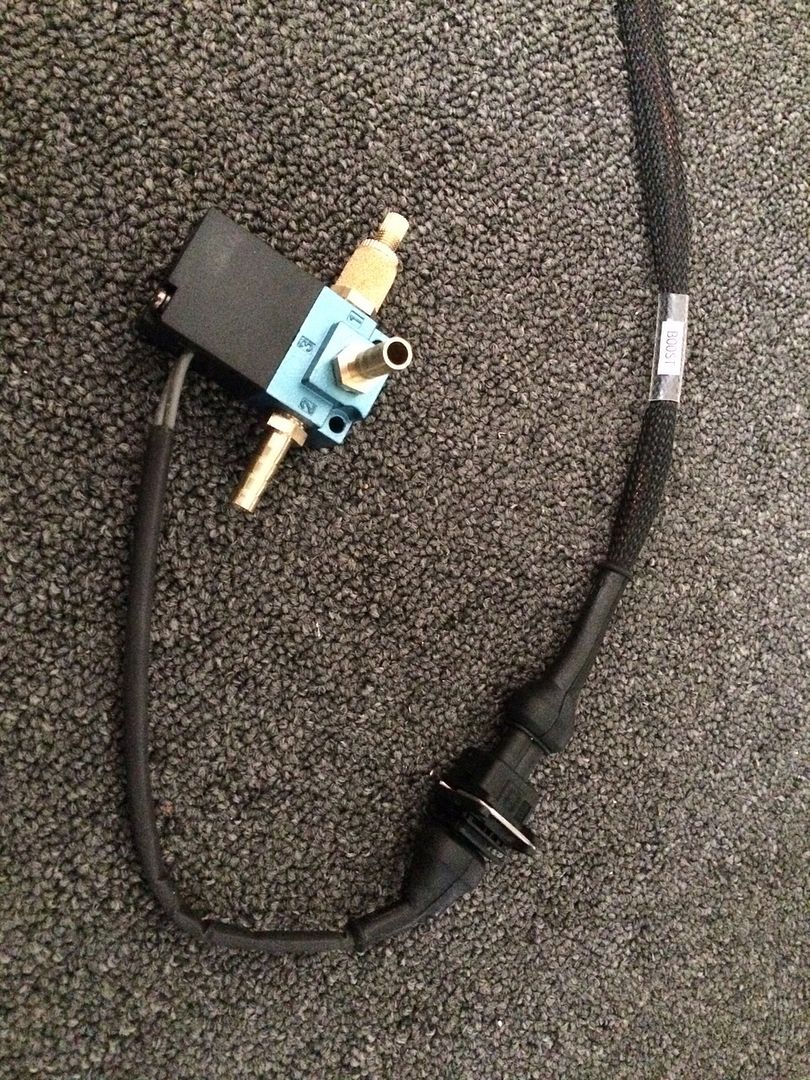
Vacuum pipe fitted in the loom to run boost gauge


A new important addition will be proper boost control.. Not the current bleed valve!


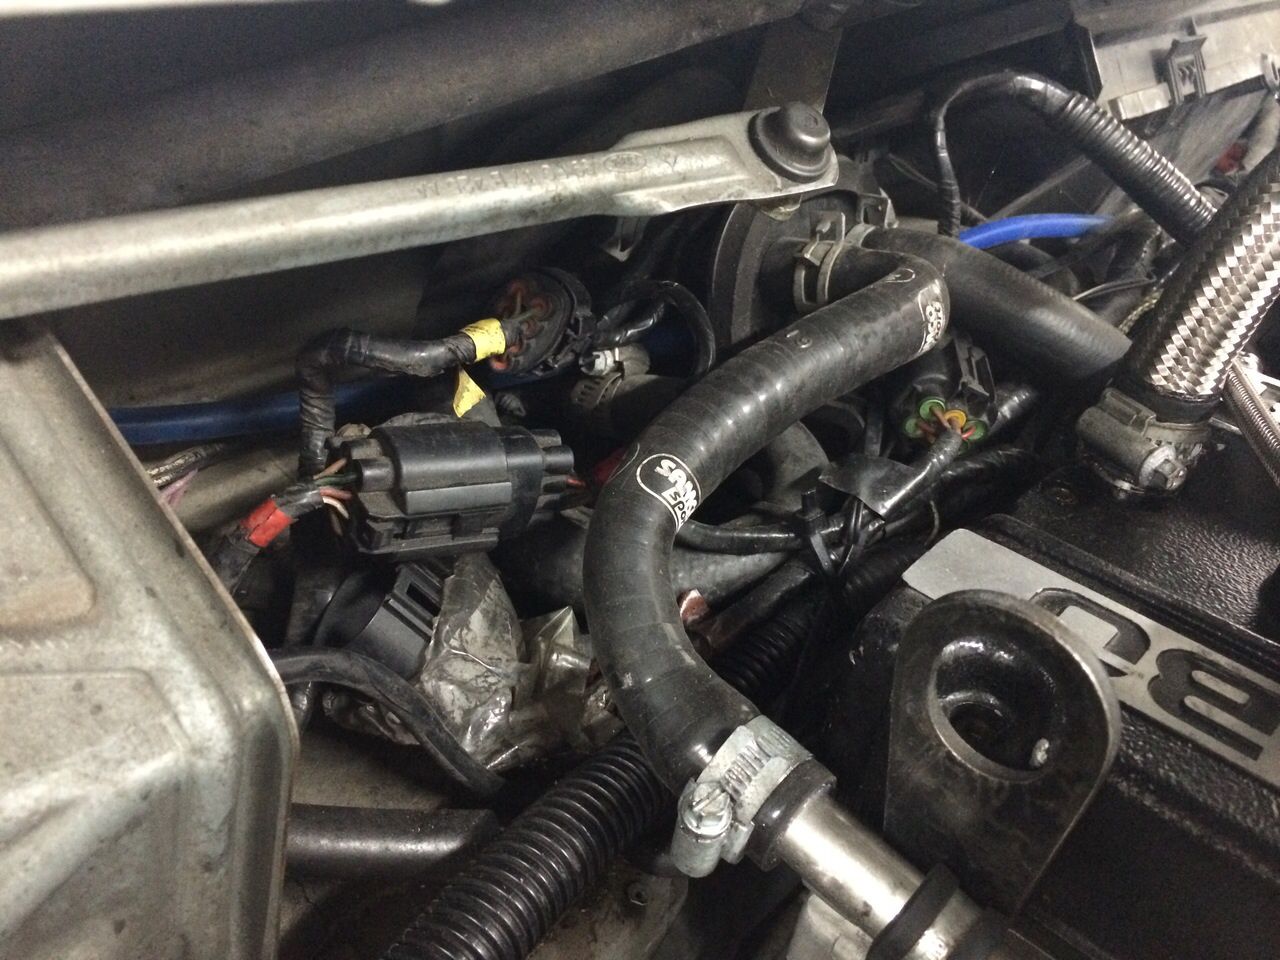
So all this to remove the existing messy loom


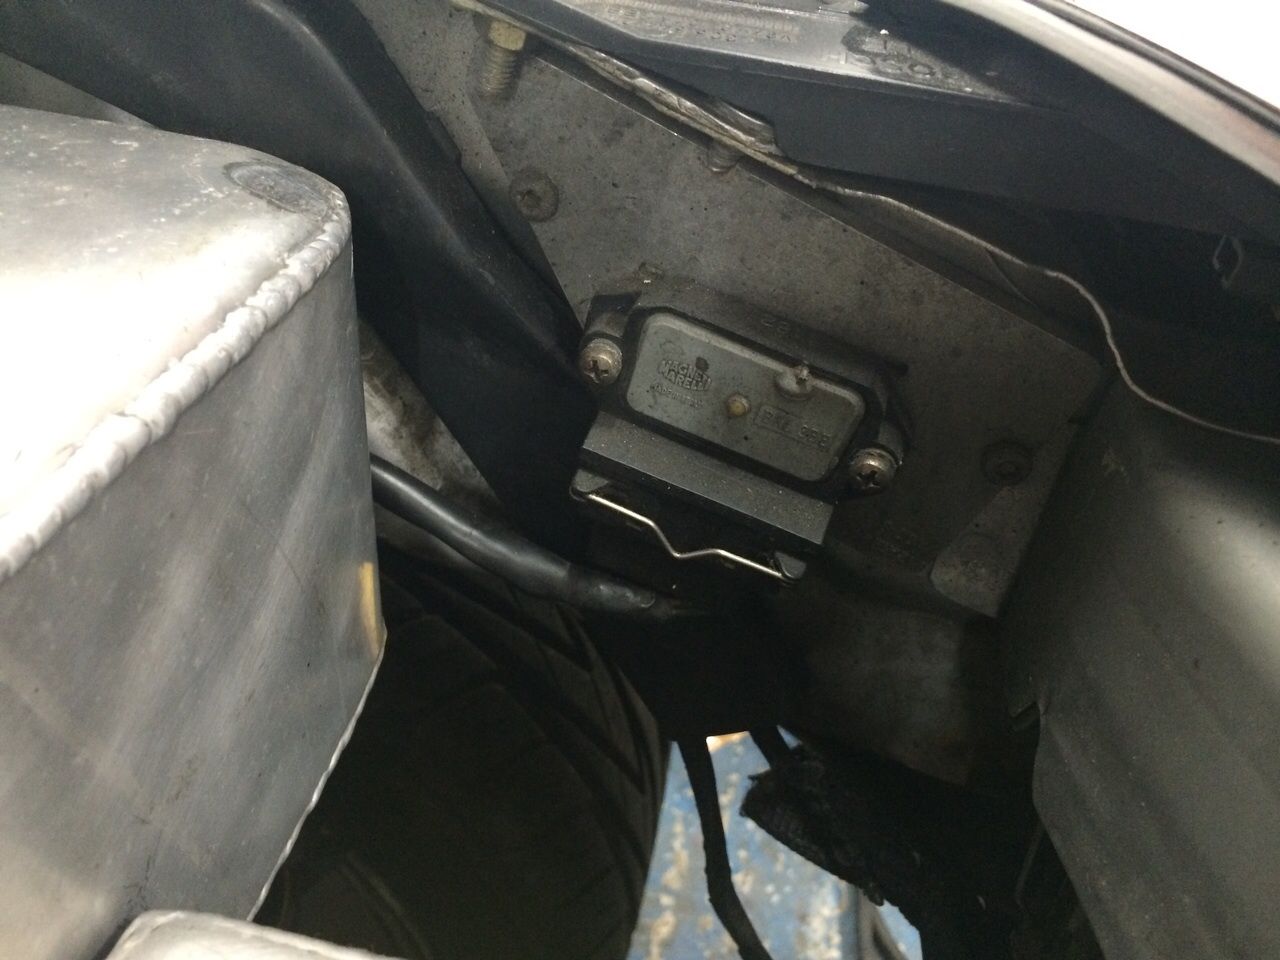
Also can now remove the ignition amp for the old management


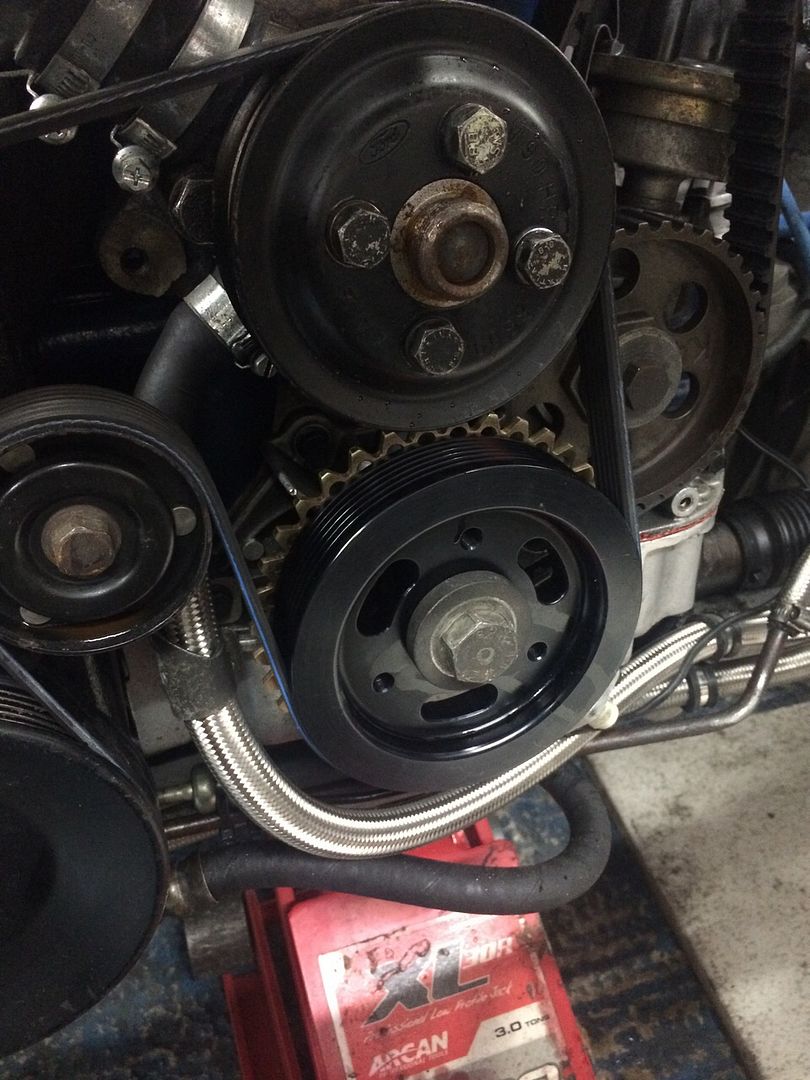
The new management requires a 36-1 toothed wheel for the crank sensor. Thankfully companies make these pulleys off the shelf so a nice black anodised one was bought and fitted


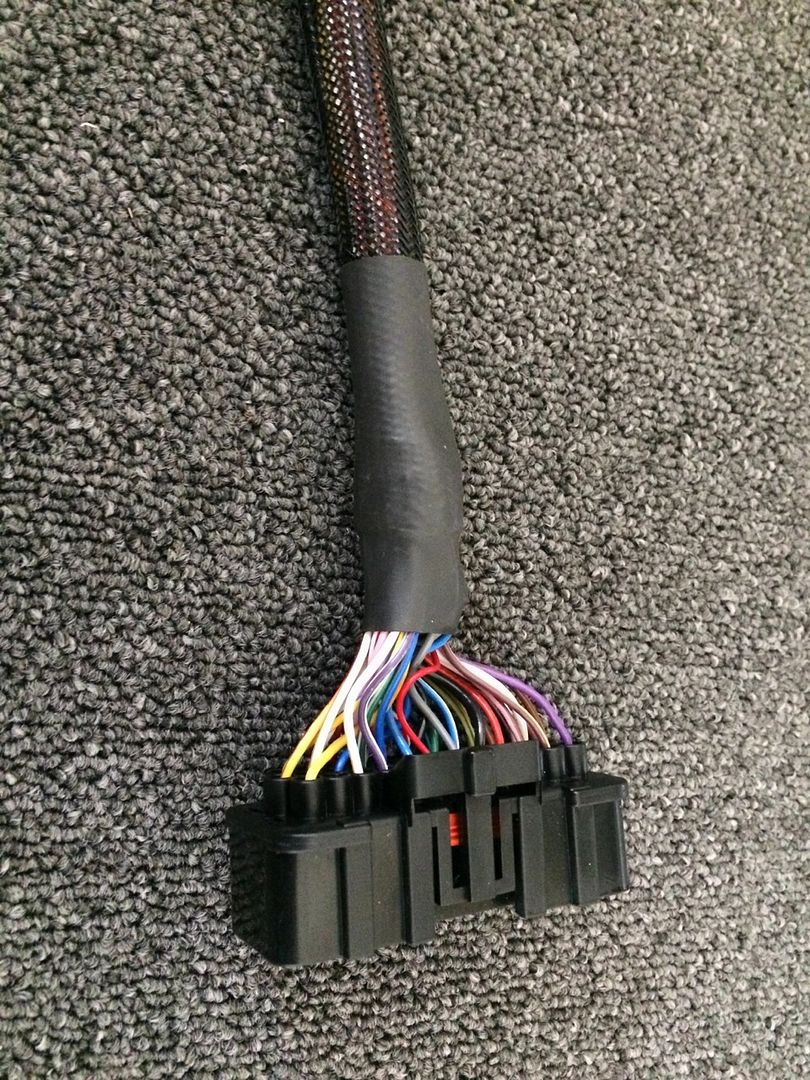
Loom fitted into the bay


So with that all done the interior was fitted back with a nice new dash and looking like a car again.. It was then time to load a base map onto the ECU and get the car running.. I am no mapper, I understand the basics but do not know how to correlate that onto an ECU map. A lot of back and forth with Omex and my tuner and finally I got the car running enough to drive it to the mappers.

One very nervous drive later and the car arrived at the mappers and set up in the hub dyno booth for its mapping session


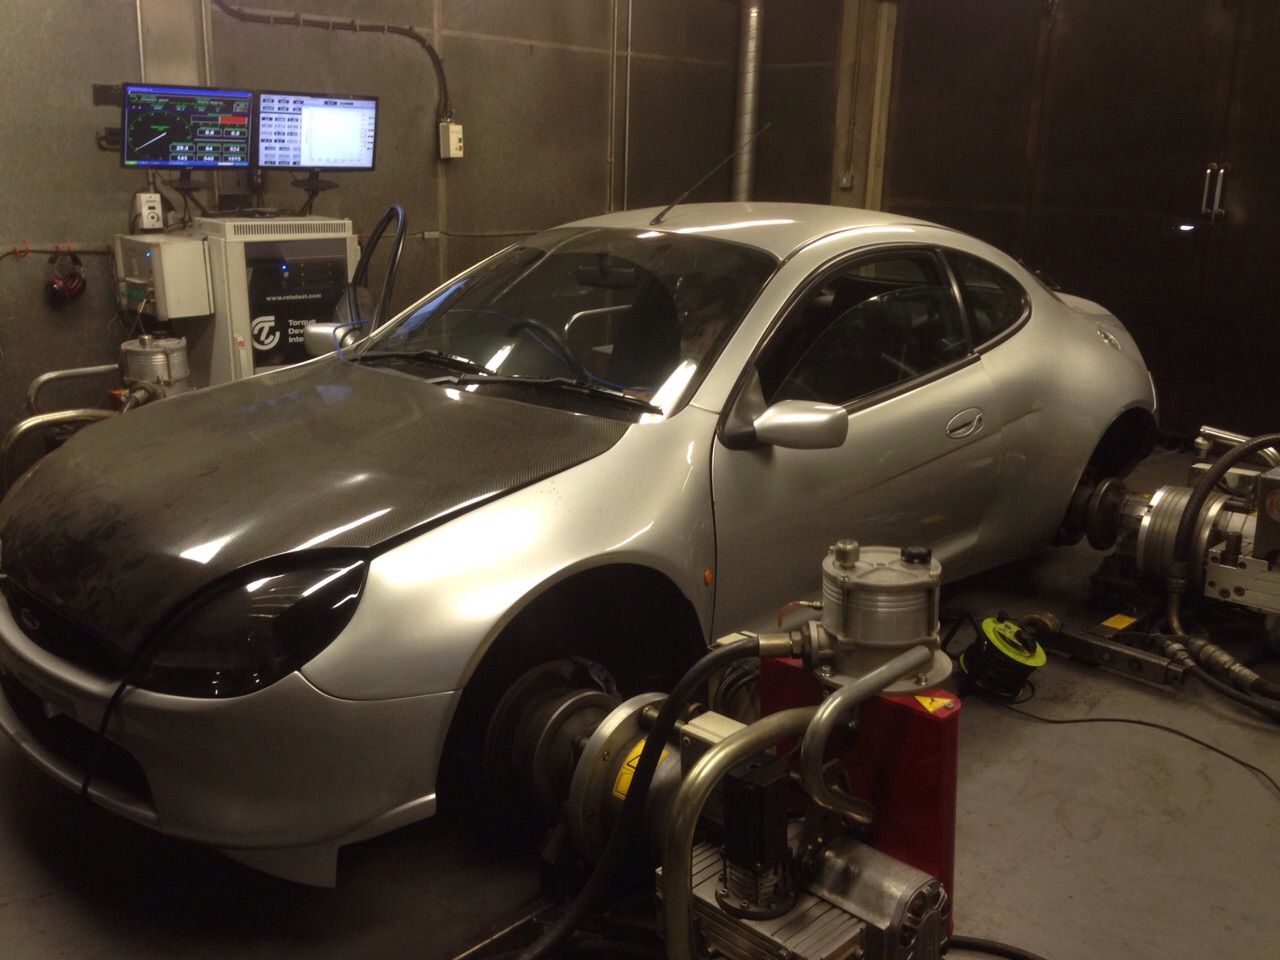
So... One good session later and the car for once performed faultlessly.. It made 348.8bhp at the hubs and 306 lbs/ft which has been ignition limited to protect the gearbox. It roughly equates to 420/430 bhp at the flywheel.

So with that I had a good drive home and the car is totally different. It is so smooth compared to the old management, and the smell of fuel is far less! It also noticeably used less fuel on the way home!

A good result after a number of weeks of work!

Nearly up to date now so will get the last updates up soon.

Thanks for looking!
 
Blimey, well done you!

It does make you wonder why Pumaspeed couldn't do it properly in the first place rather than the epic bodge they made of everything!
 
If previous comments are to go by then it was because they never intended it to run this long and it was more of a 'look at us we can do this' statement.

I guess this this goes in hand with the fact it wasn't a customer car.
 
It's an incredibly impressive job that's being done here. I'm amazed at the level of dedication it must require, particularly when one issue gets sorted and another three come to light, it must be so disheartening!!!

With regards Pumaspeed, I'm completely baffled. Surely the costs and time spent to do the job properly wouldn't have been vastly more than they were to do it badly? Also, I assume this car was sold by Pumaspeed at some point? (Please correct me if this is wrong). So why as a company would you want your name associated with this level of workmanship? Surely, you'd want to use this vehicle to showcase your engineering standards. As it is, (whatever their reasoning was at the time), having followed this thread, I wouldn't trust them to change a tyre!

Finally, just to echo what everyone else has already said.... Hats off to you for doing such a fantastic and thorough job in the face of extreme adversity. I hope you get an enormous amount of satisfaction and enjoyment from it for many years to come.
 
I guess they just got it working with whatever they had laying around, looks that way anyway... how can it not, with the 10mm socket used as a spacer and that earth cable lol. Maybe they intended to get it working then fix up the bodges later, but never got round to it. I can understand why, since if its fulfilling its purpose with the bodges, theres not much return for fixing them (not that I think thats the best way to do it, but I can see how it happens, seeing as time/money/staff aren't infinite!). But I gotta say its still unbelievable how it seems almost every little thing has got something dodgy about it, and some just seem so unnecessary Oo

Either way its nice to see it getting the TLC it deserves :cool:
Looking forward to when its finished, hope you'll get some vids for us to watch! :wink:
 
Back
Top