Hi All
Well i thought id share on here my latest project. Ive rescued a slightly tatty FRP from the scrap yard in the sky and over the past 6 months have been rebuilding it in preparation to take it out on track.
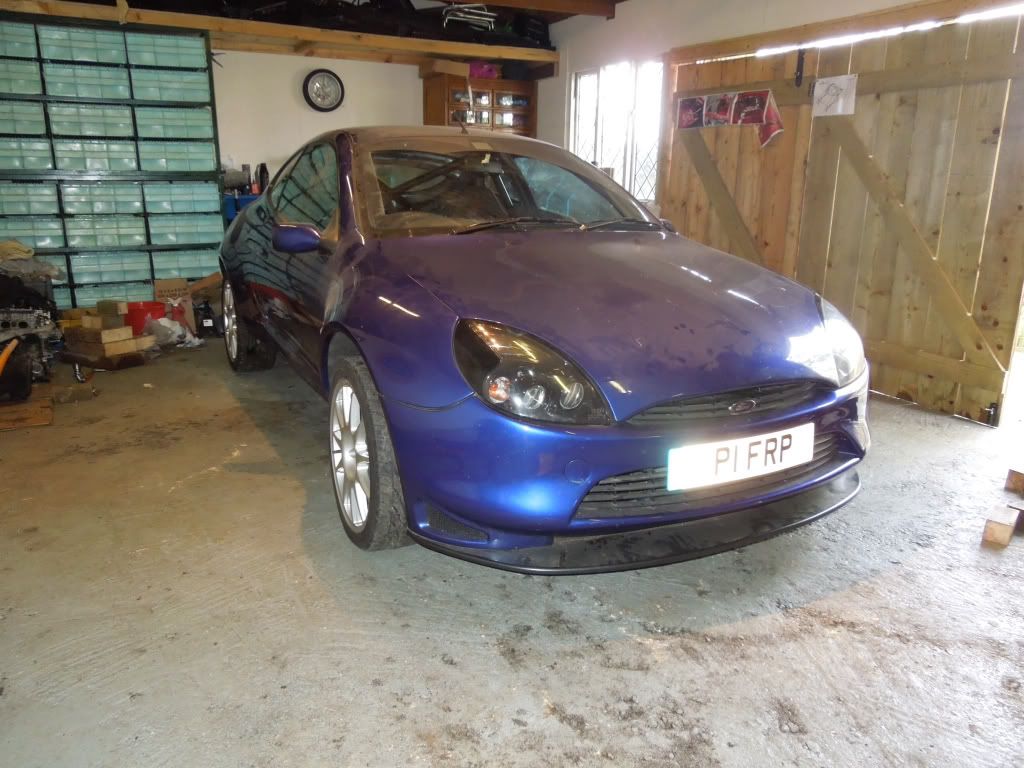
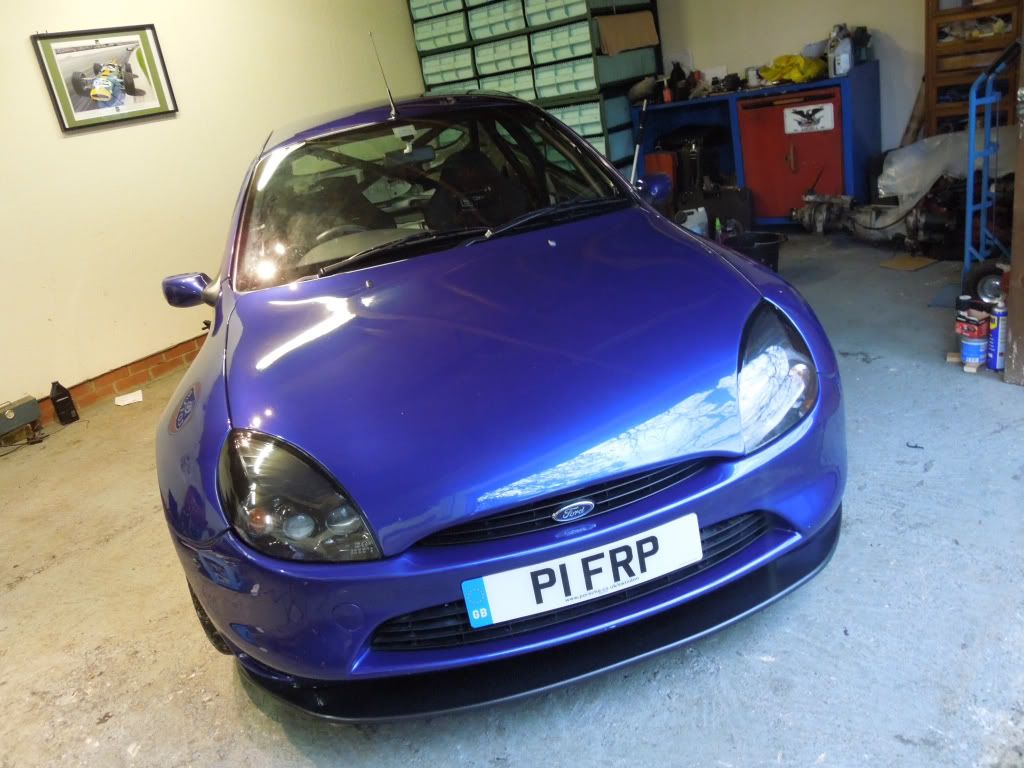
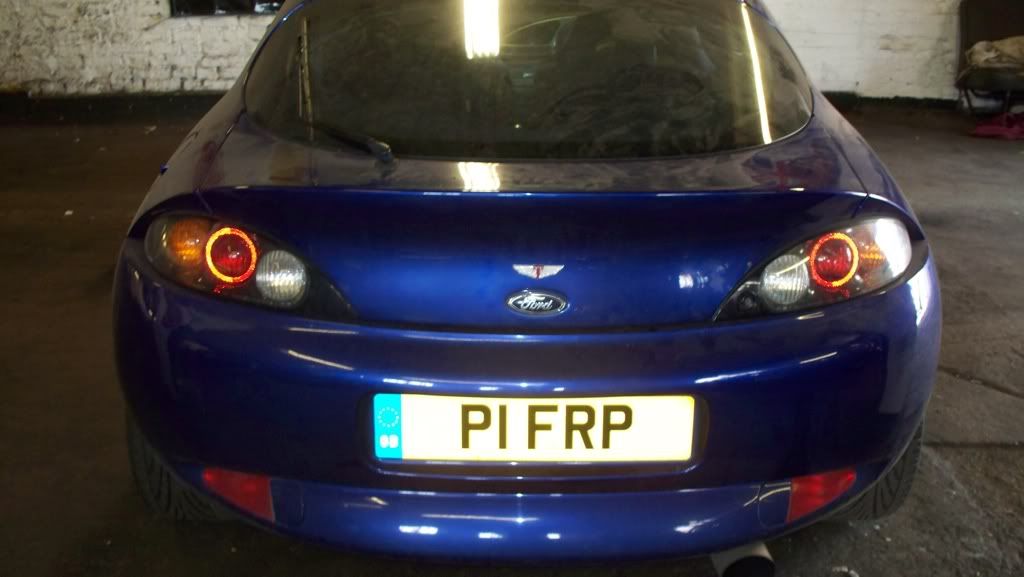
The car in question was FRP 70, wearing private plate P1 FRP. Its been about on the club scene occasionally and may be known to some of you. I brought it last summer from a guys who had reached the end of his tether after the cam belt snapped, and he was getting fobbed off by his garage. To be honest the car was a mess, it had been used as a daily and not really all that well cared for over the last few years of its life. I think i had once been a cherished car as it came with a ring binder full of receipts, had been resprayed a few years back by Pumabuild, and attended some shows etc, and has a lot of good points, but for the past few years it had not been all that loved, and lack of maintenance eventually killed it.
So, i got it for a good cheap price, and decided this one was the right car to convert to a track weapon. Mainly because its not a very good example, i don't feel guilty for 'messing' with the FRP formula. I know some of you will think I've made a mistake by doing this to an FRP, but truth be told, if i hand reduced it, it would very likely have been broken for parts and would equate to one more "dead" FRP. So I'm happy it will live on, and I'm sure it will be better then ever once I've finished.
Anyway, here are some pictures:
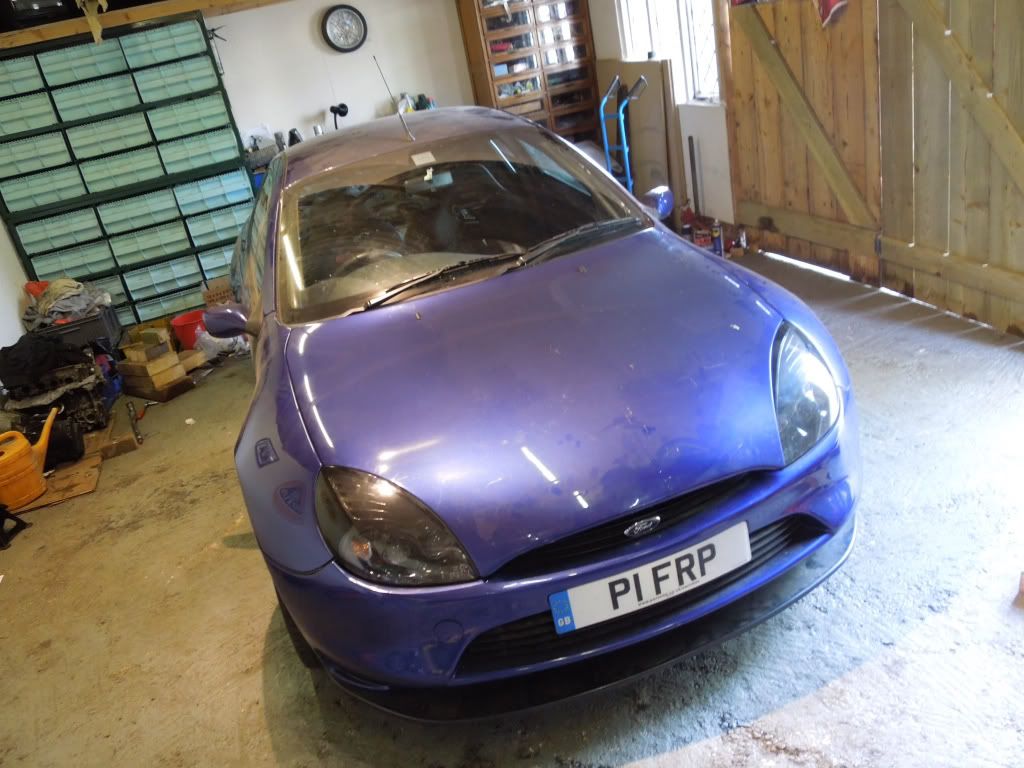
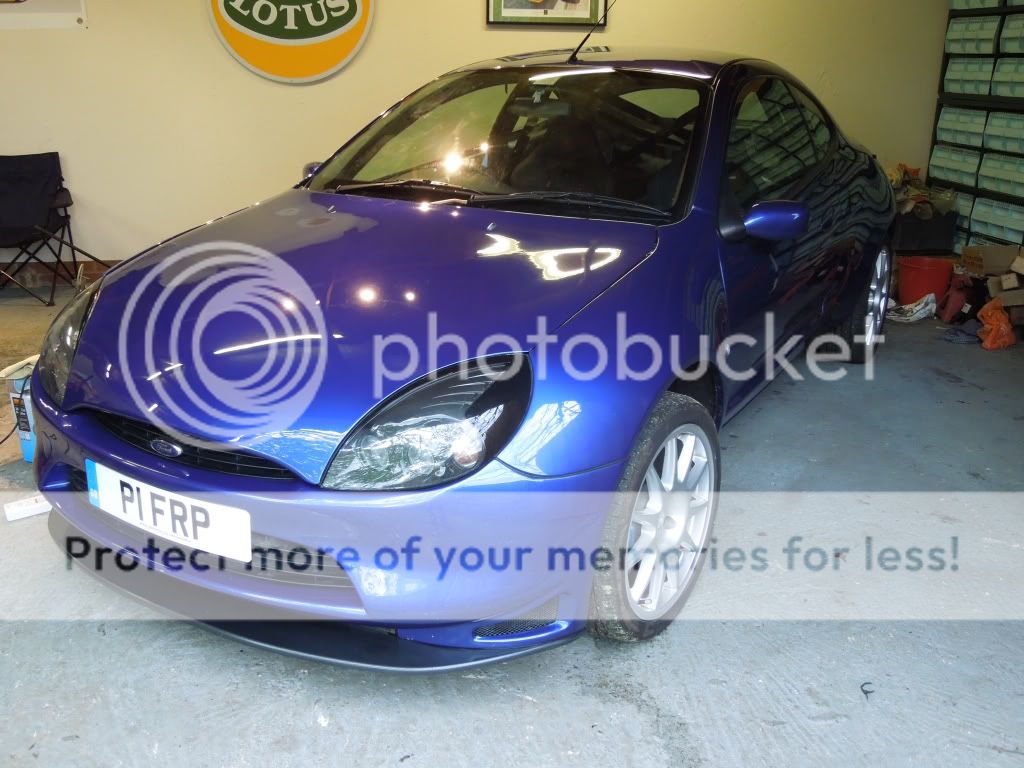
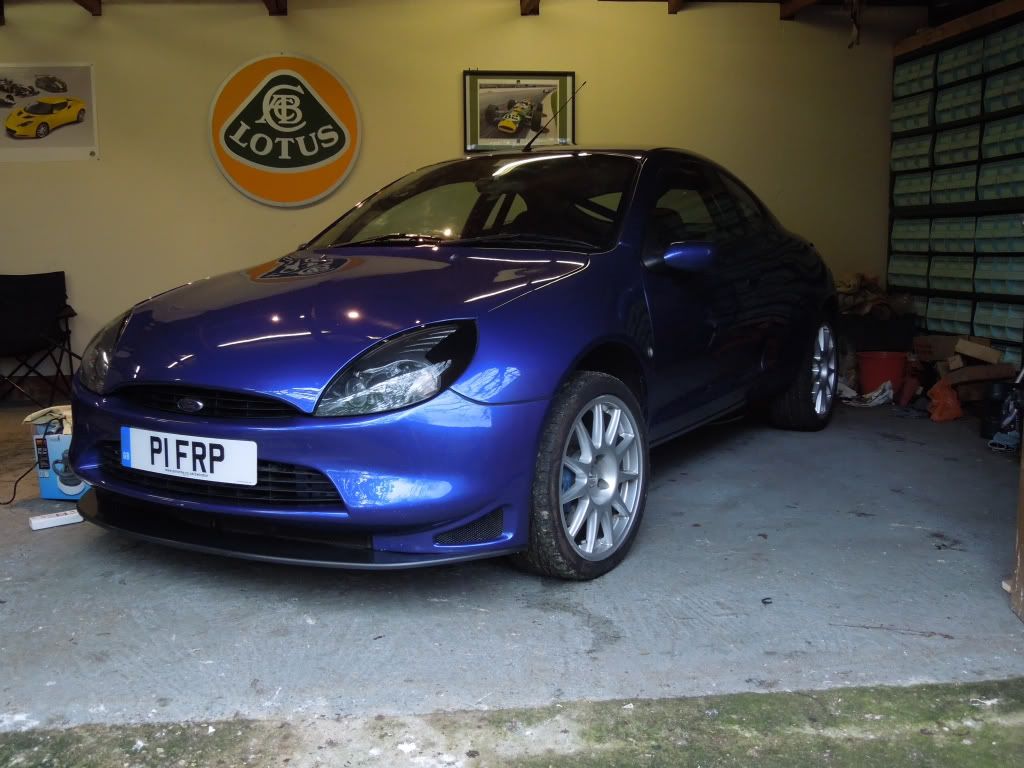
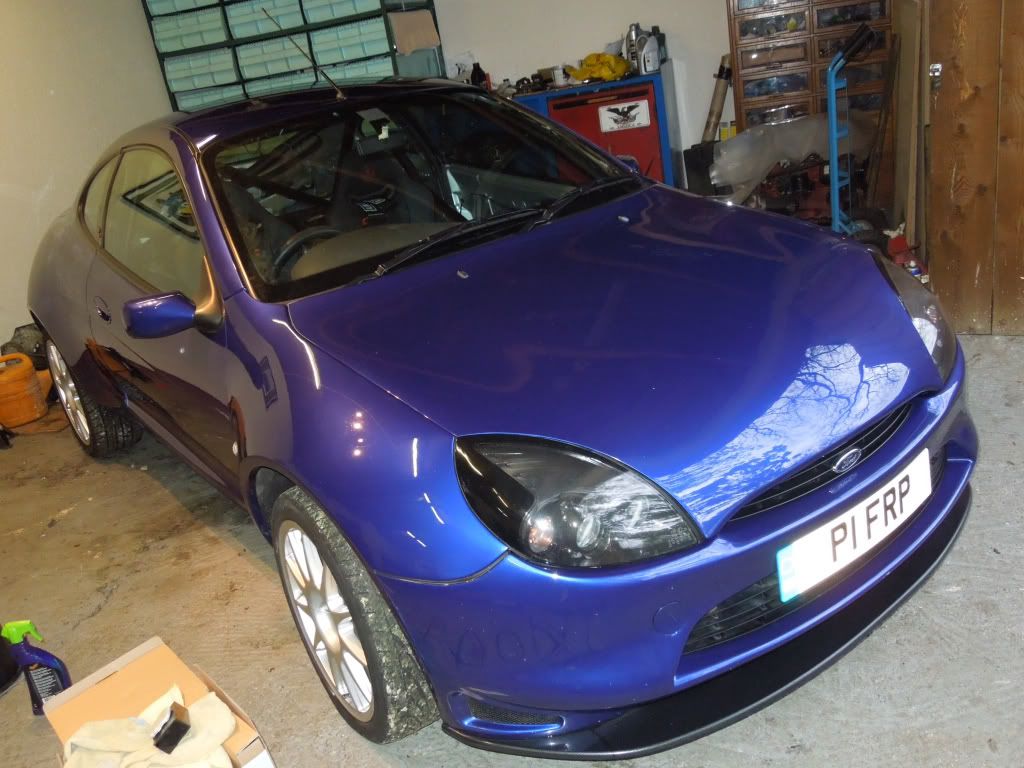
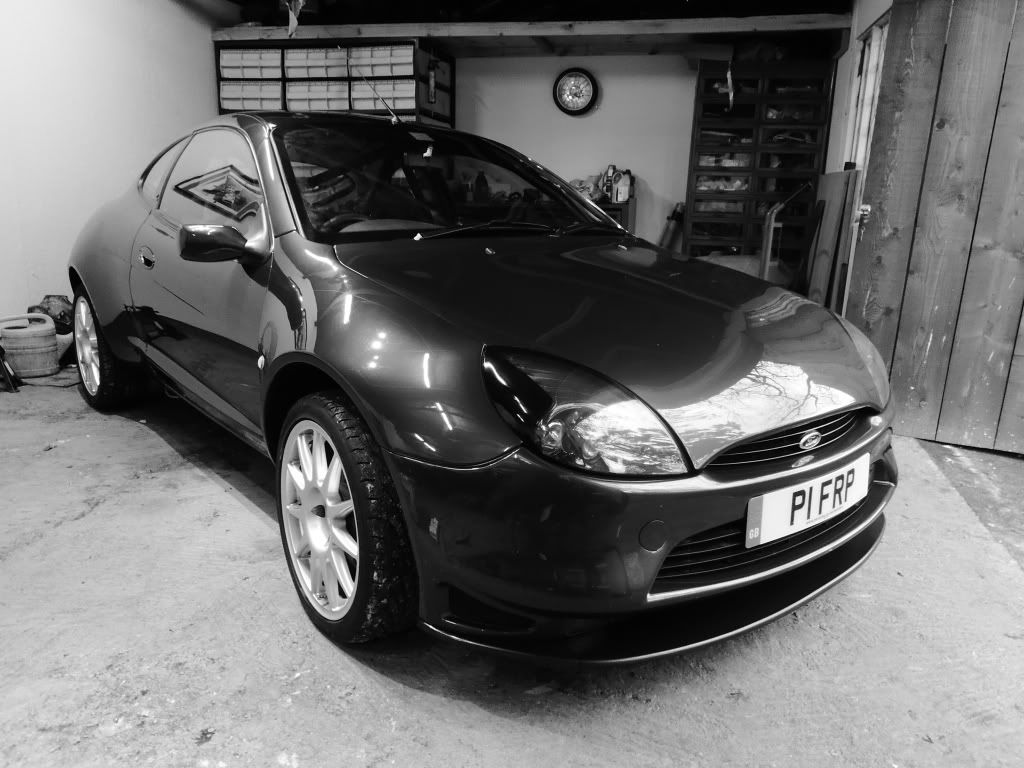
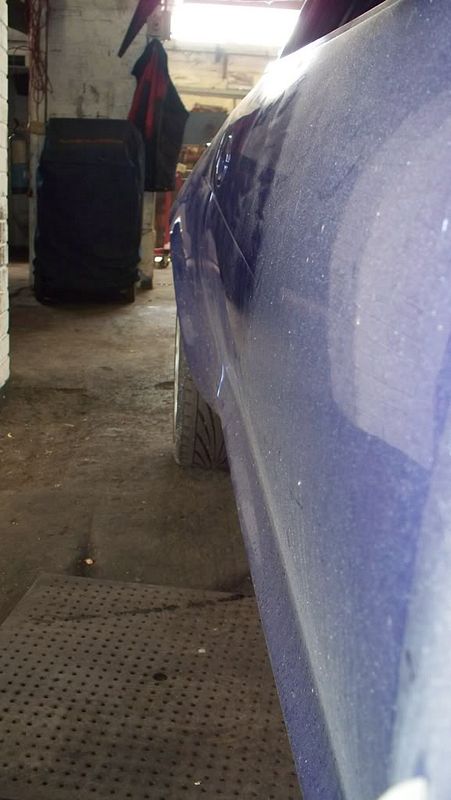
The day i collected it, as i found it, after it had sat in a back street garage for over 8 months:

So, once home, i drew up a plan of action, and listed the things i wanted the car to have. The things it needed/wanted were:
New engine! (current one has done 96k miles, and has a snapped cam belt = junk)
Full multipoint, weld in roll cage
All new suspension bushes (Powerflex)
Fully race prepared
Fully lightened
Refurbish everything
Go Racing!
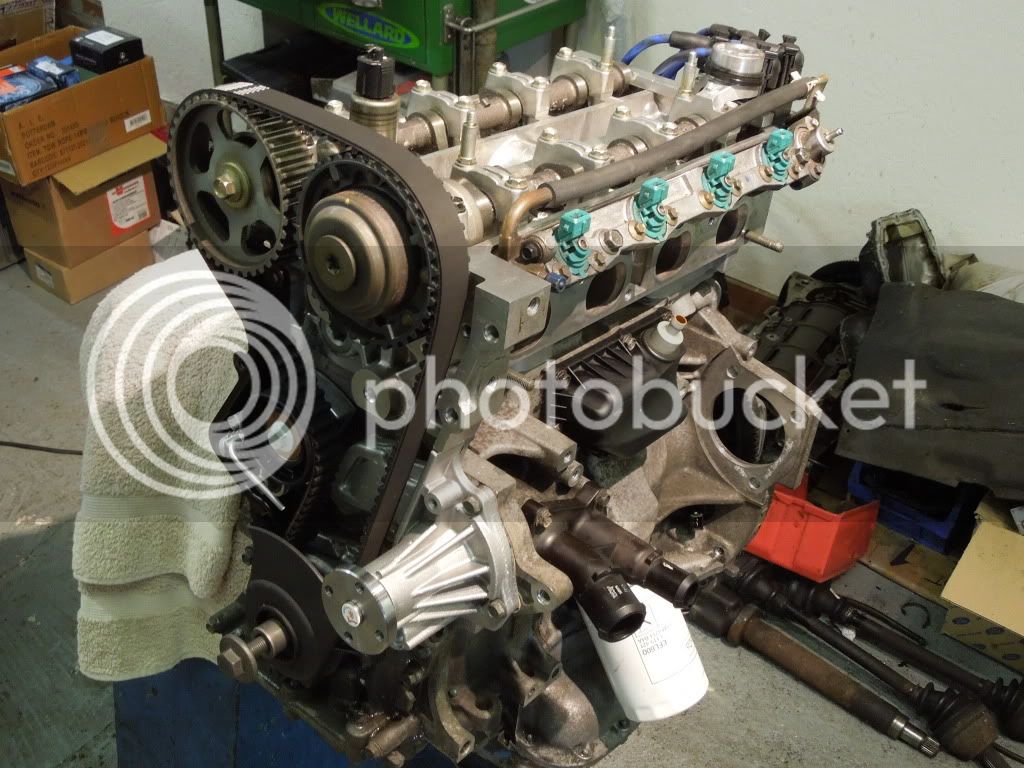
First Job, engine. Its a new (to the car) unit that i brought from ebay which had a verified 42,000 miles on the clock and was absolutely mint when we stripped it back. We've done quite a lot to it:
• Full strip down, and a paraffin clean of EVERYTHING!
• Cylinder head has been ported, polished and flowed by a highly experienced guy at Lotus
• New cylinder head bolts
• New head gasket
• New cam belt
• New belt tensioner
• New thermostat
• New water pump
• New accessory belt, pulley and idler
• All new gaskets and hardware
• New oil filter
• Plus the cams have been timed up properly using a new FRP timing tool, and double checked with a DTI.
• A brand new Fiesta ST clutch (with brand new puma master cylinder)
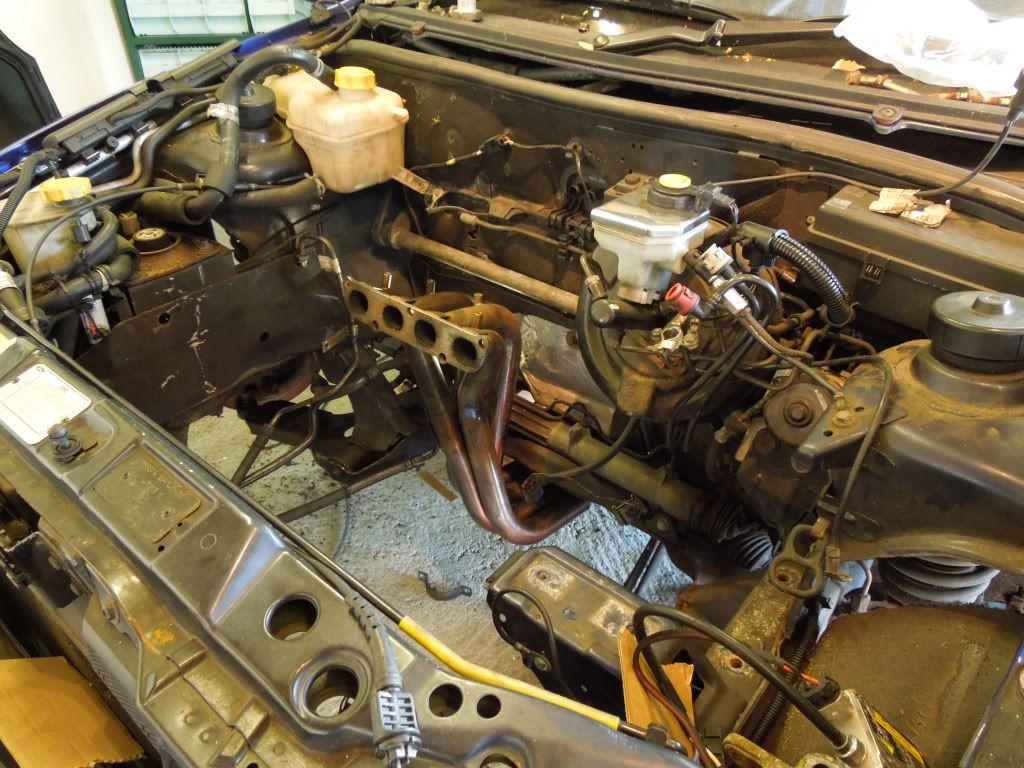
Engine out
Stripped, cleaned, rebuilt
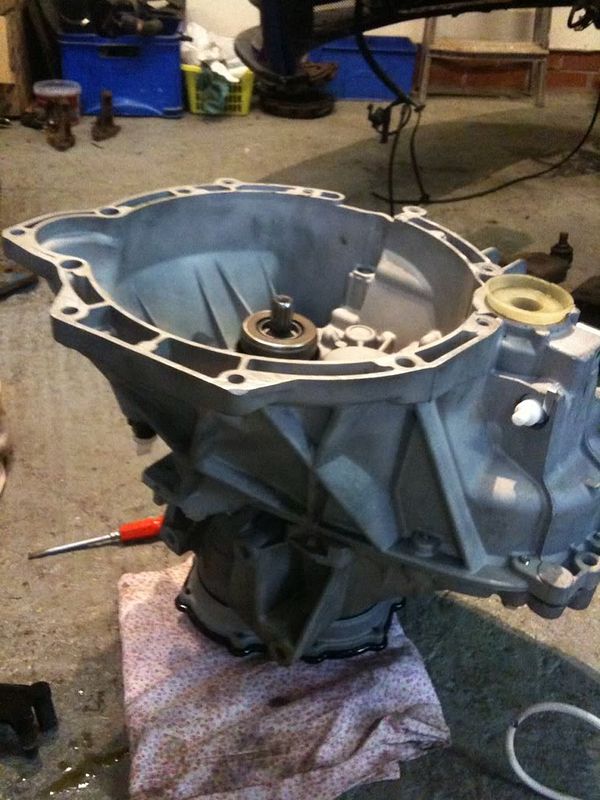
Plus i got a brand new FRP gearbox, with a brand new Quaife LSD
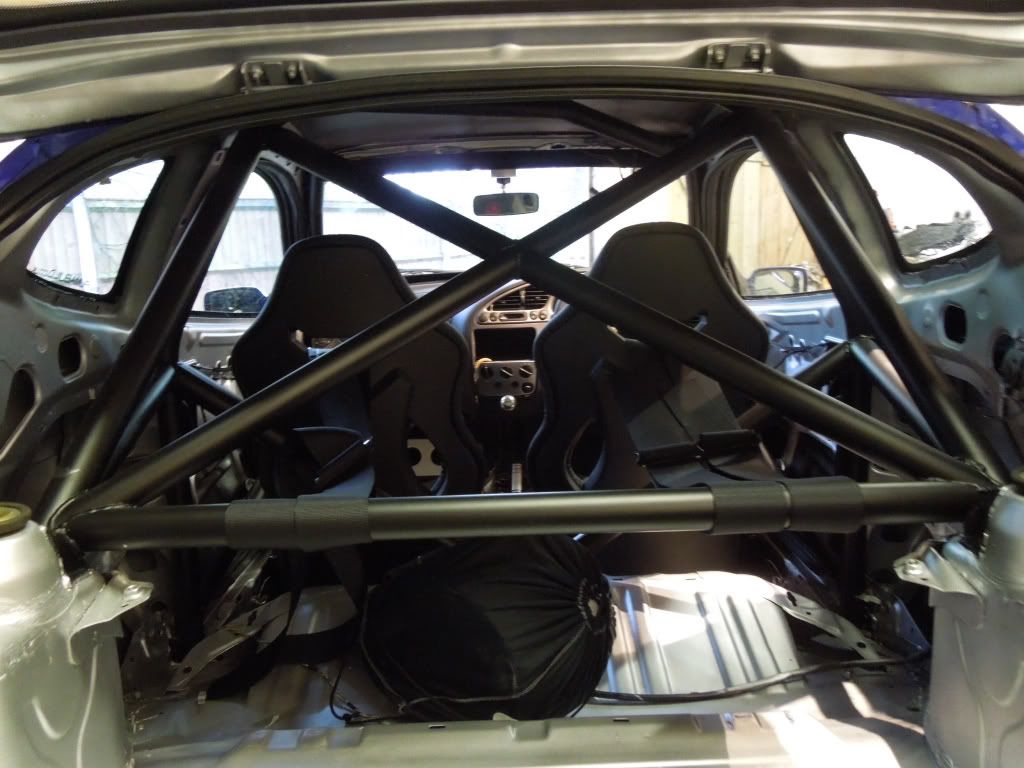
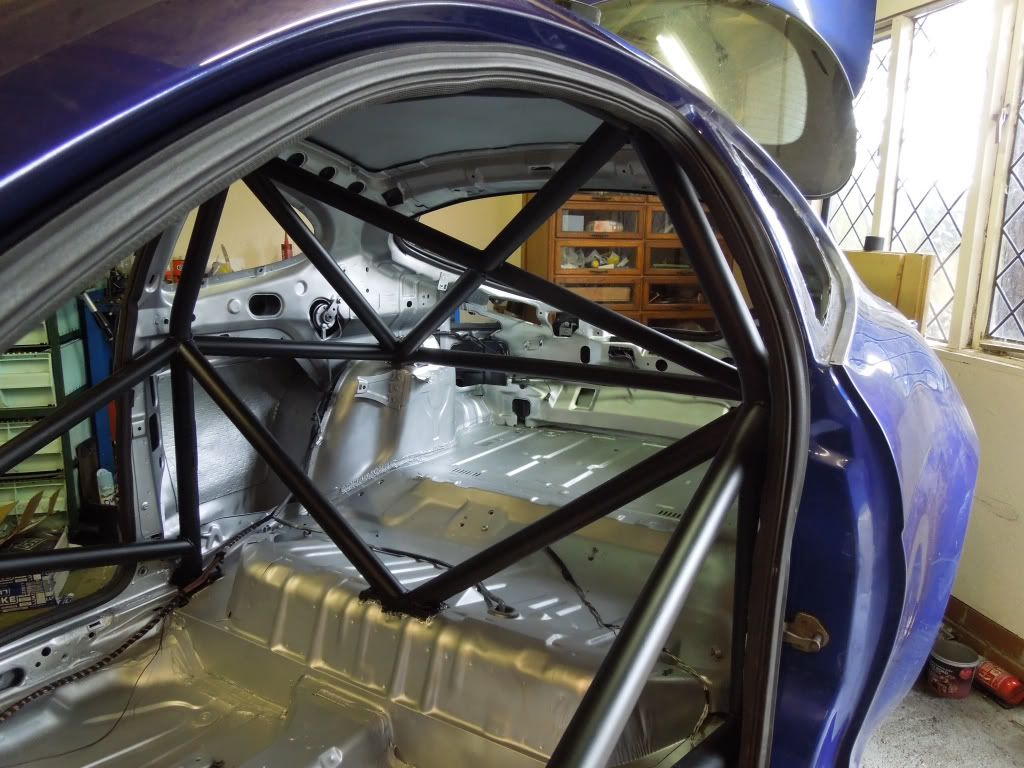
So, with the engine and gearbox sorted, the work on the roll cage began. I opted for a Custom Cages, fully MSA multipoint weld in cage and had a guy from work (an ex- Lotus F1 fabricator!) come over and weld it in over a weekend. Heres the cage going in:
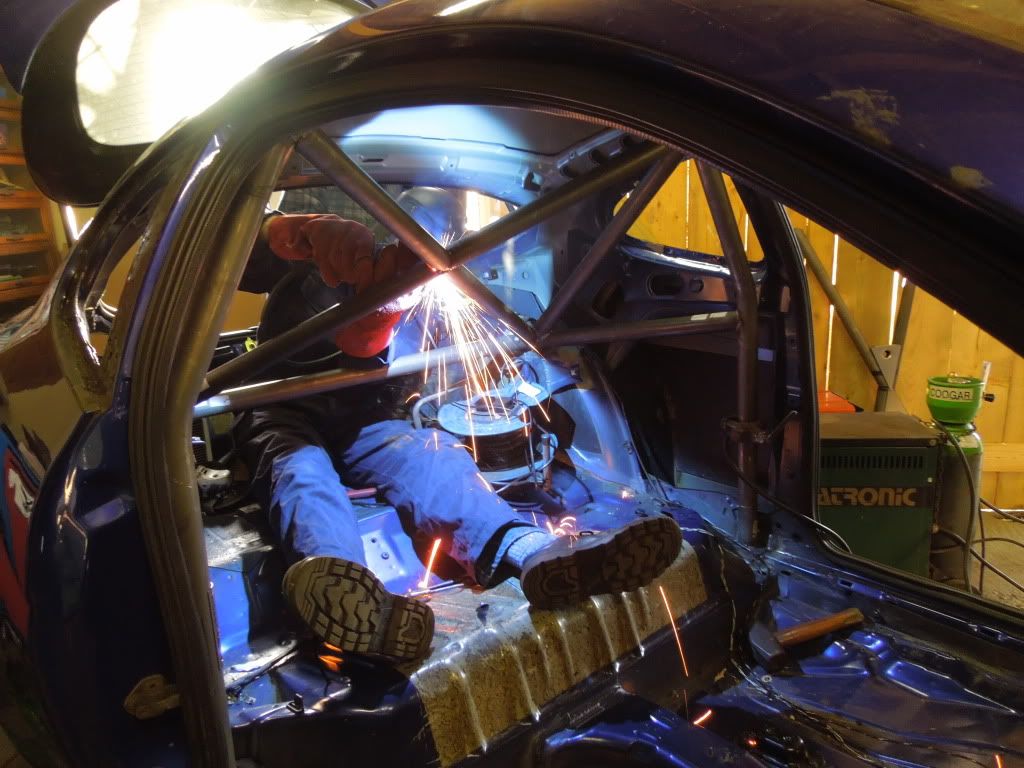
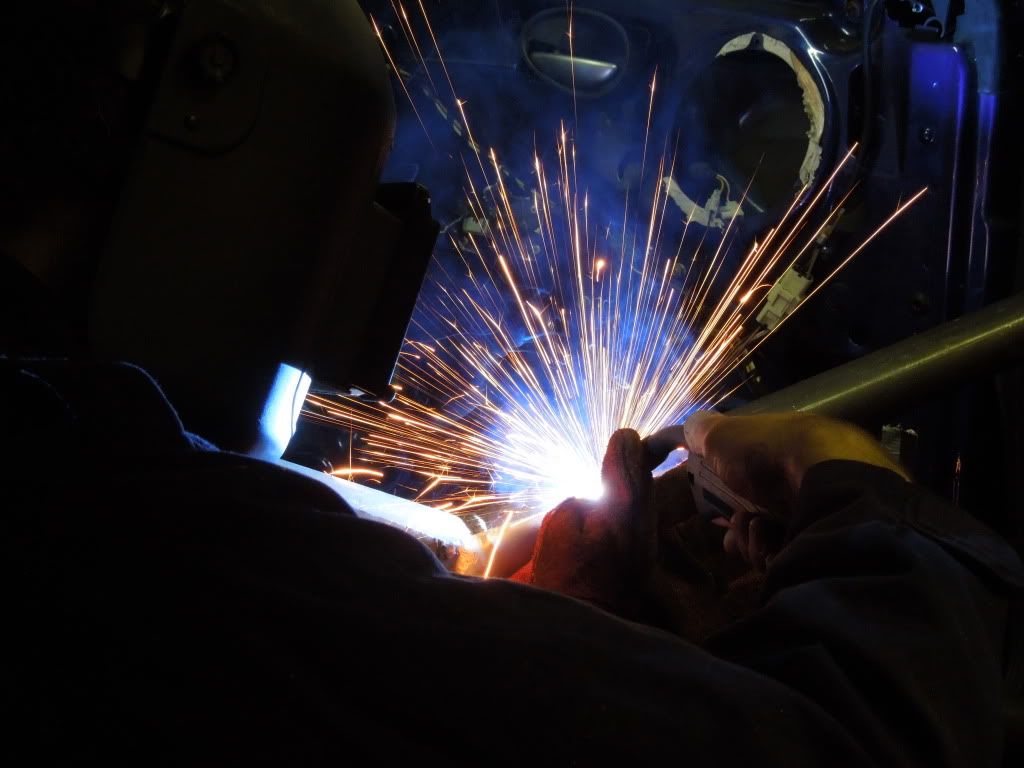
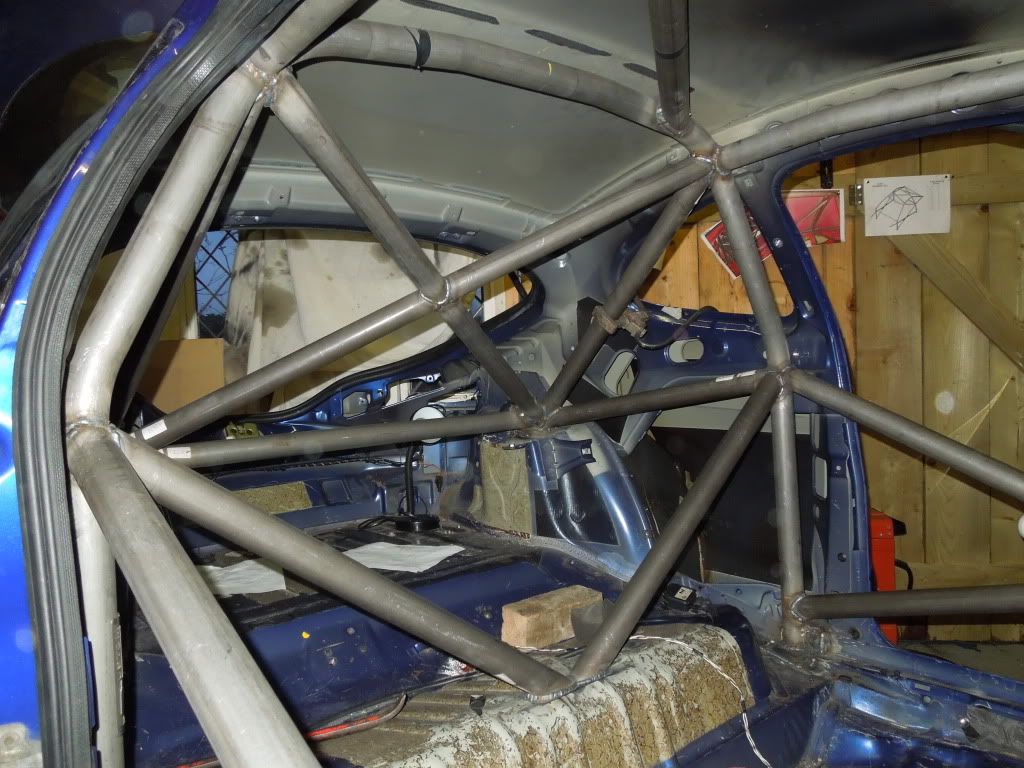
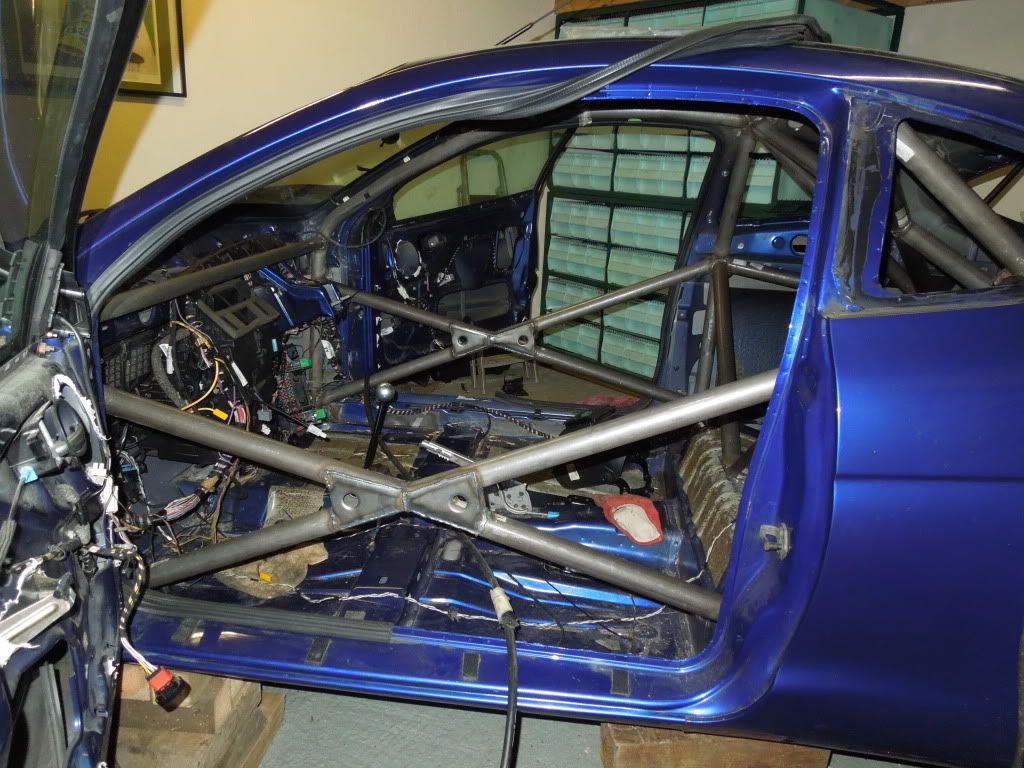
I'm really pleased with it, its a great cage, and after sending a welding sample and some photos of the installation off to custom cages, it is now fully certified and MSA compliant!
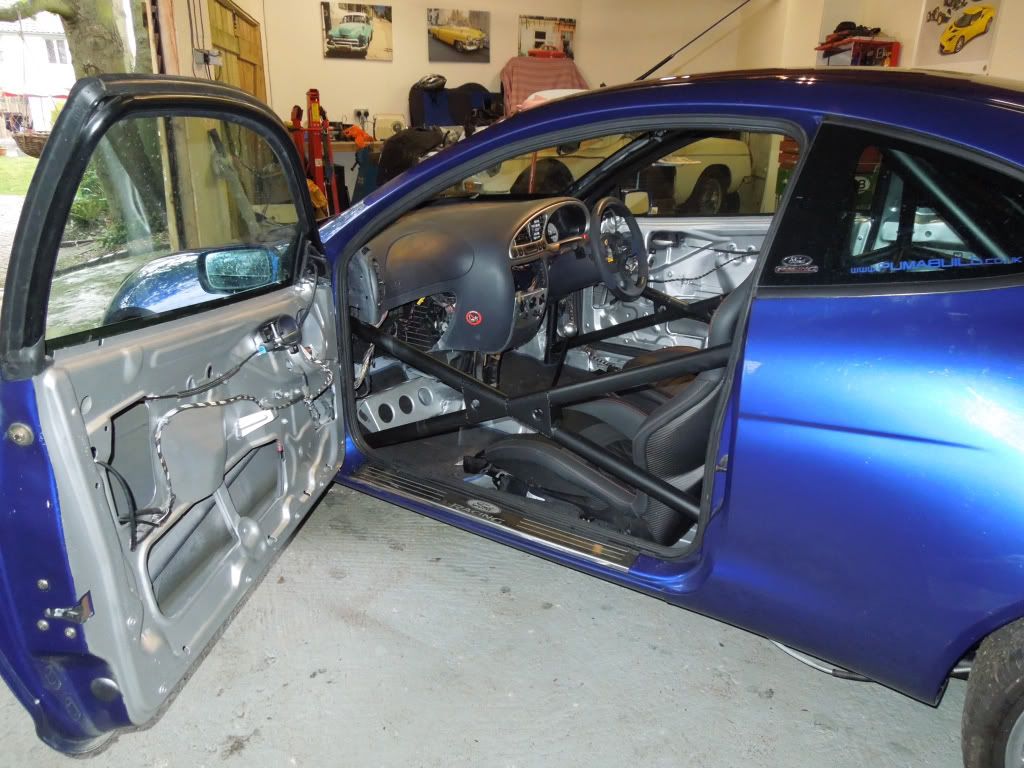
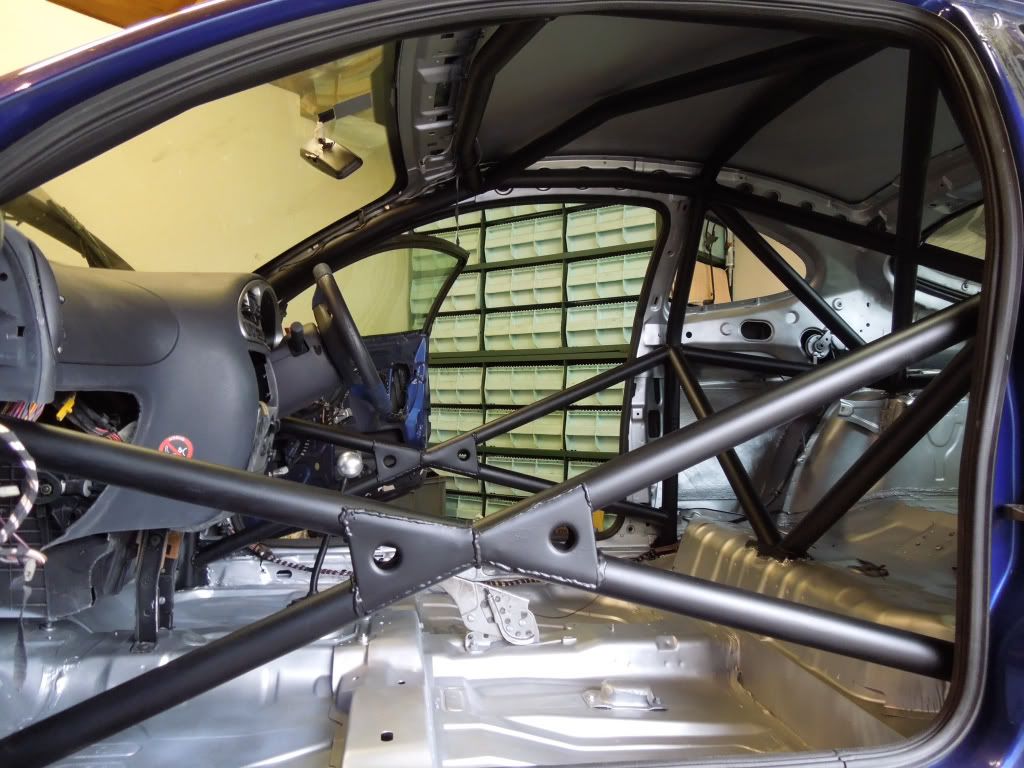
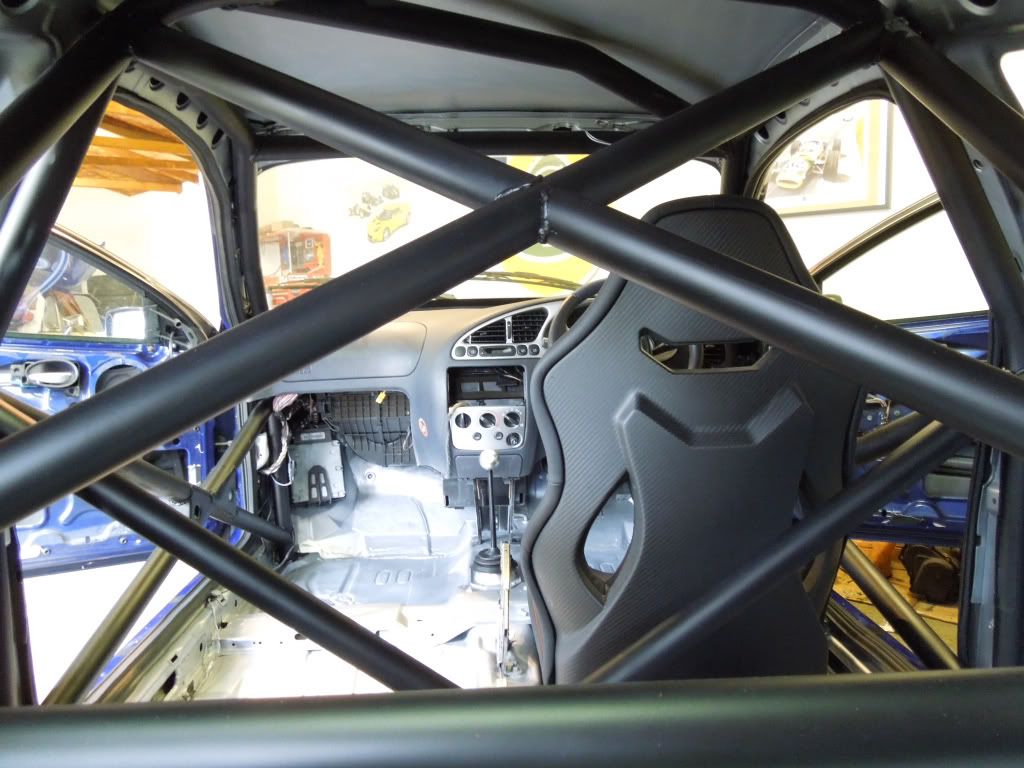
This weekend i spend most of my time painting the interior, with a primer, a matte black cage and a metalic silver interior.
During the process
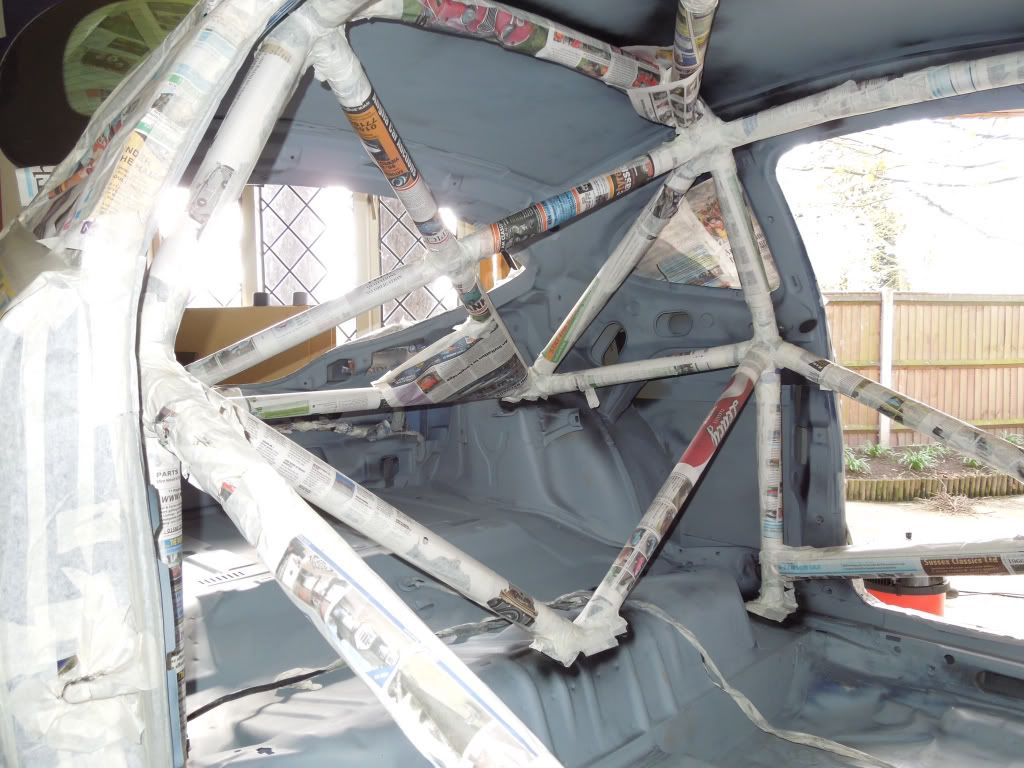
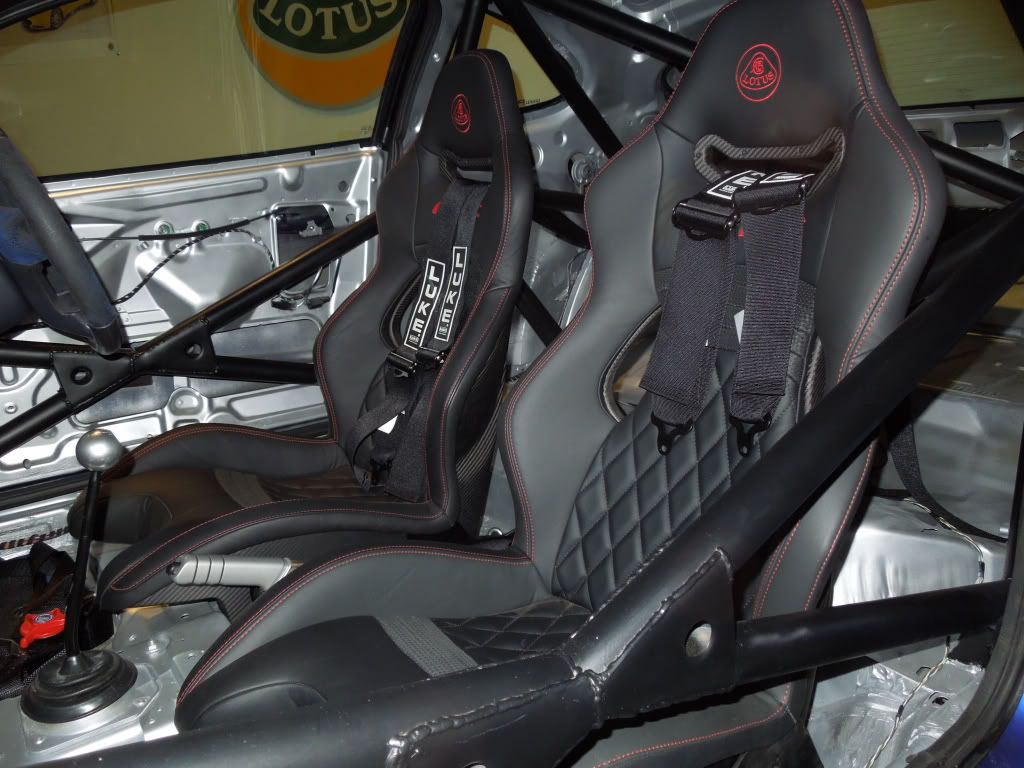
The finished article

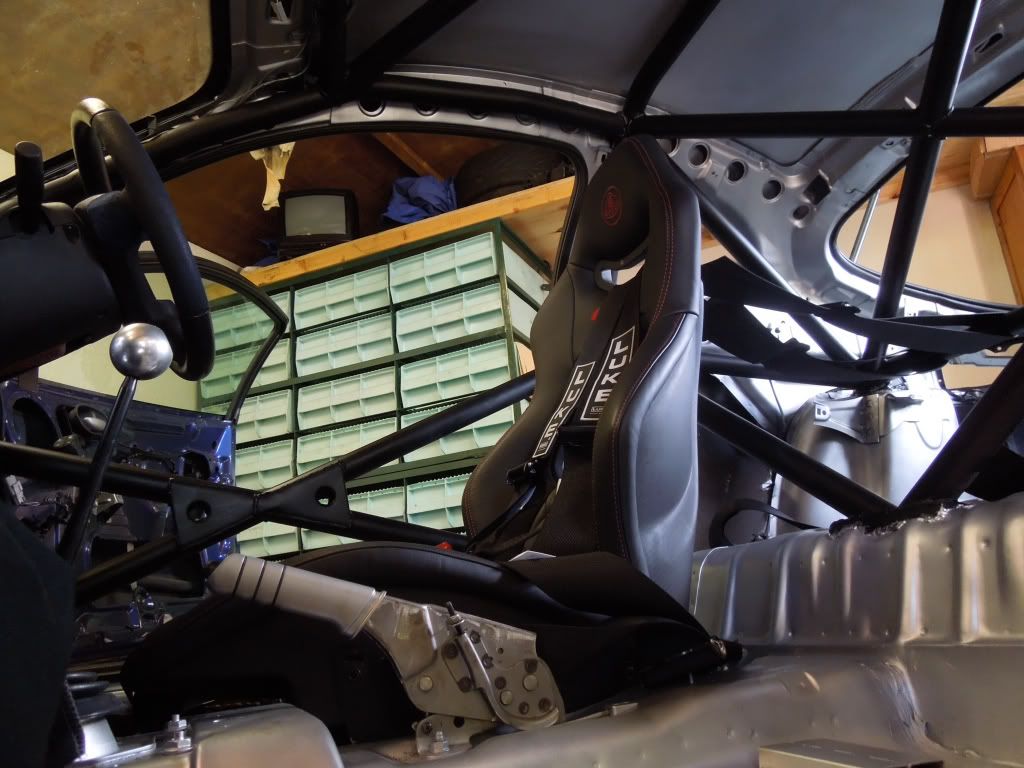
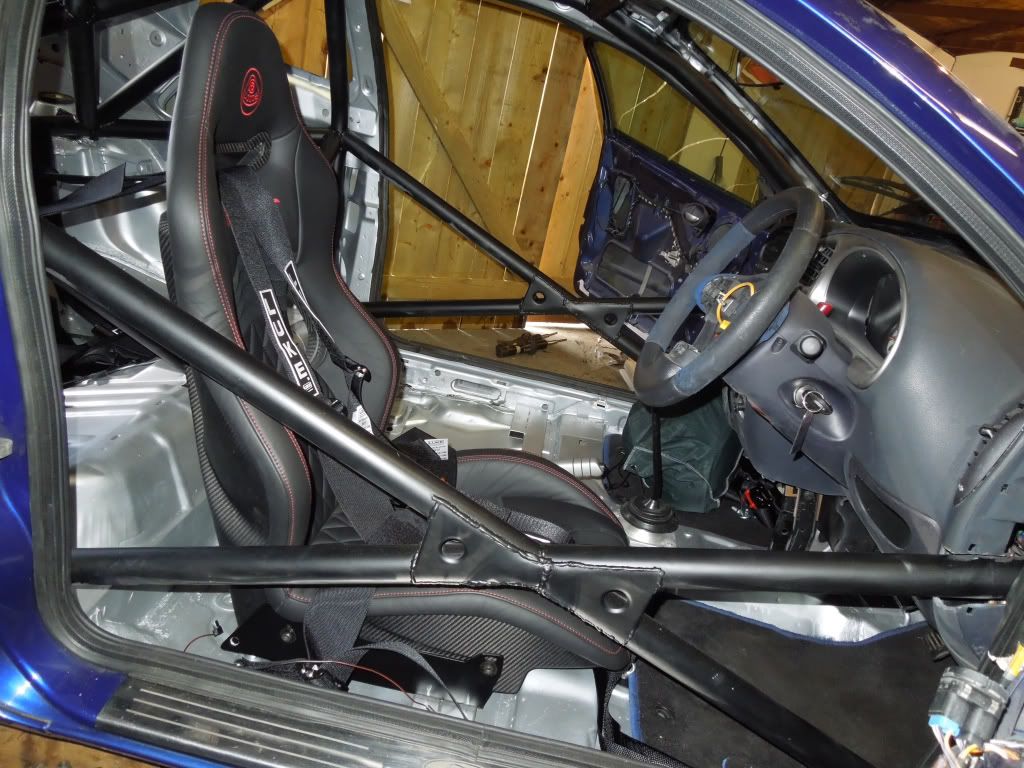
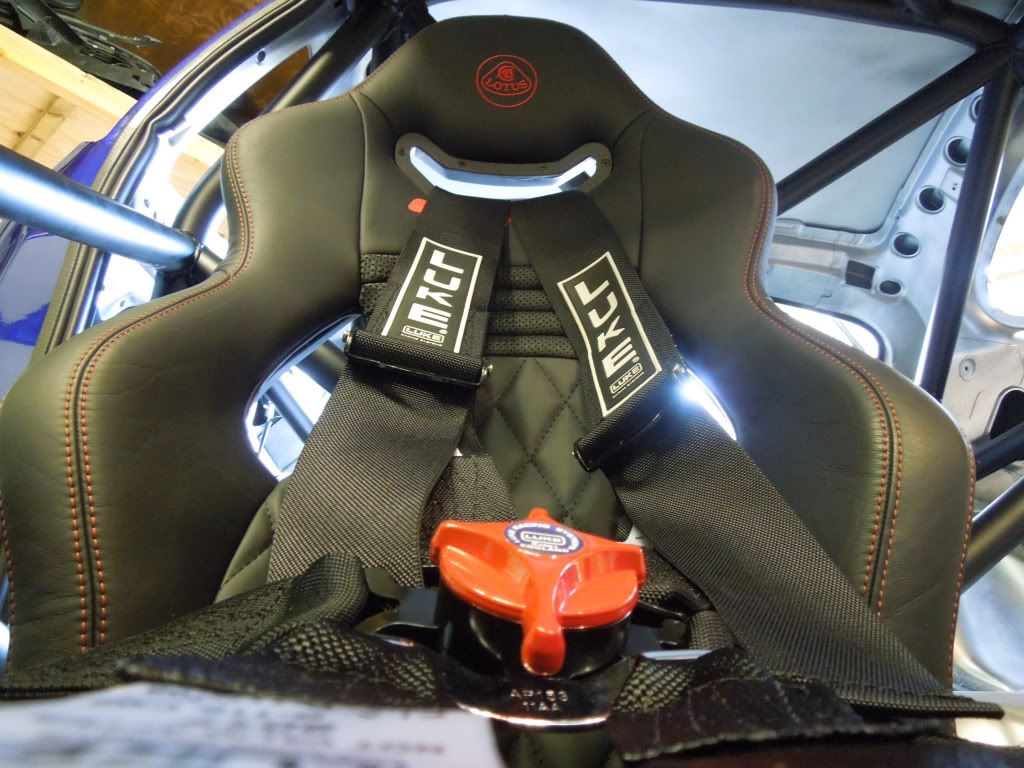
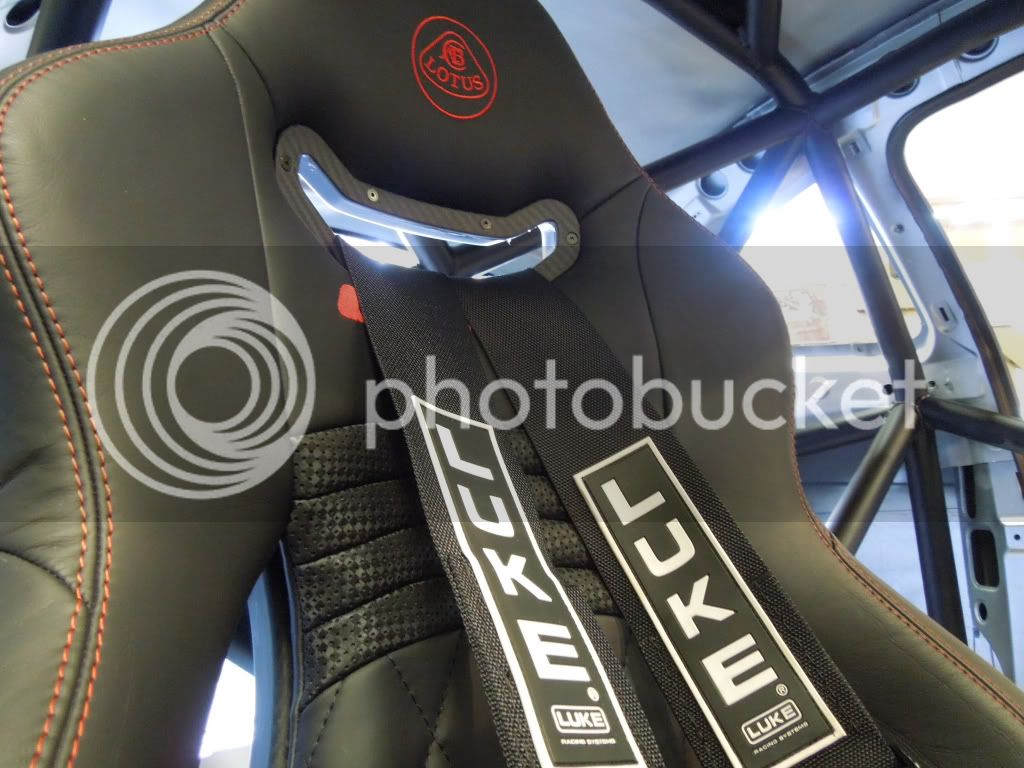
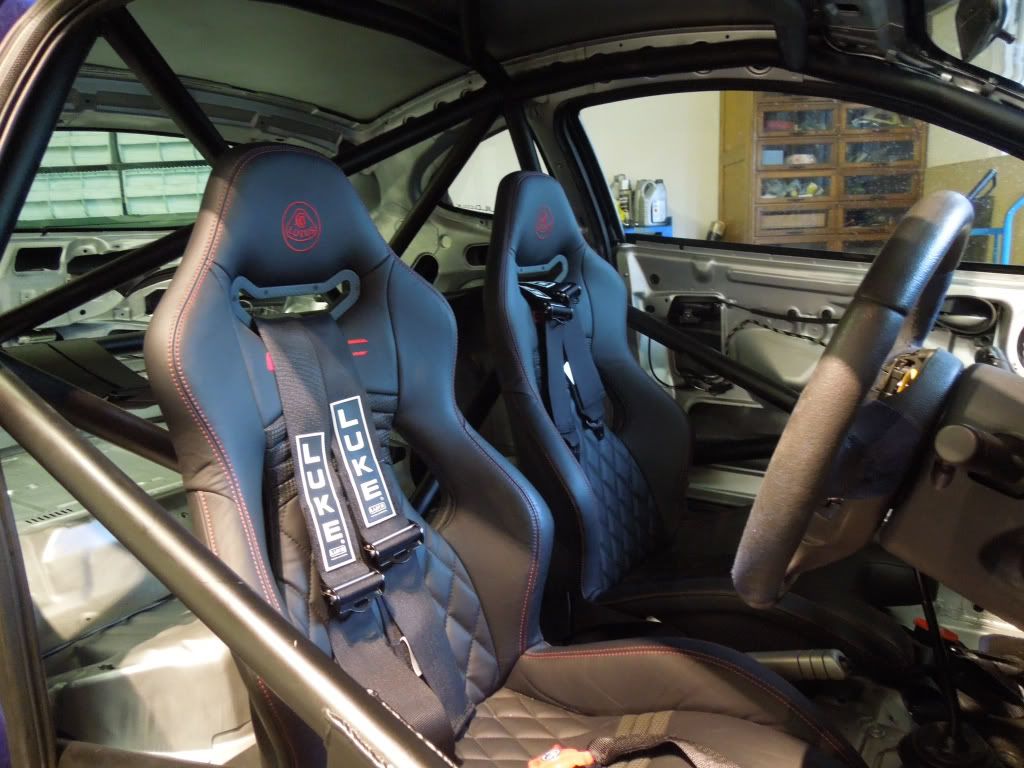
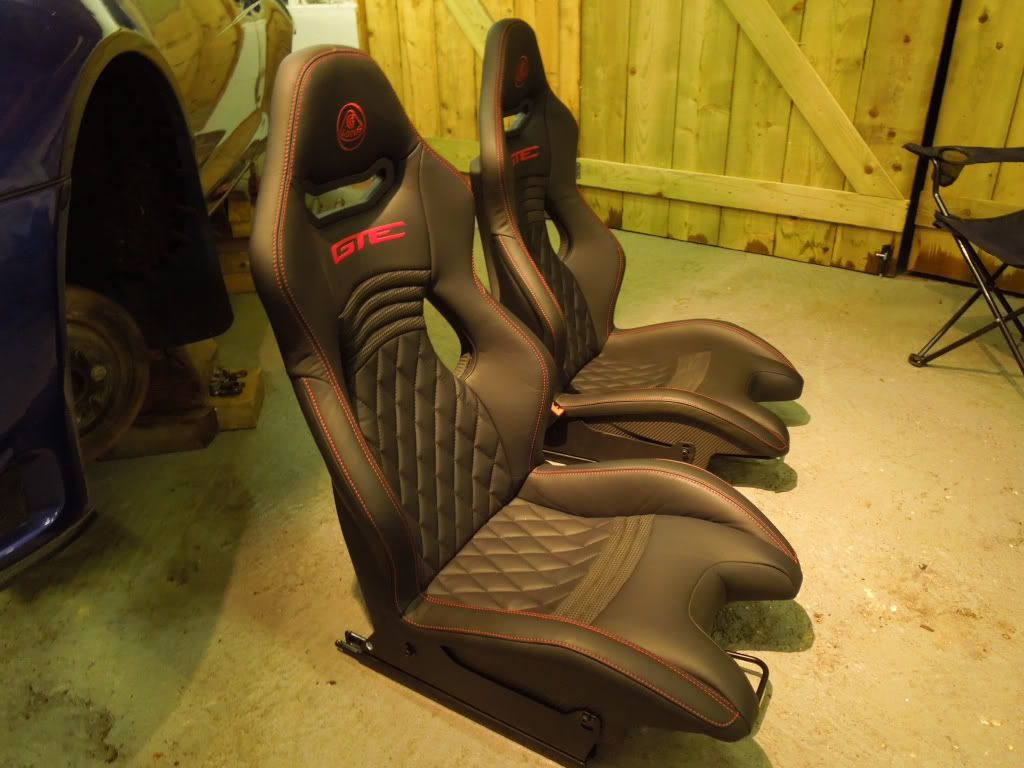
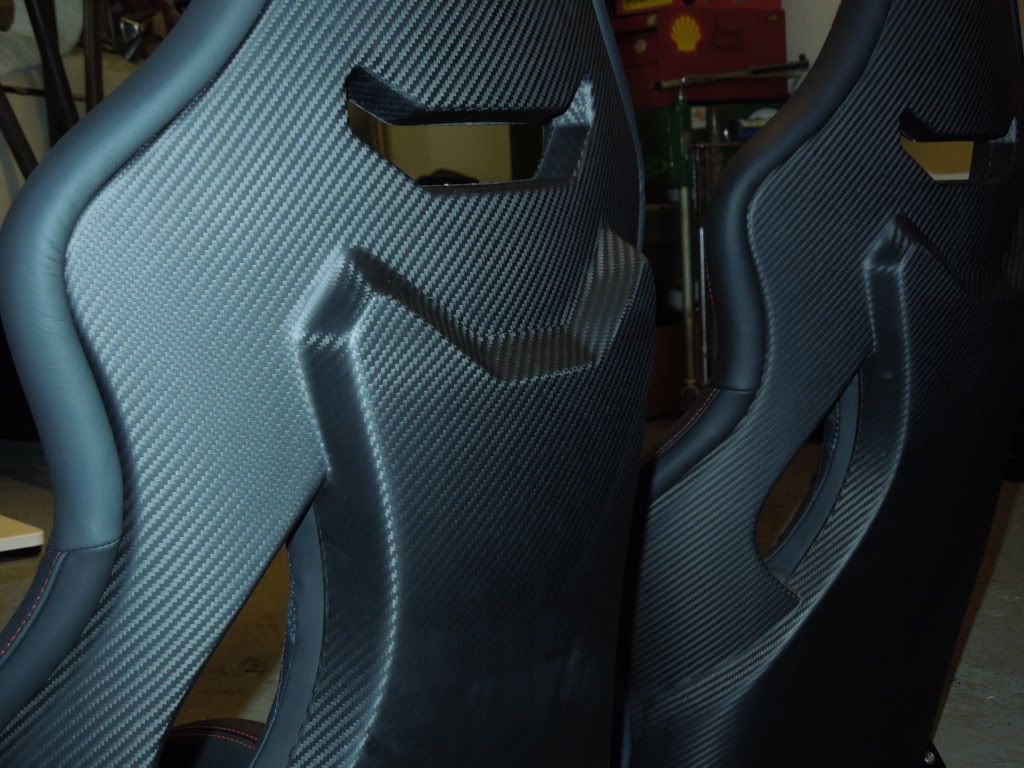
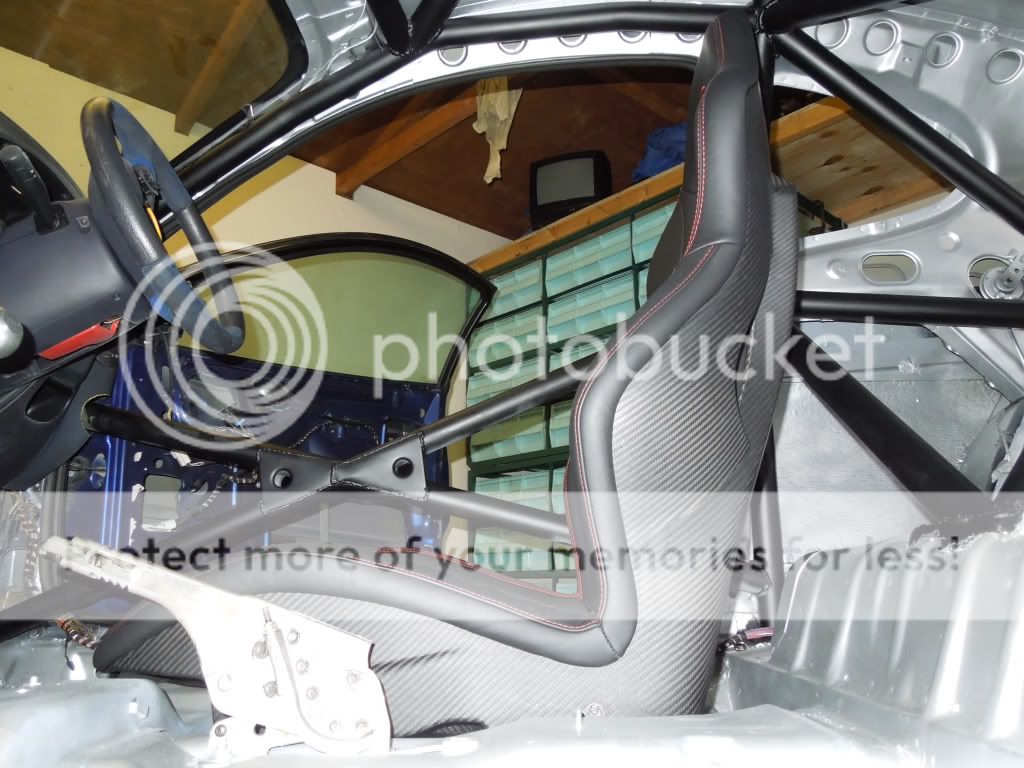
Also I'm lucky enough to have come across some rather special seats from work, these are carbon fibre seats from a Lotus Evora GTE (the 444bhp £120k super car!) and I'm sure they will look amazing in an FRP, especially as they weigh 5kg each, and the FRP seats weigh 21kg each!


So, the interior is looking good. Next we turned our attention to the mechanics.
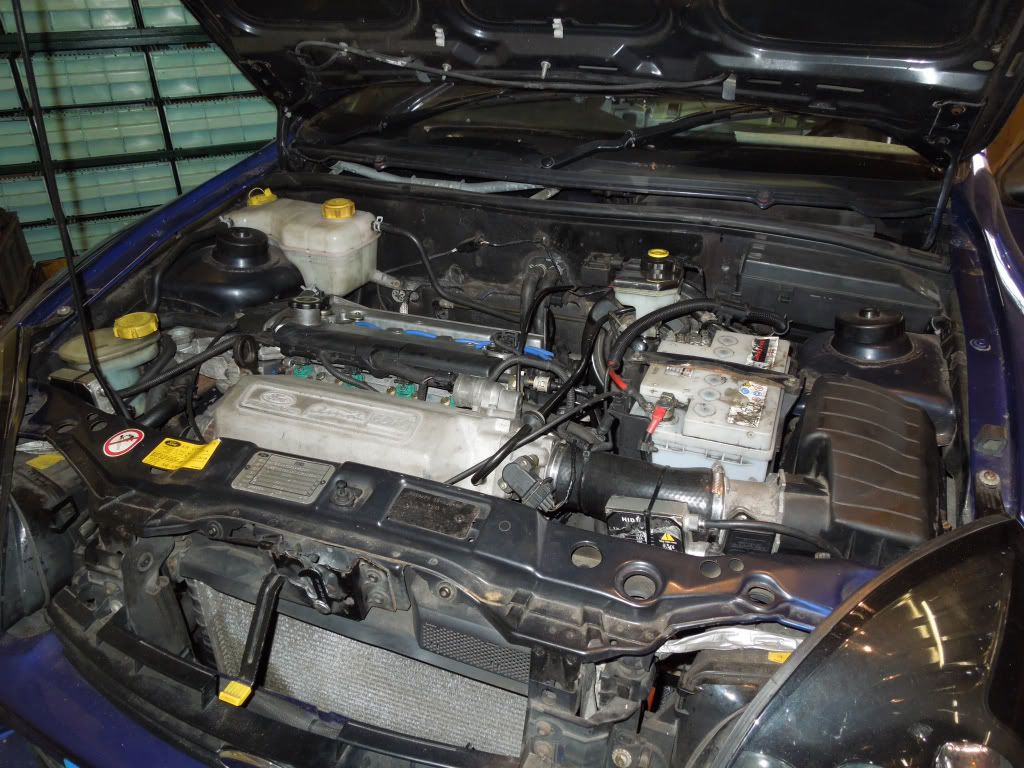
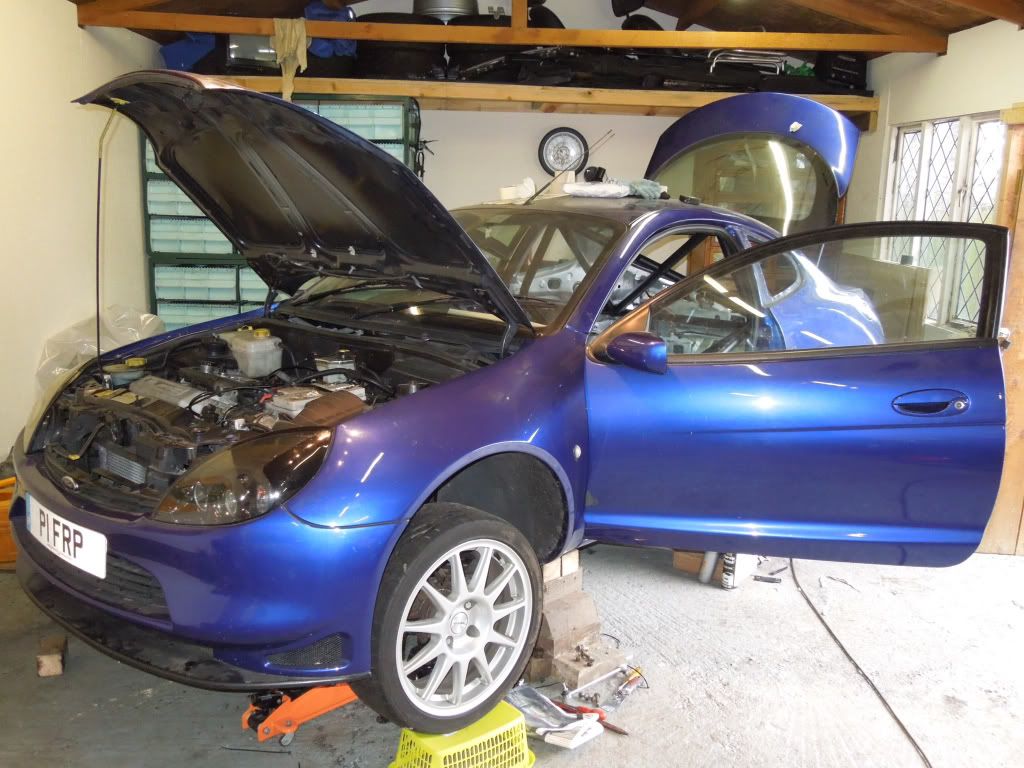
The engine is now in the car and is RUNNING") it sounds sweeeeet, idles really well and is great.
it sounds sweeeeet, idles really well and is great.
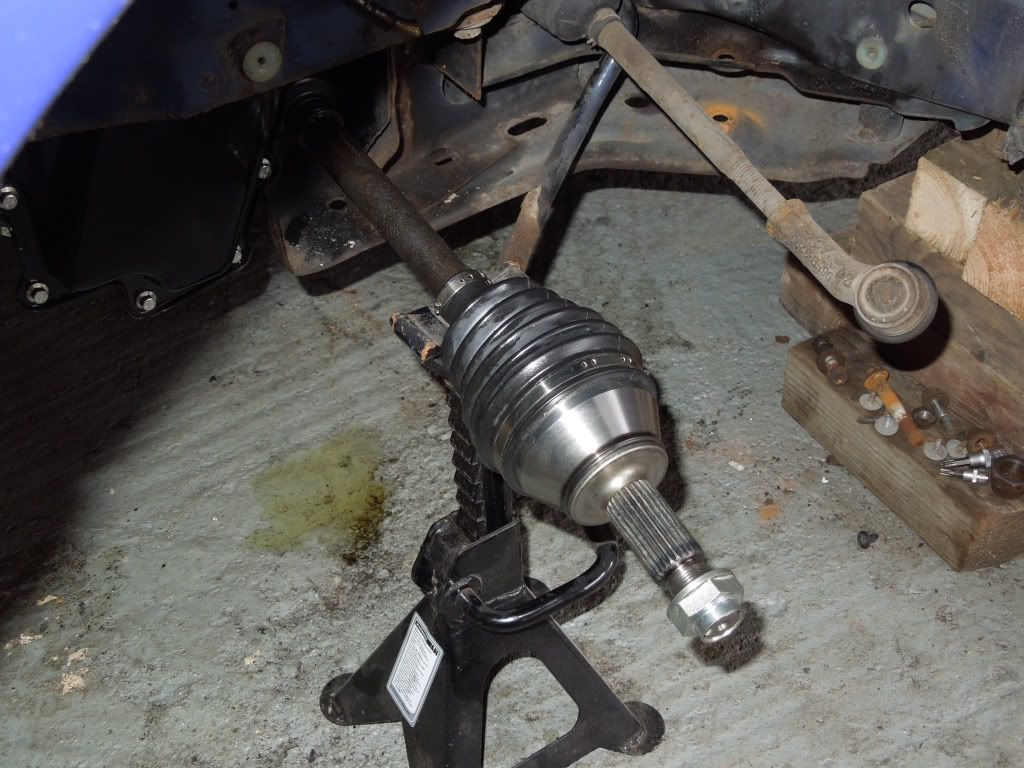
We also got both driveshafts built up, both have brand new CV joints, and the right hand side blue shaft is also brand new.
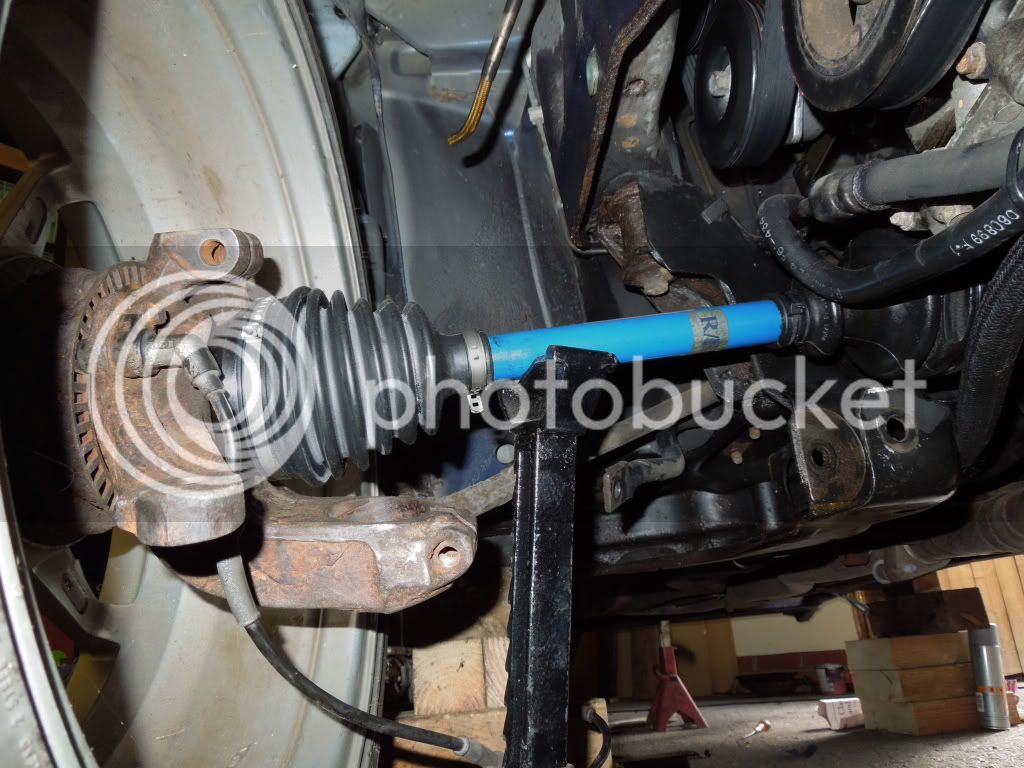
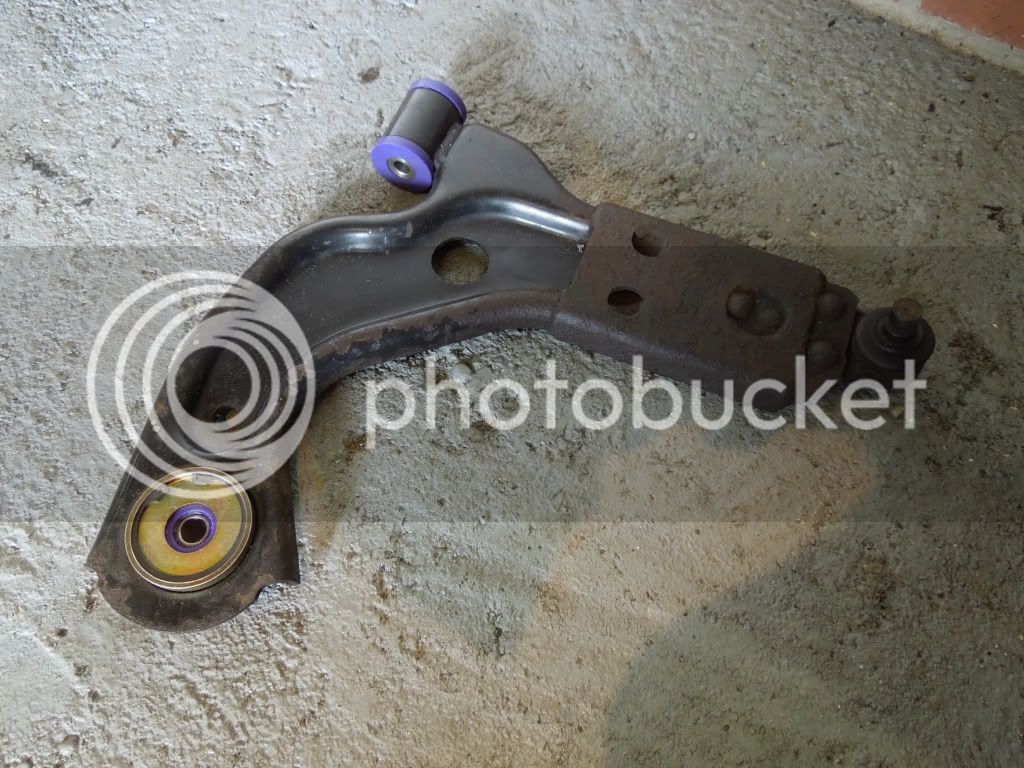
Also, we fitted new wheel bearings in the front hubs, and fitted new powerflex bushes in the front LCAs
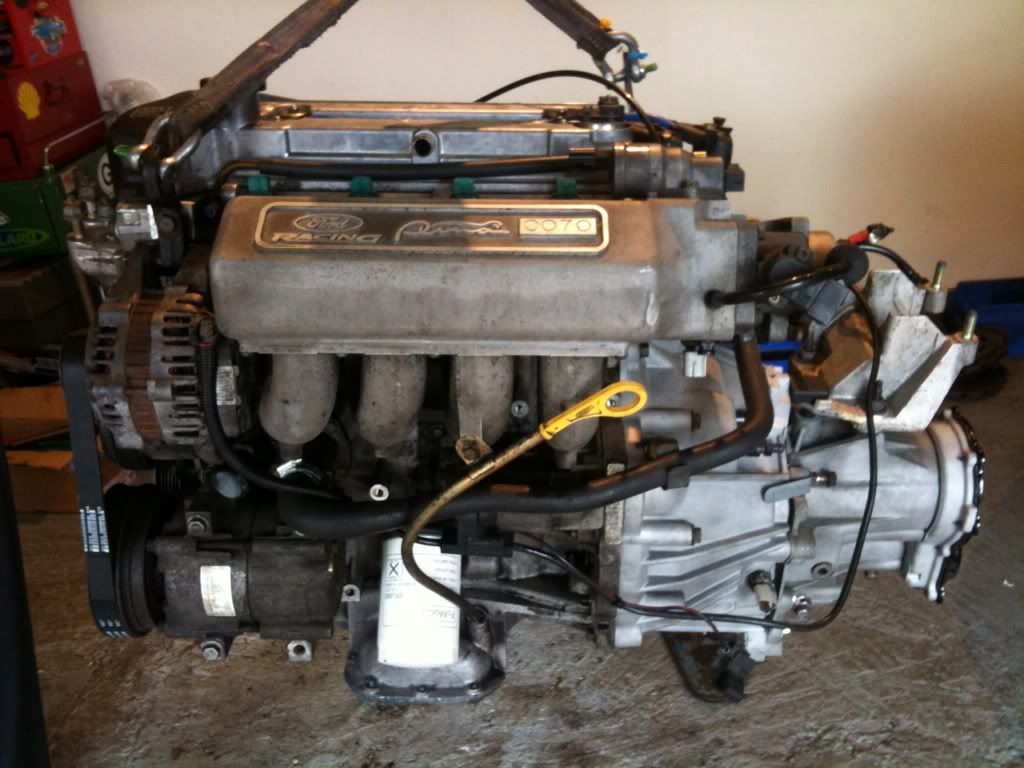
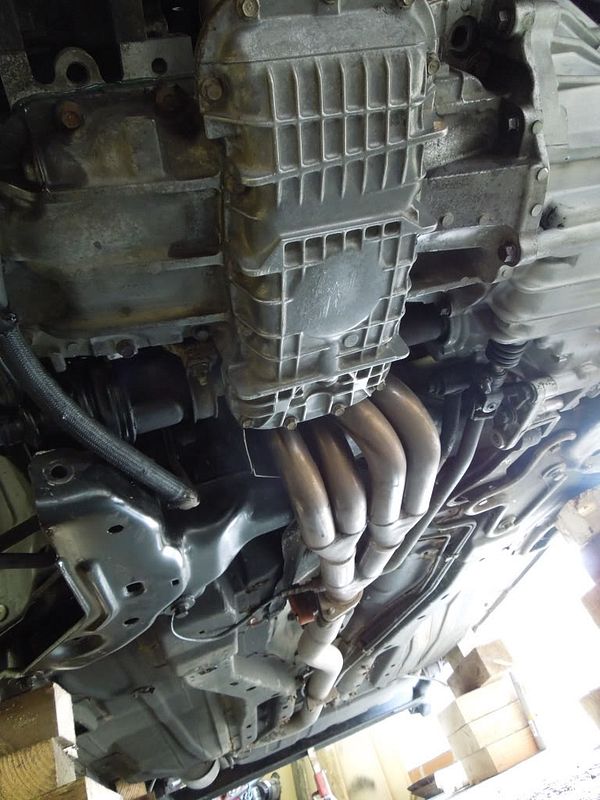
also, heres a pic of my shiny new gearbox (complete with new Quaife LSD) fitted to the engine, with a new 4 branch manifold
So all in all a pretty good weekends work, in summary since thursday night me and my dad have:
• painted the whole interior in primer
• painted the roll cage matte black
• painted the interior metallic silver
• wired/plumbed in the engine and got it running with no issues
• fitted new wheel bearings in front hubs
• changed CV joints in LHS drive shaft and build up a brand new RHS drive shaft complete with a new CV joint
• rebuilt the front end drive line
• measured up and installed the front drivers seat
• refitted the bonnet
I'm pretty pleased with that! still lots to do, and only one month today until the track day at snetterton, so its still a tight schedule but with progress like this I'm certain we can do it!
Our target is to take the car to a track day at Snetterton on May 9th, which will act as a shake down for the real test, which is a long weekend at the Nurburgring at the end of May! so not long to go.
I will be working on the car almost every weekend between now and then so will update this site to keep you informed.
I hope you all find this interesting, and don't hate me too much for playing with an FRP!
thanks for reading
Ross
Well i thought id share on here my latest project. Ive rescued a slightly tatty FRP from the scrap yard in the sky and over the past 6 months have been rebuilding it in preparation to take it out on track.
The car in question was FRP 70, wearing private plate P1 FRP. Its been about on the club scene occasionally and may be known to some of you. I brought it last summer from a guys who had reached the end of his tether after the cam belt snapped, and he was getting fobbed off by his garage. To be honest the car was a mess, it had been used as a daily and not really all that well cared for over the last few years of its life. I think i had once been a cherished car as it came with a ring binder full of receipts, had been resprayed a few years back by Pumabuild, and attended some shows etc, and has a lot of good points, but for the past few years it had not been all that loved, and lack of maintenance eventually killed it.
So, i got it for a good cheap price, and decided this one was the right car to convert to a track weapon. Mainly because its not a very good example, i don't feel guilty for 'messing' with the FRP formula. I know some of you will think I've made a mistake by doing this to an FRP, but truth be told, if i hand reduced it, it would very likely have been broken for parts and would equate to one more "dead" FRP. So I'm happy it will live on, and I'm sure it will be better then ever once I've finished.
Anyway, here are some pictures:
The day i collected it, as i found it, after it had sat in a back street garage for over 8 months:
So, once home, i drew up a plan of action, and listed the things i wanted the car to have. The things it needed/wanted were:
New engine! (current one has done 96k miles, and has a snapped cam belt = junk)
Full multipoint, weld in roll cage
All new suspension bushes (Powerflex)
Fully race prepared
Fully lightened
Refurbish everything
Go Racing!
First Job, engine. Its a new (to the car) unit that i brought from ebay which had a verified 42,000 miles on the clock and was absolutely mint when we stripped it back. We've done quite a lot to it:
• Full strip down, and a paraffin clean of EVERYTHING!
• Cylinder head has been ported, polished and flowed by a highly experienced guy at Lotus
• New cylinder head bolts
• New head gasket
• New cam belt
• New belt tensioner
• New thermostat
• New water pump
• New accessory belt, pulley and idler
• All new gaskets and hardware
• New oil filter
• Plus the cams have been timed up properly using a new FRP timing tool, and double checked with a DTI.
• A brand new Fiesta ST clutch (with brand new puma master cylinder)
Engine out
Stripped, cleaned, rebuilt
Plus i got a brand new FRP gearbox, with a brand new Quaife LSD
So, with the engine and gearbox sorted, the work on the roll cage began. I opted for a Custom Cages, fully MSA multipoint weld in cage and had a guy from work (an ex- Lotus F1 fabricator!) come over and weld it in over a weekend. Heres the cage going in:
I'm really pleased with it, its a great cage, and after sending a welding sample and some photos of the installation off to custom cages, it is now fully certified and MSA compliant!
This weekend i spend most of my time painting the interior, with a primer, a matte black cage and a metalic silver interior.
During the process
The finished article
Also I'm lucky enough to have come across some rather special seats from work, these are carbon fibre seats from a Lotus Evora GTE (the 444bhp £120k super car!) and I'm sure they will look amazing in an FRP, especially as they weigh 5kg each, and the FRP seats weigh 21kg each!
So, the interior is looking good. Next we turned our attention to the mechanics.
The engine is now in the car and is RUNNING
it sounds sweeeeet, idles really well and is great.
We also got both driveshafts built up, both have brand new CV joints, and the right hand side blue shaft is also brand new.
Also, we fitted new wheel bearings in the front hubs, and fitted new powerflex bushes in the front LCAs
also, heres a pic of my shiny new gearbox (complete with new Quaife LSD) fitted to the engine, with a new 4 branch manifold
So all in all a pretty good weekends work, in summary since thursday night me and my dad have:
• painted the whole interior in primer
• painted the roll cage matte black
• painted the interior metallic silver
• wired/plumbed in the engine and got it running with no issues
• fitted new wheel bearings in front hubs
• changed CV joints in LHS drive shaft and build up a brand new RHS drive shaft complete with a new CV joint
• rebuilt the front end drive line
• measured up and installed the front drivers seat
• refitted the bonnet
I'm pretty pleased with that! still lots to do, and only one month today until the track day at snetterton, so its still a tight schedule but with progress like this I'm certain we can do it!
Our target is to take the car to a track day at Snetterton on May 9th, which will act as a shake down for the real test, which is a long weekend at the Nurburgring at the end of May! so not long to go.
I will be working on the car almost every weekend between now and then so will update this site to keep you informed.
I hope you all find this interesting, and don't hate me too much for playing with an FRP!
thanks for reading
Ross