Shanosburgess
New member
Hi, I have many plans for my new t-plate 1.4 puma, hopefully they will all work fine first time but for those that don't I will post anyway so that you can all learn from my mistakes lol
I have chosen to call her project XTC as I am saving for my private plate S13 XTC (SB XTC) I think it will suit the old girl.
I got her from ebay (winning bid was £720)
Ebay add
For Sale,
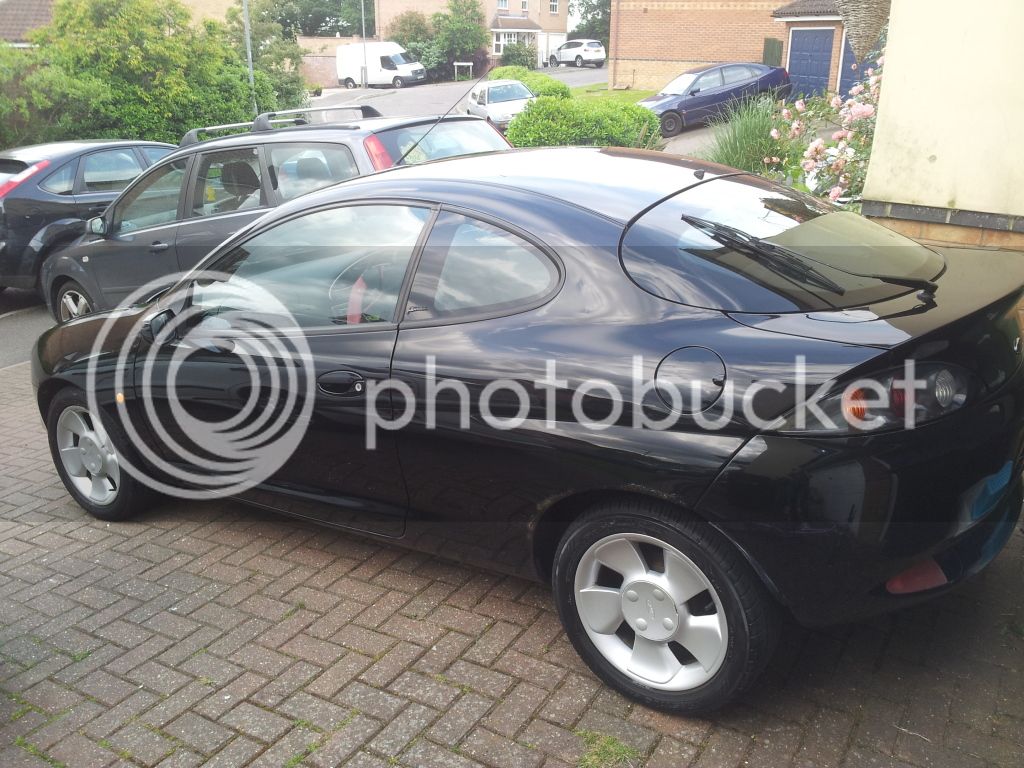
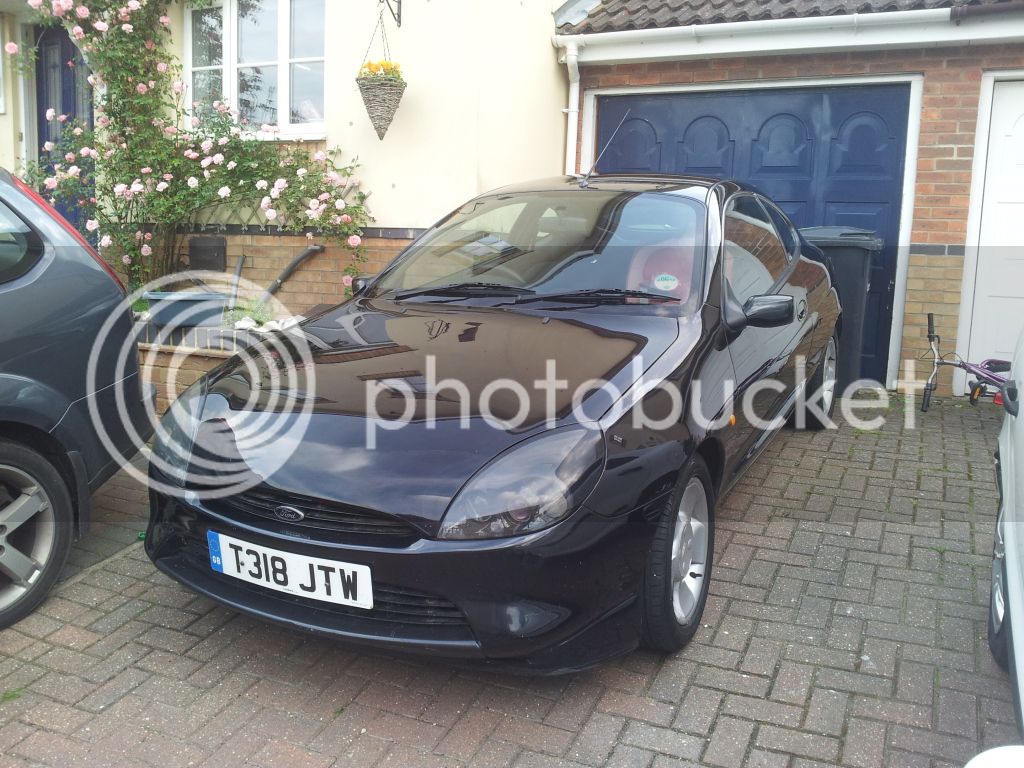
My 1999T Ford Puma 1.4.
Had this car for two and a half years and its never put a foot wrong with me.
Its just passed its MOT without any problems again,
Cheap road tax and insurance, not as thirsty as the 1.7 version.
The car drives perfectly well, good little engines in these cars and a lot of fun to drive.
Includes Air con, Heated front and rear windscreens, electric mirror, electric windows and alloy wheels.
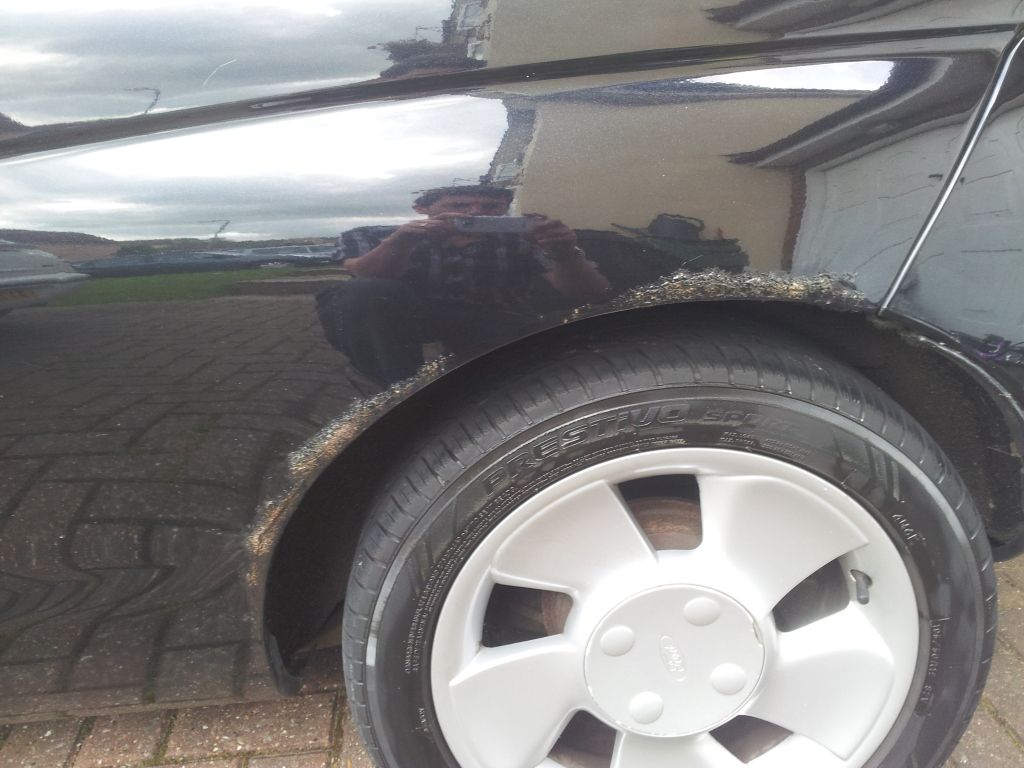
Only draw backs to this car are obvious wear and tear for a car of its age such as the occasional stone chips, and it has a small patch of exterior rust in one of the wheel arch's which seems to be a recurring problem with the Puma.
All together i will be sad to see her go. Tried to be as honest as i can with the listing but obviously coming to see it would paint a better picture, any questions feel free to contact me and i will try and answer your questions as well as i can.
after asking a few more questions and getting confirmation the cam belt had been done (just under 10,000 miles ago) my bid went in with 3 seconds to go, my nerves were on edge to say the least as the final second past, it seemed to take an eternity to come up and show that I had won!
I picked her up last sunday (with a friend that is a mechanic) we gave the car a thorough inspection and test drive, and although there were a few little niggles the car is basically sound.
We did find rust at the bottom of the front wings but it appears not to have gone to far, and we used this to knock an additional £60 off the price of the car.
I got the car home and gave it a good wash down and a quick wax and she looks ok (for now)
My insurance worked out just under £400 and includes the wife and full business use.
I set about trying to get some parts having read through various how too's on the site
1st lot came through today
Front drivers and passenger front wings in panther black
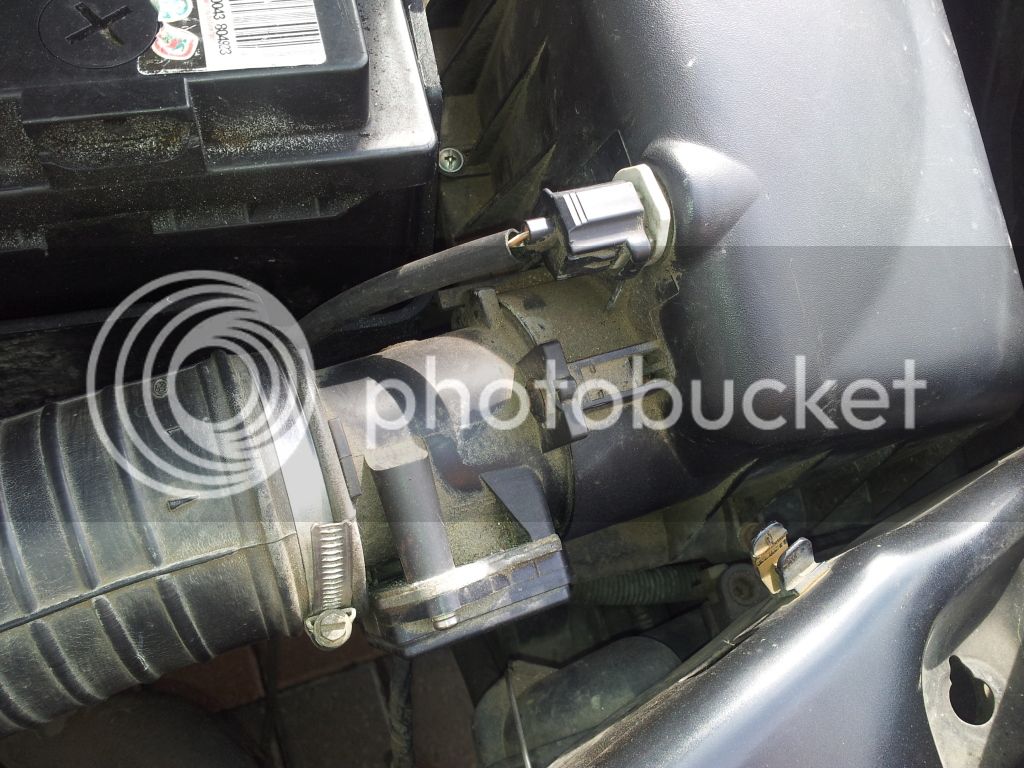
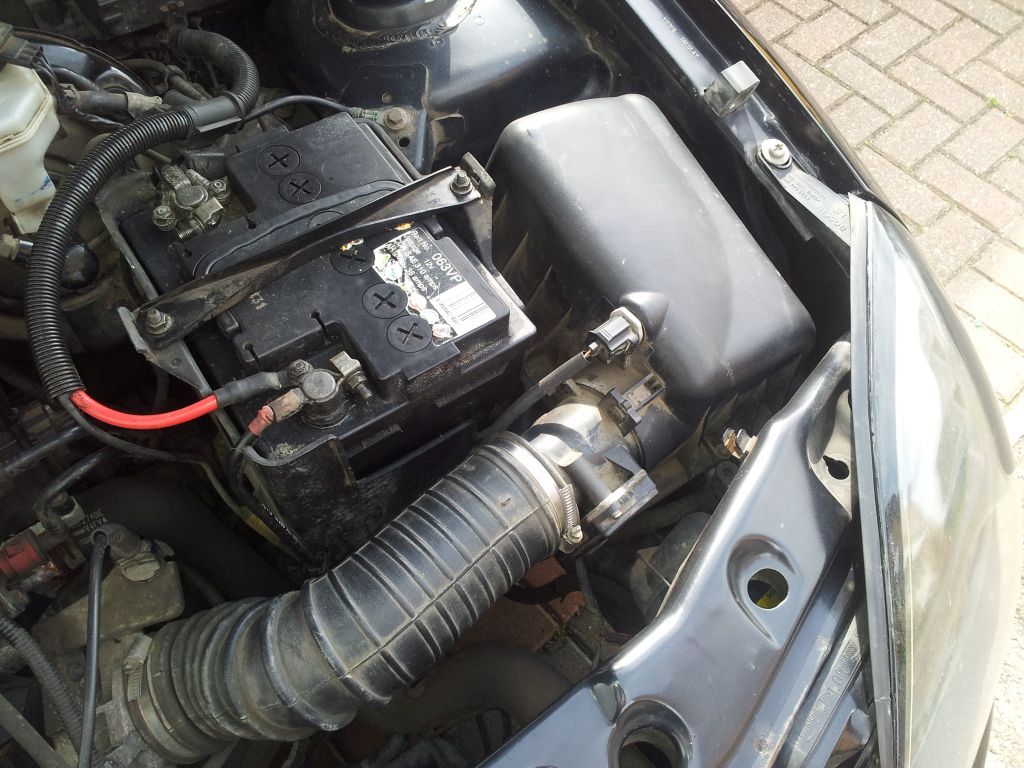
1.7 MAF
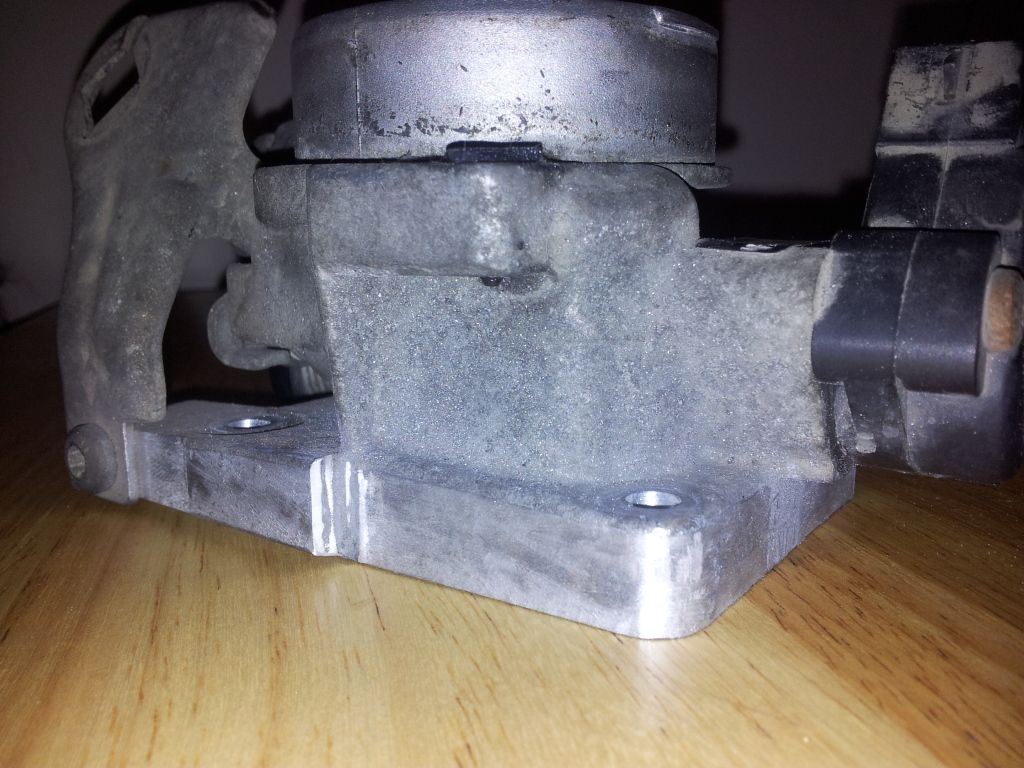
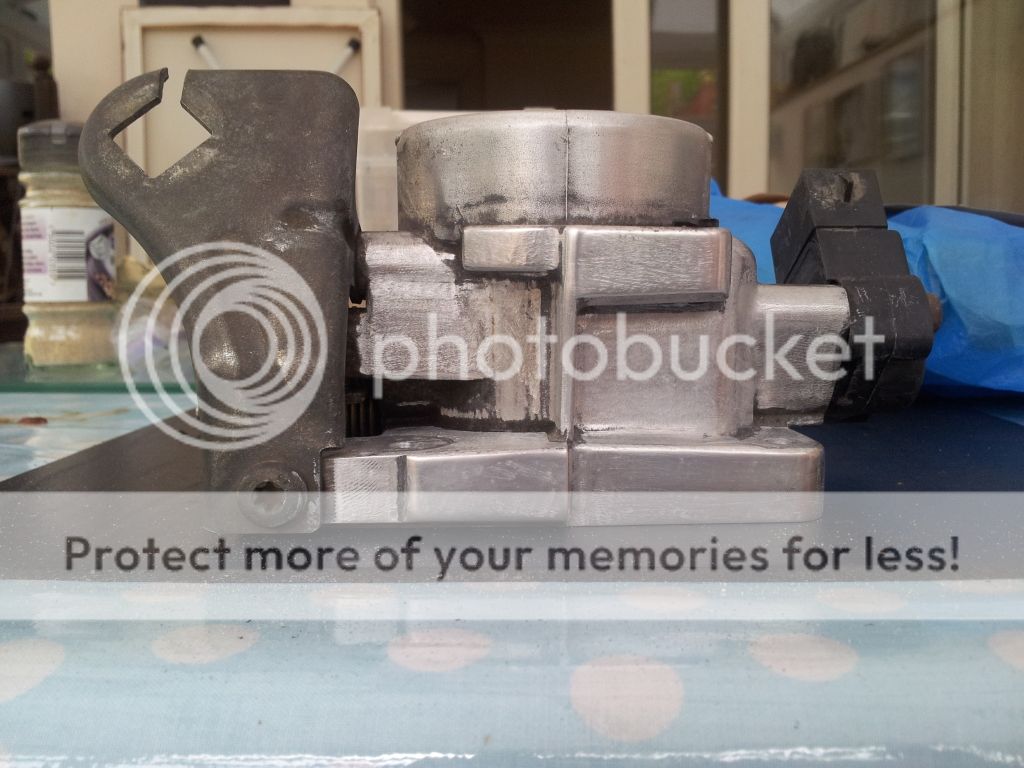
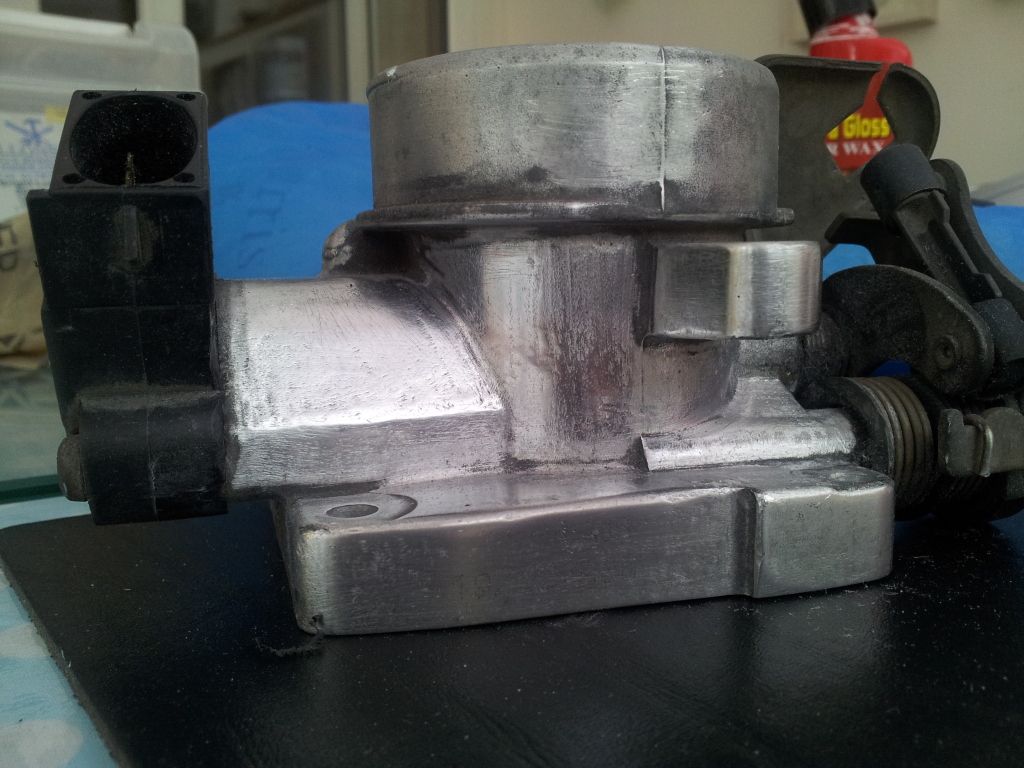
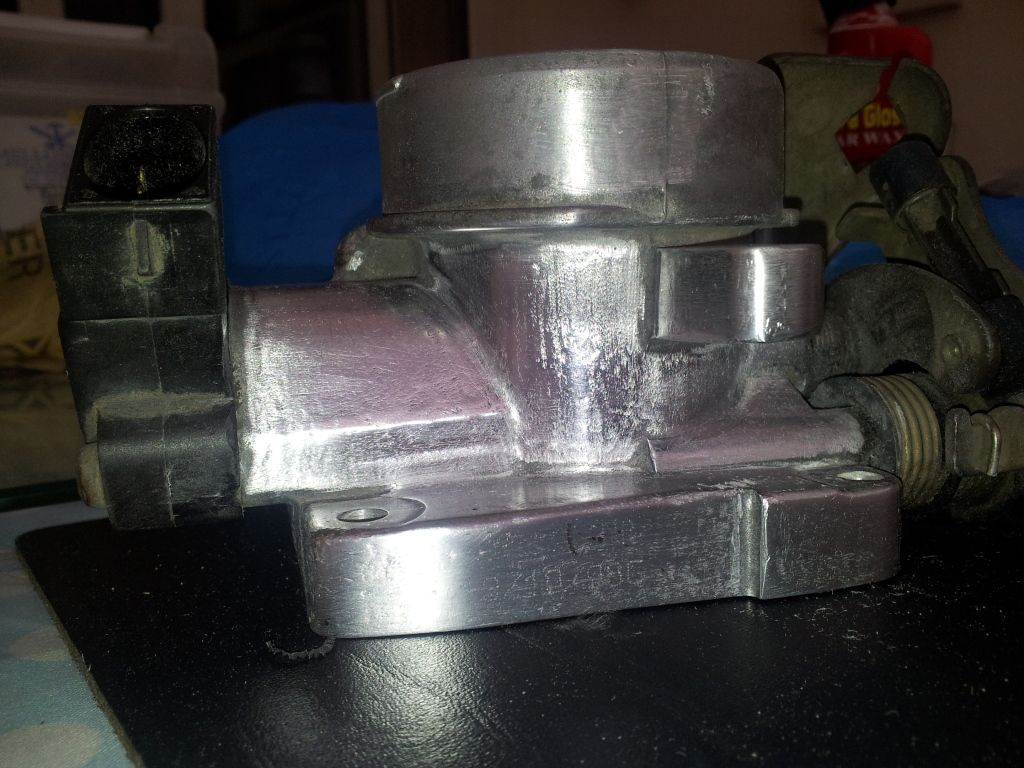
1.7 Throttle body
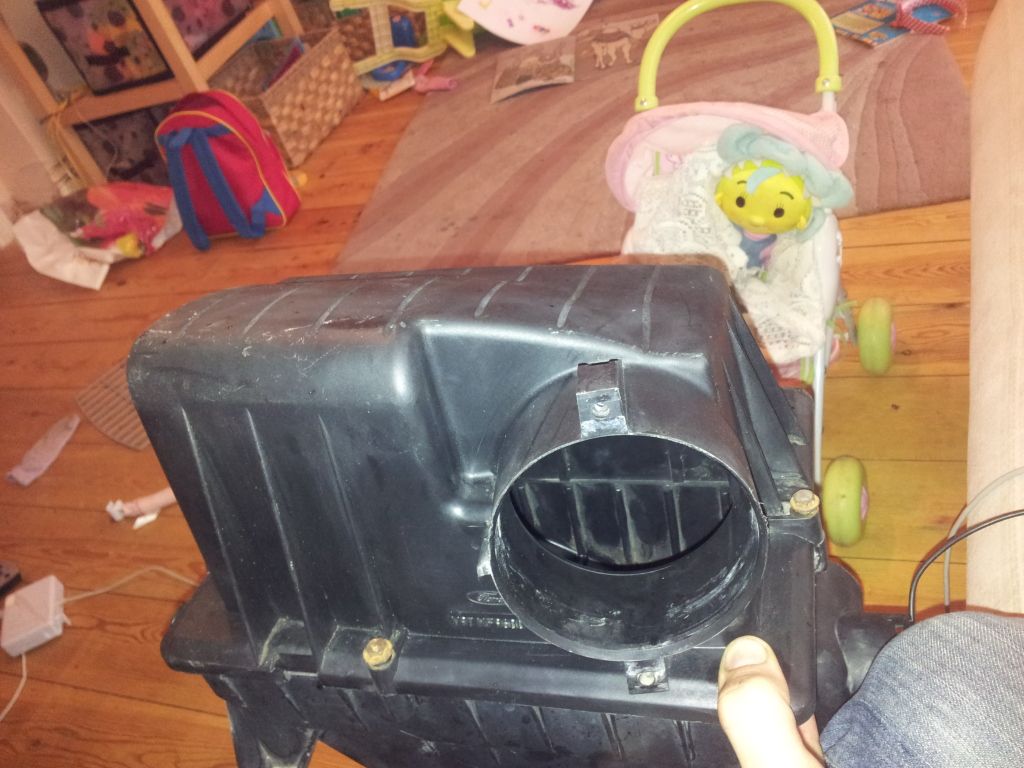
1.7 Air Box
Drivers and passenger seat belts
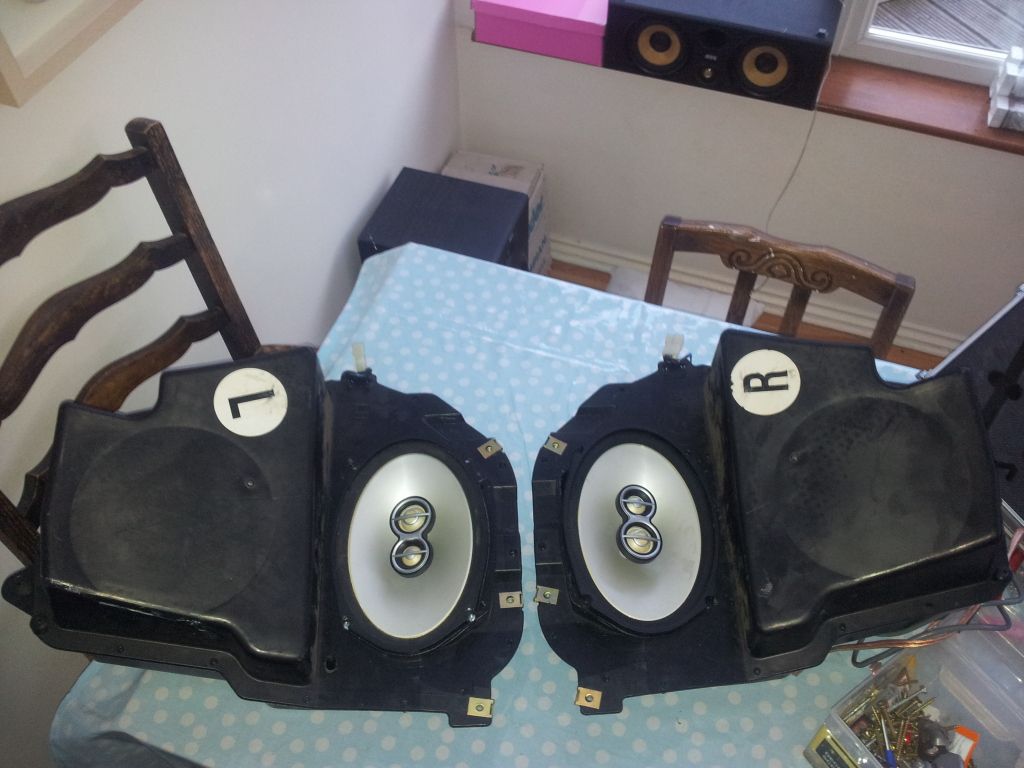
Left and Right rear speaker cabs/boxes
Hand brake leather gater and trim
Gear stick leather gater and trim
The whole lot including delivery... a very very reasonable £62!
I had ordered the rear arch quarter as it appeared to be good nick on the car dave was breaking, unfortunately when he finally got it cut off it was all filler not metal :-( and poor dave lost three quarters of his little finger when the grinder slipped (he is ok but as he put it in his words "I won't be going to any posh Tea parties as no pinky to lift up")
He was only charging me £10 inc postage for it, yet it cost him a finger.
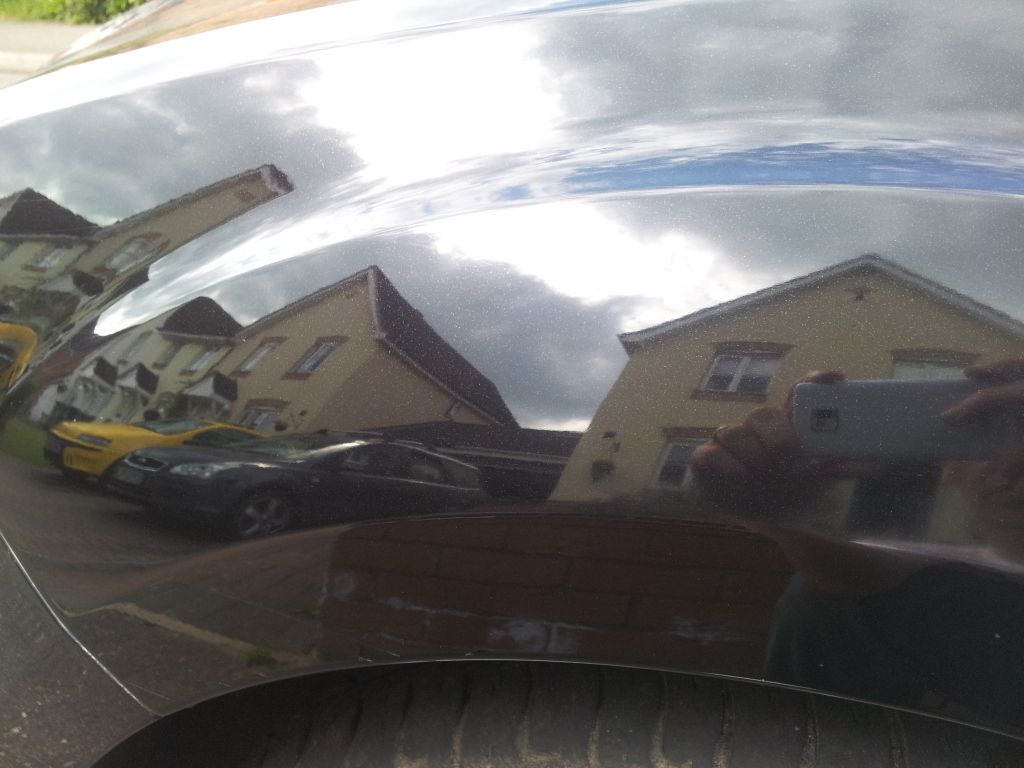
I had a quick go at wet sanding on my work car a panther black ford focus (it is a lease car that is going back this friday, the previous driver battered and scratched it to fek), I figured try it on the focus before getting anywhere near my car!
The owes grade that I could get was 1200 grit and it made it a little time consuming buffing out the dullness that it caused with rubbing compound, but a bit elbow grease later and then a polish got it to this stage.
I got down to Halfrauds today and got some 2000 and also 2500 grit and hopefully this will make the job a little easier when I do the Puma, I also picked up a touch up pen kit to try and sort a few stone chips (will add this to the thread when I get round to doing it)
Speaker boxes
although they came through well packaged, one had cracked :-( but a bit of 2 part epoxy later its all good again, next came the dremel and a bit of hacking to get the 6x9's in (Infinity reference series)
they need a bit more finishing but for about an hour and a half work they are looking ok.
I'm tempted to see if I can get a 6" sub inside as well (have several unused spares from a project I did a while ago)
Running total for project
£720 for car
£8 for cleaning cloths, + scratch remover (own brand T-cut)
£62 for MAF/throttle body/air box/speaker boxes/both front seat belts/both front wings/hand brake gater/gear stick gater
£4.49 rear view mirror bonding kit
£3.99 4 sheets 2500 grit wet and dry
£3.99 4 sheets 2000 grit wet and dry
£1 2 sheets 1200 grit wet and dry
£11.99 panther black touch up kit
£7.88 iso adapter and face plate
£160 SONY CDX-GT540UI cd player
£65 MTX sub
£6.47 led lights
I have chosen to call her project XTC as I am saving for my private plate S13 XTC (SB XTC) I think it will suit the old girl.
I got her from ebay (winning bid was £720)
Ebay add
For Sale,
My 1999T Ford Puma 1.4.
Had this car for two and a half years and its never put a foot wrong with me.
Its just passed its MOT without any problems again,
Cheap road tax and insurance, not as thirsty as the 1.7 version.
The car drives perfectly well, good little engines in these cars and a lot of fun to drive.
Includes Air con, Heated front and rear windscreens, electric mirror, electric windows and alloy wheels.
Only draw backs to this car are obvious wear and tear for a car of its age such as the occasional stone chips, and it has a small patch of exterior rust in one of the wheel arch's which seems to be a recurring problem with the Puma.
All together i will be sad to see her go. Tried to be as honest as i can with the listing but obviously coming to see it would paint a better picture, any questions feel free to contact me and i will try and answer your questions as well as i can.
after asking a few more questions and getting confirmation the cam belt had been done (just under 10,000 miles ago) my bid went in with 3 seconds to go, my nerves were on edge to say the least as the final second past, it seemed to take an eternity to come up and show that I had won!
I picked her up last sunday (with a friend that is a mechanic) we gave the car a thorough inspection and test drive, and although there were a few little niggles the car is basically sound.
We did find rust at the bottom of the front wings but it appears not to have gone to far, and we used this to knock an additional £60 off the price of the car.
I got the car home and gave it a good wash down and a quick wax and she looks ok (for now)
My insurance worked out just under £400 and includes the wife and full business use.
I set about trying to get some parts having read through various how too's on the site
1st lot came through today
Front drivers and passenger front wings in panther black
1.7 MAF
1.7 Throttle body
1.7 Air Box
Drivers and passenger seat belts
Left and Right rear speaker cabs/boxes
Hand brake leather gater and trim
Gear stick leather gater and trim
The whole lot including delivery... a very very reasonable £62!
I had ordered the rear arch quarter as it appeared to be good nick on the car dave was breaking, unfortunately when he finally got it cut off it was all filler not metal :-( and poor dave lost three quarters of his little finger when the grinder slipped (he is ok but as he put it in his words "I won't be going to any posh Tea parties as no pinky to lift up")
He was only charging me £10 inc postage for it, yet it cost him a finger.
I had a quick go at wet sanding on my work car a panther black ford focus (it is a lease car that is going back this friday, the previous driver battered and scratched it to fek), I figured try it on the focus before getting anywhere near my car!
The owes grade that I could get was 1200 grit and it made it a little time consuming buffing out the dullness that it caused with rubbing compound, but a bit elbow grease later and then a polish got it to this stage.
I got down to Halfrauds today and got some 2000 and also 2500 grit and hopefully this will make the job a little easier when I do the Puma, I also picked up a touch up pen kit to try and sort a few stone chips (will add this to the thread when I get round to doing it)
Speaker boxes
although they came through well packaged, one had cracked :-( but a bit of 2 part epoxy later its all good again, next came the dremel and a bit of hacking to get the 6x9's in (Infinity reference series)
they need a bit more finishing but for about an hour and a half work they are looking ok.
I'm tempted to see if I can get a 6" sub inside as well (have several unused spares from a project I did a while ago)
Running total for project
£720 for car
£8 for cleaning cloths, + scratch remover (own brand T-cut)
£62 for MAF/throttle body/air box/speaker boxes/both front seat belts/both front wings/hand brake gater/gear stick gater
£4.49 rear view mirror bonding kit
£3.99 4 sheets 2500 grit wet and dry
£3.99 4 sheets 2000 grit wet and dry
£1 2 sheets 1200 grit wet and dry
£11.99 panther black touch up kit
£7.88 iso adapter and face plate
£160 SONY CDX-GT540UI cd player
£65 MTX sub
£6.47 led lights
 k:
k: