Pumacharger mk2

ProjectPuma

Help Support ProjectPuma:

This site may earn a commission from merchant affiliate links, including eBay, Amazon, and others.

mrMechanix

New member
Joined
May 26, 2011
Messages
177
Location
Scotland.
will put up photos as i go on this one guys.

been a week and a day since a small mishap with pumacharger mk1, mk2's going to be even better tho :cool:

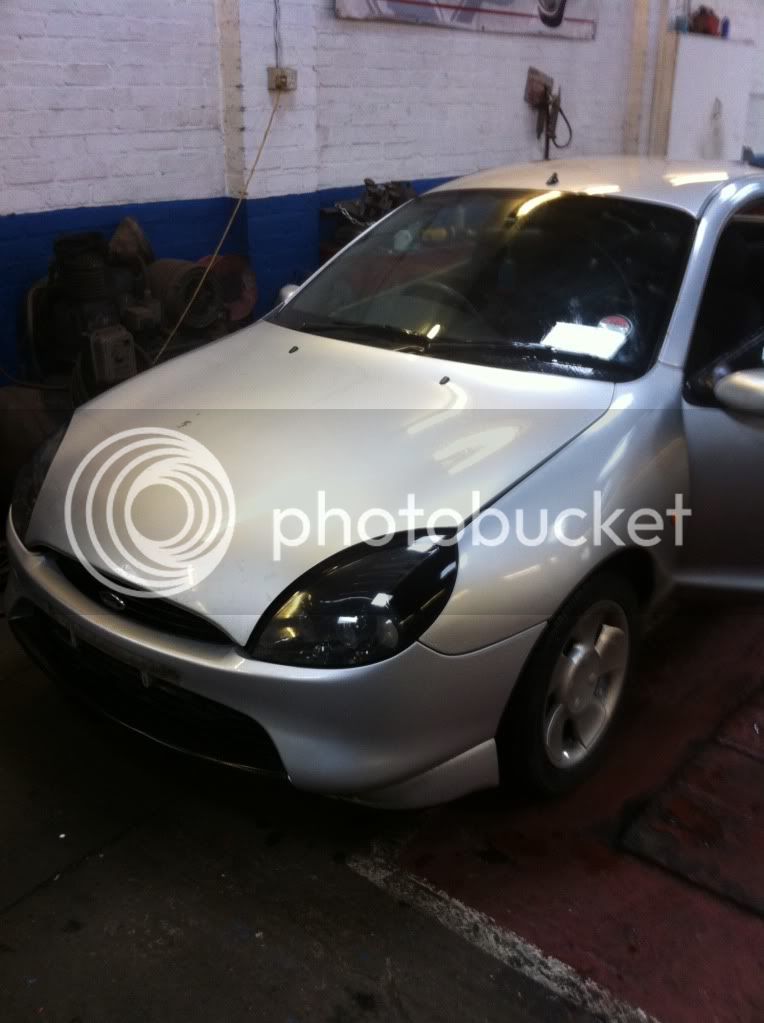
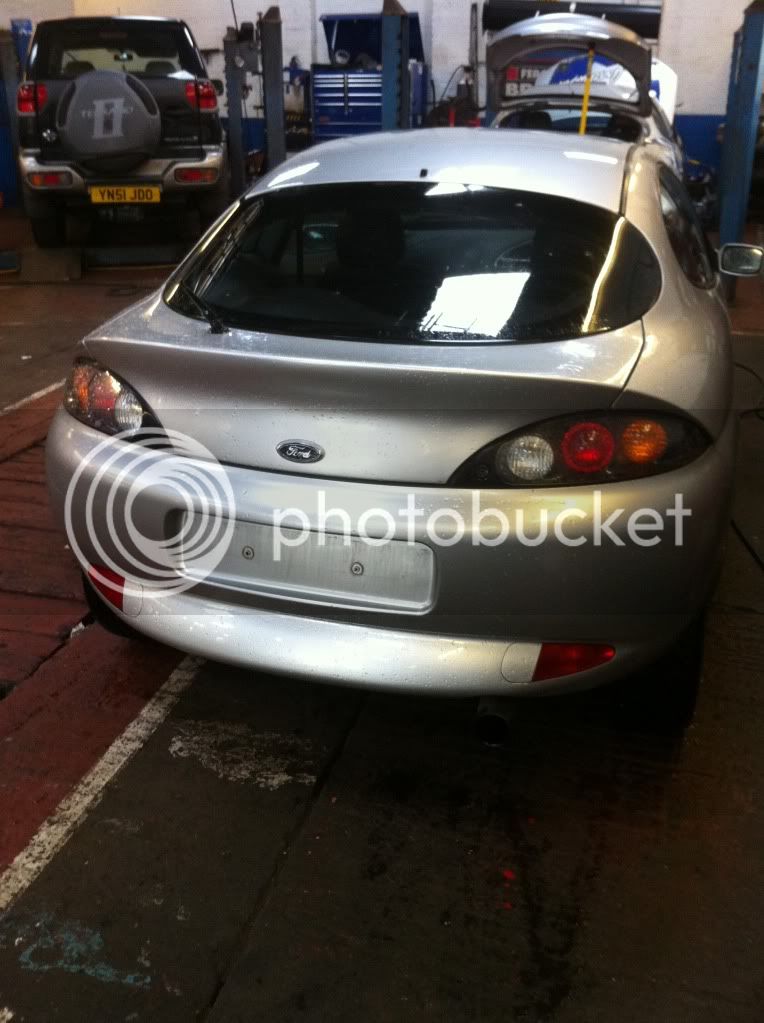
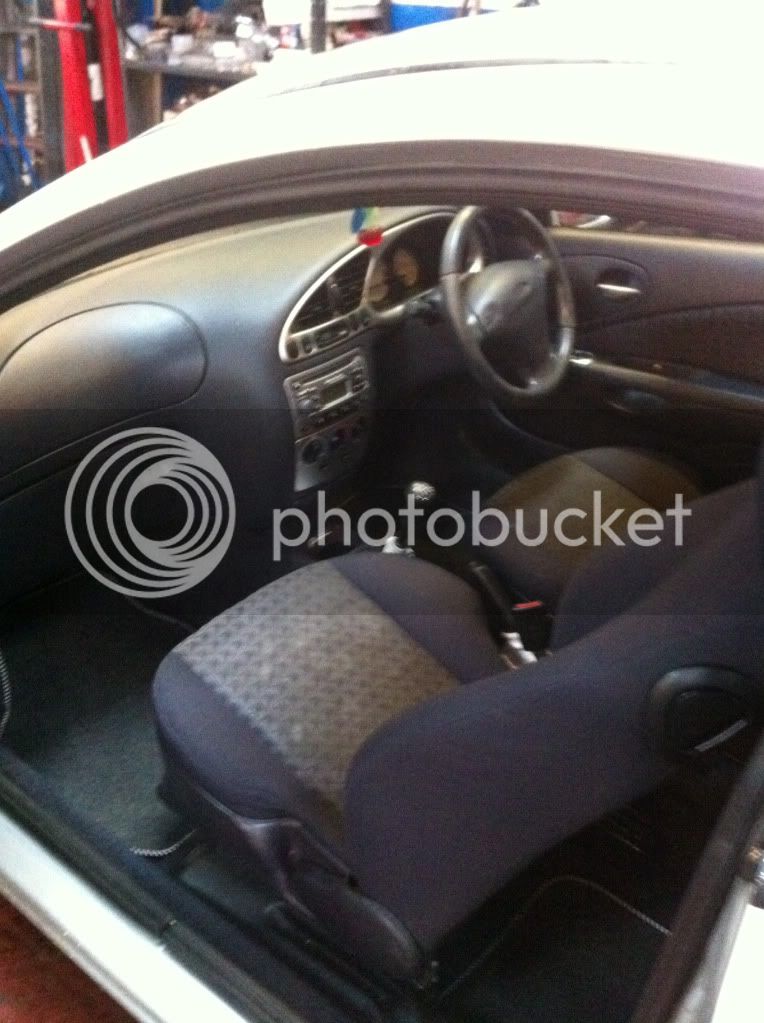
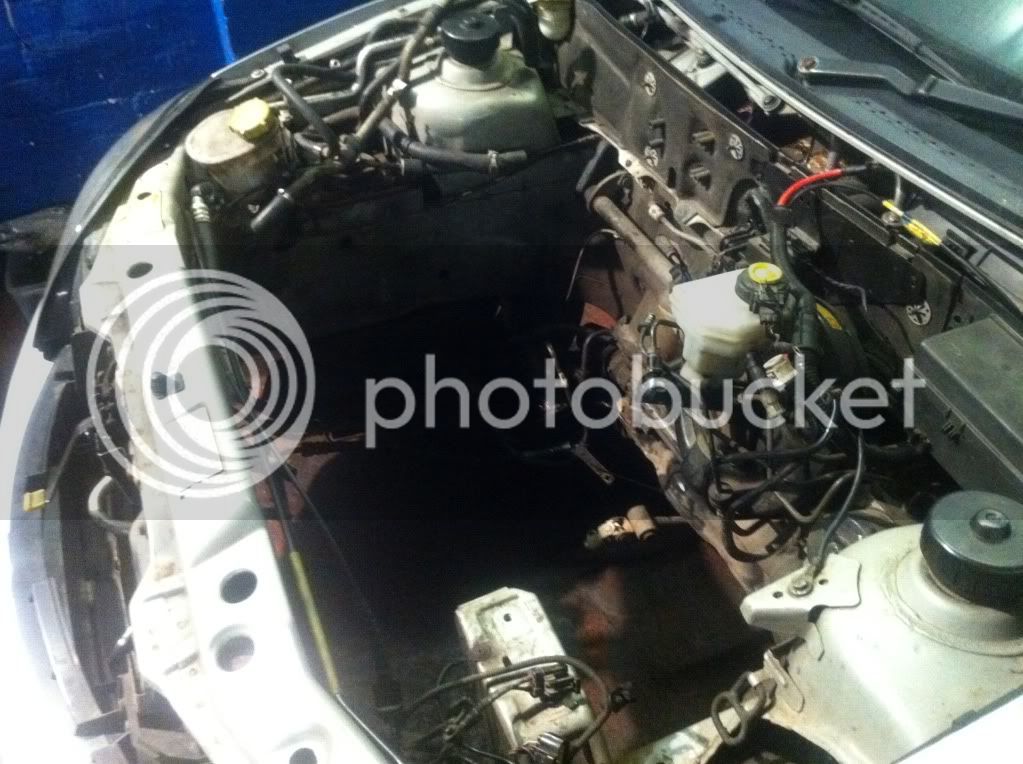
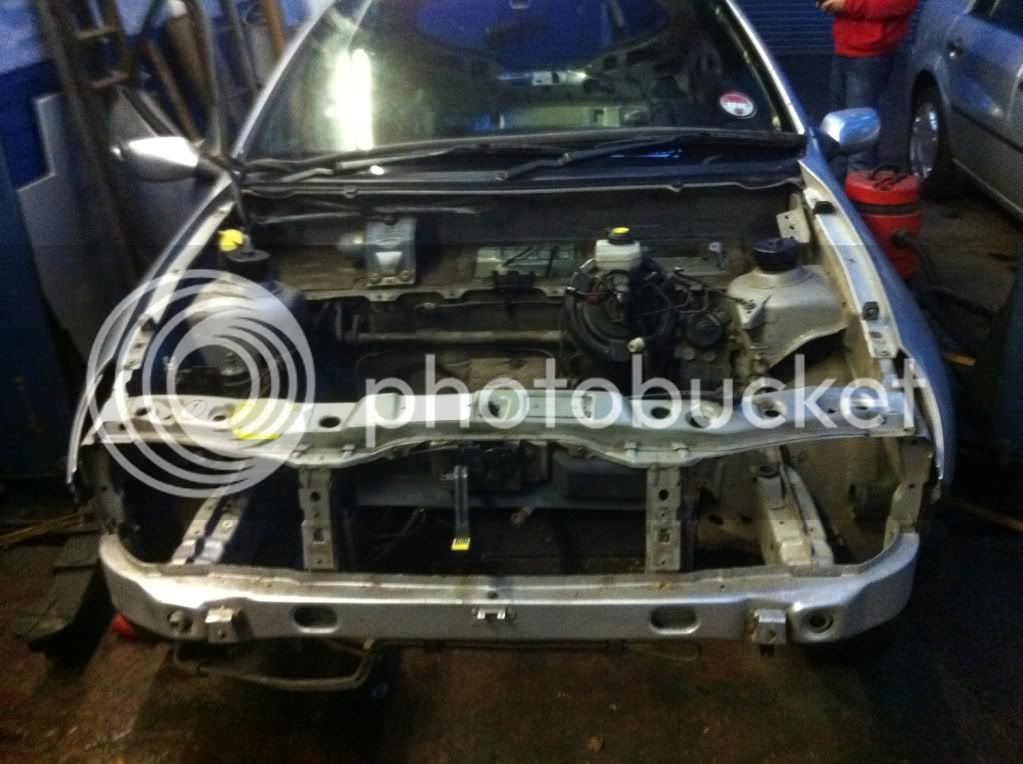
ok so here it is. bought it a week ago today. same year and colour but a 1.4. blown engine sounds like there's a little man in there with a hammer.
IMG_0100.jpg

IMG_0102.jpg

IMG_0101.jpg

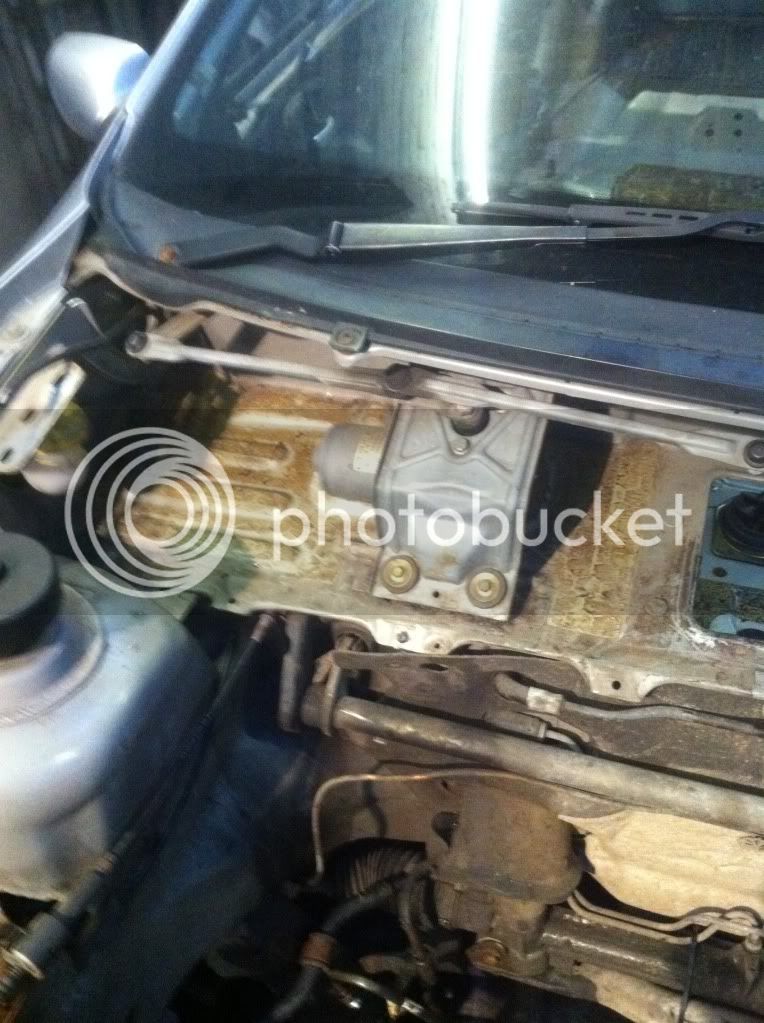
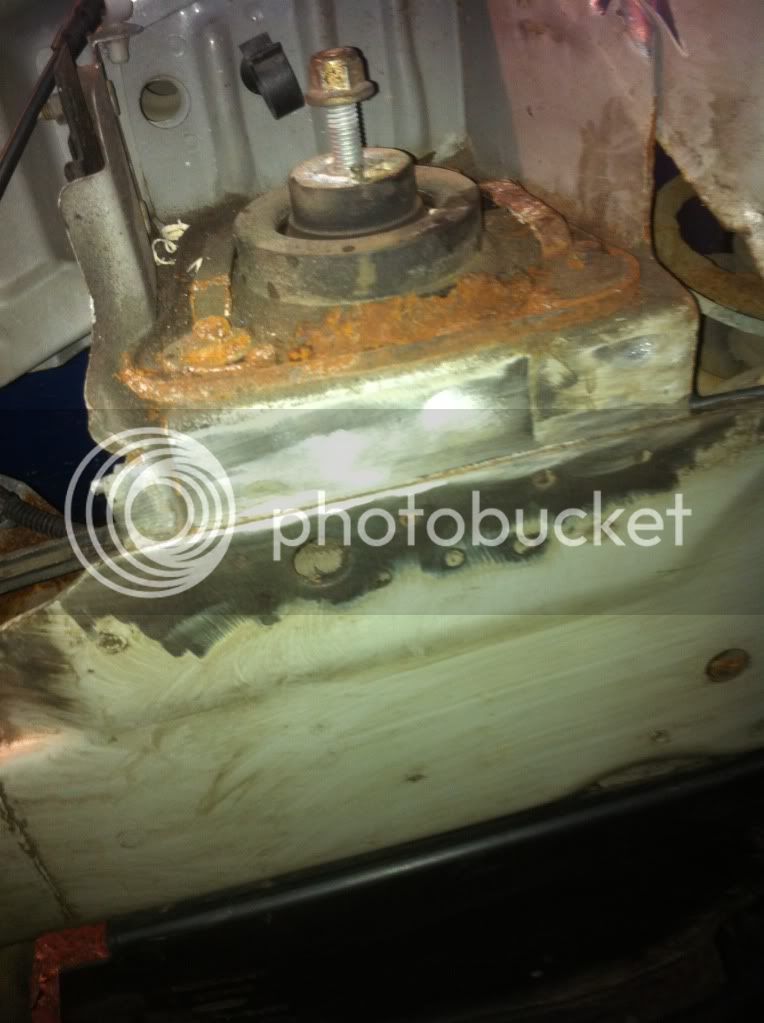
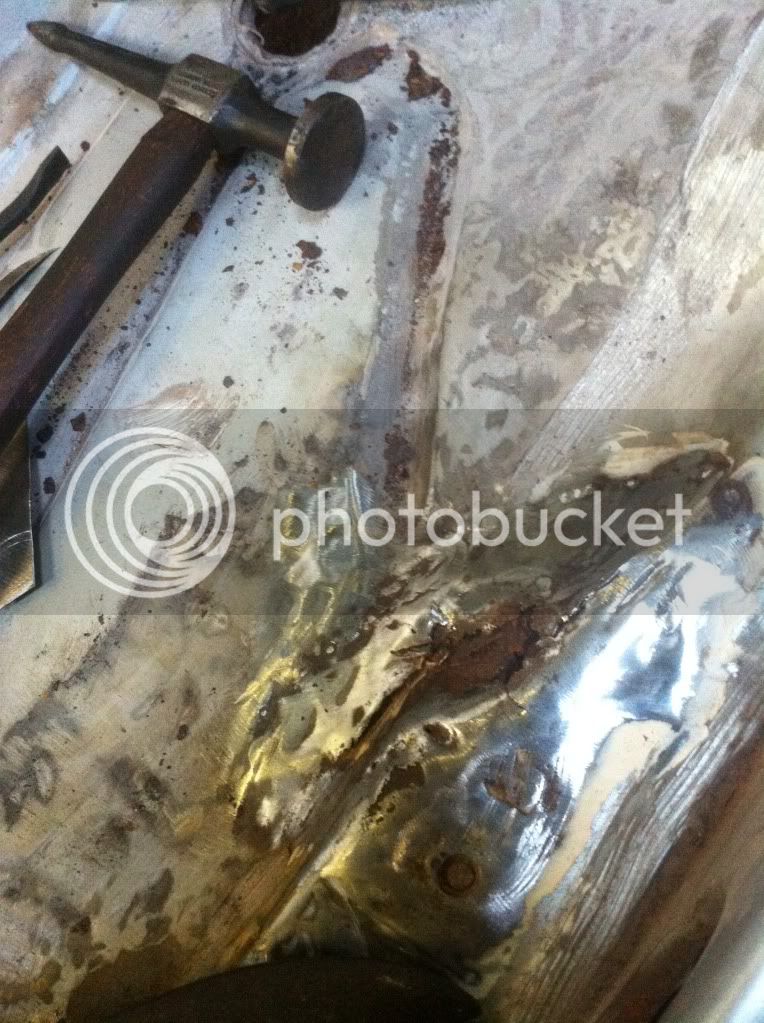
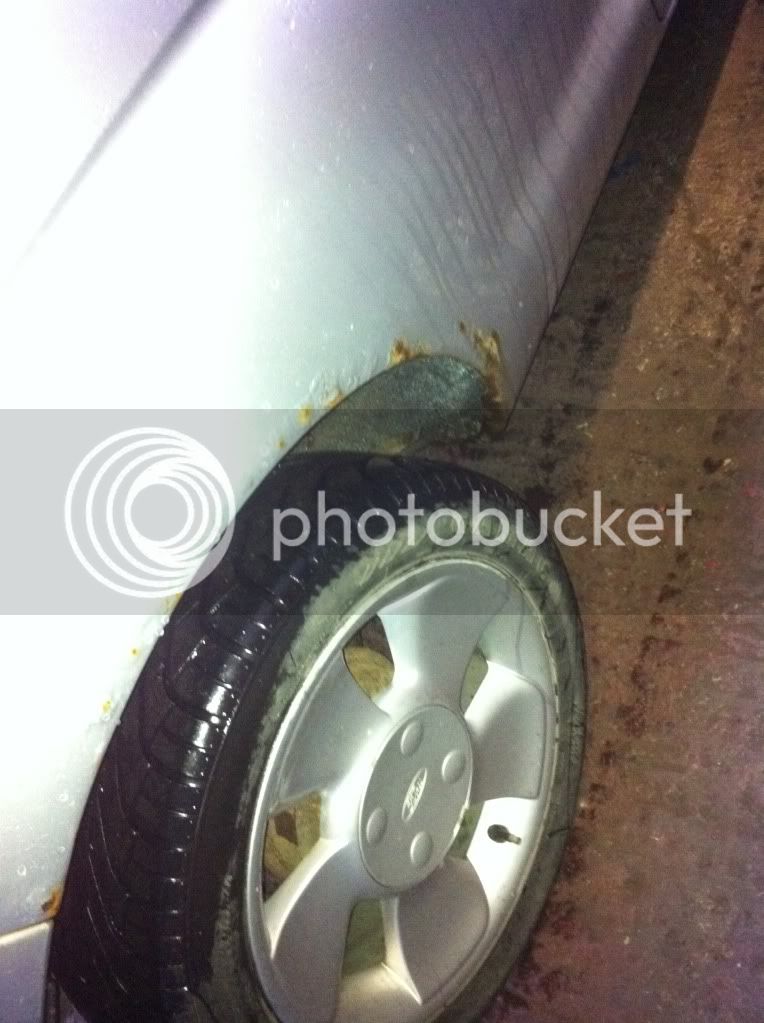
some rust in the usual place.
IMG_0103.jpg

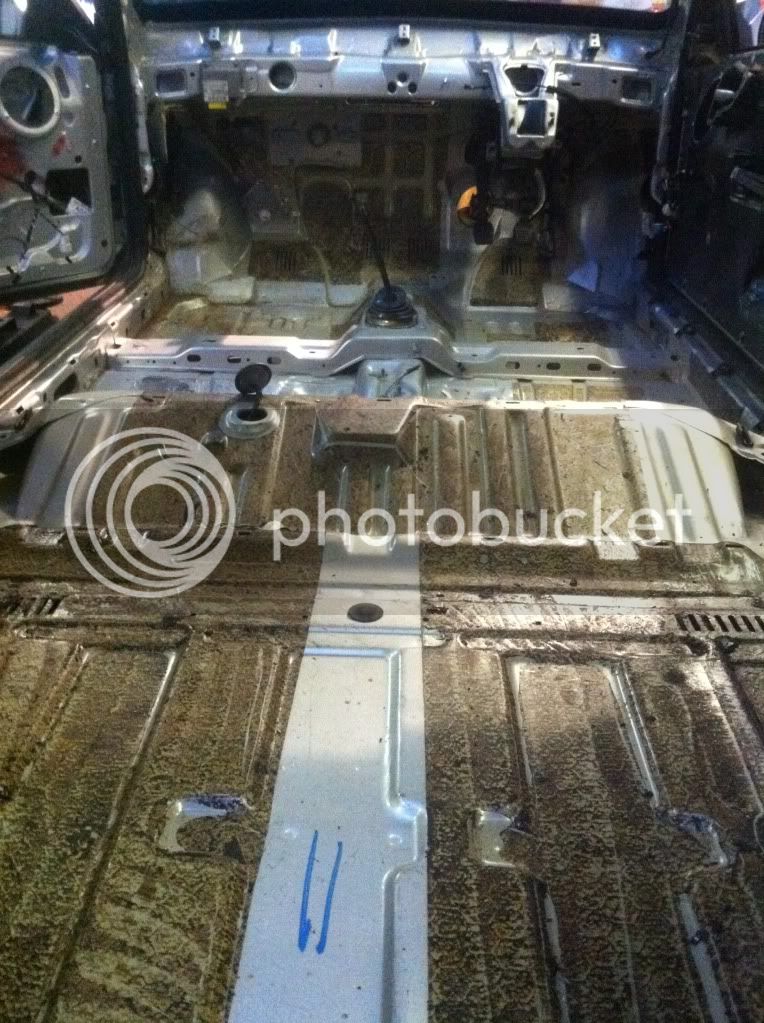
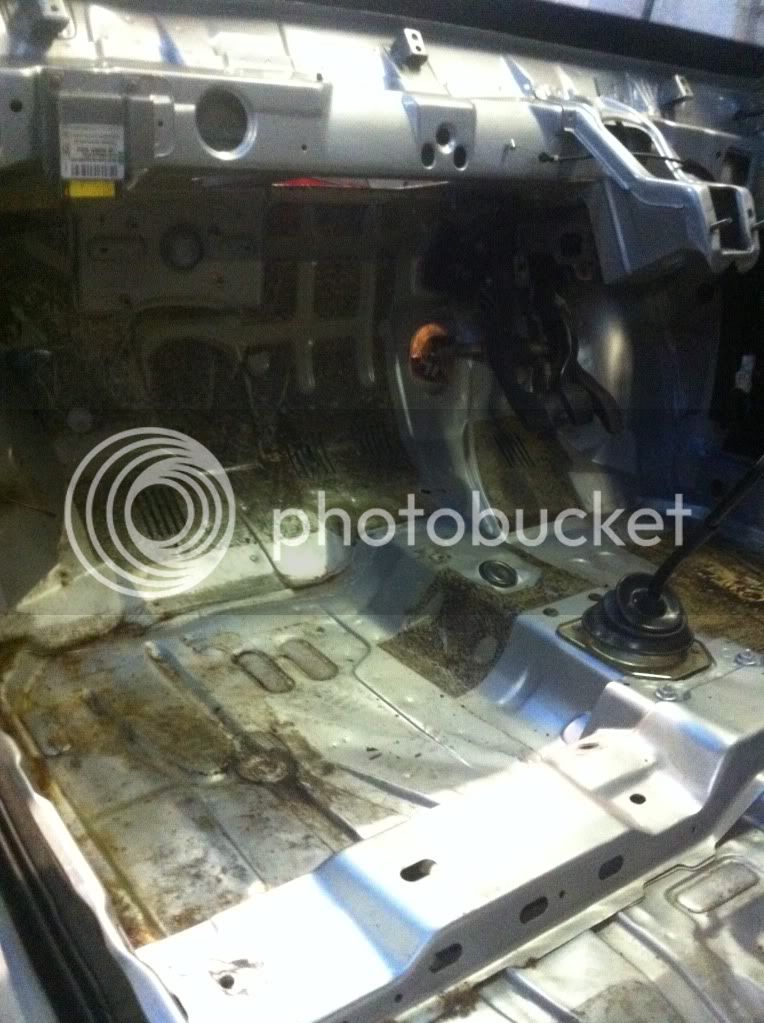
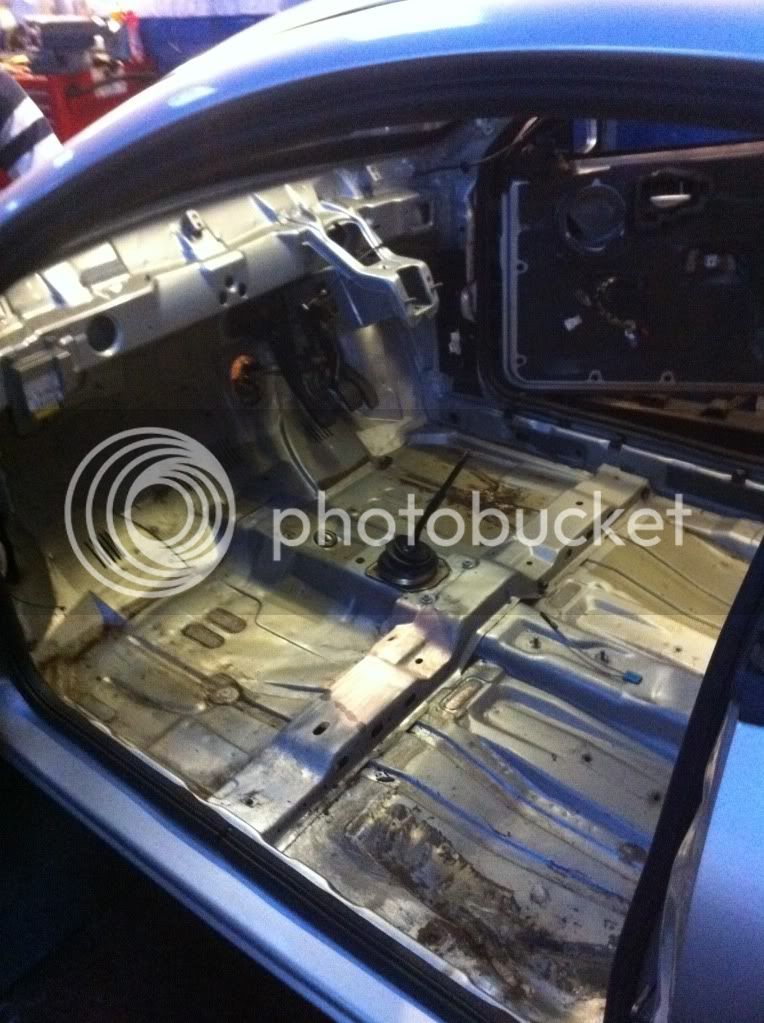
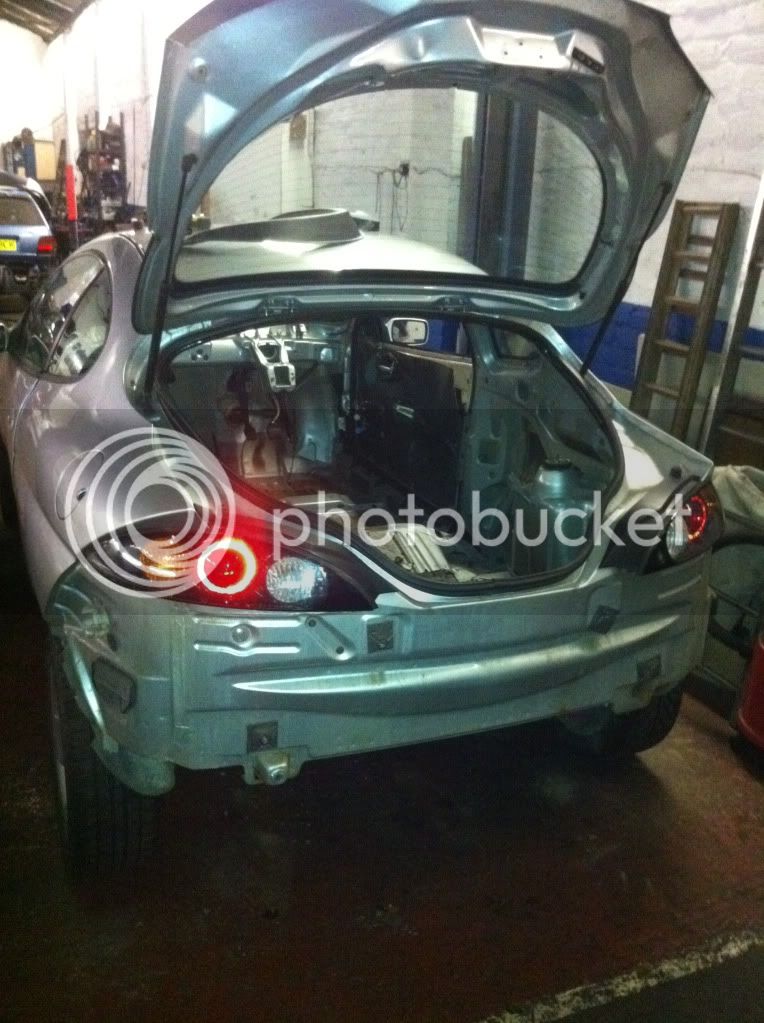
so first thing is remove the interior.
IMG_0105.jpg

IMG_0113.jpg

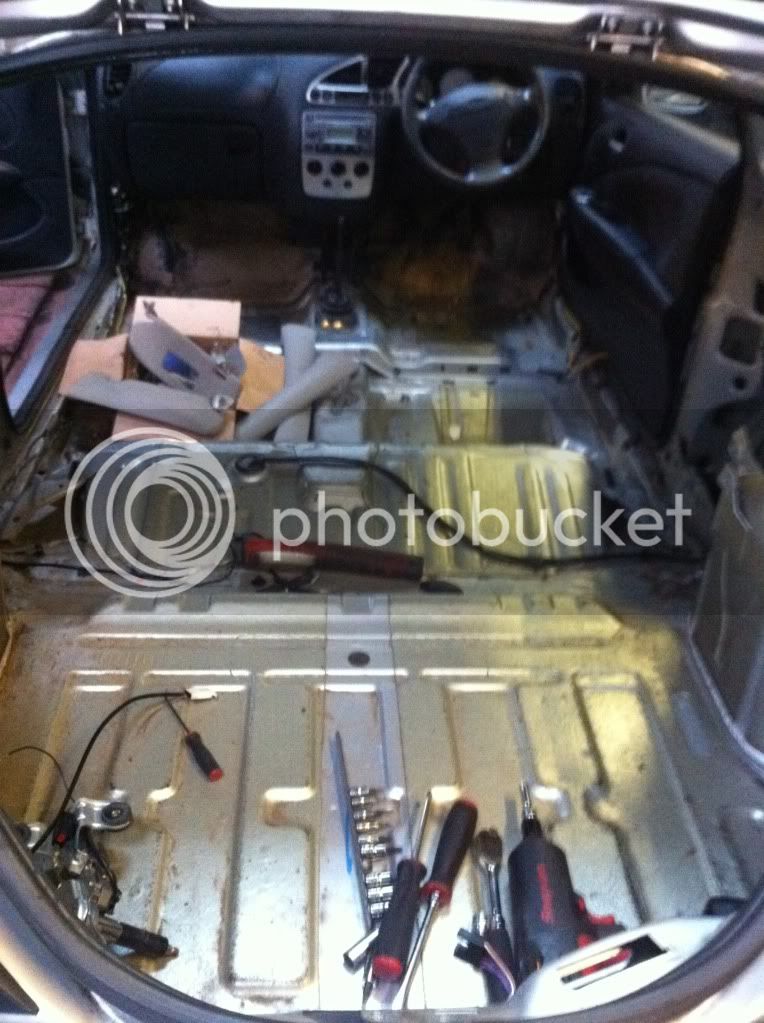
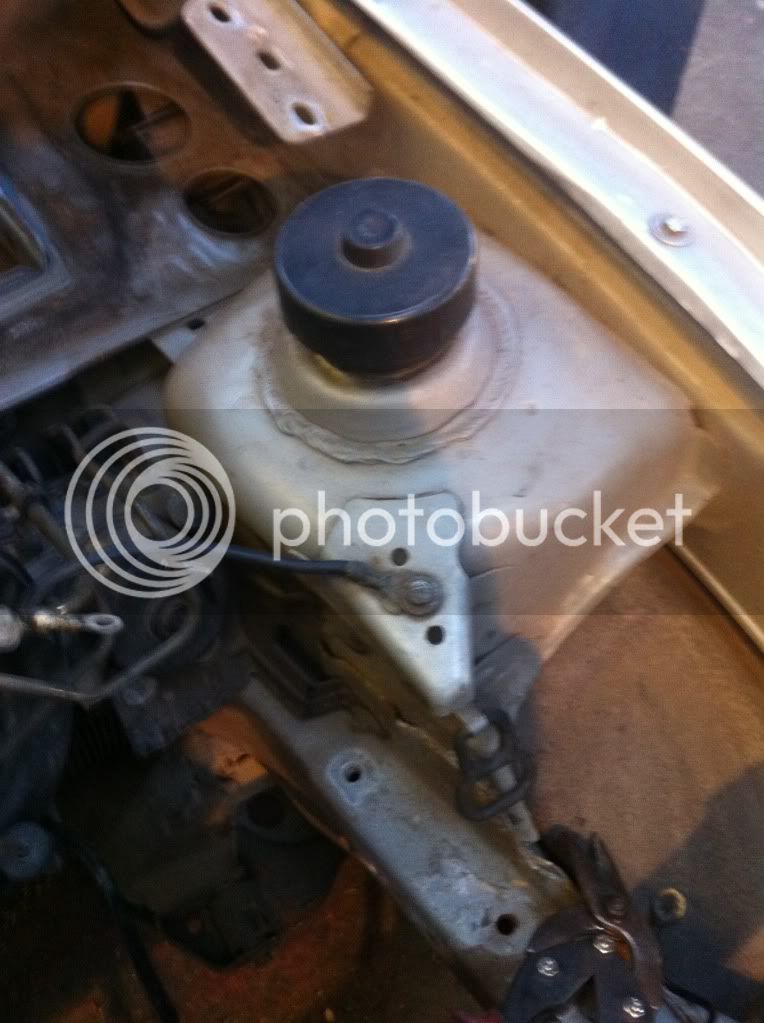
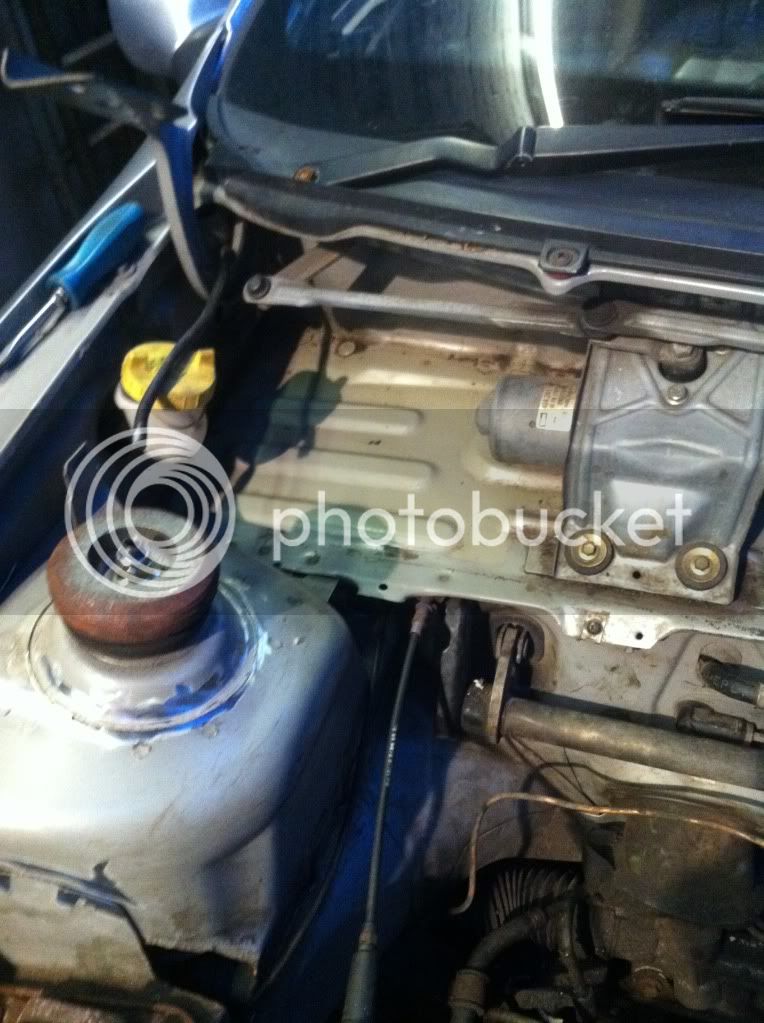
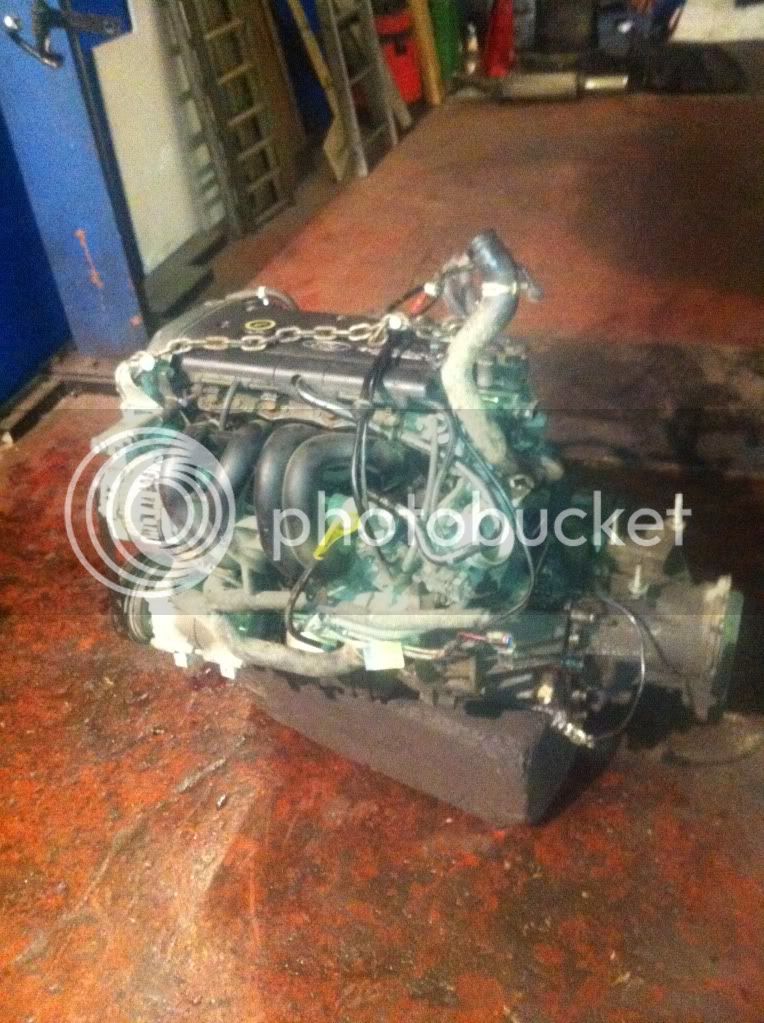
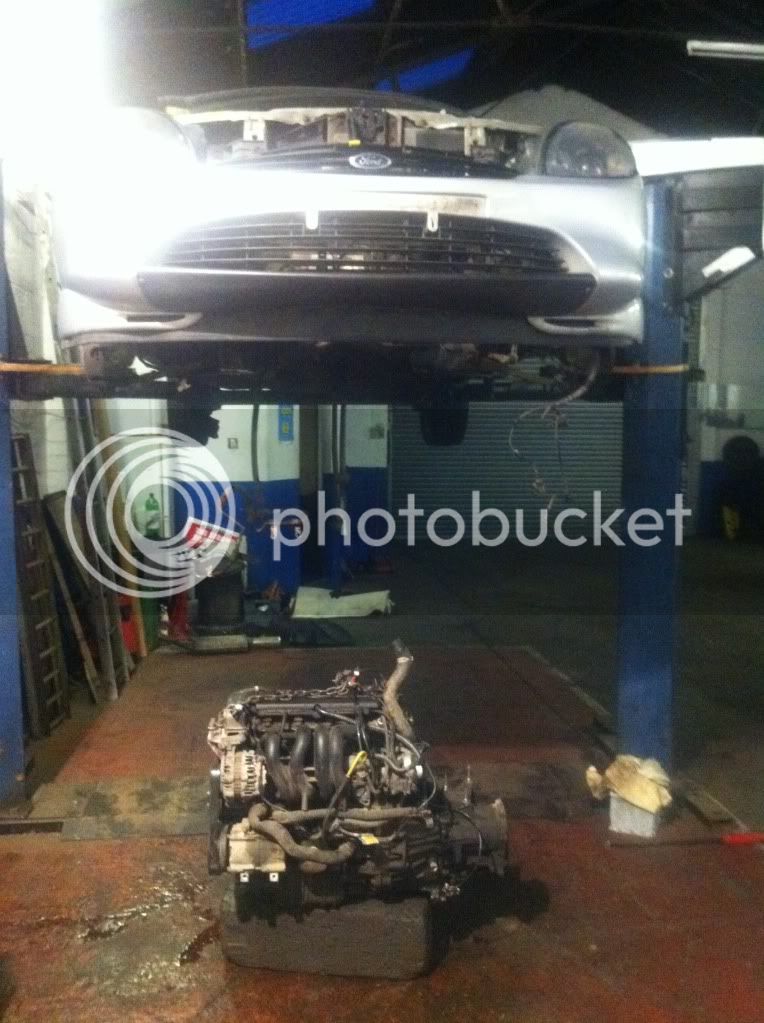
then the engine and box.
IMG_0108.jpg

IMG_0112.jpg

IMG_0110.jpg

IMG_0109.jpg

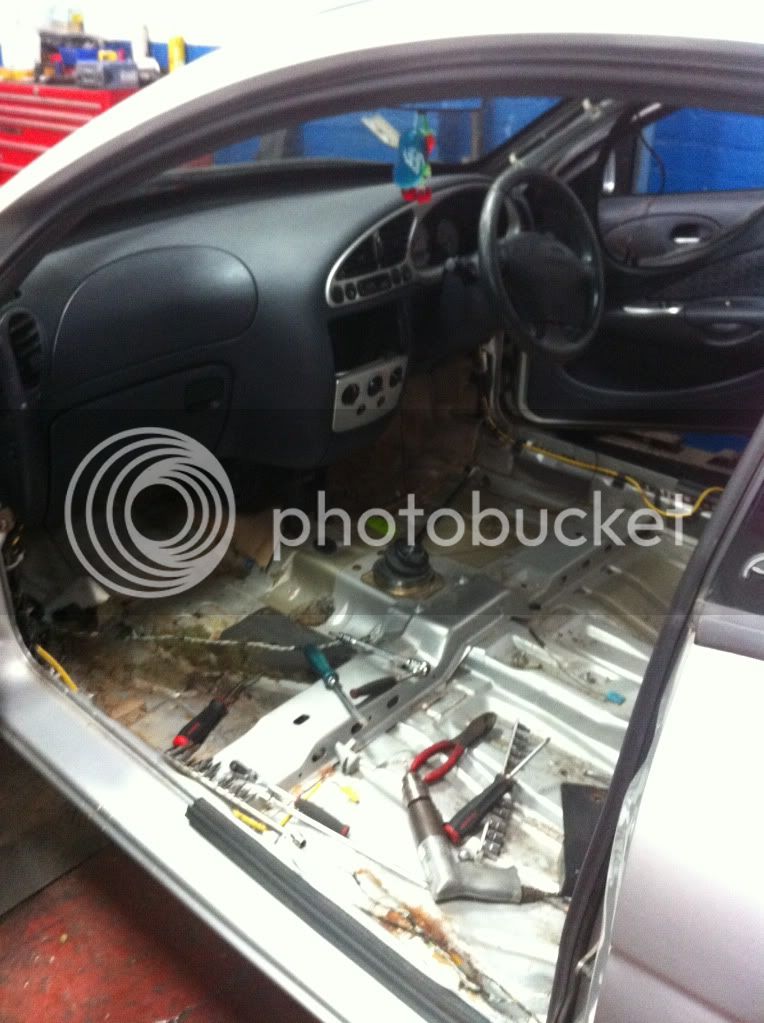
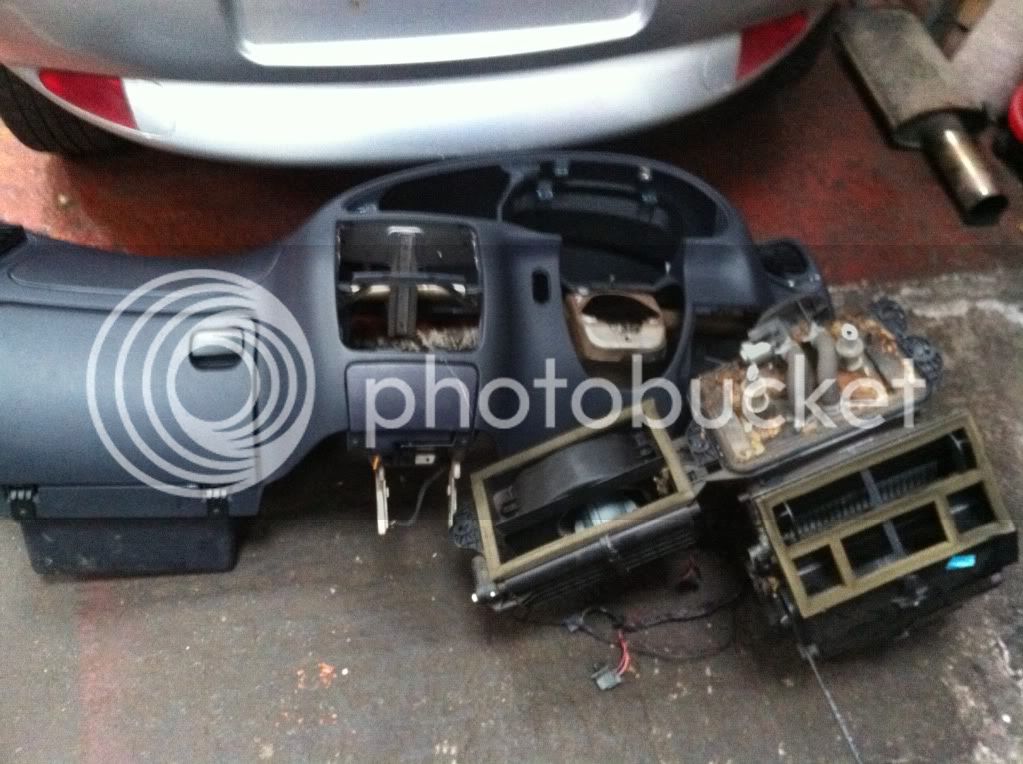
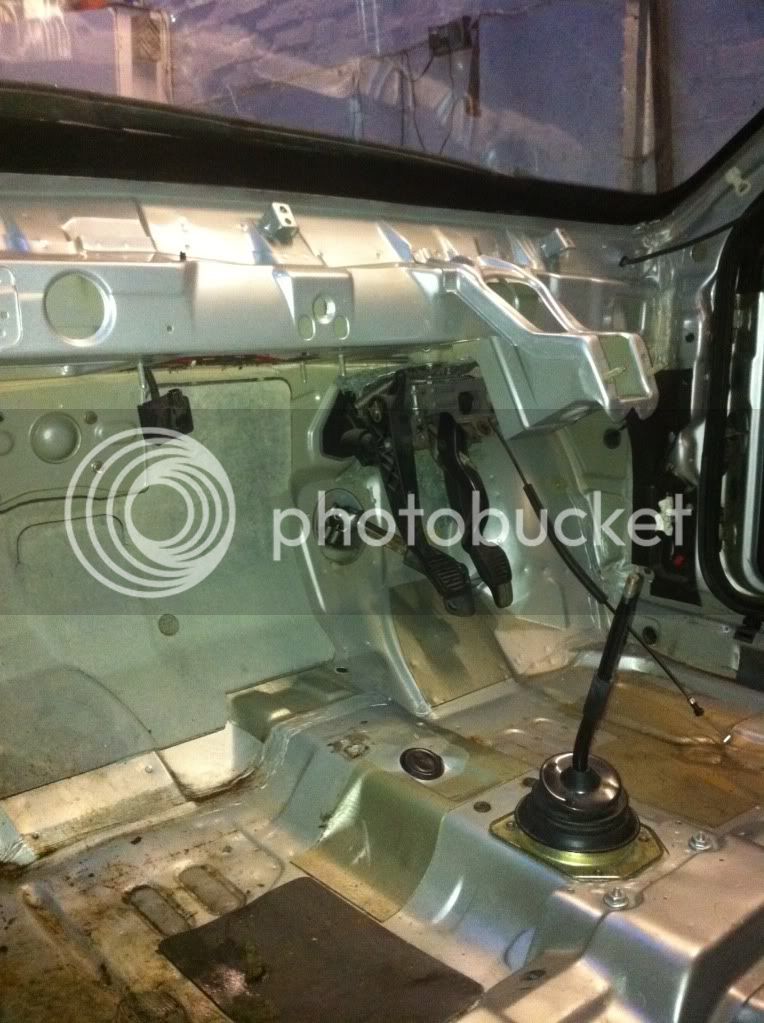
dasboard and heater box, steering column etc.
IMG_0114.jpg

IMG_0116.jpg


IMG_0118.jpg

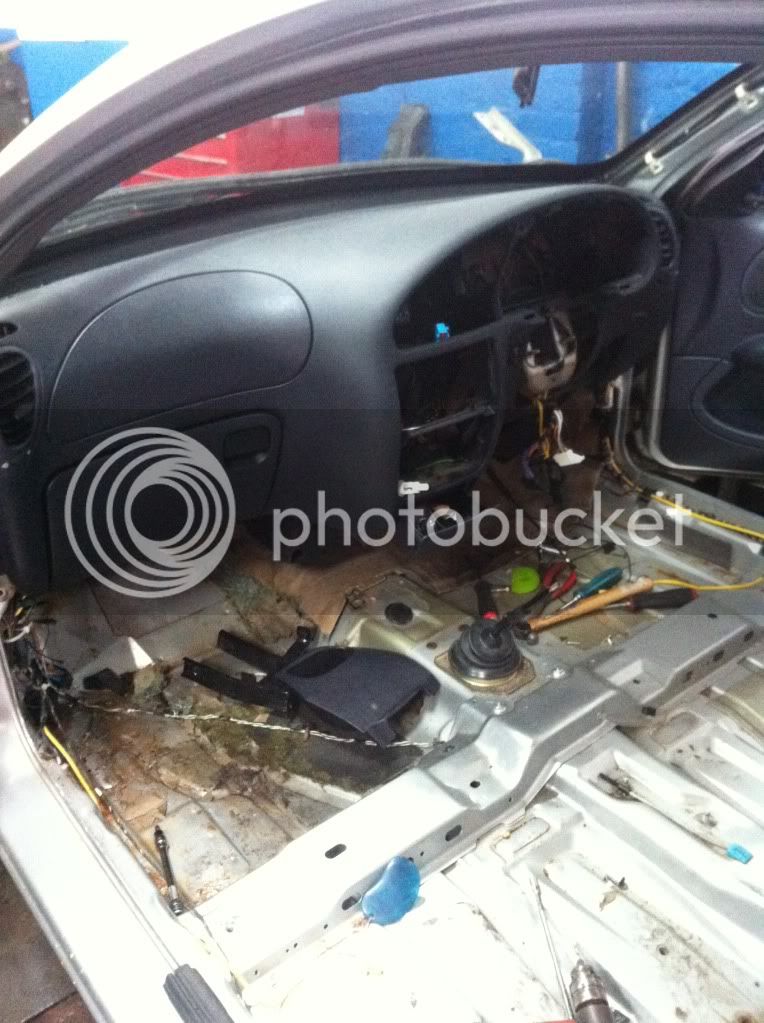
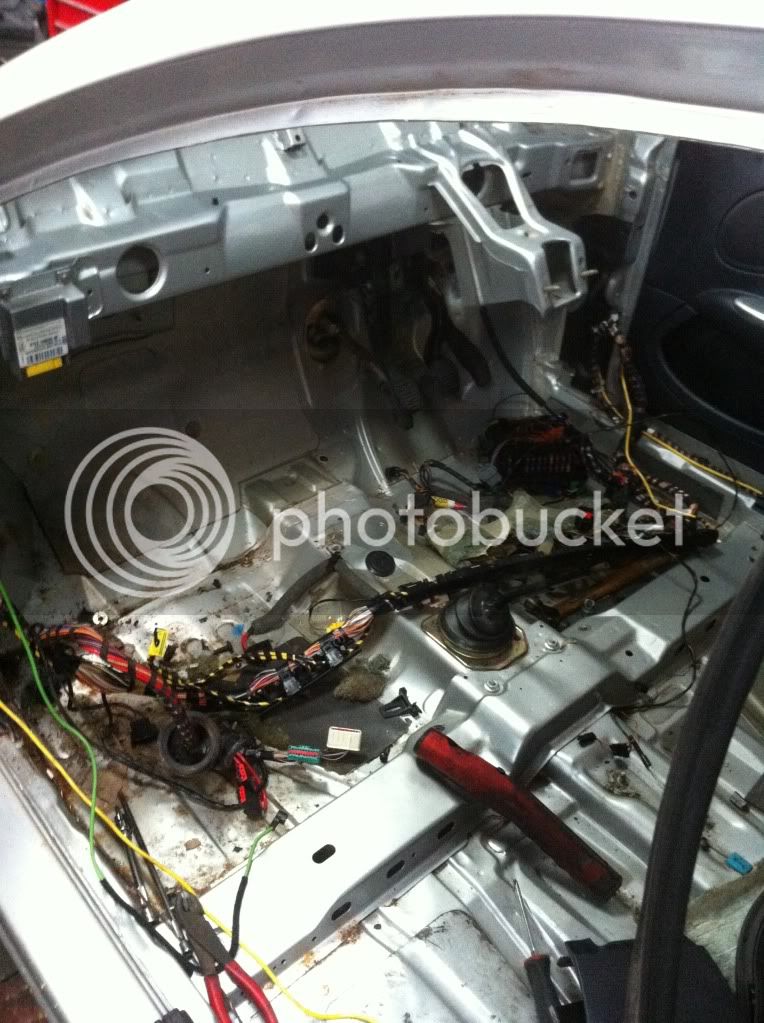
all wiring and fuse boxes removed
IMG_0128.jpg

IMG_0130.jpg

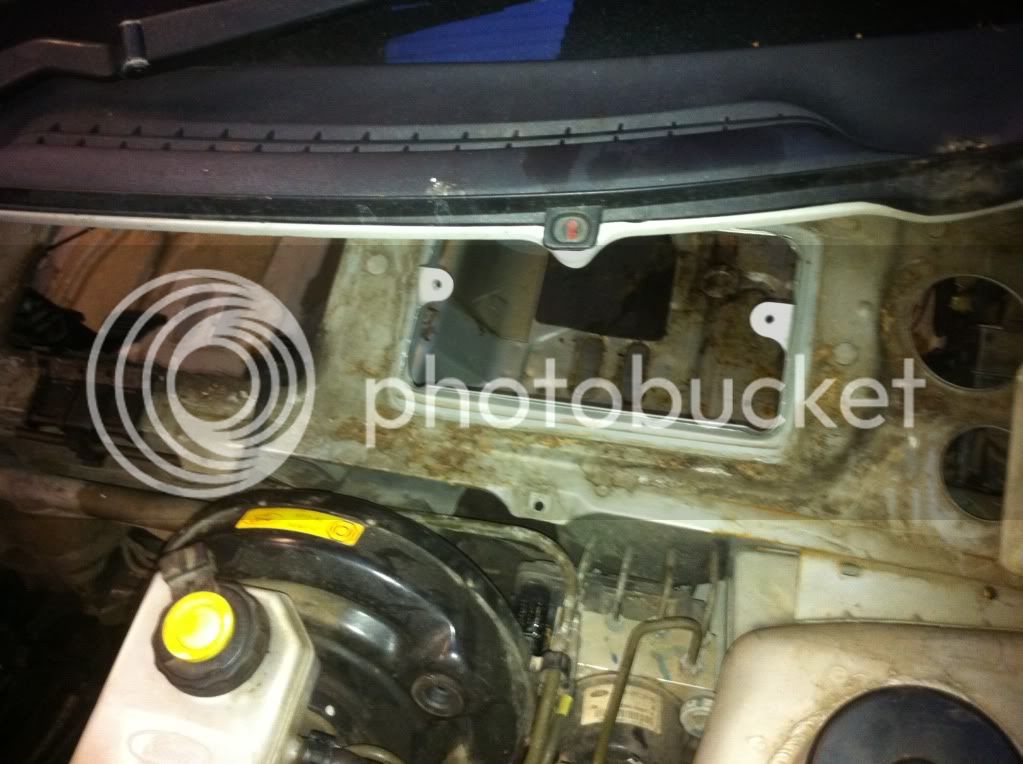
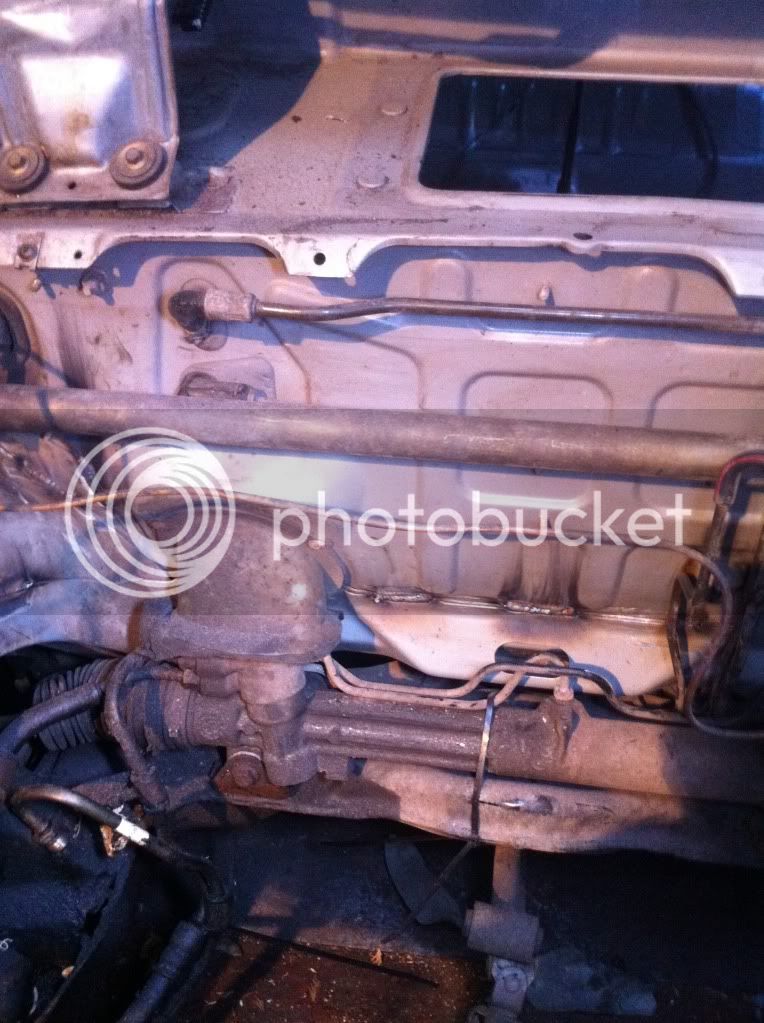
bumpers lights and all a/c pipes power steering suff etc
IMG_0131.jpg

IMG_0136.jpg

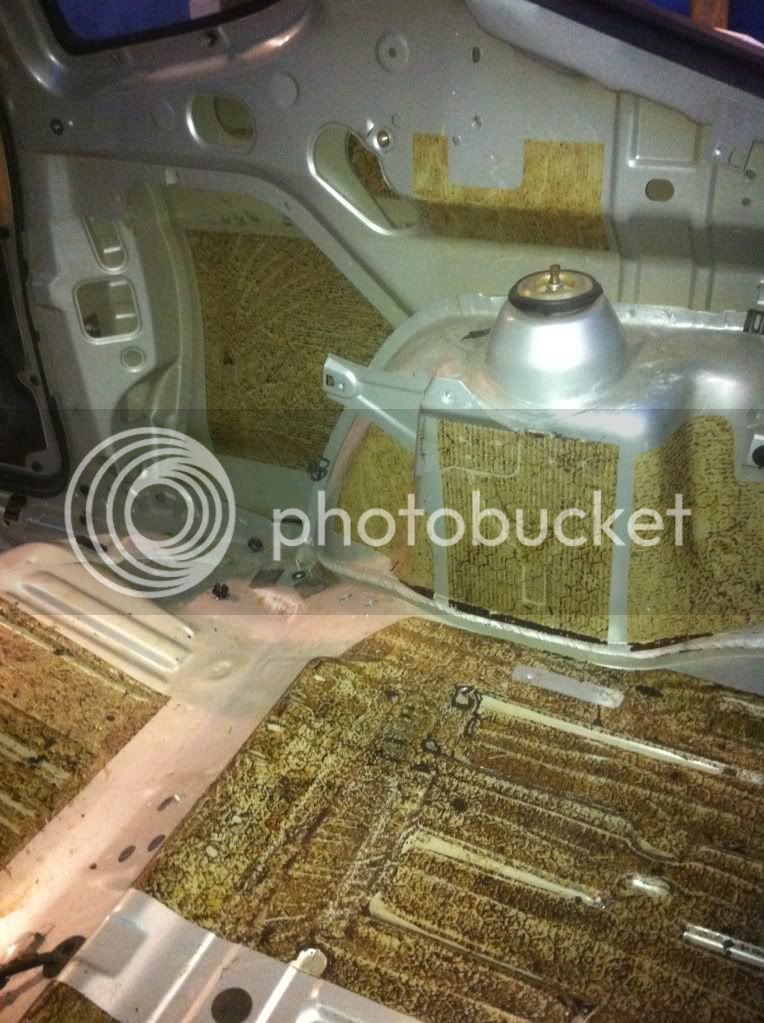
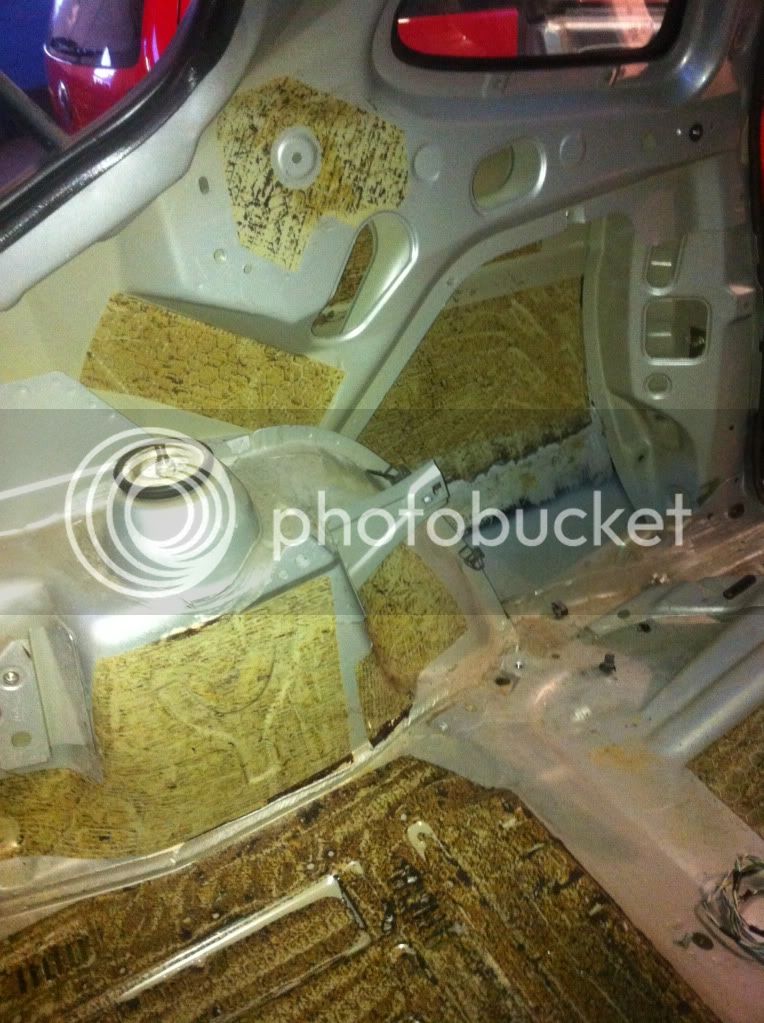
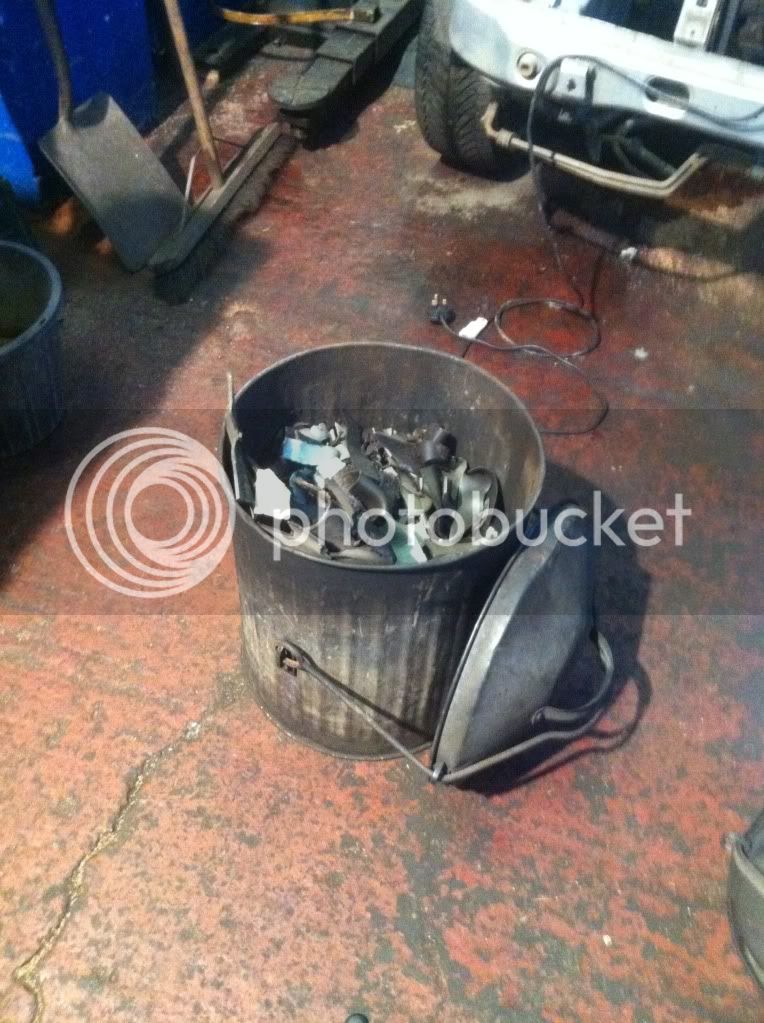
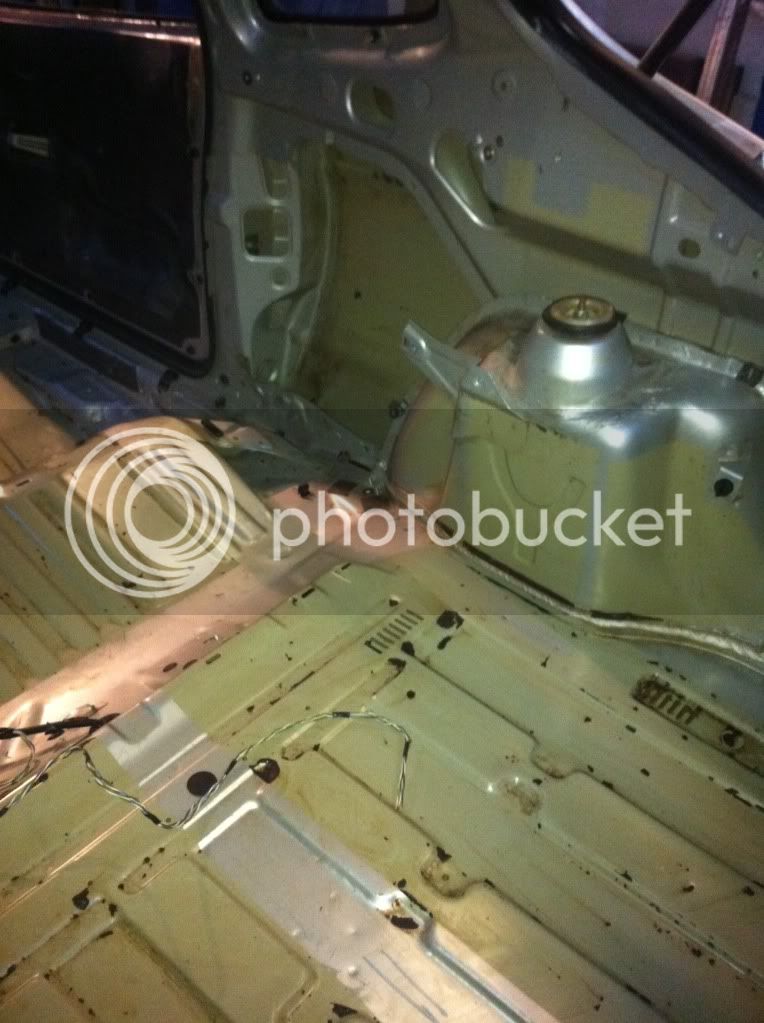
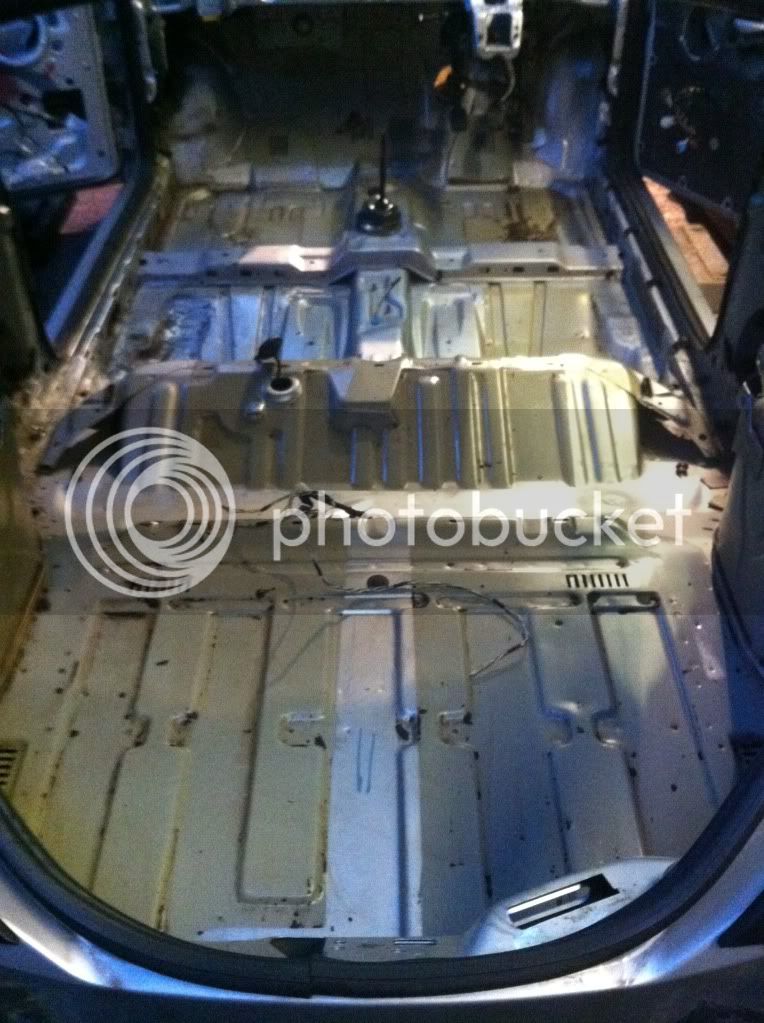
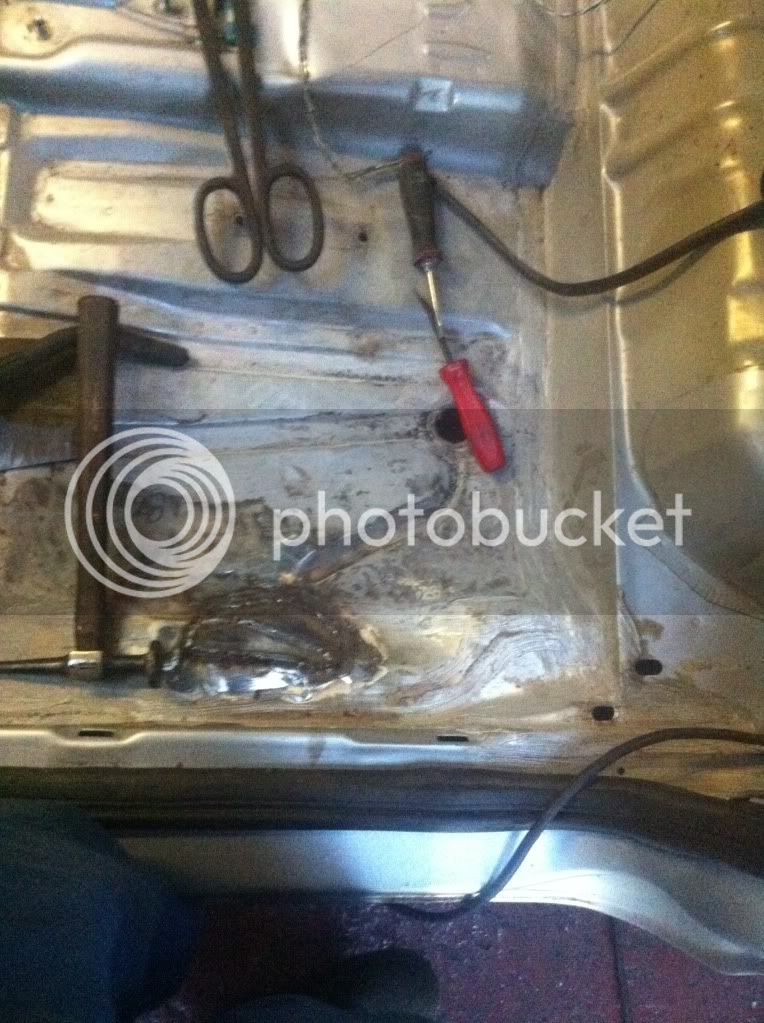
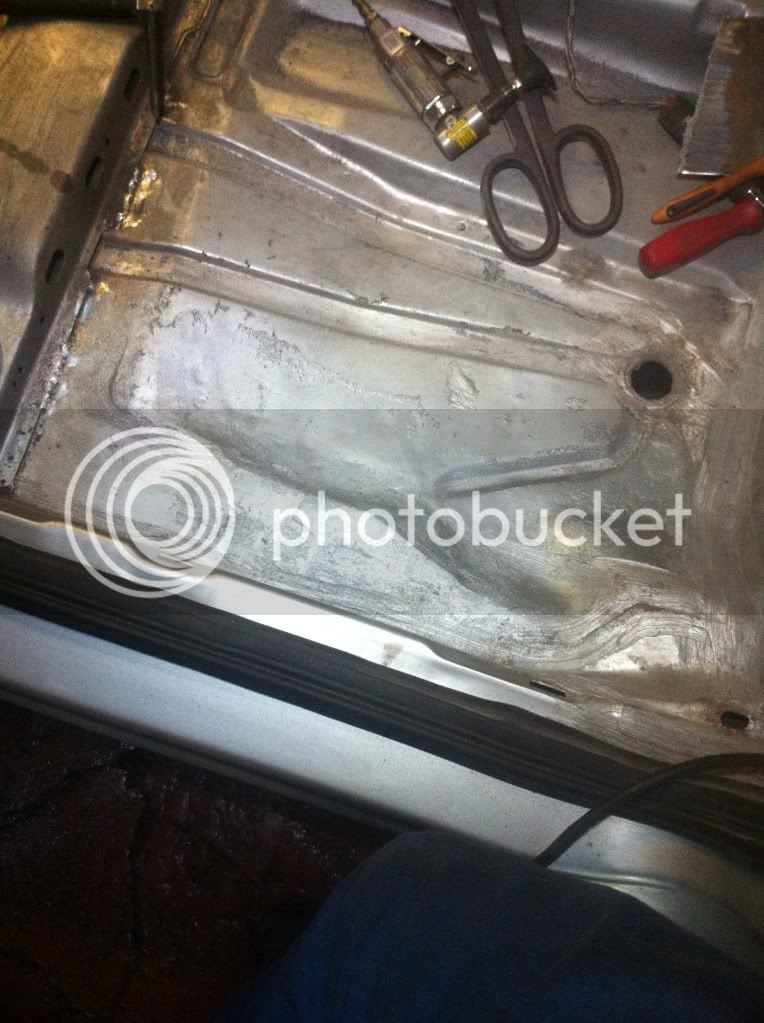
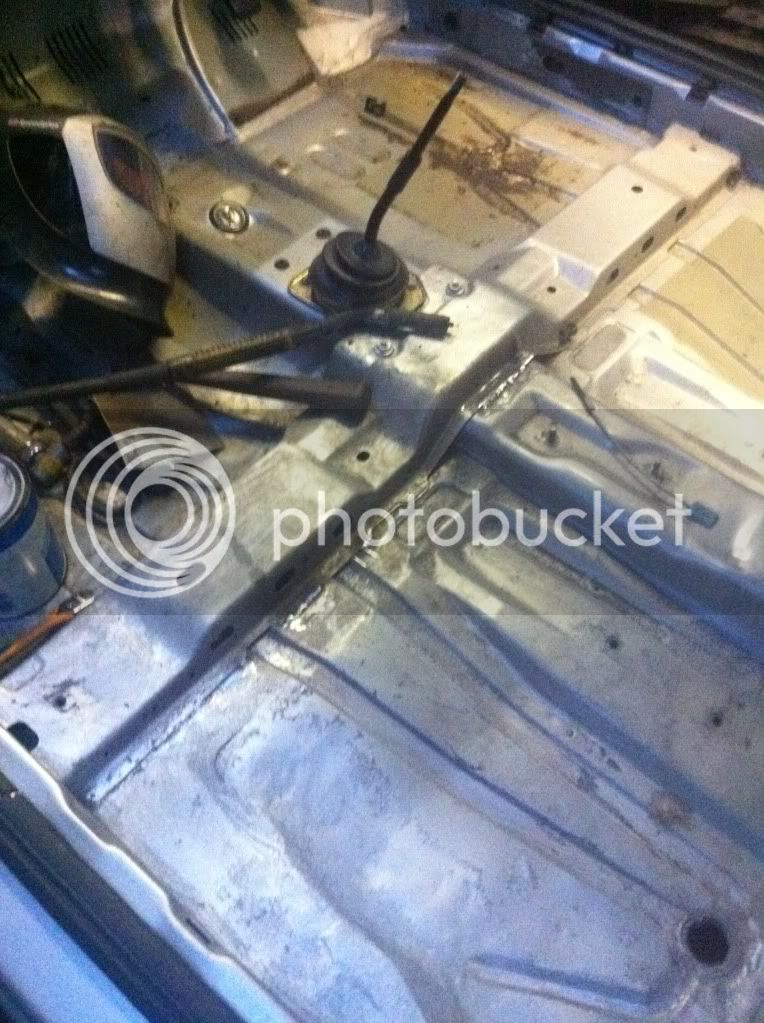
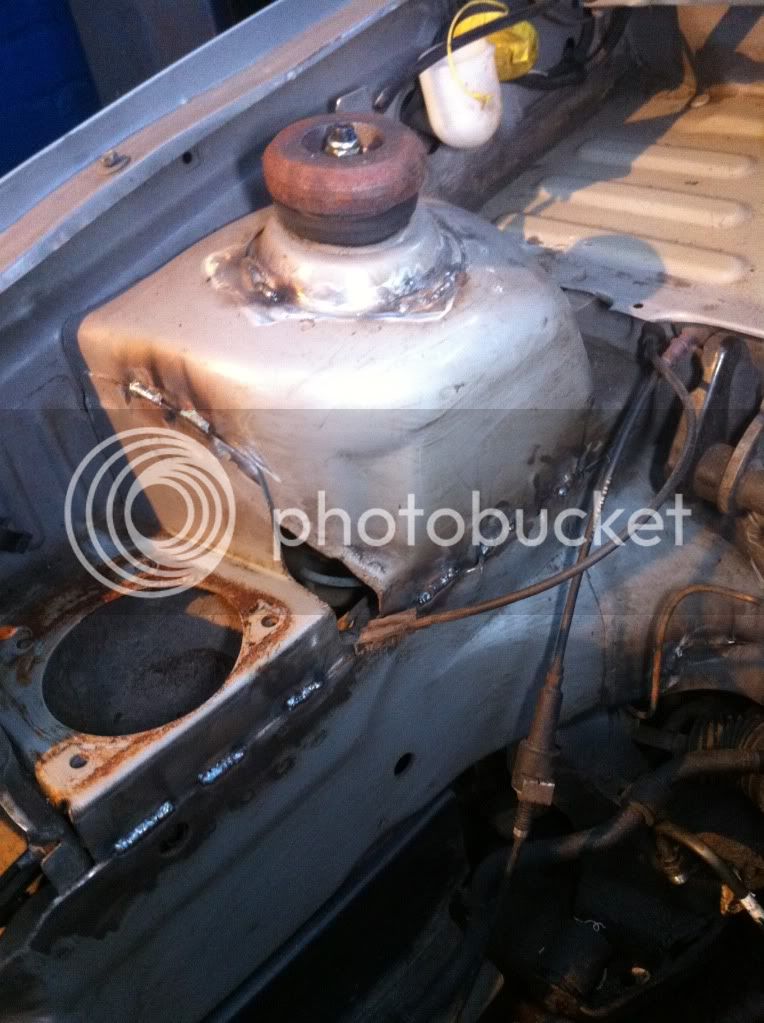
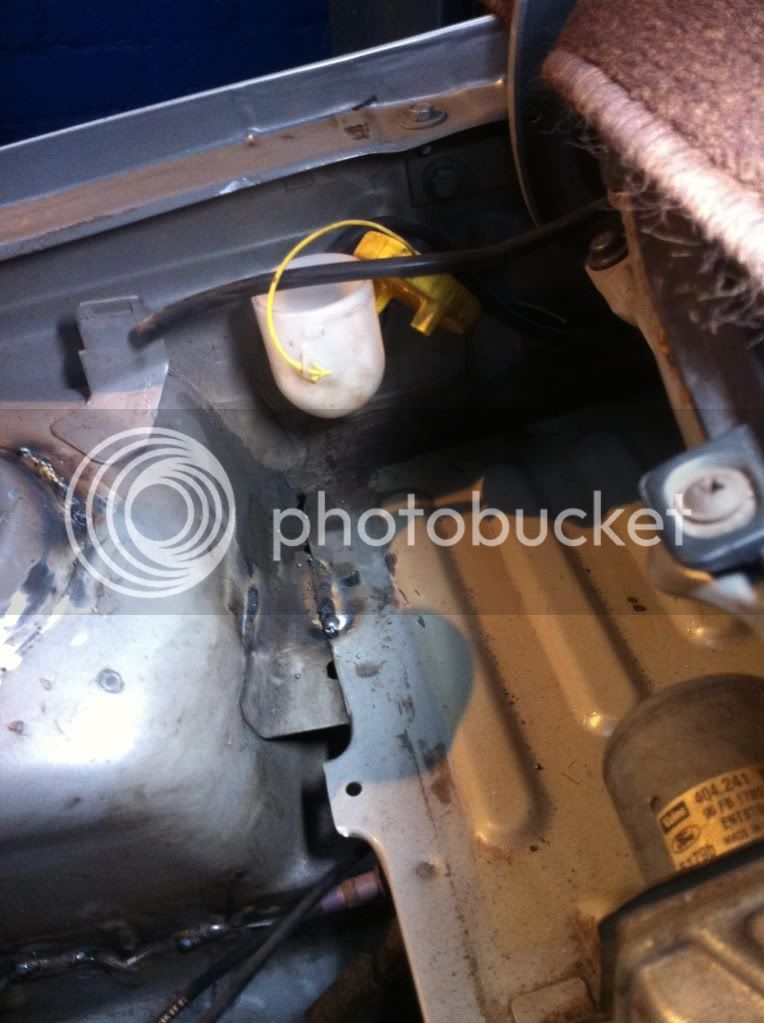
next is sound deadening pads, pain in the buttocks!
IMG_0134.jpg


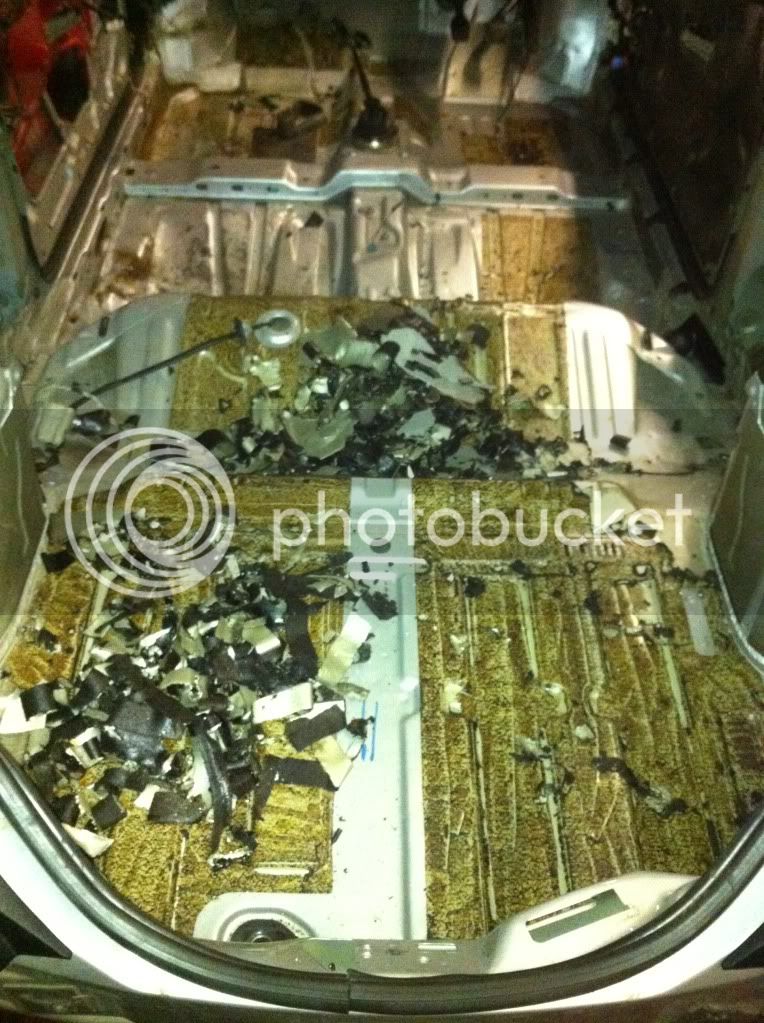
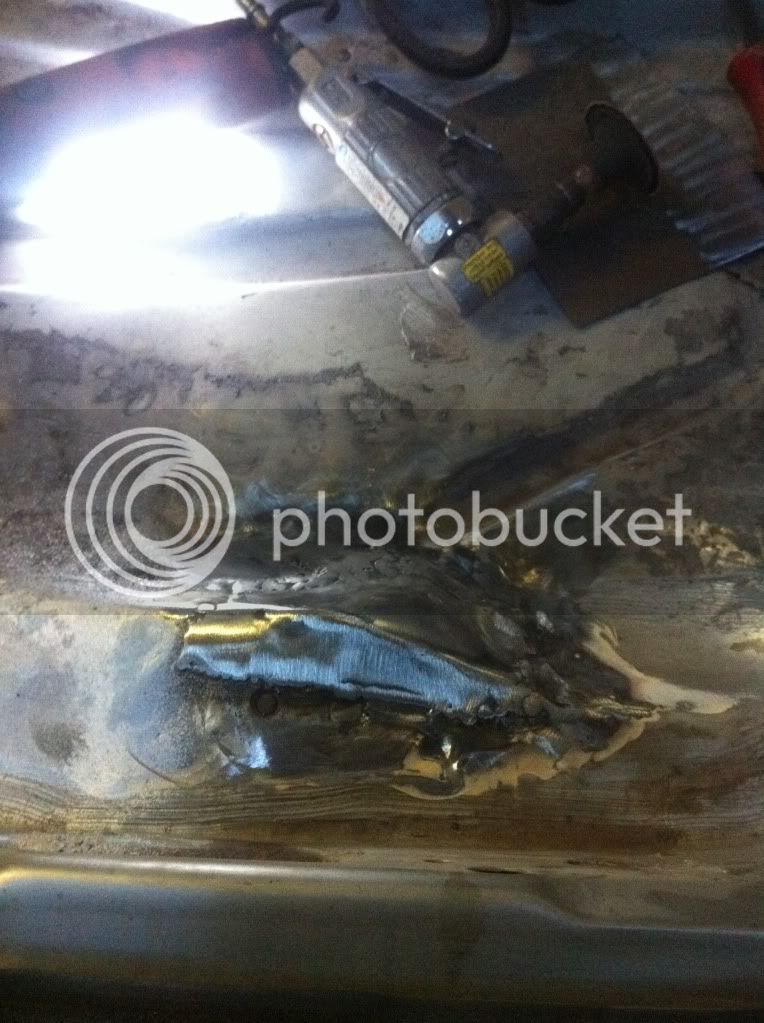
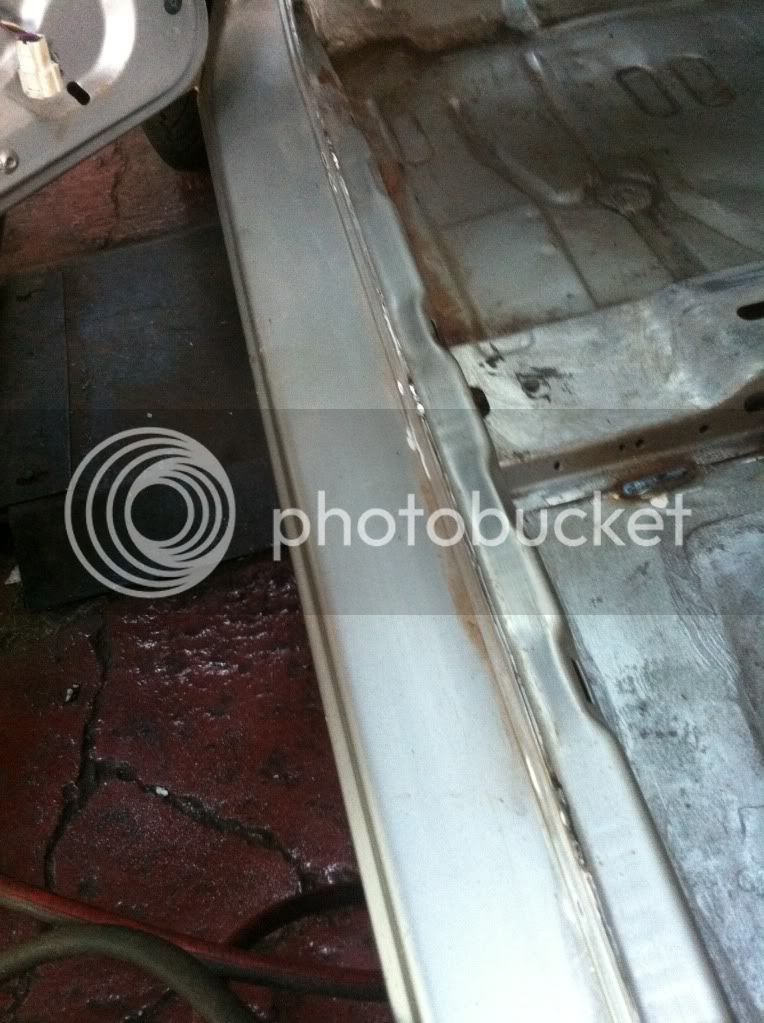
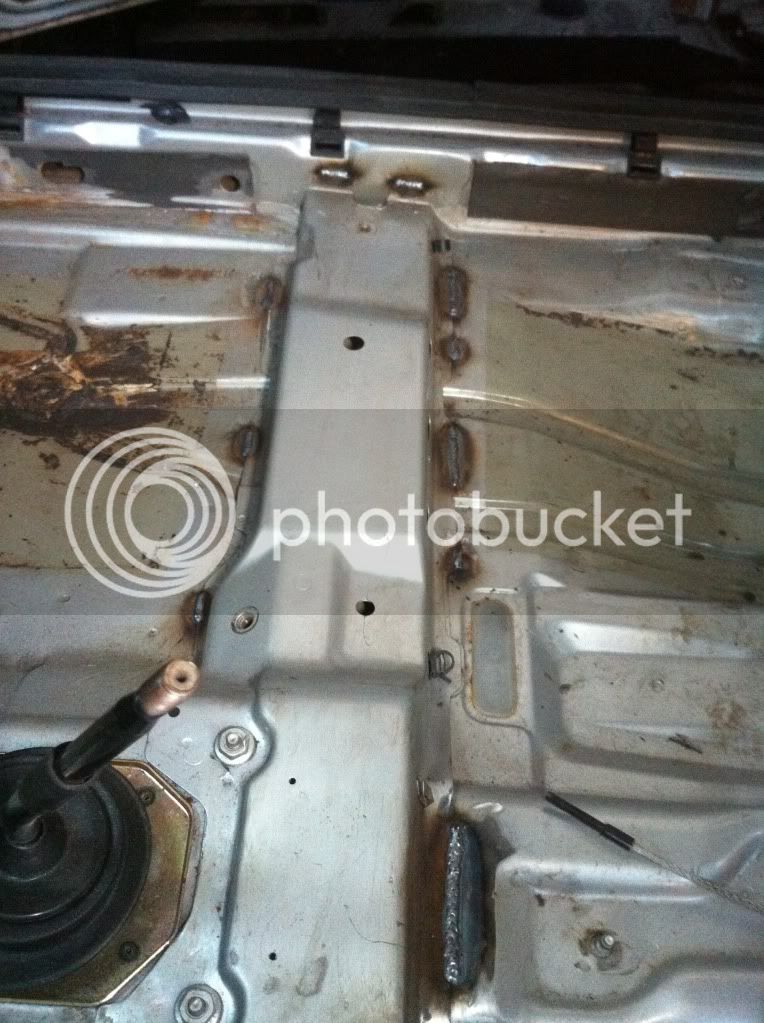
tonight i intend to finish of the sound deadening and start grinding in prep for some seam welding around the front and rear chassis and sills etc. hoping to have this up and running in under a month for the next trackday :x
 
Bloody hell, no mincing about with this!

Want to come work on mine so it gets done quicker?

Will be watching this progress, hopefully it will motivate me more to do work on mine!
Cracking job so far, well done.
 
Reechard said:
Bloody hell, no mincing about with this!

Want to come work on mine so it gets done quicker?
yeah im not messing about on this project, needs to be done pronto. I've built quite alot in the past from track cars to classics and kitcars for myself and customers, so its just more work for me really. doin 15 16 hour days the now :-( unfortunatly mate ive not got the time to help you at the moment, or i'd be there in a flash lol. although... could be doin with a holiday acually, where are you, please say the south of france or spain lol. your better just getting on and doing it yourself my friend. that way when anyone asks you say, yep I built this. After this is done i have a little 1956 morris minor traveller to restore. Thinking v8 and roof chop! cant help myself, i just like to mess around with cars :grin:

so sound pads are all out.
IMG_0140.jpg

IMG_0142.jpg

IMG_0141.jpg

one under the bonnnet above pedals is very heavy.
IMG_0144.jpg

and the one on the bulk head is double skinned, lots of heat and a good hard scraper.
IMG_0143.jpg

threequarter filled my ye'olde bin and weighs a surprising amount, will take scales along tmo.
IMG_0138.jpg


ive ordered rally style wheel arches today too. hope theyre going to look ok. its these ones but a bit narrower, my ones are off ebay now.
http://cgi.ebay.co.uk/BOLT-WIDE-ARCHES-RETRO-FLARES-DRIFT-FENDERS-/270770310055?pt=UK_CarsParts_Vehicles_CarParts_SM&hash=item3f0b2b0ba7" onclick="window.open(this.href);return false;
thinking 80's rally stylee :D


EDIT. the sound deadening weighed in at almost 16Kgs!
 
Looking good m8 fast work although those arches don't look so good , will be interesting to see what you do with the ebay arches and what it looks like :lol:

You going to keep the 1.4 final drive for the track?
 
Thanks voa, Yep I'm going to try the 1.4 box. Only takes around two hours to change if it blows up. What the hell it's worth a shot. The arches will be different. Won't know how much I need to modify them till they arrive but I'm hopeful I can make them look ok. End of the day there for wheel clearance not looks but I don't want it to look daft.
 
Thanks guys! good to know my work is aprieciated, still got lots to do obviously.

all that black tar residue is now cleaned off. Been high on the damn fumes from the thinners lol :pinkeye:
IMG_0152.jpg

IMG_0149.jpg

found a rusty bit in the ns rear floor and a rusty water trail from the rubber gromets above the ecu. i ground it out ready for welding.
IMG_0147.jpg

dug out the seam sealer around the front top strut mounts for welding and started on the front chassis legs. these will be stitch welded for strength. the old rusty engine mount is for the bin.

before
IMG_0145.jpg

after
IMG_0150.jpg

IMG_0151.jpg


will finish off the welding before the weekend. And post pics obviously :lol: im thinking about painting the insides and engine bay a dark grey metallic. to darken the cockpit down and freshen it up, or should i just paint it silver again?
 
Having a night off tonight. Got the chance to buy a bias pedal box today but it was floor mounted and no use. Got me thinking expensive thoughts again lol. Thinking about ordering one of these.
http://www.obpltd.com/obp-shop/race-car-pedal-boxes/universal-top-mounted-pedal-box/bulkhead-fit/all-3-in-1-top-mounted/underslung-pedal-box-hyd-clutch/obp0t64-hyd-clutch-top-mounted" onclick="window.open(this.href);return false;

Anyone here using a bias pedal box in their puma?
 
No but that pedal and the MC certainly move alot under braking there was some discussion on another forum about this. Another option is to try to brace the MC and reservoir. But hey a pedal box like the one you have linked to would be even better if you have the money. Is this another 10k on this one then m8 :lol:
 
Lol Your gettin closer every frikin day mate. Never intended to spend so much. Just kinda spirals as it comes along, always. I try to make as much as I can myself to save on costs and have a few things around that help. Made the battery tray myself, 1 piece of alloy and a piece of robotics grade carbon fibre. Works perfectly let me tell you. All that stuff stood up to a nasty tumble so atleast it's been tested lol. Was only just 6k total before, obviously it's starting to rise again. running out of money tbh. Having a coffee then back to work, I'll post pics when I'm home. So do they brace the bulkhead behind the servo?
 
No there have been some mechano attemps onto the front strut brace but some guys suggest that it should be clamped using a custom type bracket ..

Pinched this from weekend racer hope they don't mind.

Not a puma but you get the idea (not sure it can be done off the puma master cylinder reservoir)

MCB4.jpg
 
i see what your gettin at but the puma master is a bit further away from the suspension turret. i had a good push on the pedal and you can actually see the bulkhead flex with the forces across the bar. thinking maybe something like a fuel tank strap right over the servo. made out of shiney alloy and bolted to the top part of the bulkhead might work as a stabilizer. ill have a look at that in about a week when im starting to put it together.

update on the car. Scraped off the last remaining little bits of tar sound pads from the corners etc. final wipe down ready for a uick sand and paint then started the welding tasks.
First up, rusty hole. looks like theres been a repair underneath thats burnt the paint and sealer alowing the water leak at the metal.
IMG_0153.jpg

IMG_0154.jpg

IMG_0155.jpg

IMG_0156.jpg

Not exactly how it should look but its close enough for a track car.
IMG_0157.jpg

Started welding in the centre crossmember and ran out of gas. one quarter done, will get new bottle tmo and finish sunday. hoping to be ready for painting inside on monday night.
 
Are you just re-welding the seams on the cross member or am I missing something?

You decided what colour to paint it m8 ? On a silver car anthracite would like nice you going for cage this time as well especially with all that power you will have?

About the MC bracing on some of the Puma Cup cars the front bracing ran behind the MC

IMG_0369.jpg
 
Yep cage will be ordered soon as I can raise a grand from somewhere. It does need it, I've just been hesitant because of the cost. Never spent that much in one go, always been 200 here 400 there. All adds up but it's a bit at a time if you know what I mean. Insides are defo going anthracite and the engine bay. I Think it'll look good.

The bracket in the picture looks pretty simple. I'm defo not buying the pedal box yet. Cage first. So I'll make something to do the job for now, watch this space lol. Back at the car tomorrow so I'll have a better look.
 
Depends what cage you go for m8 if it is a full cage which I suspect you are probably considering a safety devices one is nearer to the 1k mark if you go for all the options , a rear cage is around £500 + it will certainly stiffen up the car which is what you will need .

Should look good mate, pumacharger2 sounds like it is going to be quite a car especially with the smaller details I am guessing you are considering after building the first one I am amazed at your schedule for this though :wink:
 
Since this has been stripped to a bare shell, i thought id take the opportunity to weld up the chassis a bit for structural rigidity. thinking with close to 200 bhp it cant hurt to make it a liittle stronger.
I've ran welds on the front chassis legs where they meet the bulkhead. where they meet the suspension turrets and engine mounts. i've also strenthened the front lower floor to bulkhead as this is where the subframe mounts. bulkhead to turret, top mounts and centre crossmember. inner to outer sills and a-post/b-post to inner sills.
IMG_0161.jpg

IMG_0162.jpg

IMG_0163.jpg

IMG_0160.jpg

IMG_0158.jpg


The car is being udersealed, prepped for paint and masked tomorrow, then hoping to have it painted tomorrow night if all goes to plan. No paint is required to the outside as im fitting arches over the rusty bit anyway, so i'm not far from starting to transfer engine etc. :grin: :grin: :grin:
 
Back
Top