Hi there,
Let me introduce myself... and my car!
My name is steve, and me and my dad and brother decided to buy ourselves a puma to have as a purely focused track toy. This is our first track car we've done ourselves, but not the first time we could have been on track.
In the past I have owned a clio 200, megane 265, my dad also had a clio 200 which we took on track, My brother currently owns an MX5 which has been on track, and before that we have hired caterhams (at great expense!)
After giving it much thought for an awful long time, we decided to go down a completely different route, opting for a cheaper car that was cheaper to run.
The idea is to spend a bit of money on a couple of upgrades to make it a fun track toy that the whole family could enjoy. We also are very strict on the fact it MUST remain able to pass an MOT. The project will run for the next year or two, giving me something to do on the weekends.
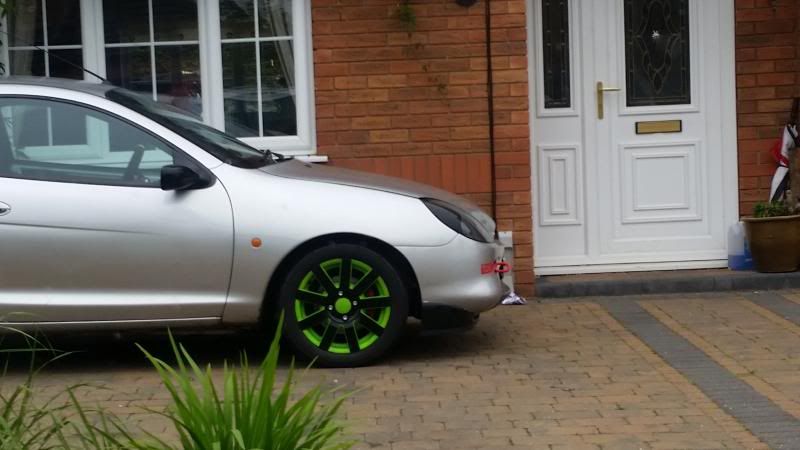
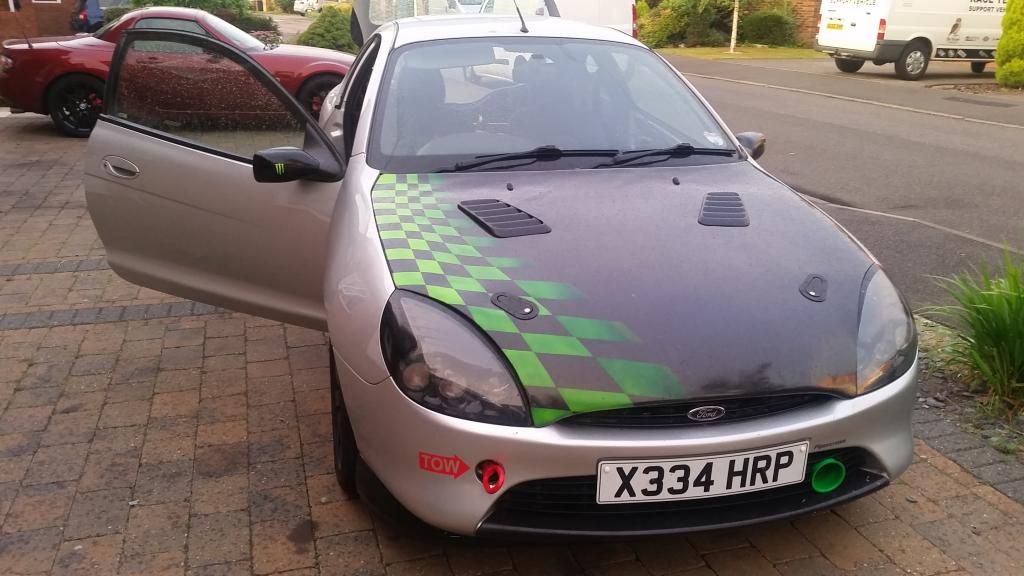
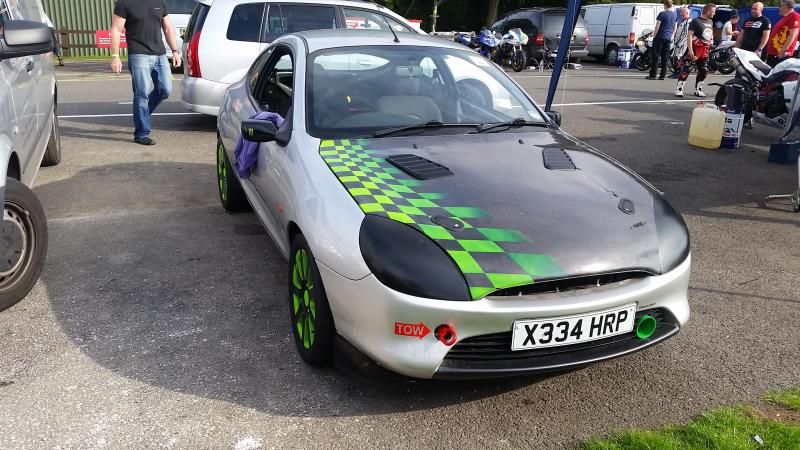
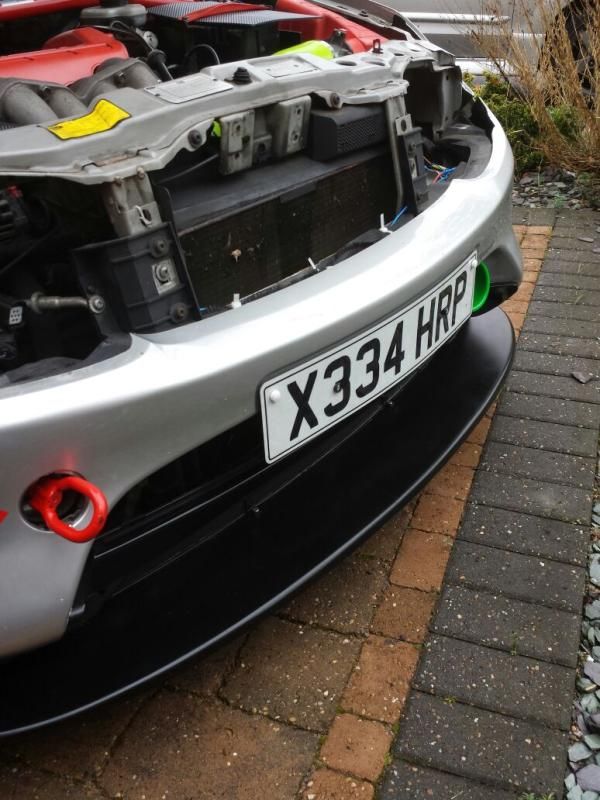
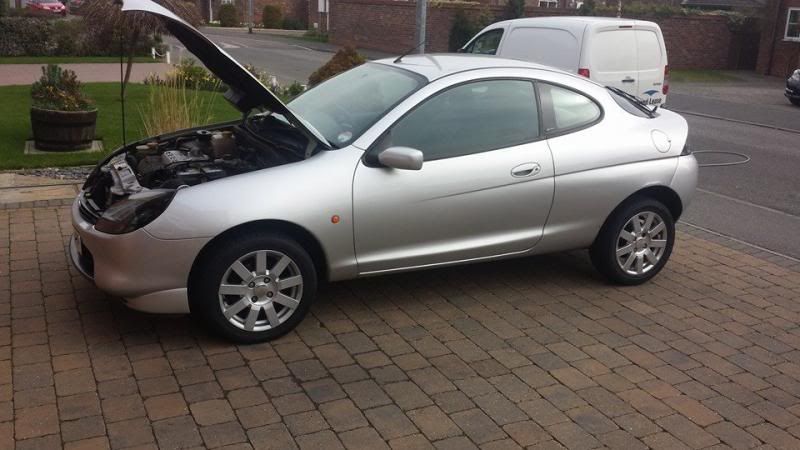
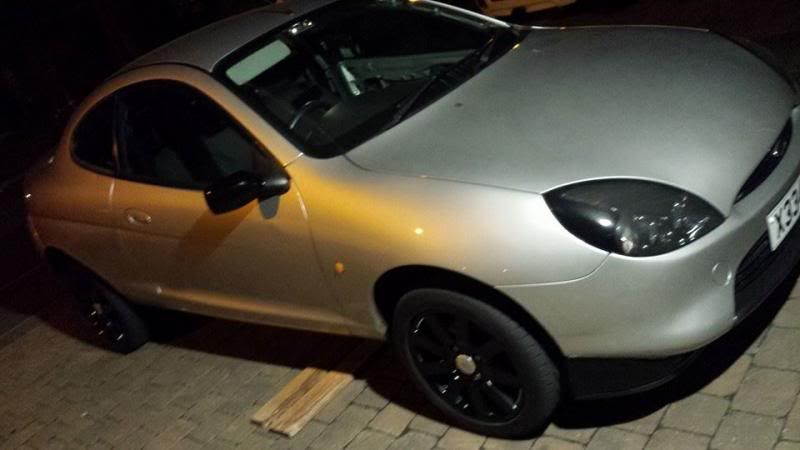
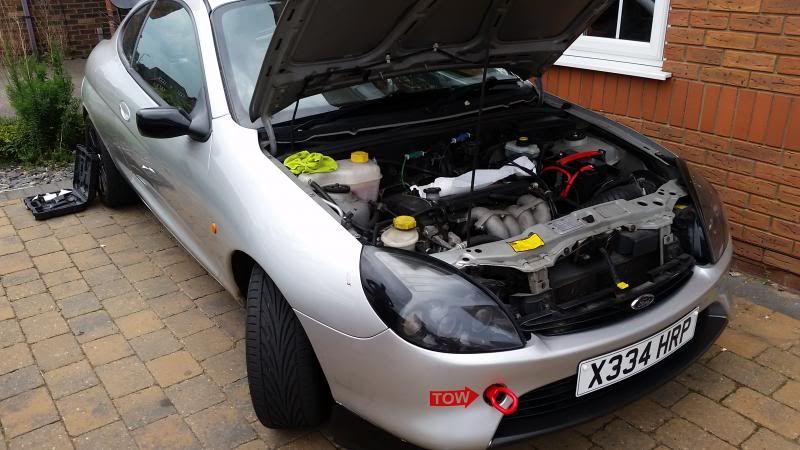
Our car was bought Via eBay, for £600. The car was a fully standard late 2000 X reg, apart from a K&N Induction kit fitted. The previous owner seemed to have looked after her, completing several service jobs himself, and the car had just had a new cam-belt fitted. There were new discs and pads, and new bushes on the rear.
The bodywork isn't too bad, with the usual rust around the rear arches, and a small ding on the back rear quarter. We are looking to get these sorted maybe one day in the future.
Since purchasing the car, we have done a reasonable amount of work already. I have done the majority of the work myself, with the odd job requiring more appropriate tools from the local garage.
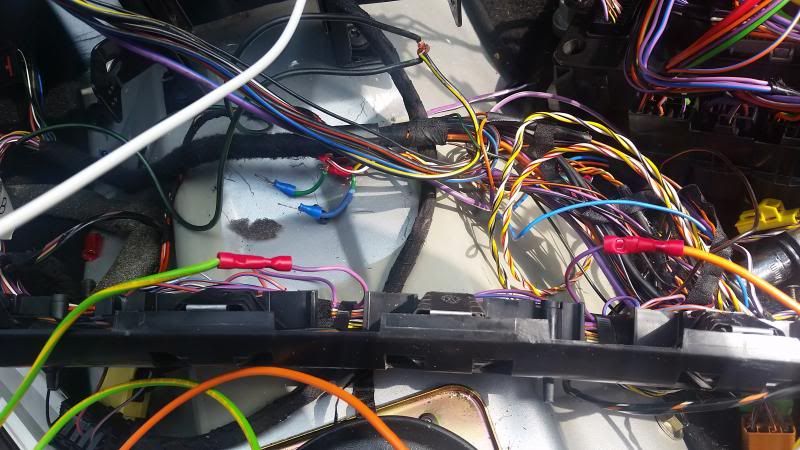
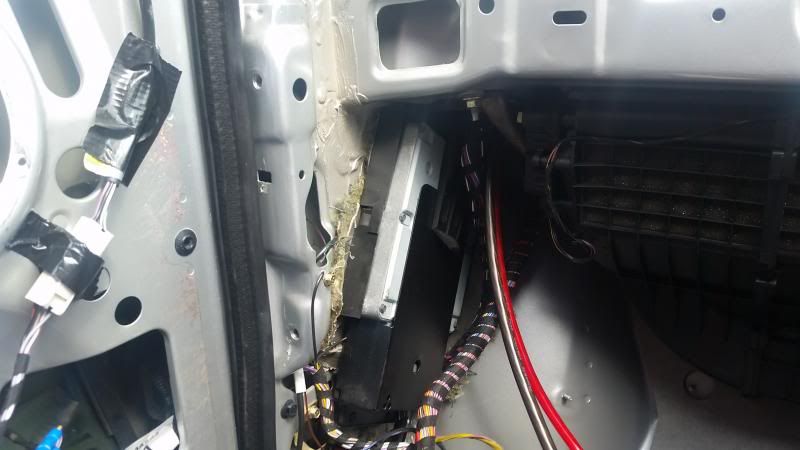
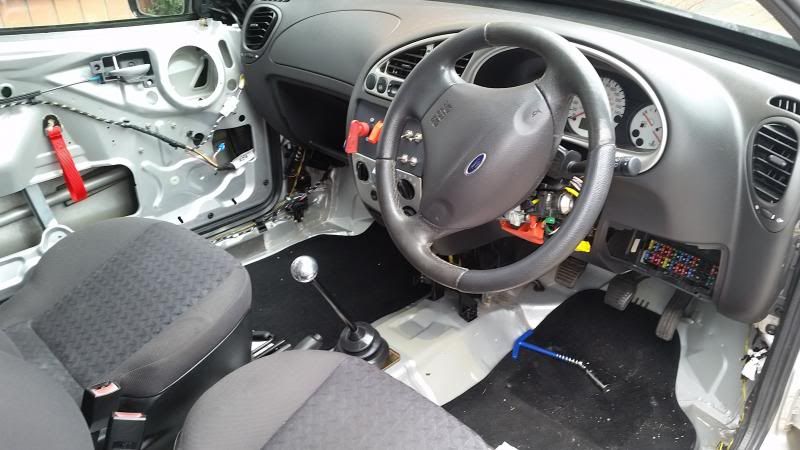
The first job, as you would expect, was ripping out the interior, ridding the car of anything that we could pull off! After our first day we had saved around 60kg, with a nice pile of crap for the neighbours to enjoy on the driveway.
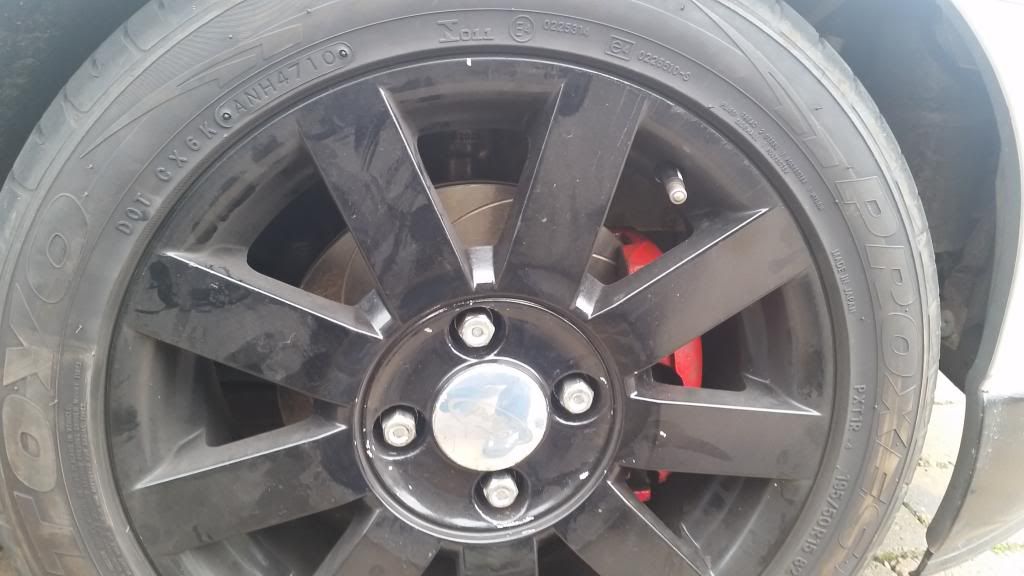
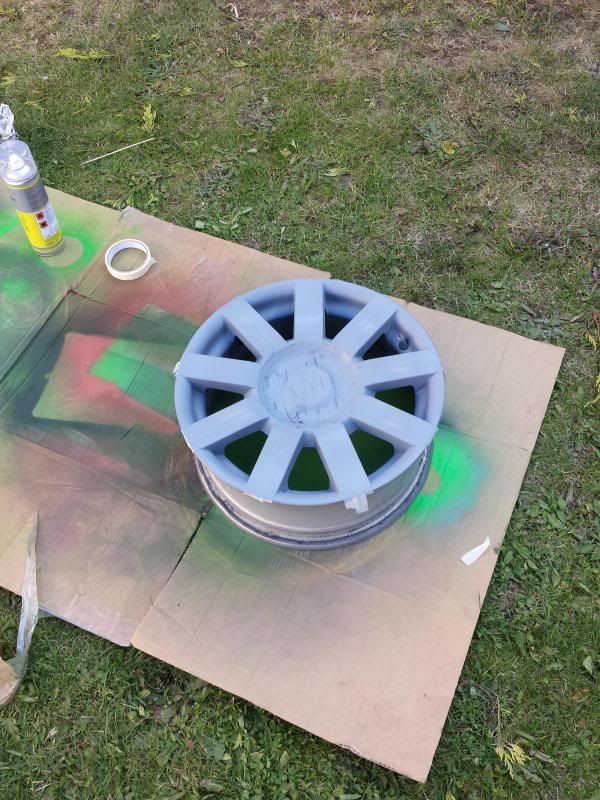
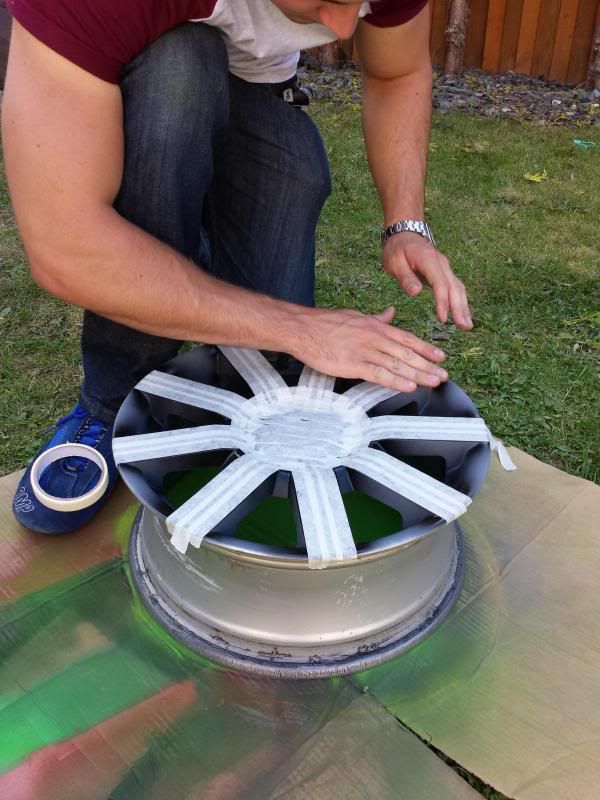
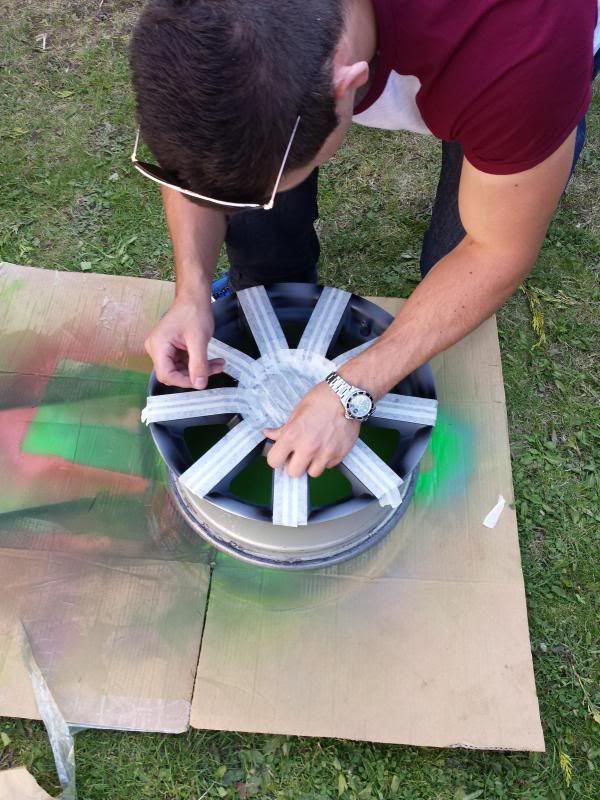
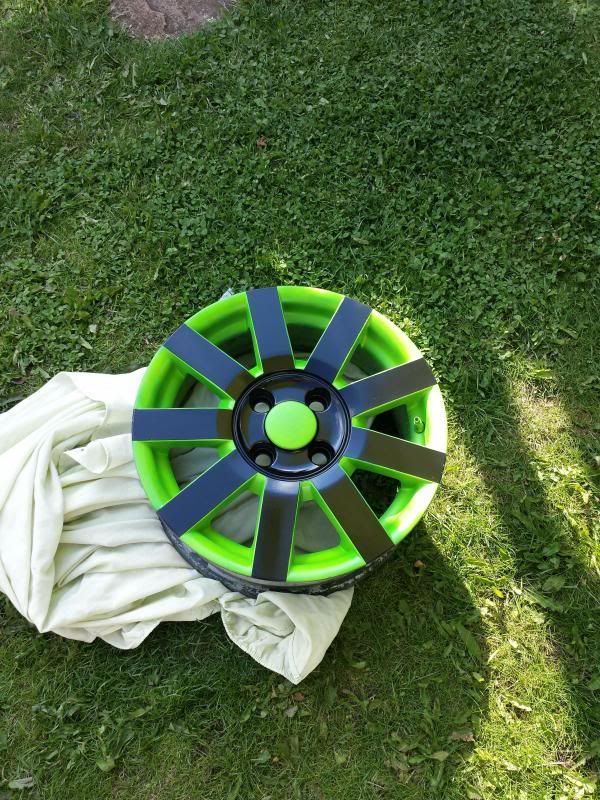
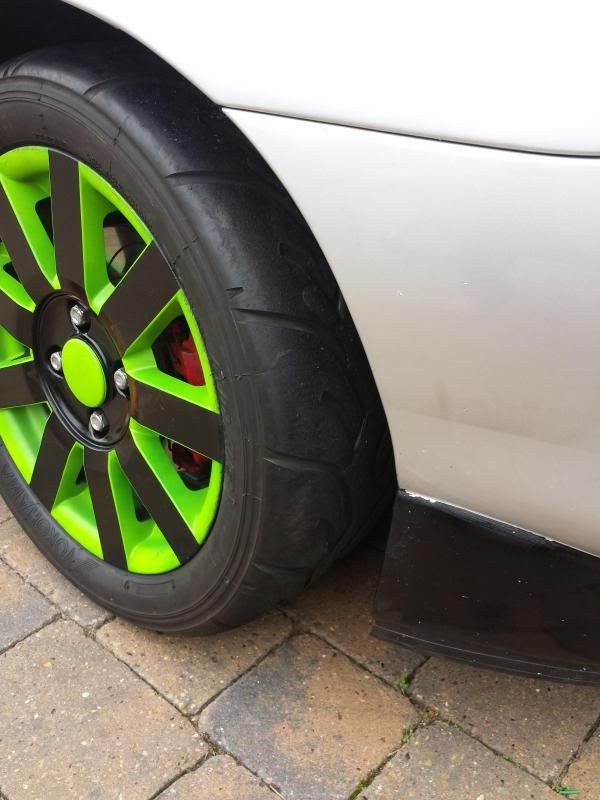
Over the next few days, my brother had the task of giving the wheels a respray in black, which we did on the cheap initially to test the concept and colour. They were sprayed with your off the shelf spray paint from halfrauds. The idea was that we could just add extra coats if needed and spend money, at this stage, elsewhere on the car.
We sat having our usual sunday night whisky discussing what direction we were going to take the car, in terms of upgrades. We had initially decided to spend a monthly budget and upgrade it throughout the year... But that soon changed once i started getting itchy fingers!
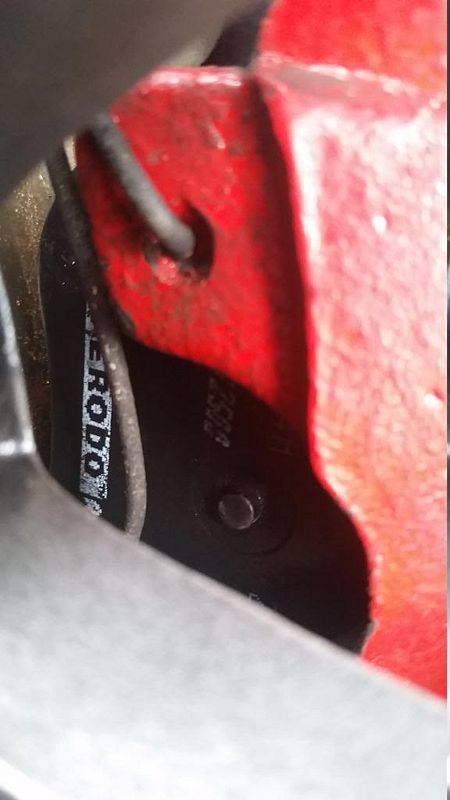
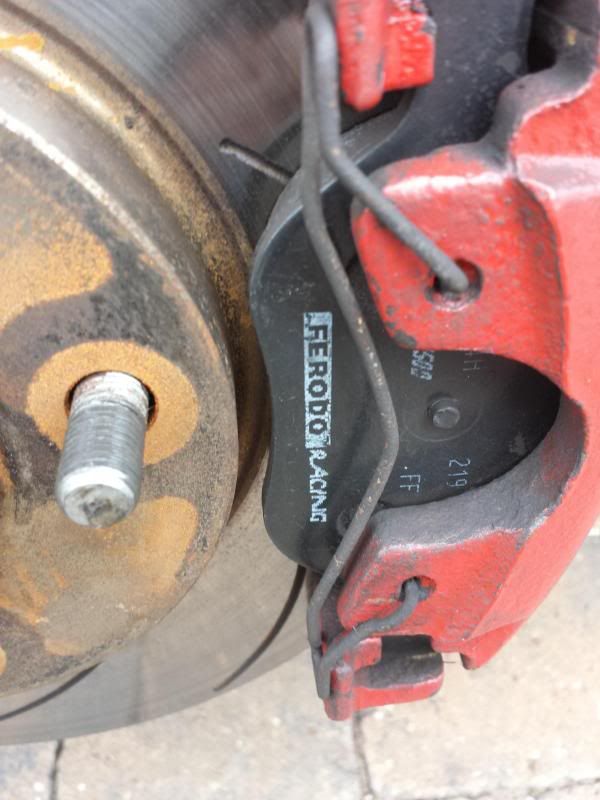
The first lot of purchases, costing around £800 in total (after the first week of owning the car!) included a set of AP coilovers, Goodridge braided hoses, ATE blue racing fluid, Ferodo ds2500 Race pads, Rear spacers (20mm), Denso Iridium Spark Plugs, Magnecor HT Leads, A full set of Poly bushes (Powerflex) aswell as a wide variety of tools i would need in the future.
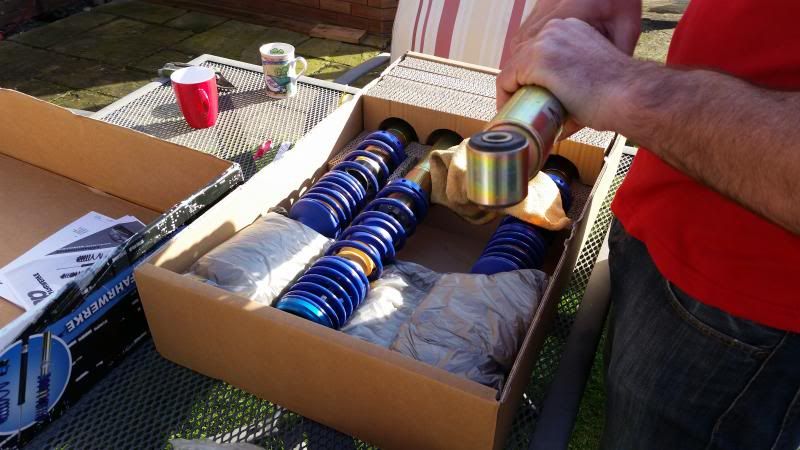

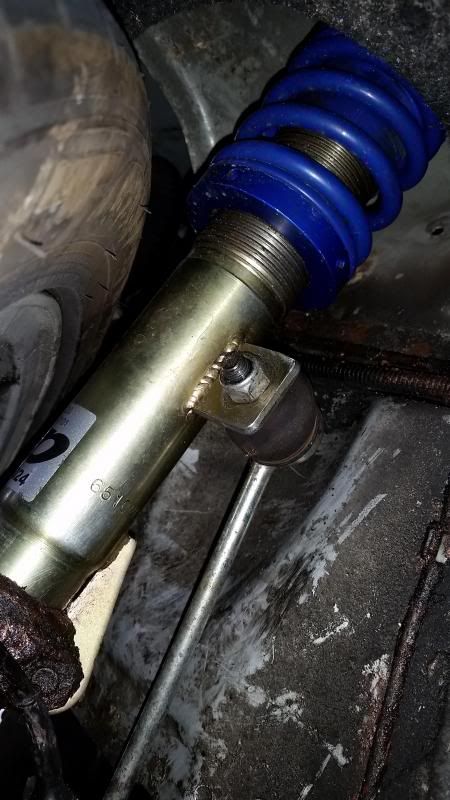
Fitting of the coilovers commenced fairly quickly, using a guide i found on the forum. Fitting of the rears seemed to go smoothly, the fronts were a pig to get on though. Every bolt taken off to date has been seized on. Eventually i got them on though, and after playing with the ride heights we got them where we wanted them. We tried to replicate a 35mm drop gained from switching the Eibach springs.
I also fitted the rear spacers, the ABS sensors were a pig to get out, but soaked them in a mix of vegetable oil and acetone, and they soon came out.
The car was then taken to be corner weighted at a local firm, to make sure the car's balance was spot on after the lowering, and the weight being eradicated.
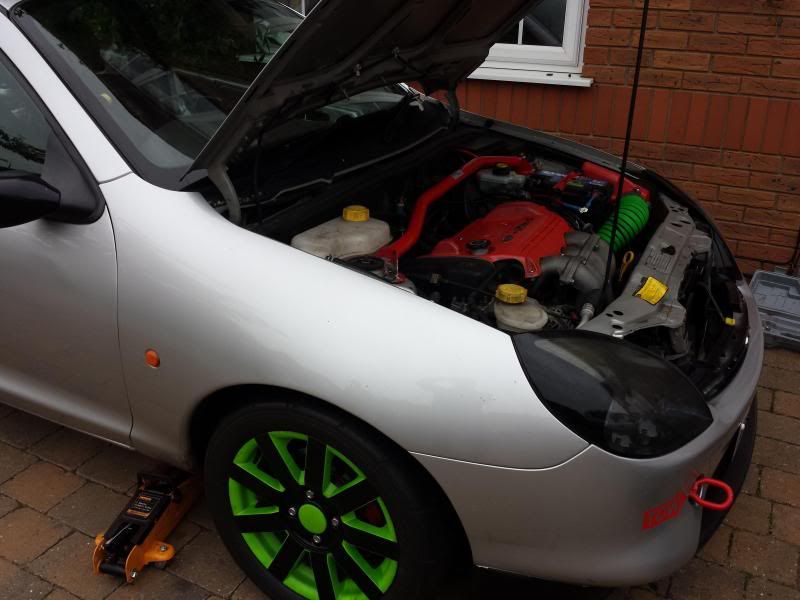
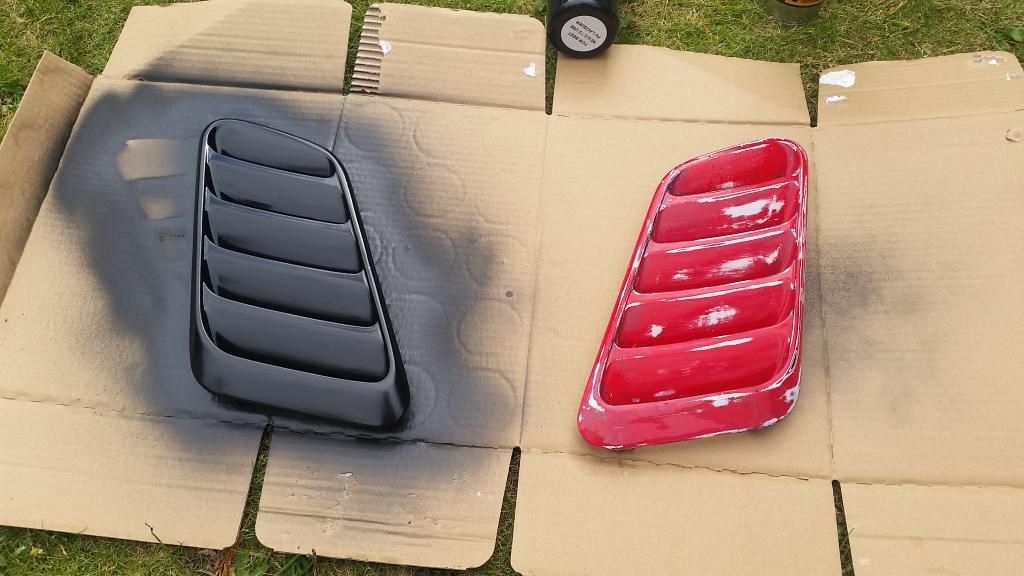
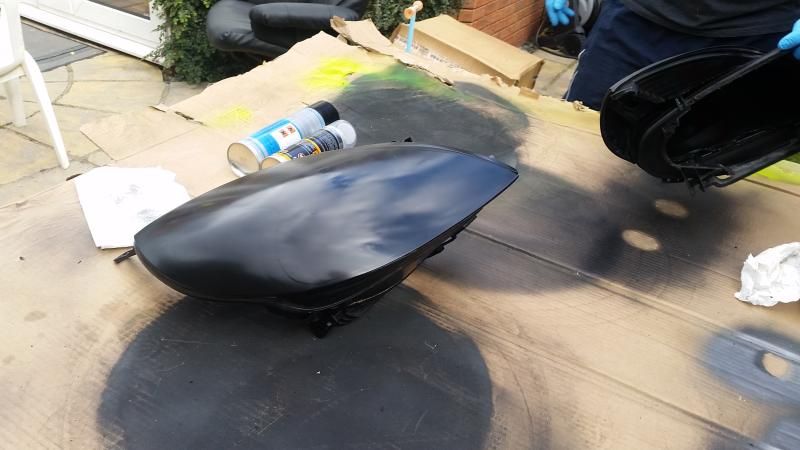
I kept on at doing little odd jobs here and there, fitting a blanking plate complete with killswitch the the stereo hole, stripping weight out where we could. I had tried to get the rocker cover's cover off, all but two bolts seized in, then found all the spark plugs were seized in too. We had taken it to the local garage who got all but one out and replaced with out denso's. Dad did a little research and we bought some freezing spray from amazon. Gave it a whirl, plug came out like a charm! Fitted the HT leads and then got the Rocker cover's cover painted as it looked a little dull.
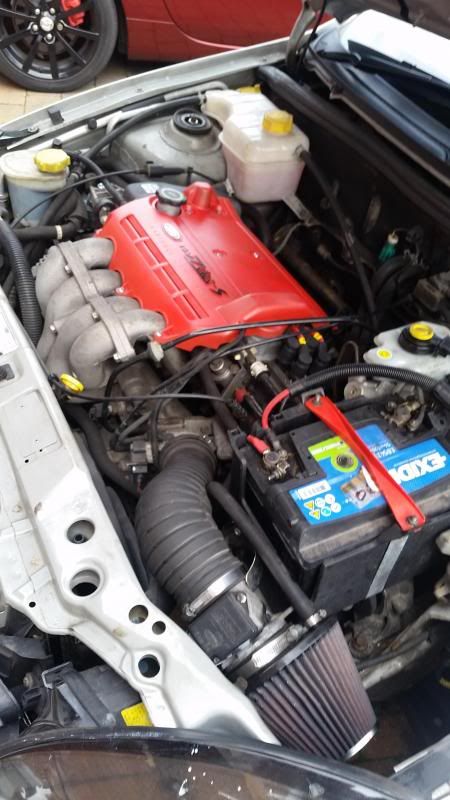
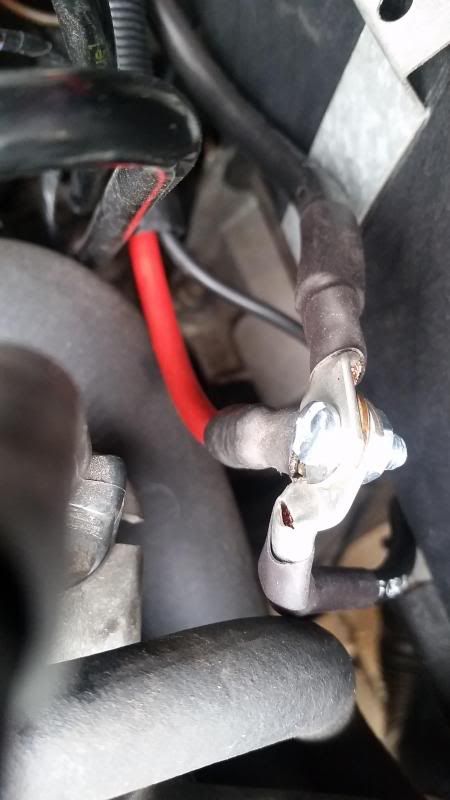
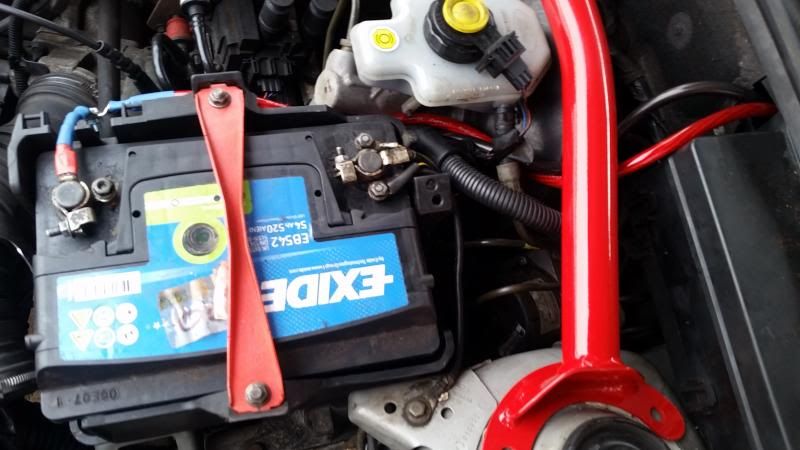
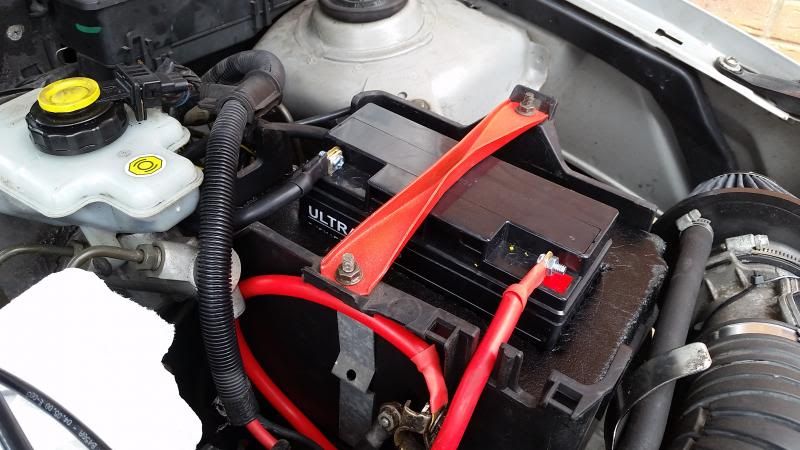
We got ourselves a lighter battery, and have since bought a solar charger to keep it trickle charging whilst not in use.
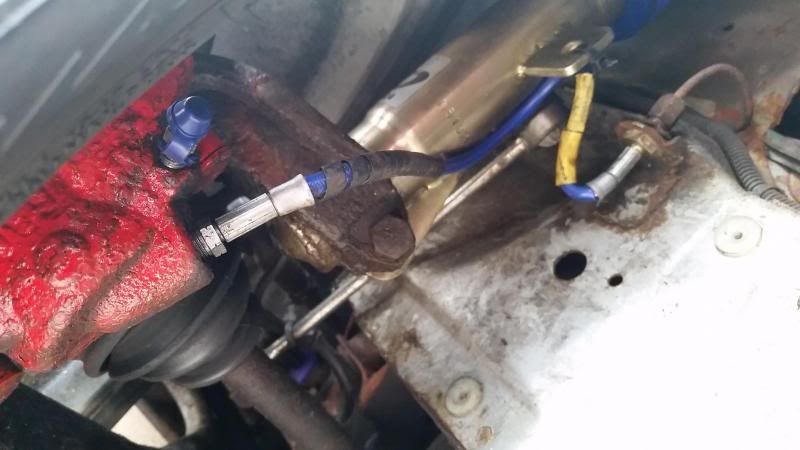
Couple of weeks ago i fitted the braided lines, one of the brake pipes had seized onto the union nut, resulting in a sheared brake line. Nethertheless i got them all on, and went on another trip to the garage to have new one fitted. Whilst they were there, we had the front bushes replaced, as they proved a pig to get off, especially with no ground clearance to get a good breaker bar in. Somehow they managed to leave air in the lines twice in a row, so had to bleed them myself in the end to pull the new racing fluid through.
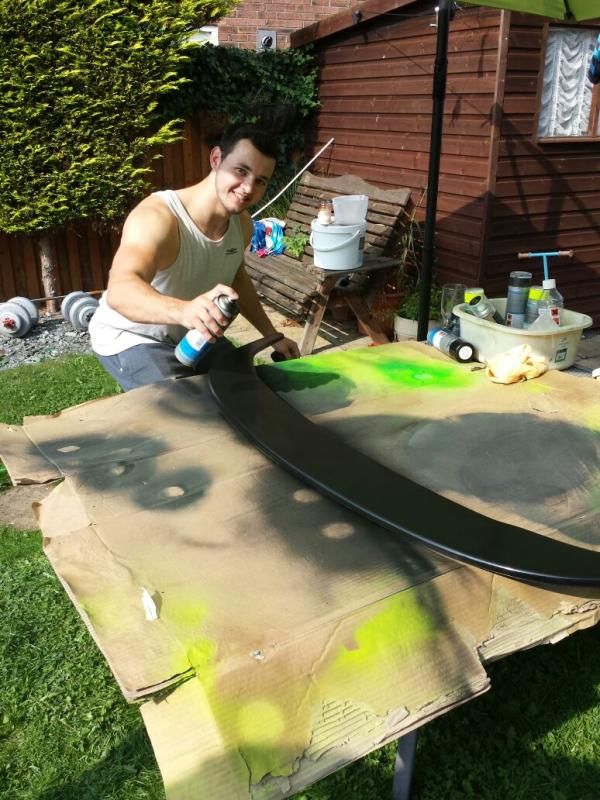
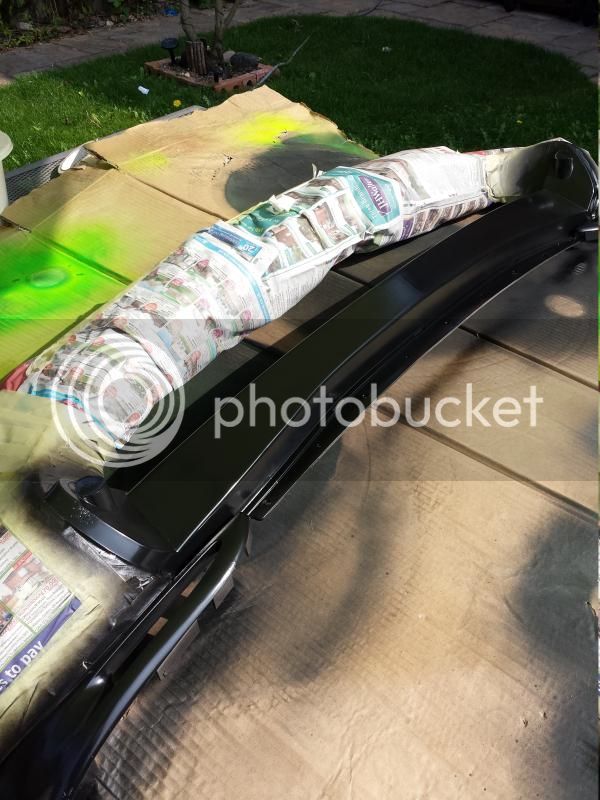
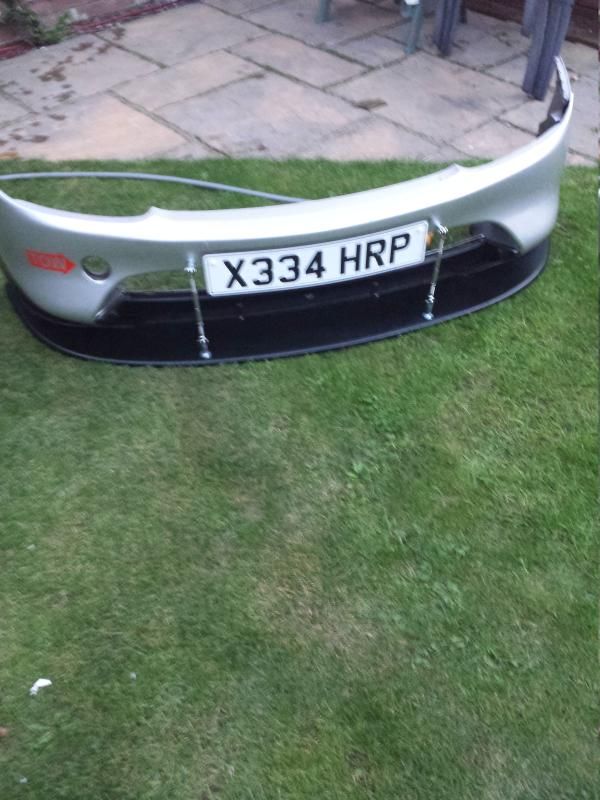
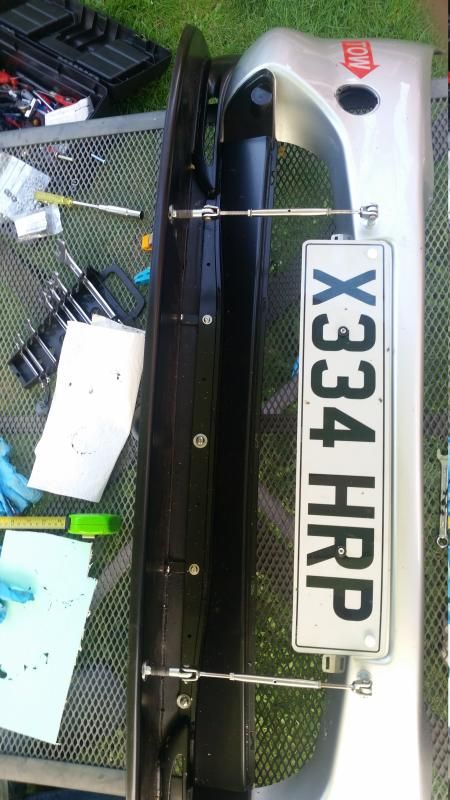
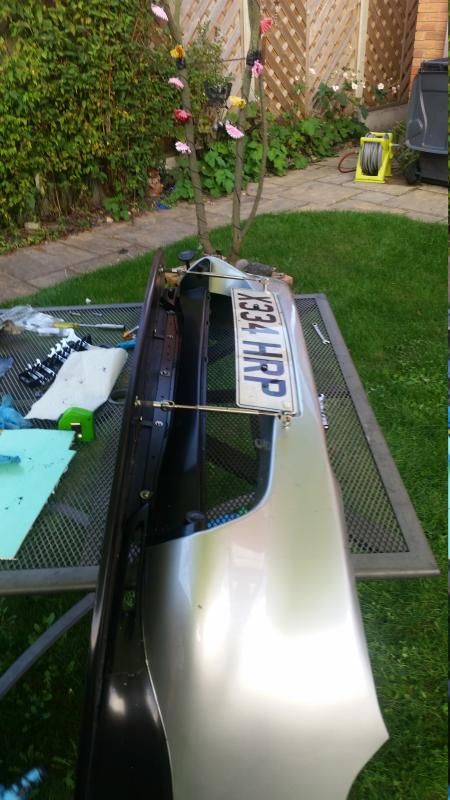
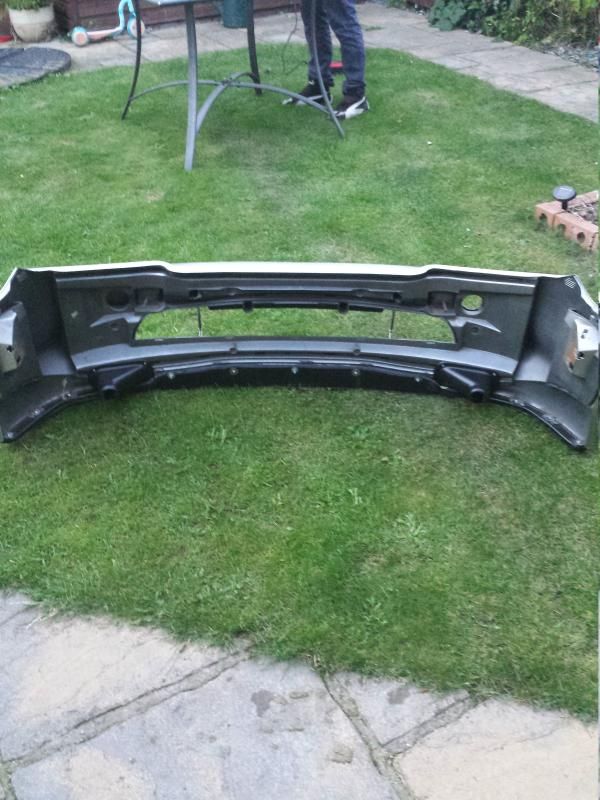
Trimmed down the rear bumper, saving a few kilo's, experimented drilling holes in it whilst it was off. We bought a spare bumper for £10 for this, incase anthing went wrong!
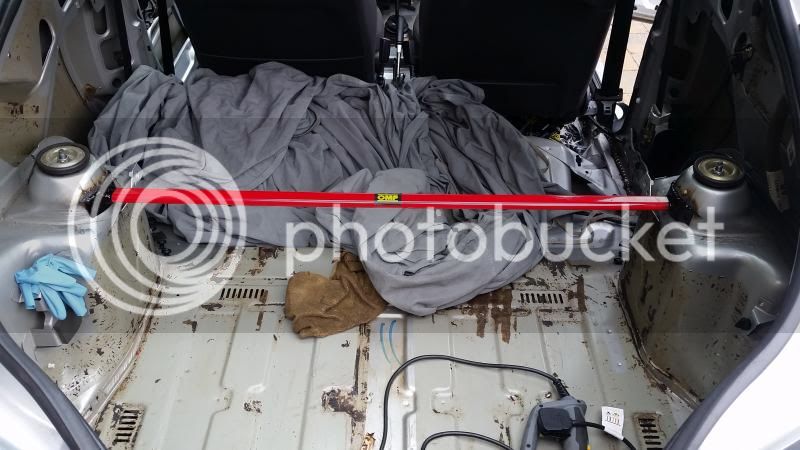
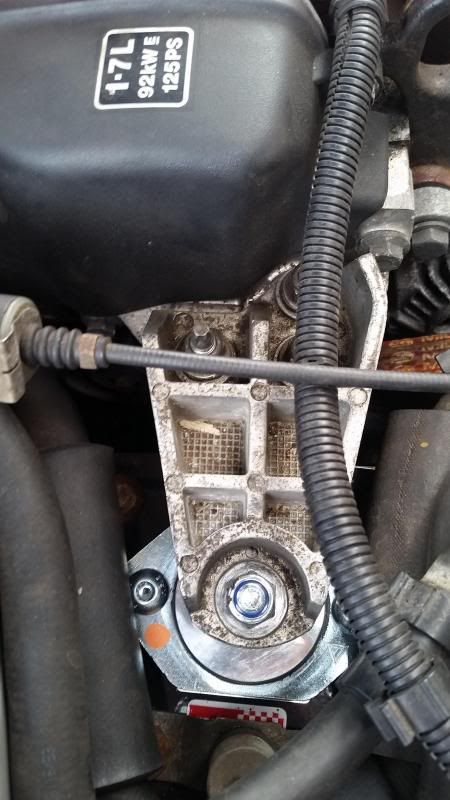
And finally, just before i decided to actually start logging our progress in this thread, we had ordered and fitted a rear strut brace, front lower strut brace, completely replaced all the engine mounts with Vibra Technics ones, with the exception of the gearbox mount which we had replaced with a flo flex bush (regardless of the endless bad rep i seem to be reading about!), bought a pair of part worn ao48's from a guy who seemingly knew nothing about tyres, despite being a competitor in an RGB series (that's a story for another day )
)
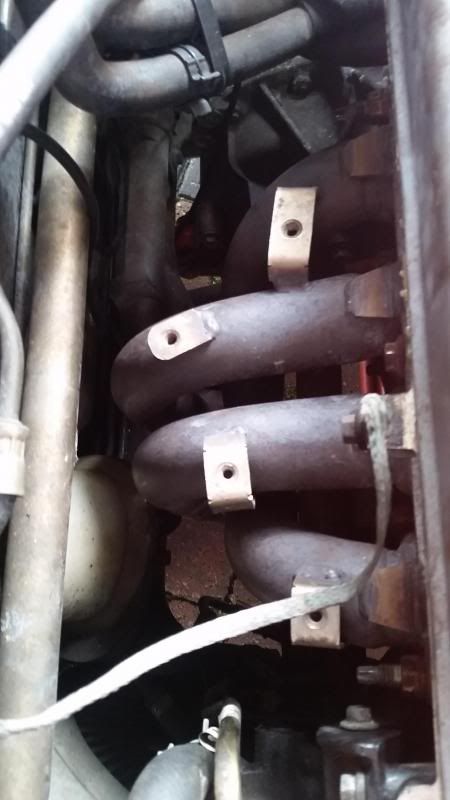
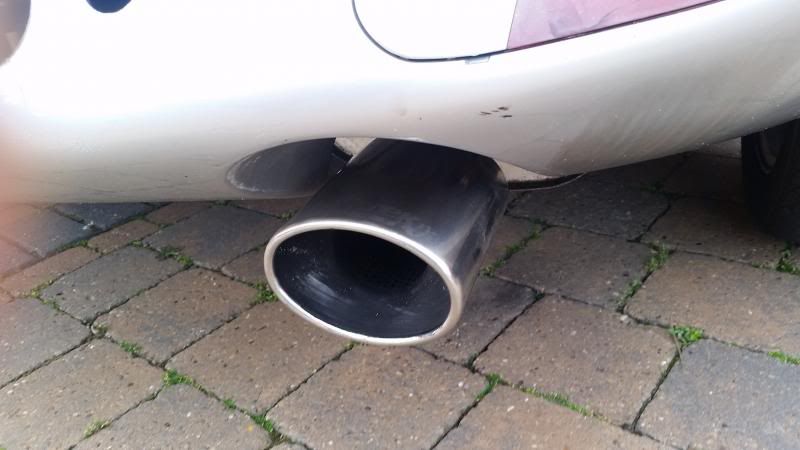
aswell as grabbing another ebay bargain, a full milltek exhaust system, complete with both a decat and sports cat. Picked it up for £450, and was in excellent condition!
The engine mounts completely transformed the car. We opted for the competition kits, and the car vibrates like crazy now, with little to no no movement from the engine block itself. Added with the larger free flowing manifold, it's hard to believe its the same car we started with just two months ago.
Next on the todo list:
With the following planned at some point when everthing else is done:
List of total bits done to the car so far:
20.5mm spacers
Full powerflex bush kit
AP Coilovers
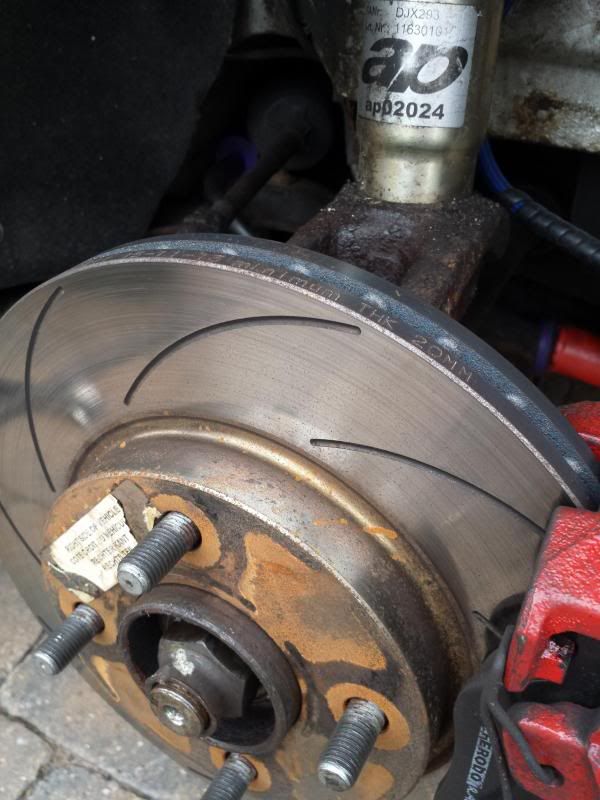
Nitrac Discs
Ferodo ds2500 Pads
Goodridge braided brake lines
ATE Racing Brake Fluid
New Rear Brake Cylinders
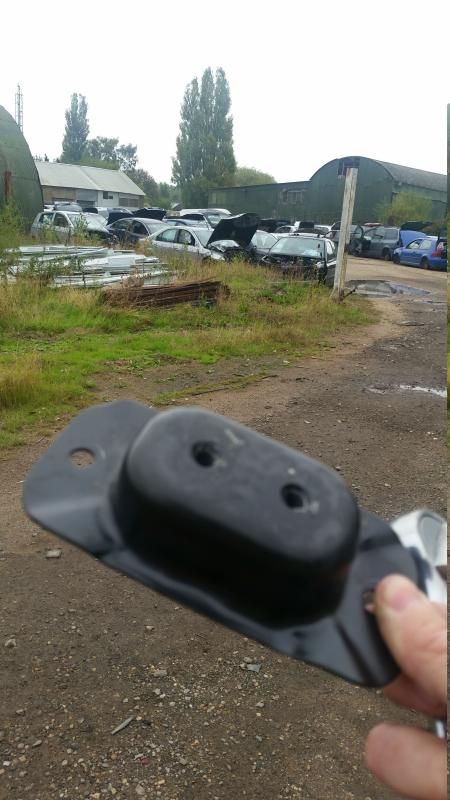
Vibra-Technics Engine Mounts (LH + RH)
Floflex bush in Gearbox Mount
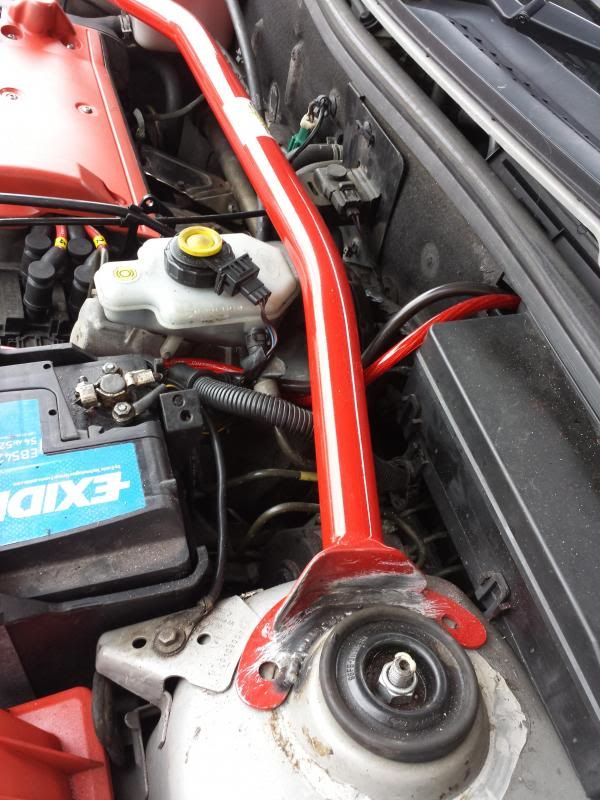
Front Lower Strut Brace
Front Upper Strut Brace
Rear Strut Brace
Full Milltek Exhaust System
FRP Airbox mod w/ Pipercross Panel filter
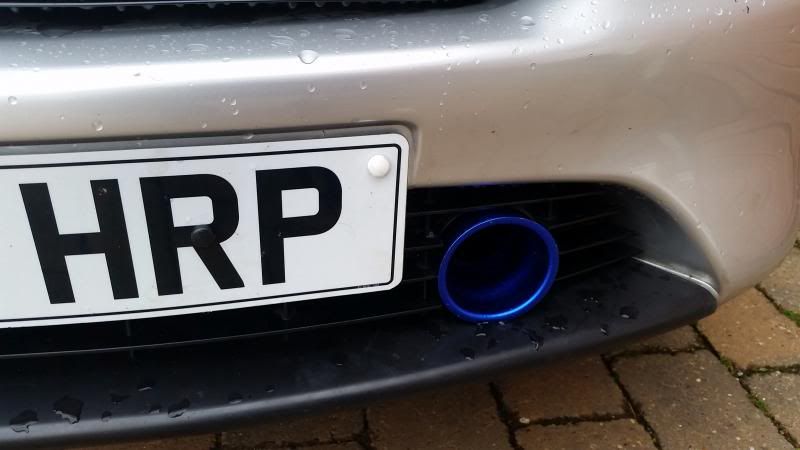
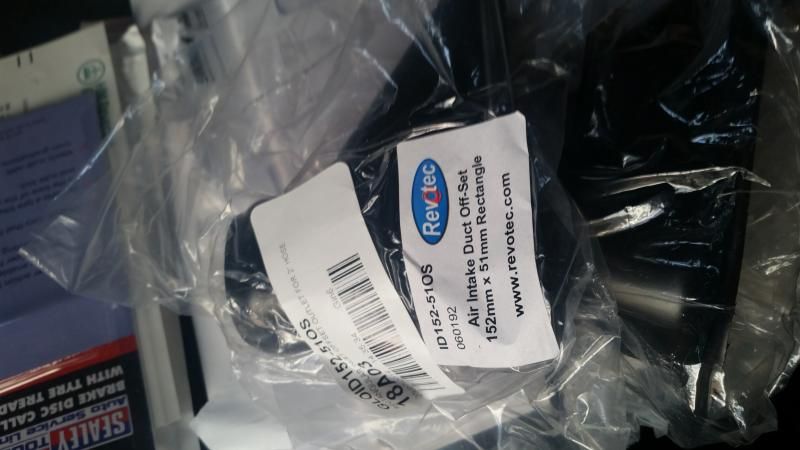
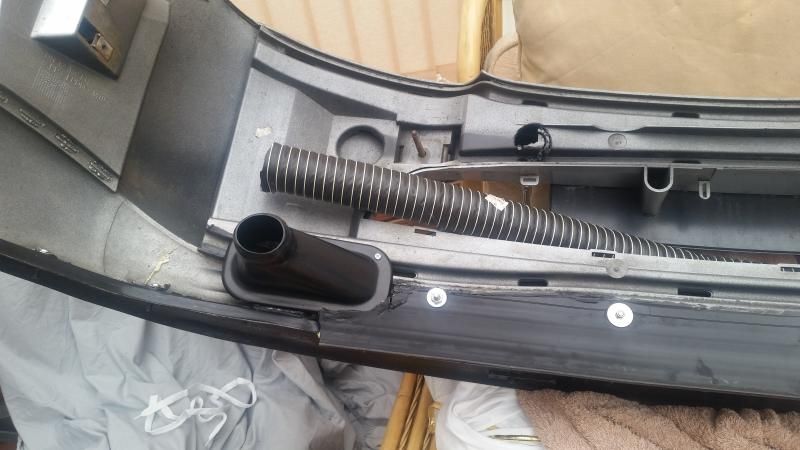
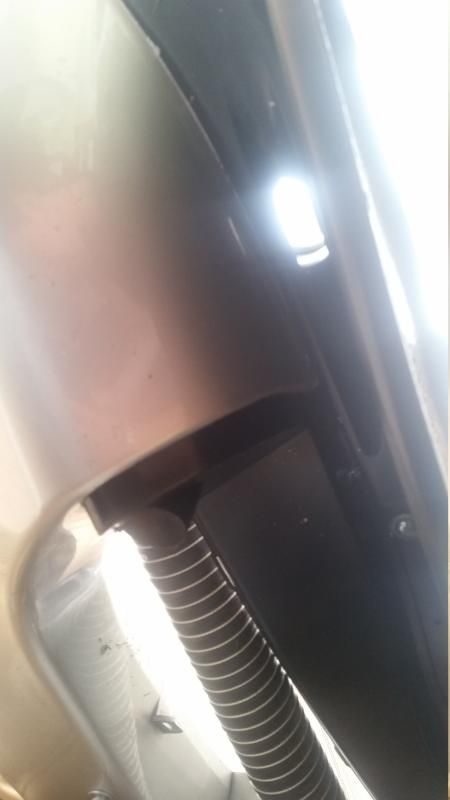
CAF to front bumper
Racing Battery
Denso Iridium Spark Plugs
Magnecor 8.5mm HT Leads
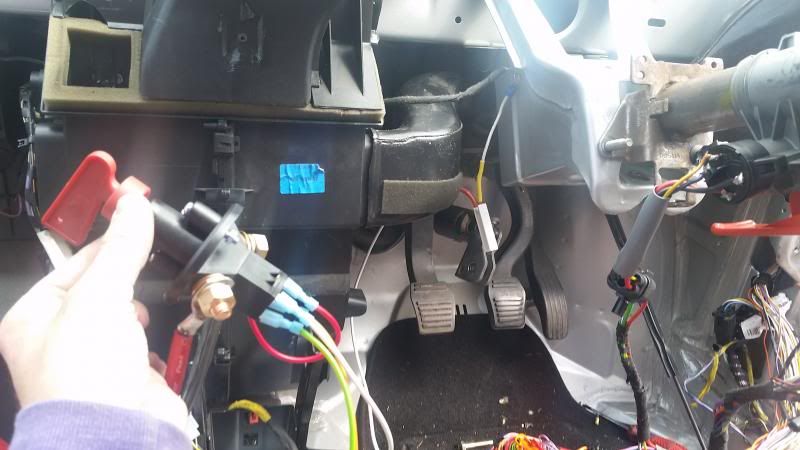
Fitted Kill switch
Racing Steering Wheel
Thanks for reading so far, i will be keeping the thread updated as and when I get more bits done to the car.
I look forward to hearing any feedback and suggestions, and hopefully may see some of you fellow minded owners on one of our outings!
Let me introduce myself... and my car!
My name is steve, and me and my dad and brother decided to buy ourselves a puma to have as a purely focused track toy. This is our first track car we've done ourselves, but not the first time we could have been on track.
In the past I have owned a clio 200, megane 265, my dad also had a clio 200 which we took on track, My brother currently owns an MX5 which has been on track, and before that we have hired caterhams (at great expense!)
After giving it much thought for an awful long time, we decided to go down a completely different route, opting for a cheaper car that was cheaper to run.
The idea is to spend a bit of money on a couple of upgrades to make it a fun track toy that the whole family could enjoy. We also are very strict on the fact it MUST remain able to pass an MOT. The project will run for the next year or two, giving me something to do on the weekends.
Our car was bought Via eBay, for £600. The car was a fully standard late 2000 X reg, apart from a K&N Induction kit fitted. The previous owner seemed to have looked after her, completing several service jobs himself, and the car had just had a new cam-belt fitted. There were new discs and pads, and new bushes on the rear.
The bodywork isn't too bad, with the usual rust around the rear arches, and a small ding on the back rear quarter. We are looking to get these sorted maybe one day in the future.
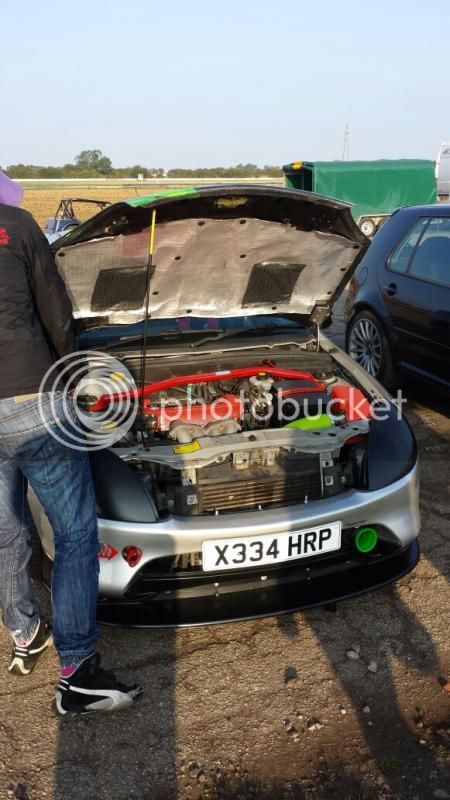
Since purchasing the car, we have done a reasonable amount of work already. I have done the majority of the work myself, with the odd job requiring more appropriate tools from the local garage.
The first job, as you would expect, was ripping out the interior, ridding the car of anything that we could pull off! After our first day we had saved around 60kg, with a nice pile of crap for the neighbours to enjoy on the driveway.
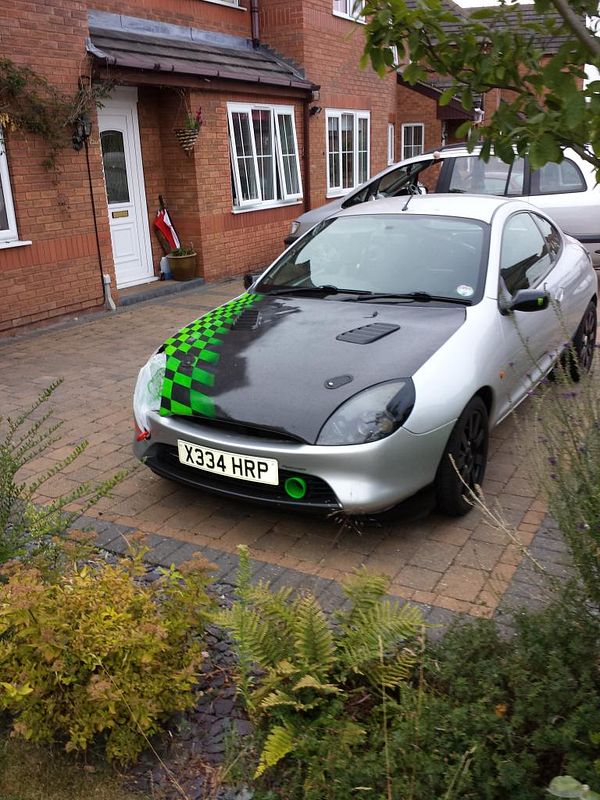
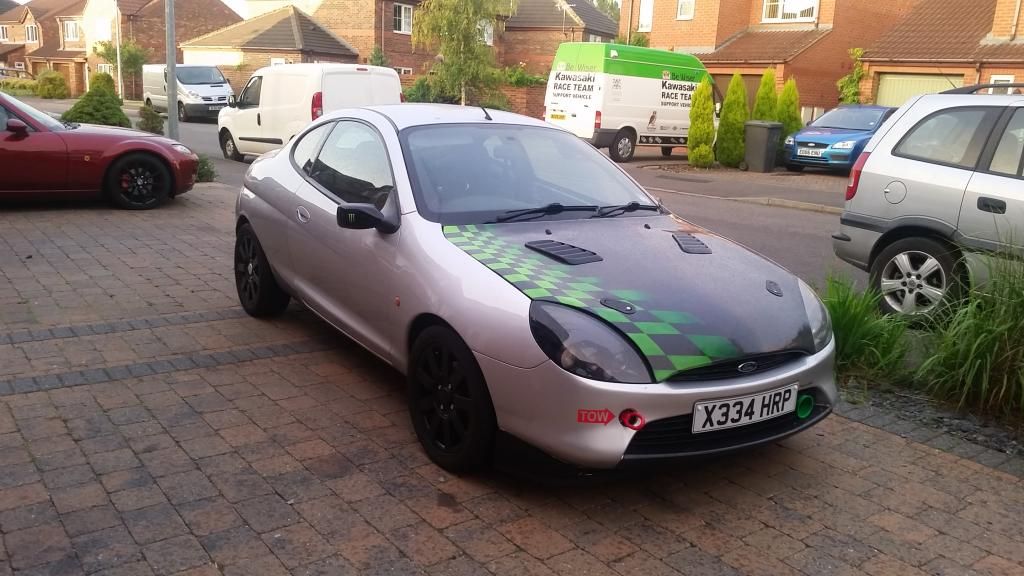
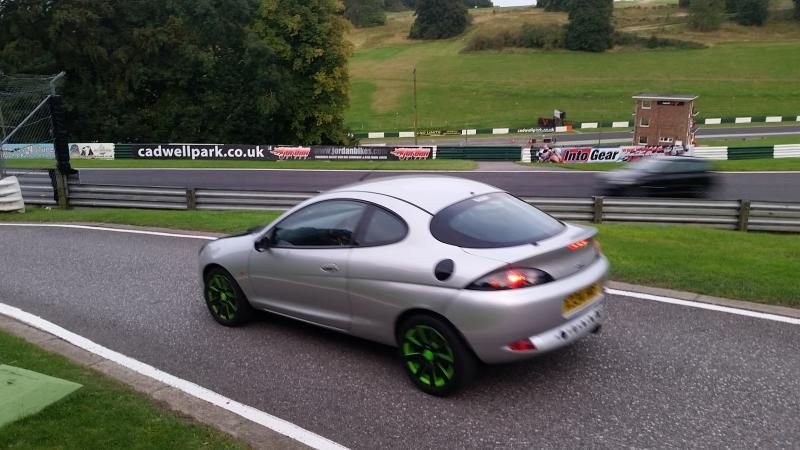
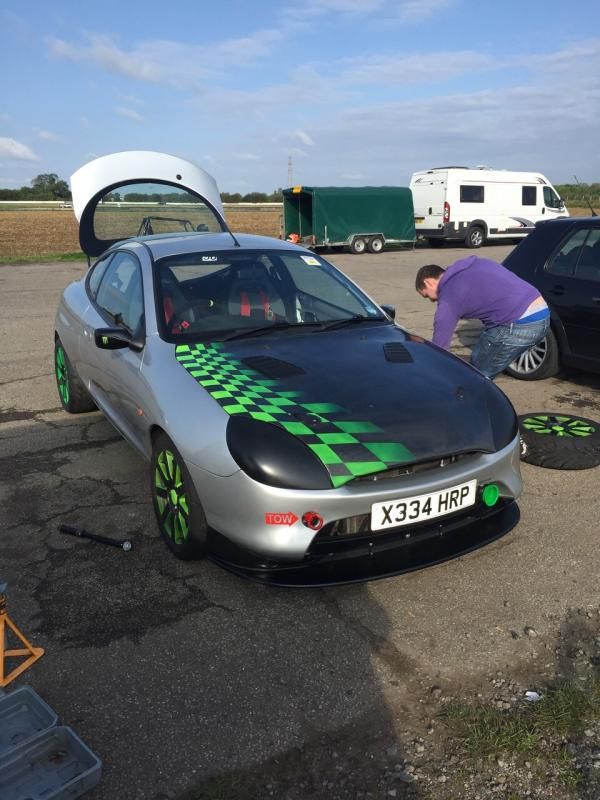
Over the next few days, my brother had the task of giving the wheels a respray in black, which we did on the cheap initially to test the concept and colour. They were sprayed with your off the shelf spray paint from halfrauds. The idea was that we could just add extra coats if needed and spend money, at this stage, elsewhere on the car.
We sat having our usual sunday night whisky discussing what direction we were going to take the car, in terms of upgrades. We had initially decided to spend a monthly budget and upgrade it throughout the year... But that soon changed once i started getting itchy fingers!
The first lot of purchases, costing around £800 in total (after the first week of owning the car!) included a set of AP coilovers, Goodridge braided hoses, ATE blue racing fluid, Ferodo ds2500 Race pads, Rear spacers (20mm), Denso Iridium Spark Plugs, Magnecor HT Leads, A full set of Poly bushes (Powerflex) aswell as a wide variety of tools i would need in the future.
Fitting of the coilovers commenced fairly quickly, using a guide i found on the forum. Fitting of the rears seemed to go smoothly, the fronts were a pig to get on though. Every bolt taken off to date has been seized on. Eventually i got them on though, and after playing with the ride heights we got them where we wanted them. We tried to replicate a 35mm drop gained from switching the Eibach springs.
I also fitted the rear spacers, the ABS sensors were a pig to get out, but soaked them in a mix of vegetable oil and acetone, and they soon came out.
The car was then taken to be corner weighted at a local firm, to make sure the car's balance was spot on after the lowering, and the weight being eradicated.
I kept on at doing little odd jobs here and there, fitting a blanking plate complete with killswitch the the stereo hole, stripping weight out where we could. I had tried to get the rocker cover's cover off, all but two bolts seized in, then found all the spark plugs were seized in too. We had taken it to the local garage who got all but one out and replaced with out denso's. Dad did a little research and we bought some freezing spray from amazon. Gave it a whirl, plug came out like a charm! Fitted the HT leads and then got the Rocker cover's cover painted as it looked a little dull.
We got ourselves a lighter battery, and have since bought a solar charger to keep it trickle charging whilst not in use.
Couple of weeks ago i fitted the braided lines, one of the brake pipes had seized onto the union nut, resulting in a sheared brake line. Nethertheless i got them all on, and went on another trip to the garage to have new one fitted. Whilst they were there, we had the front bushes replaced, as they proved a pig to get off, especially with no ground clearance to get a good breaker bar in. Somehow they managed to leave air in the lines twice in a row, so had to bleed them myself in the end to pull the new racing fluid through.
Trimmed down the rear bumper, saving a few kilo's, experimented drilling holes in it whilst it was off. We bought a spare bumper for £10 for this, incase anthing went wrong!
And finally, just before i decided to actually start logging our progress in this thread, we had ordered and fitted a rear strut brace, front lower strut brace, completely replaced all the engine mounts with Vibra Technics ones, with the exception of the gearbox mount which we had replaced with a flo flex bush (regardless of the endless bad rep i seem to be reading about!), bought a pair of part worn ao48's from a guy who seemingly knew nothing about tyres, despite being a competitor in an RGB series (that's a story for another day
)aswell as grabbing another ebay bargain, a full milltek exhaust system, complete with both a decat and sports cat. Picked it up for £450, and was in excellent condition!
The engine mounts completely transformed the car. We opted for the competition kits, and the car vibrates like crazy now, with little to no no movement from the engine block itself. Added with the larger free flowing manifold, it's hard to believe its the same car we started with just two months ago.
Next on the todo list:
- Fit racing steering wheel and boss that's been ordered
- Wire up kill switch
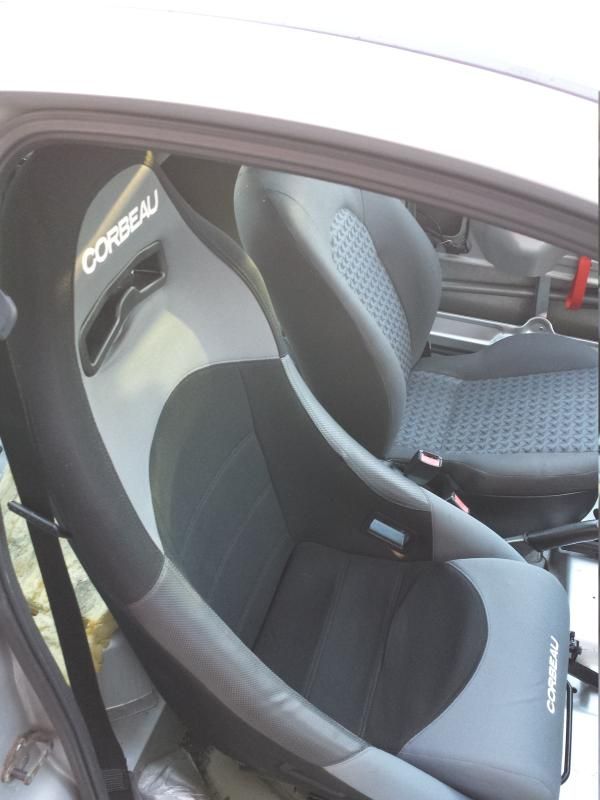
- Order and fit bucket seats and harness for both seats
- Fit the brake pads, and discs (Ordered some Cryogenically treated Nitrac's)
- Fit engine strut brace we have ordered
- Mount track tyres on secondary set of rims
- General tidy up of interior
- Mock up and fit custom door cards
- Get on track!
With the following planned at some point when everthing else is done:
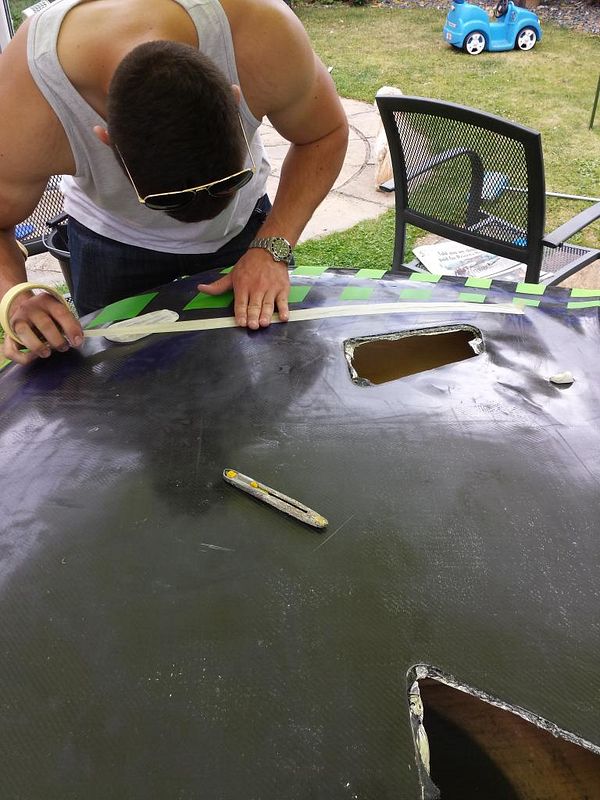
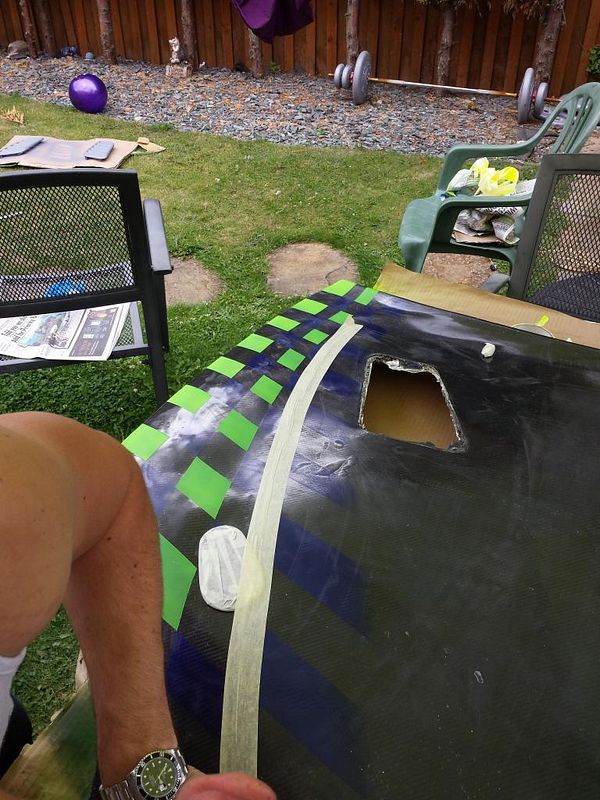
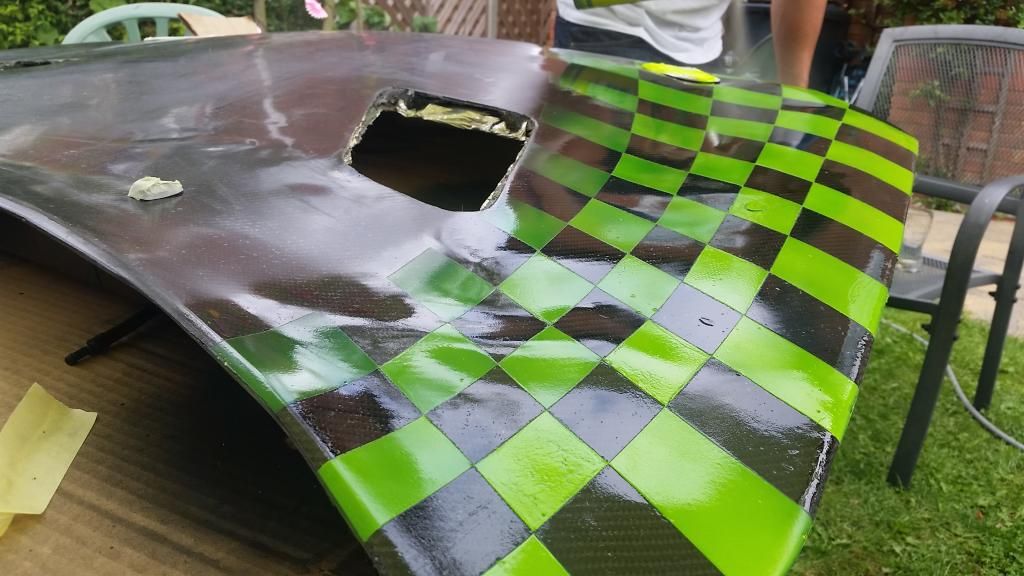
- Fibreglass bonnet
- Fibreglass wings (Full body kit?)
- Plastic rear windows
- remap
- Cut down / Remove dashboard
List of total bits done to the car so far:
20.5mm spacers
Full powerflex bush kit
AP Coilovers
Nitrac Discs
Ferodo ds2500 Pads
Goodridge braided brake lines
ATE Racing Brake Fluid
New Rear Brake Cylinders
Vibra-Technics Engine Mounts (LH + RH)
Floflex bush in Gearbox Mount
Front Lower Strut Brace
Front Upper Strut Brace
Rear Strut Brace
Full Milltek Exhaust System
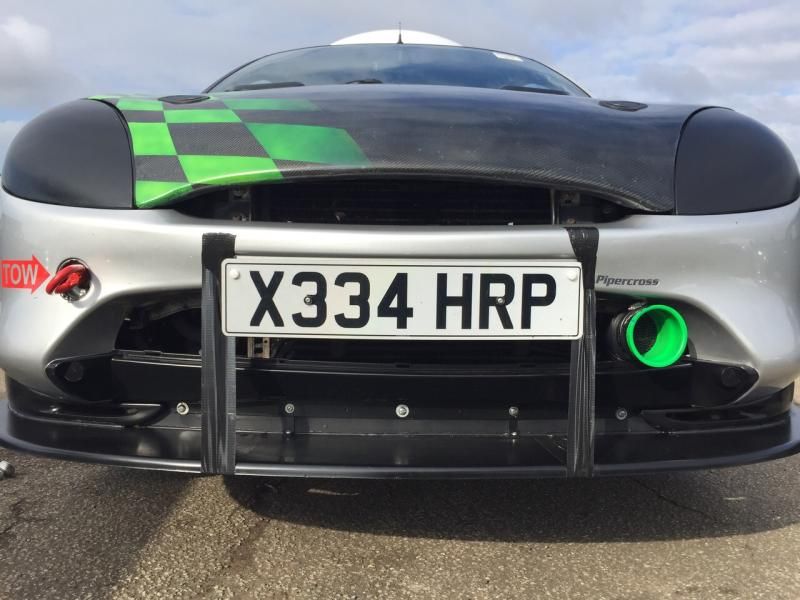
FRP Airbox mod w/ Pipercross Panel filter
CAF to front bumper
Racing Battery
Denso Iridium Spark Plugs
Magnecor 8.5mm HT Leads
Fitted Kill switch
Racing Steering Wheel
Thanks for reading so far, i will be keeping the thread updated as and when I get more bits done to the car.
I look forward to hearing any feedback and suggestions, and hopefully may see some of you fellow minded owners on one of our outings!