FRP 591, FRP replica, plus turbo conversion project

ProjectPuma

Help Support ProjectPuma:

This site may earn a commission from merchant affiliate links, including eBay, Amazon, and others.
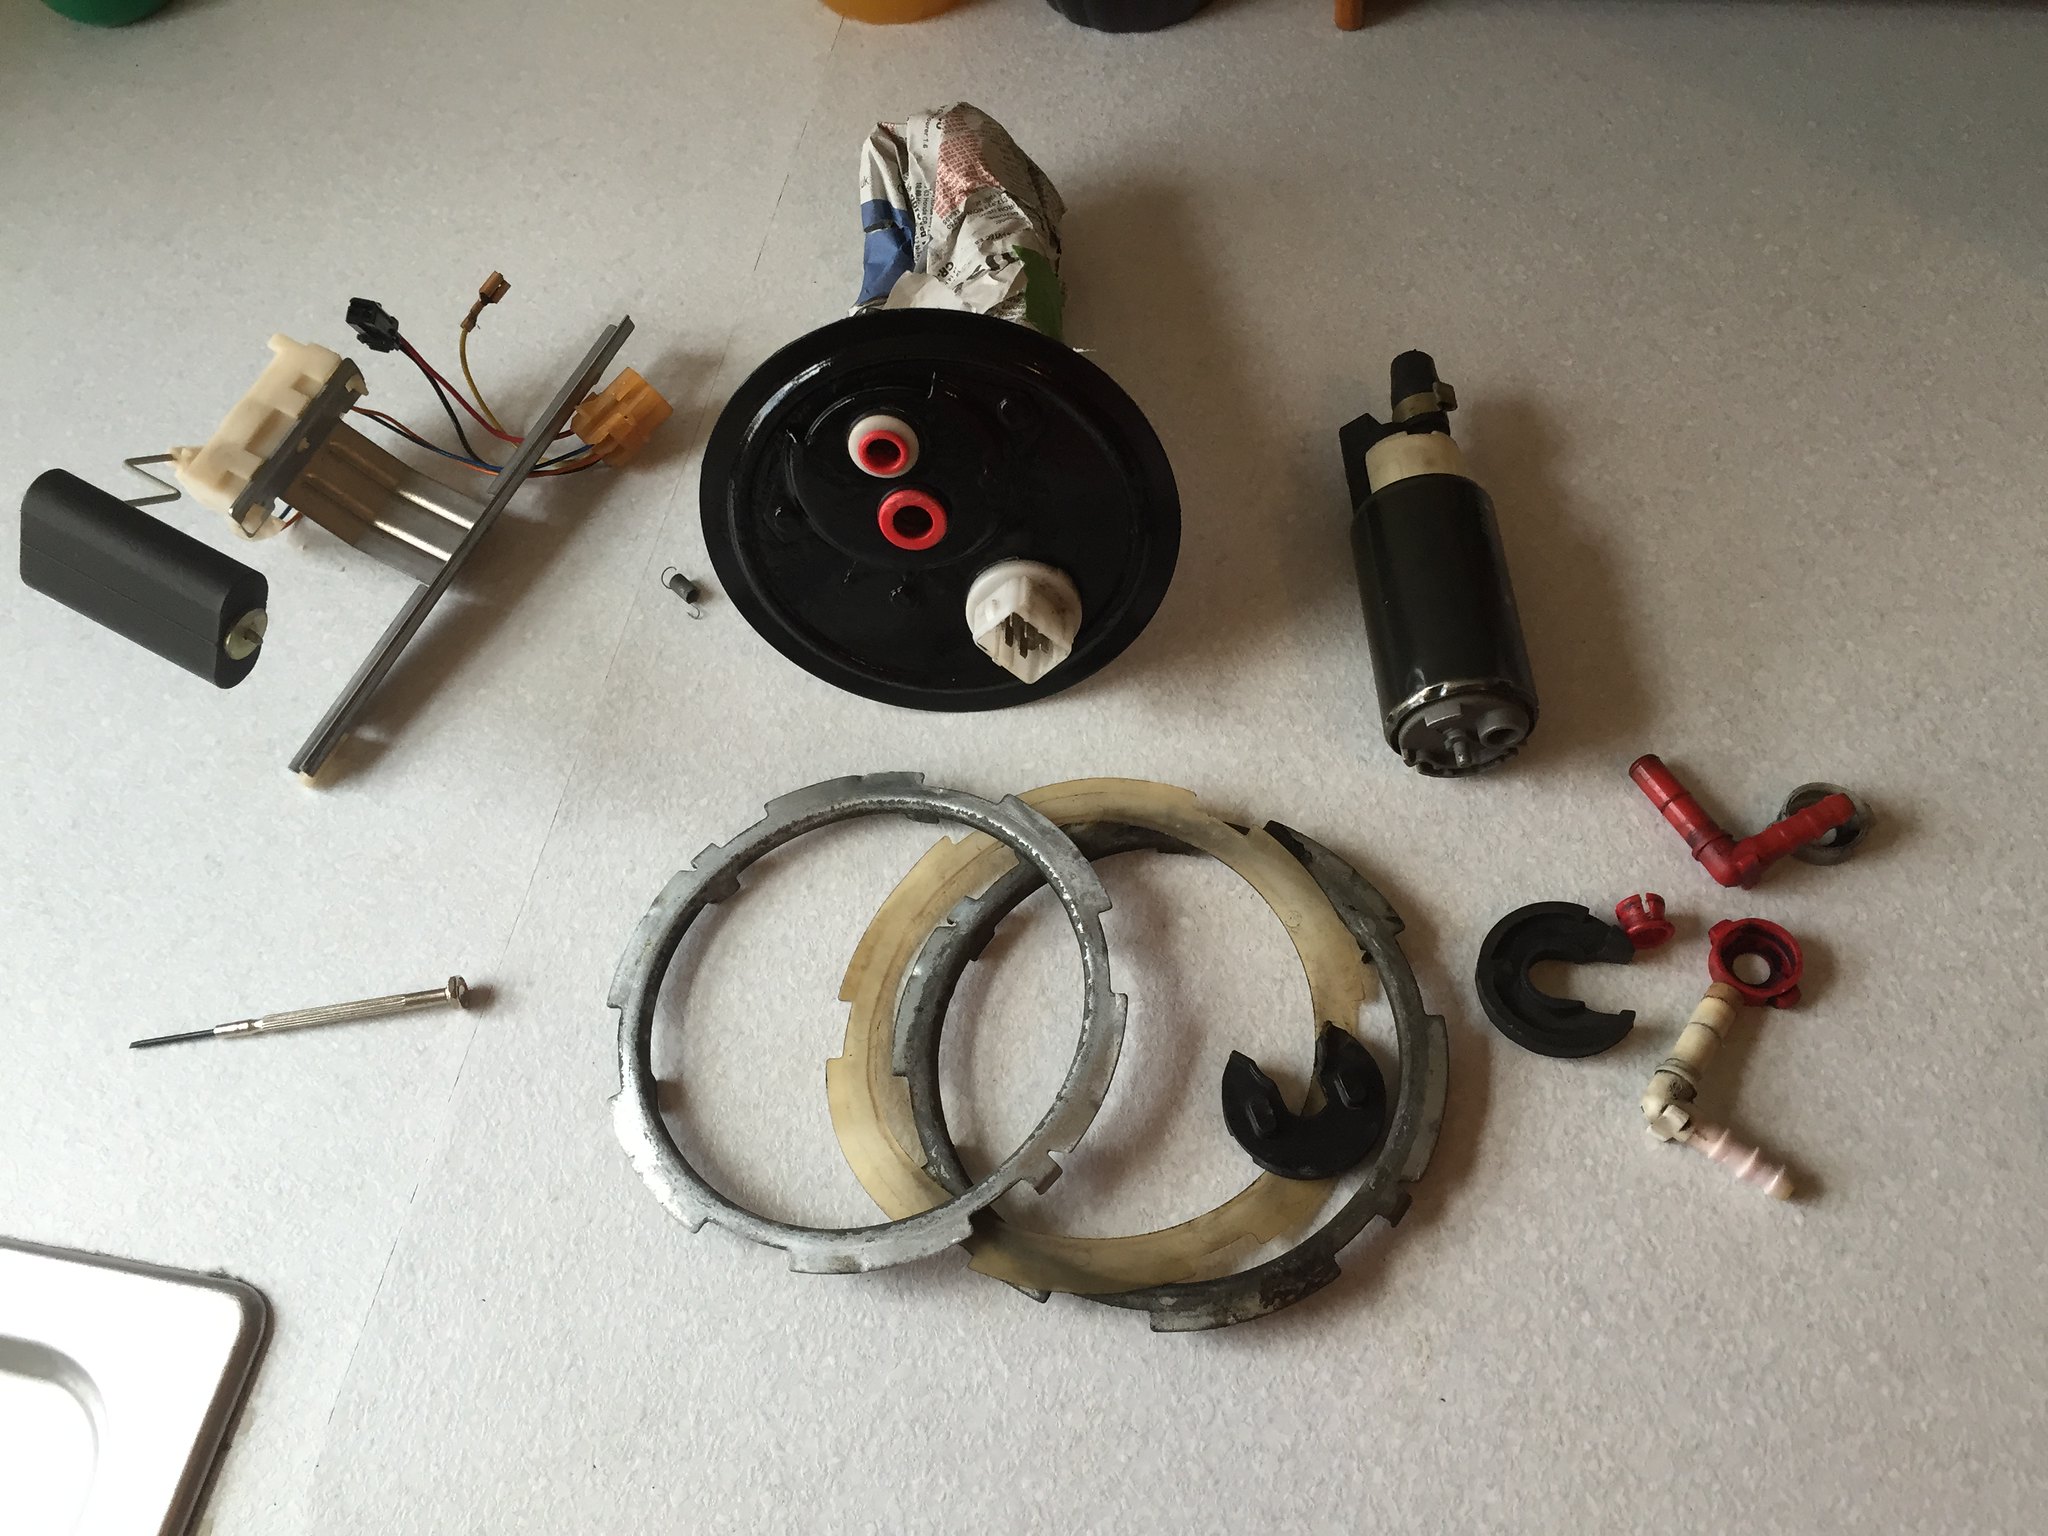
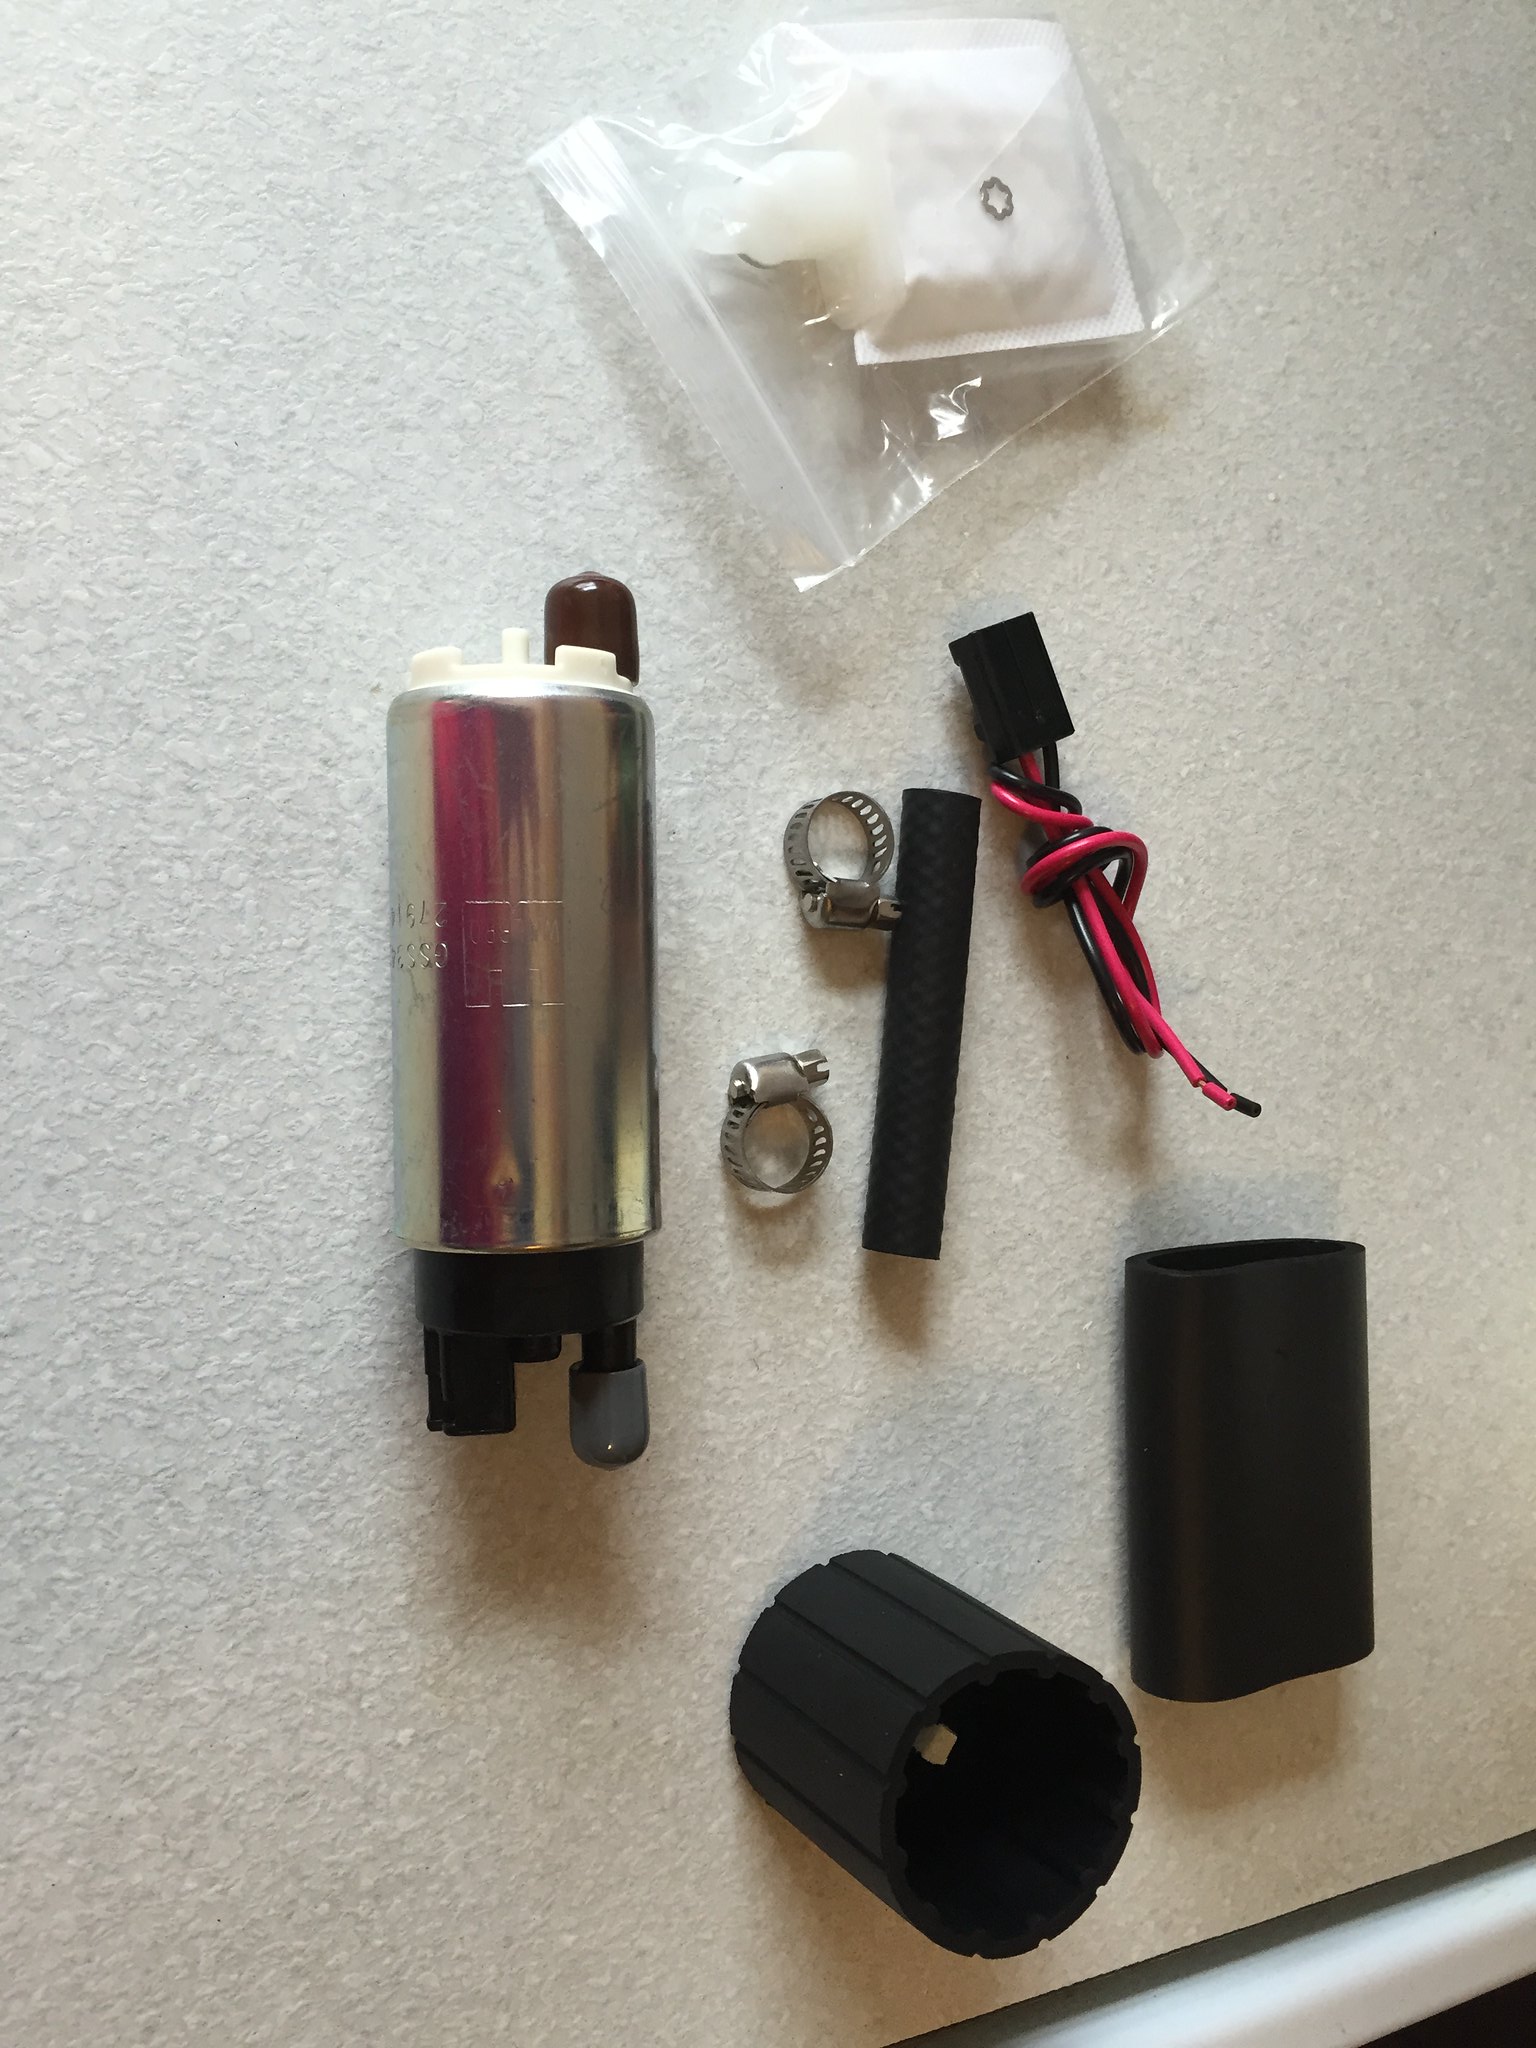
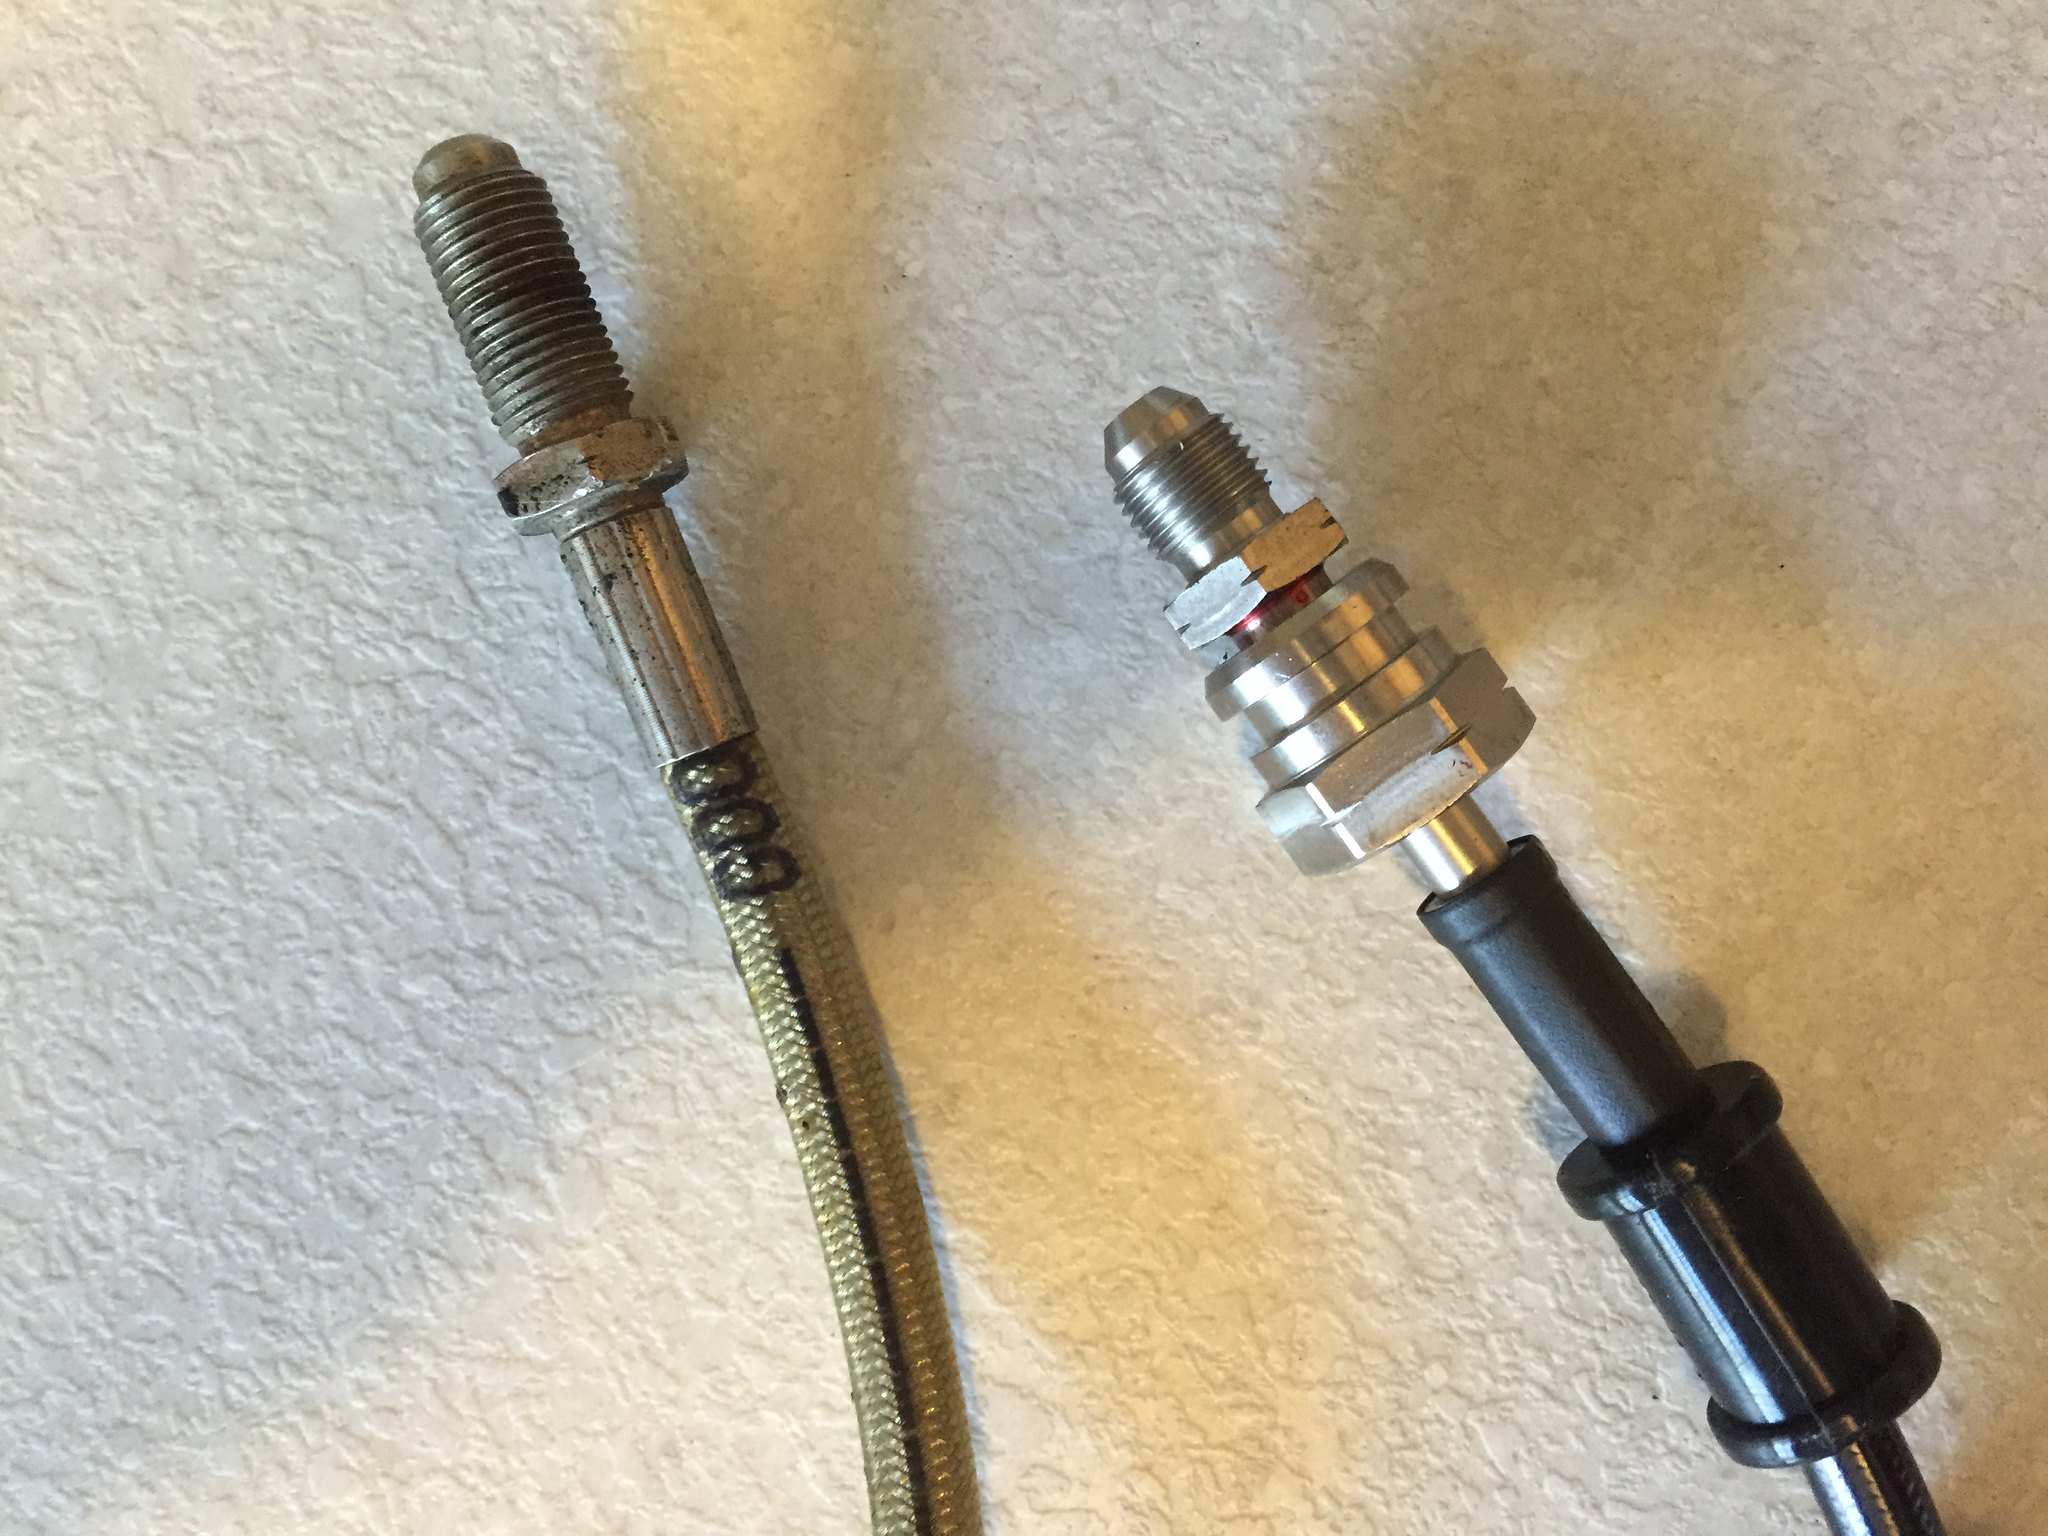
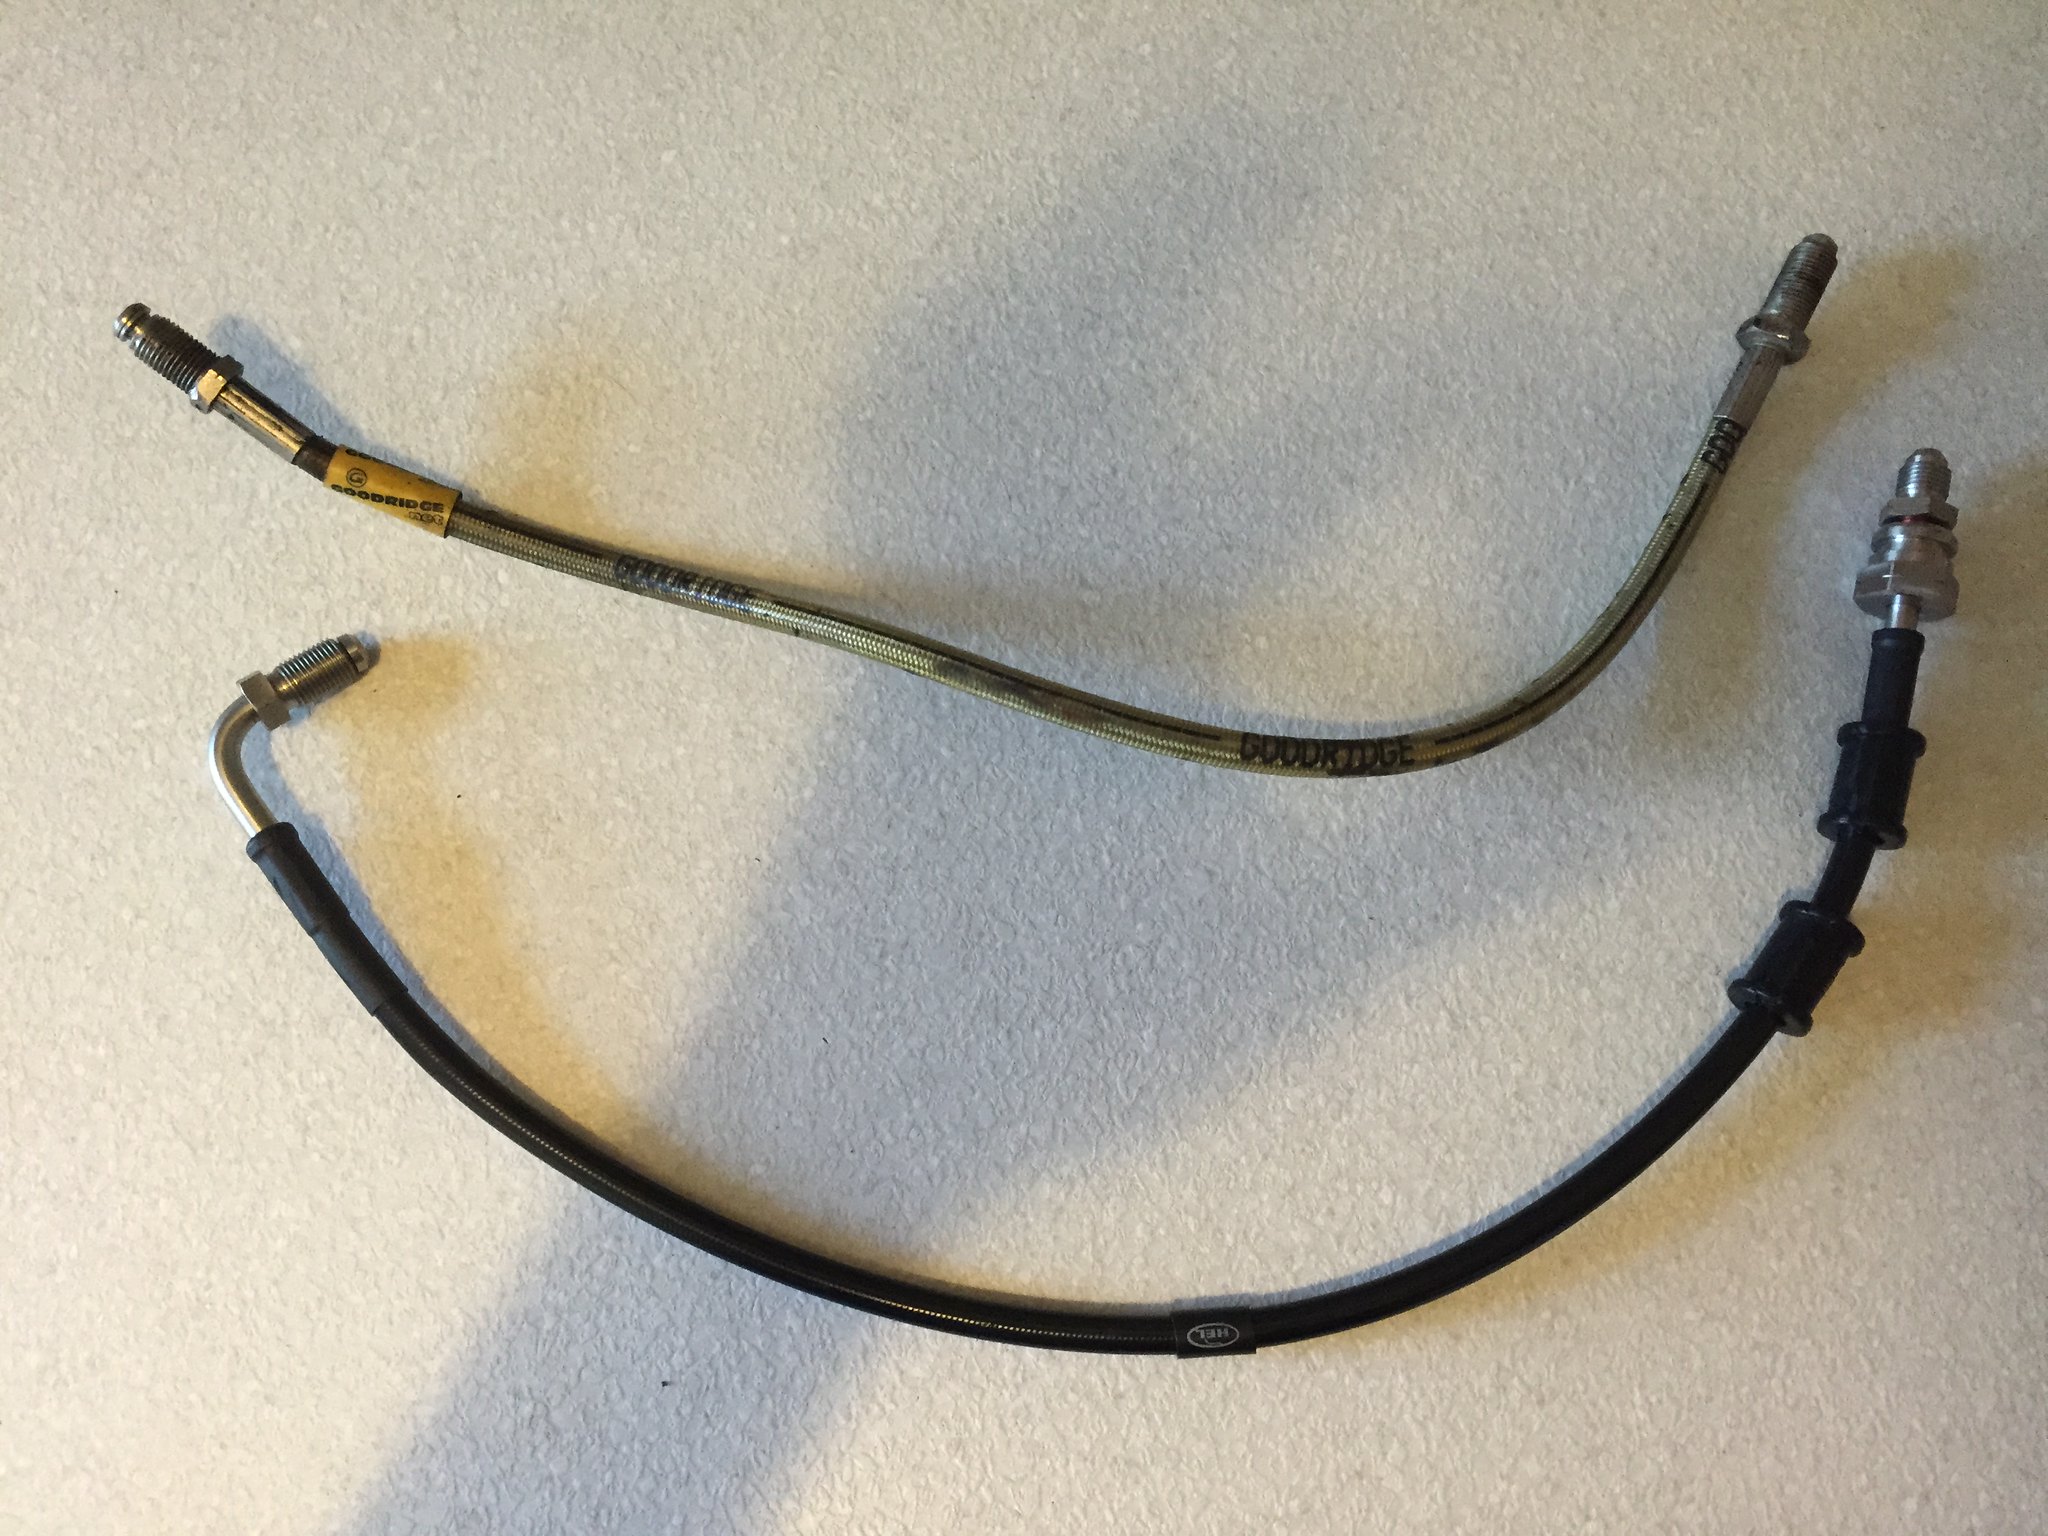
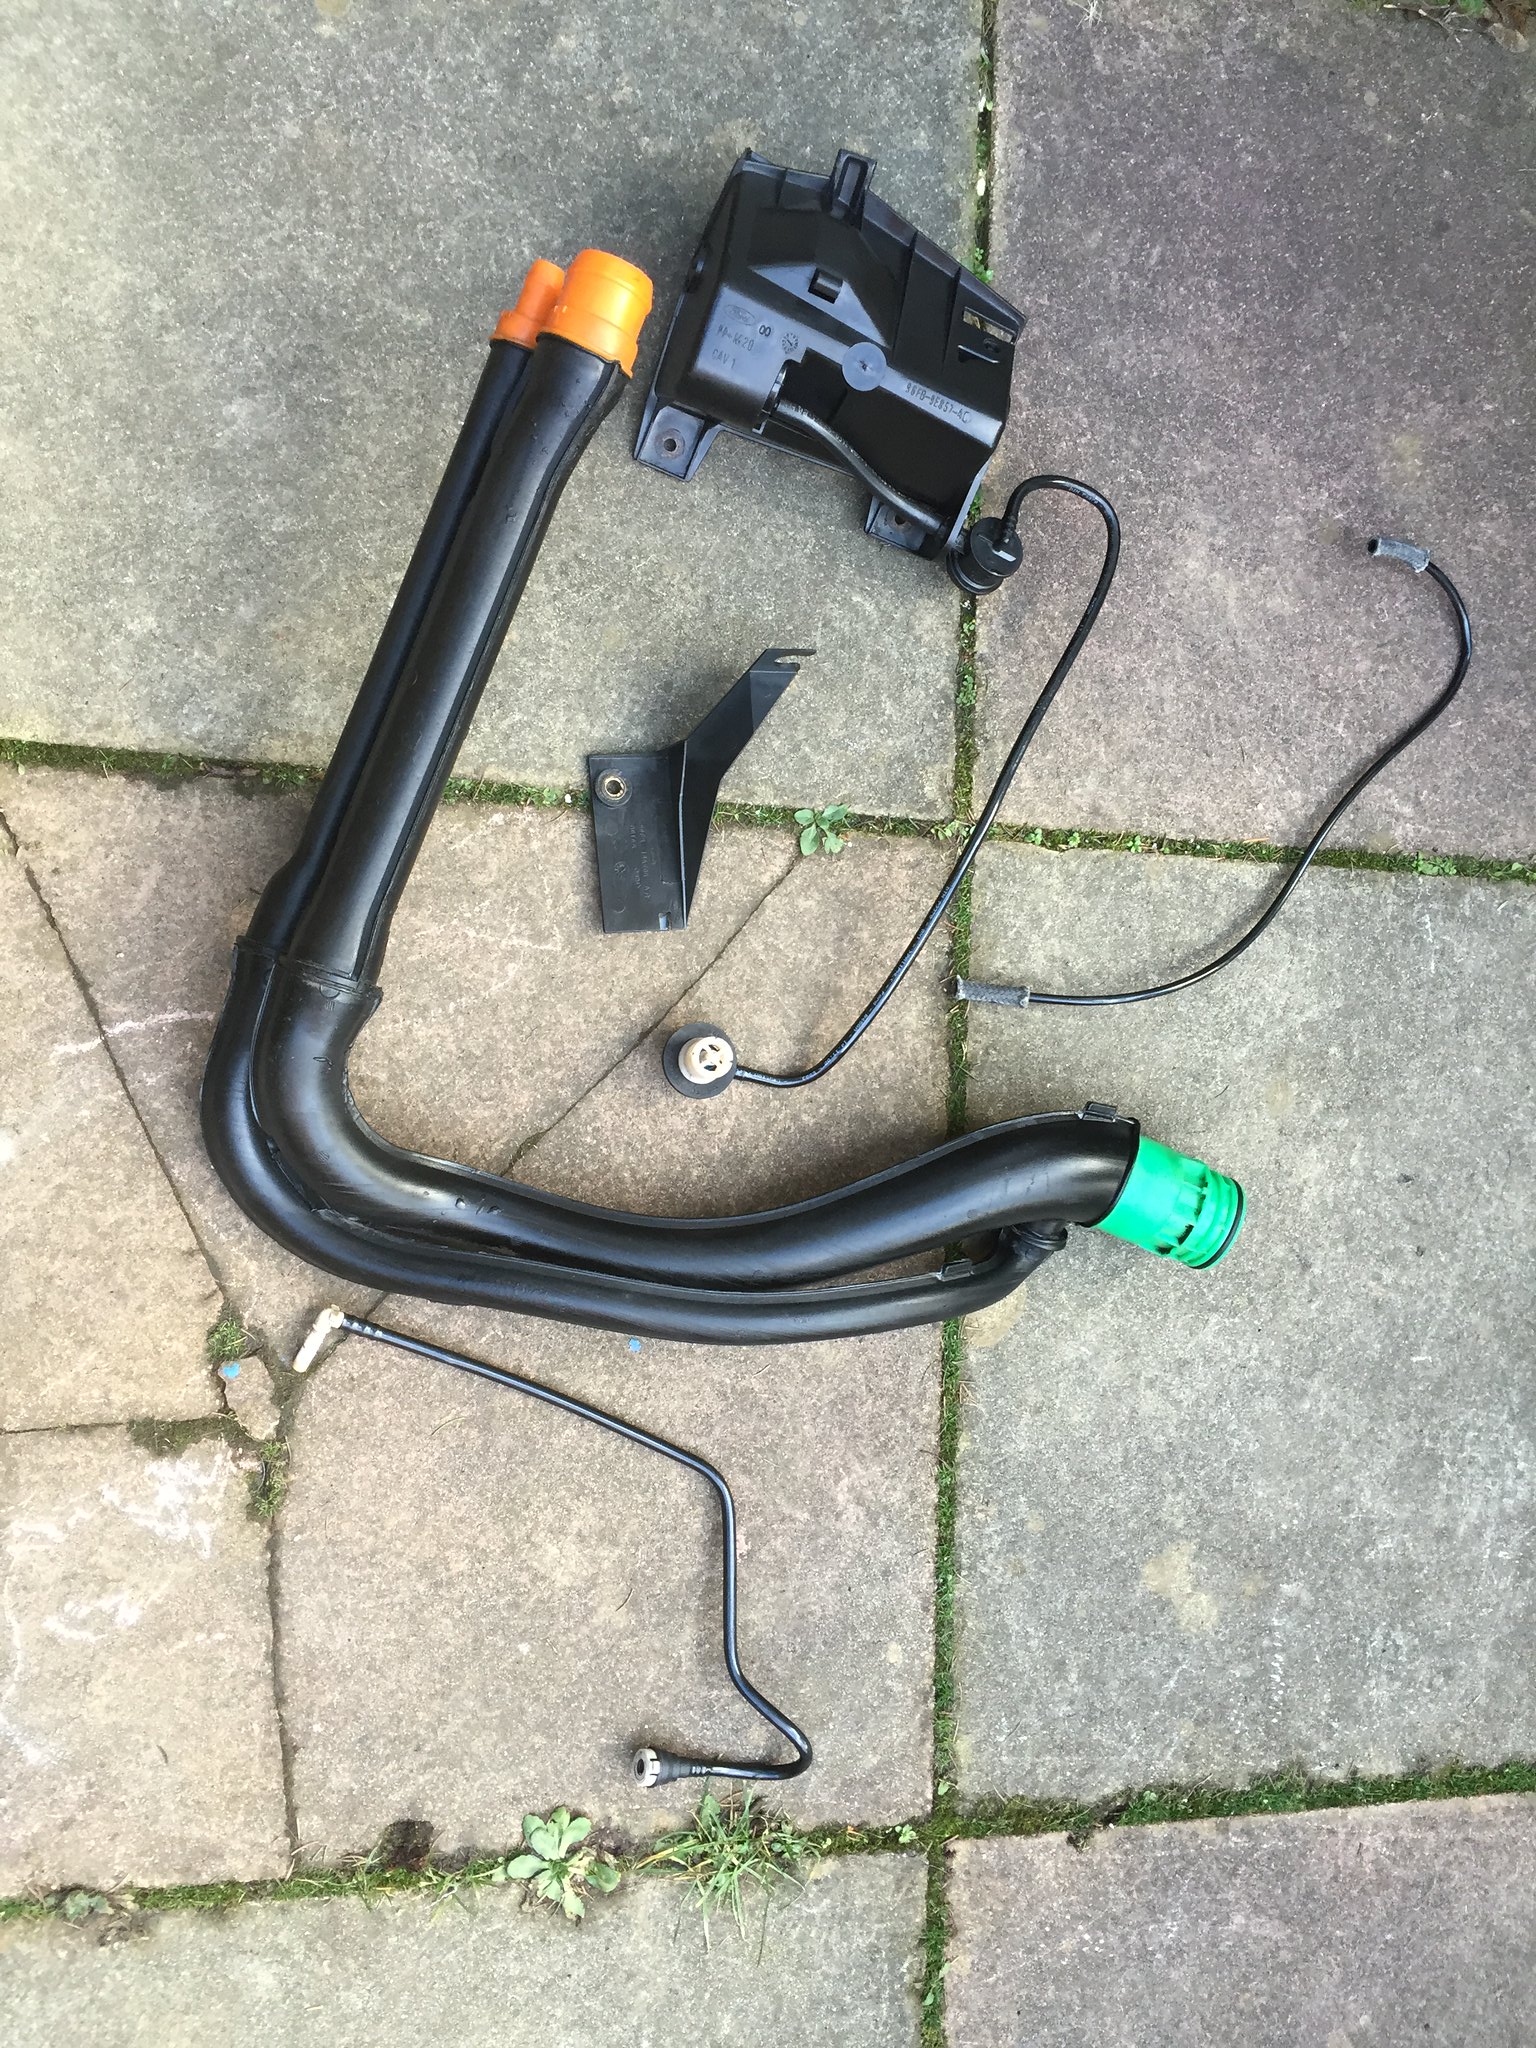
little bit more work done today, i got the other silicon hose in the post for my fuel filler

16561470211_2a7a72aa99_k.jpg


cleaned up and used some plastic polish on the filler neck and evap canister/bracket and hoses

16375952319_de9dacfdb0_k.jpg


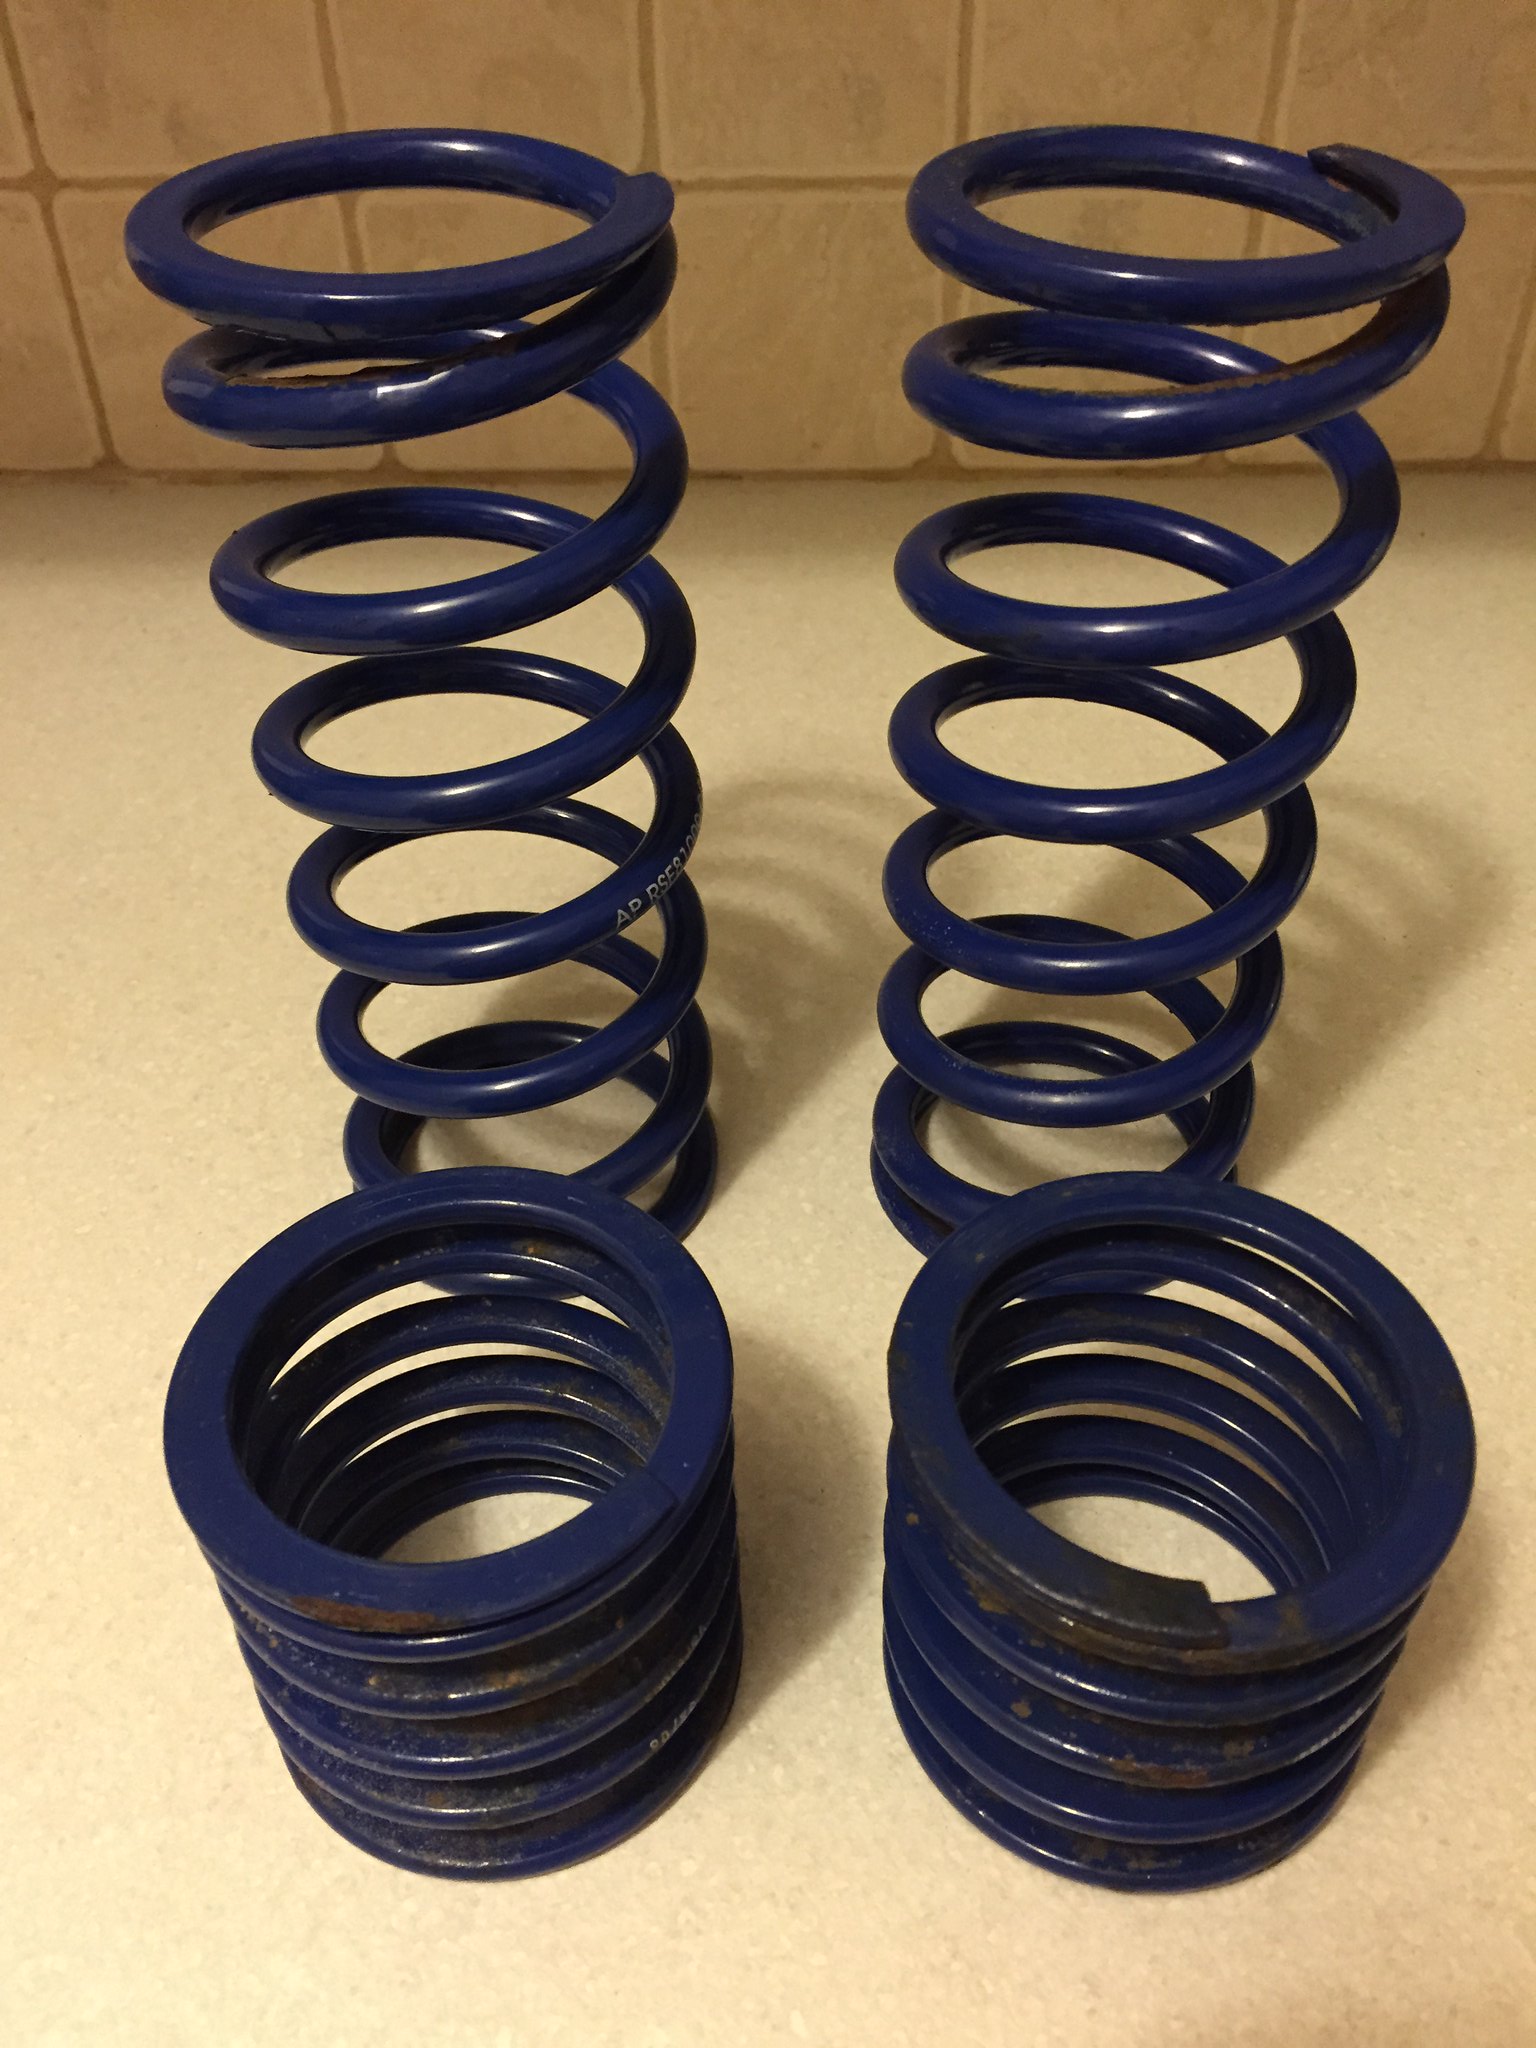
rear springs and helper springs are a little crusty, so off to the powder coaters they go

16562448665_a8eab7d231_k.jpg


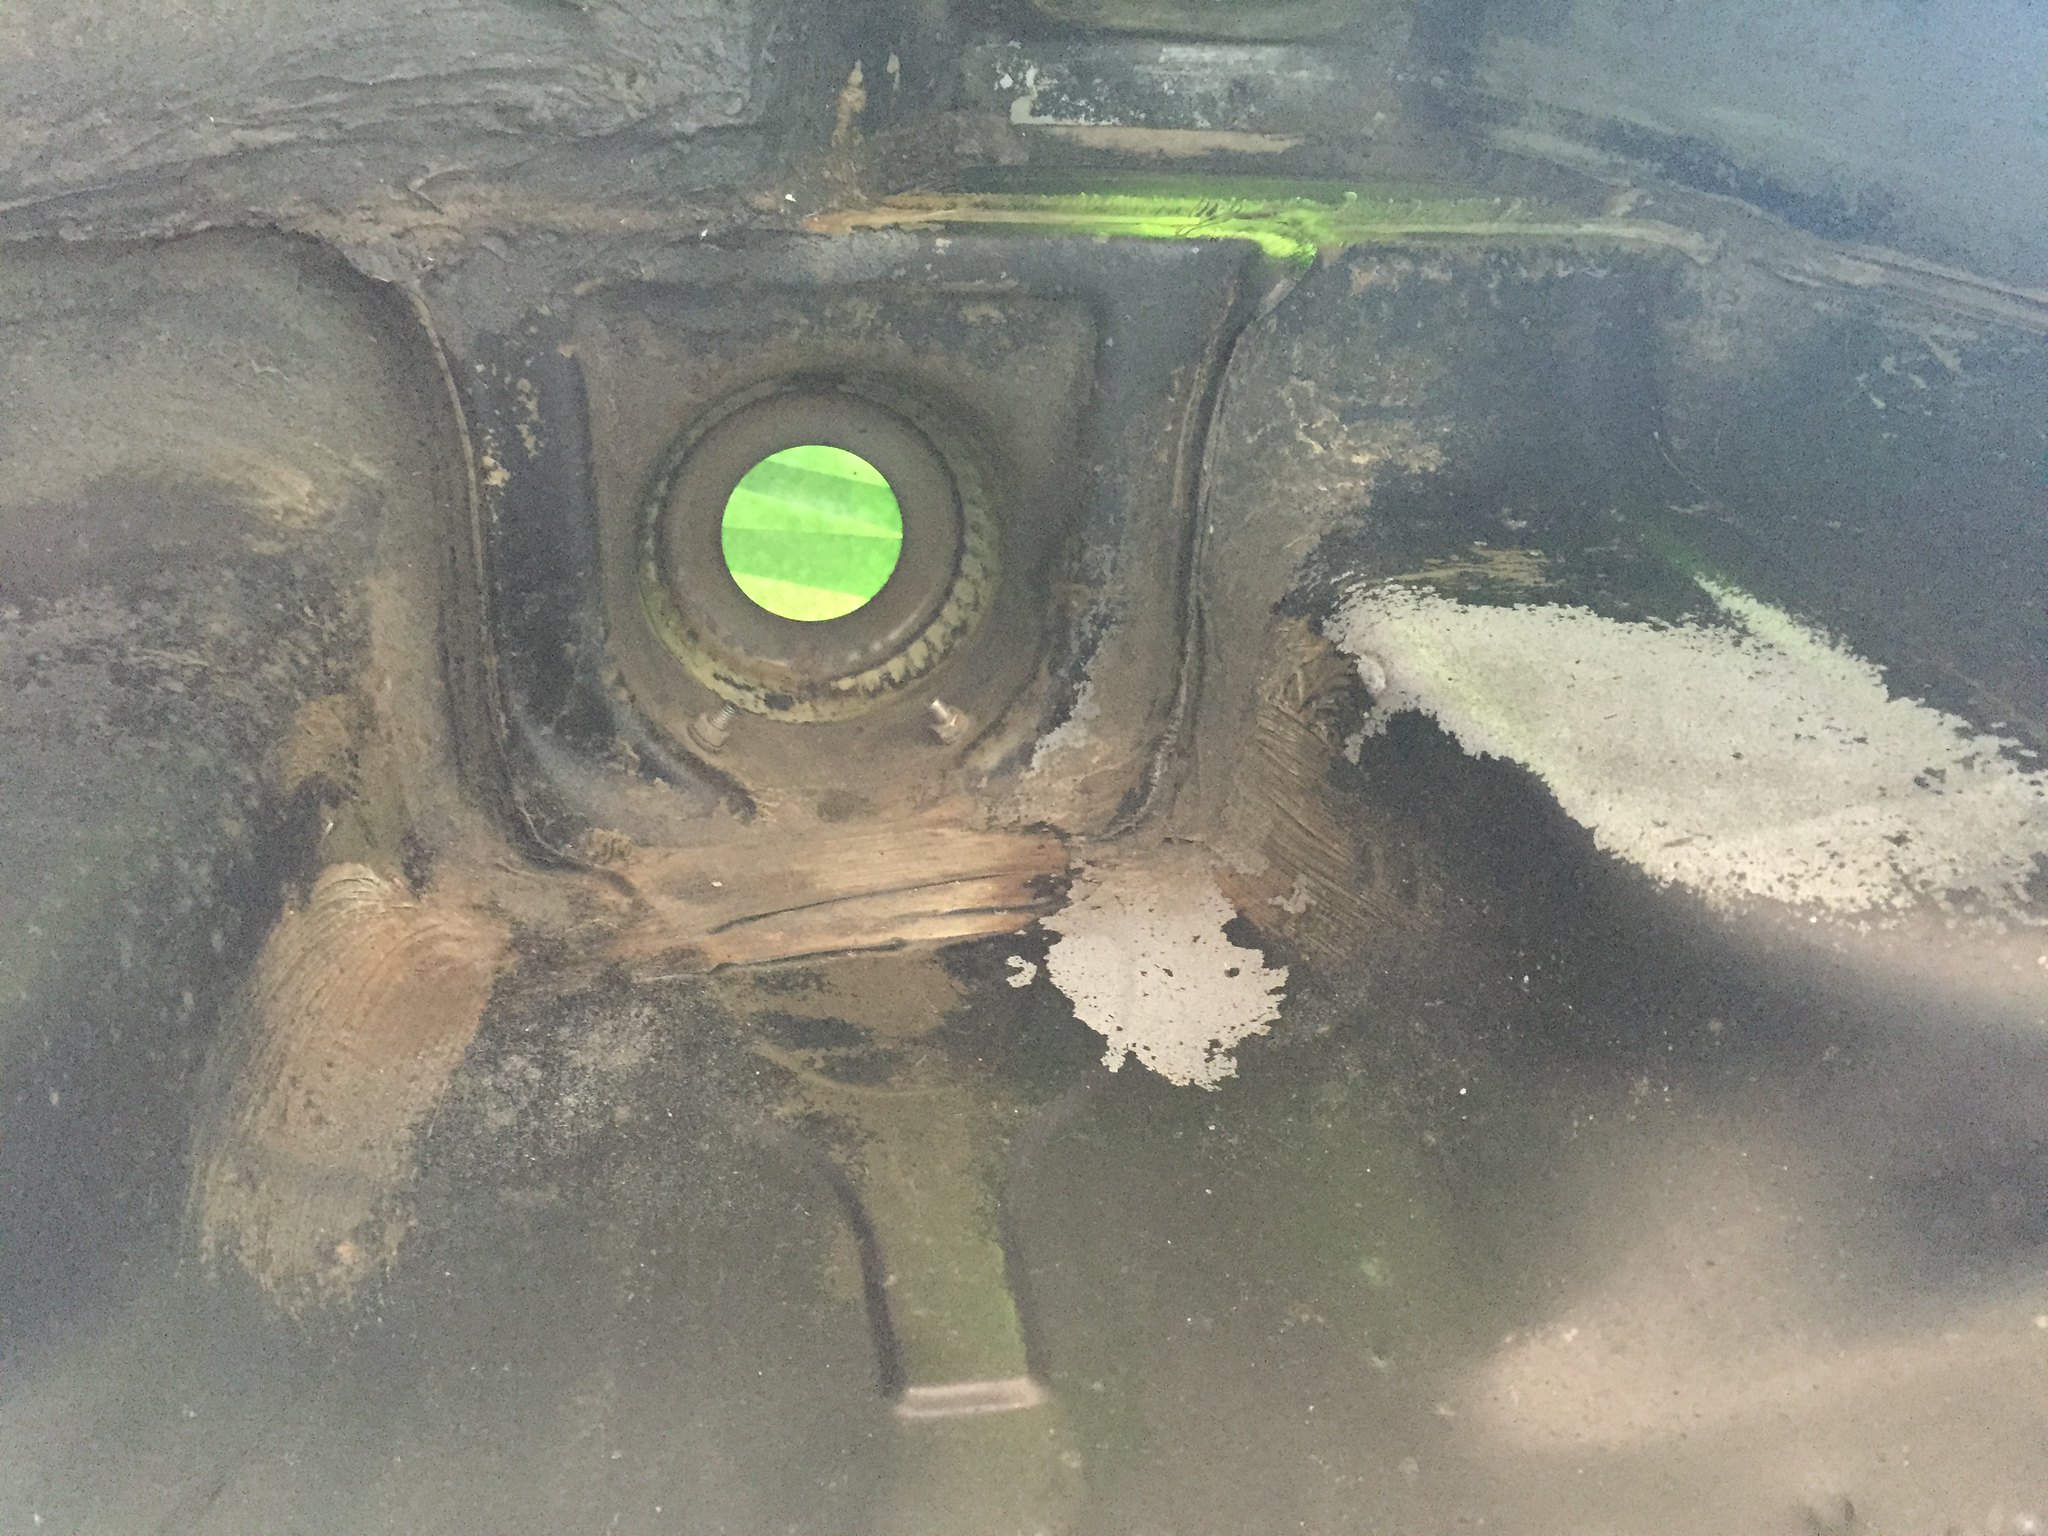
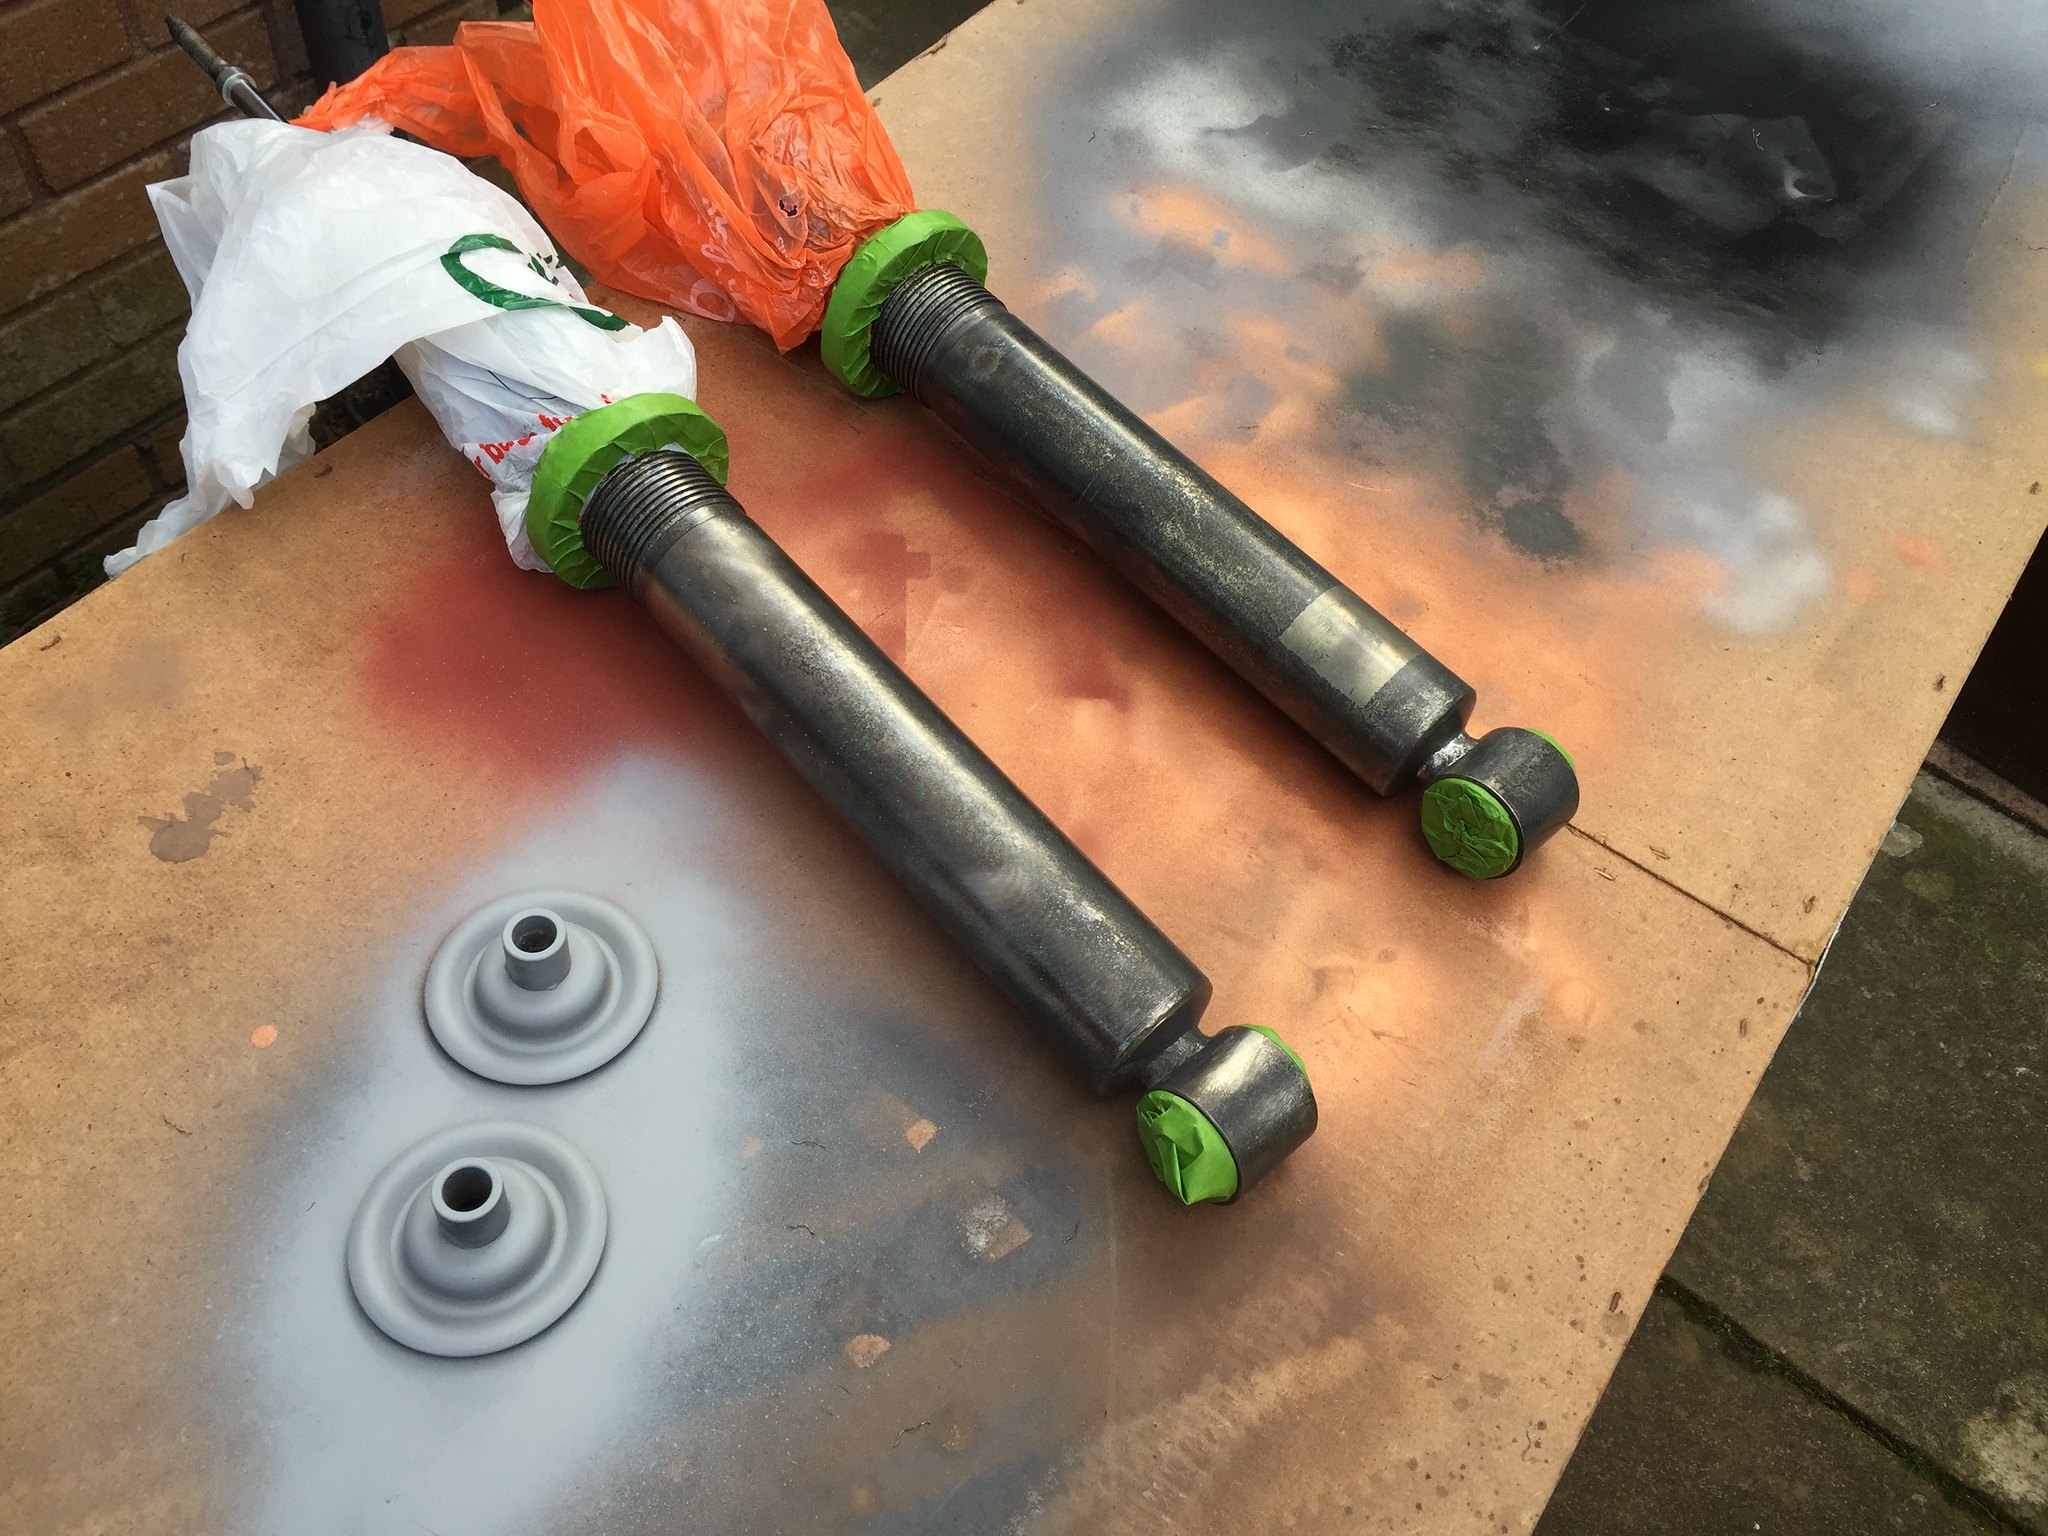
cleaned up the rear shocks with drill and wire attachment

16536232686_96594cc2e9_k.jpg


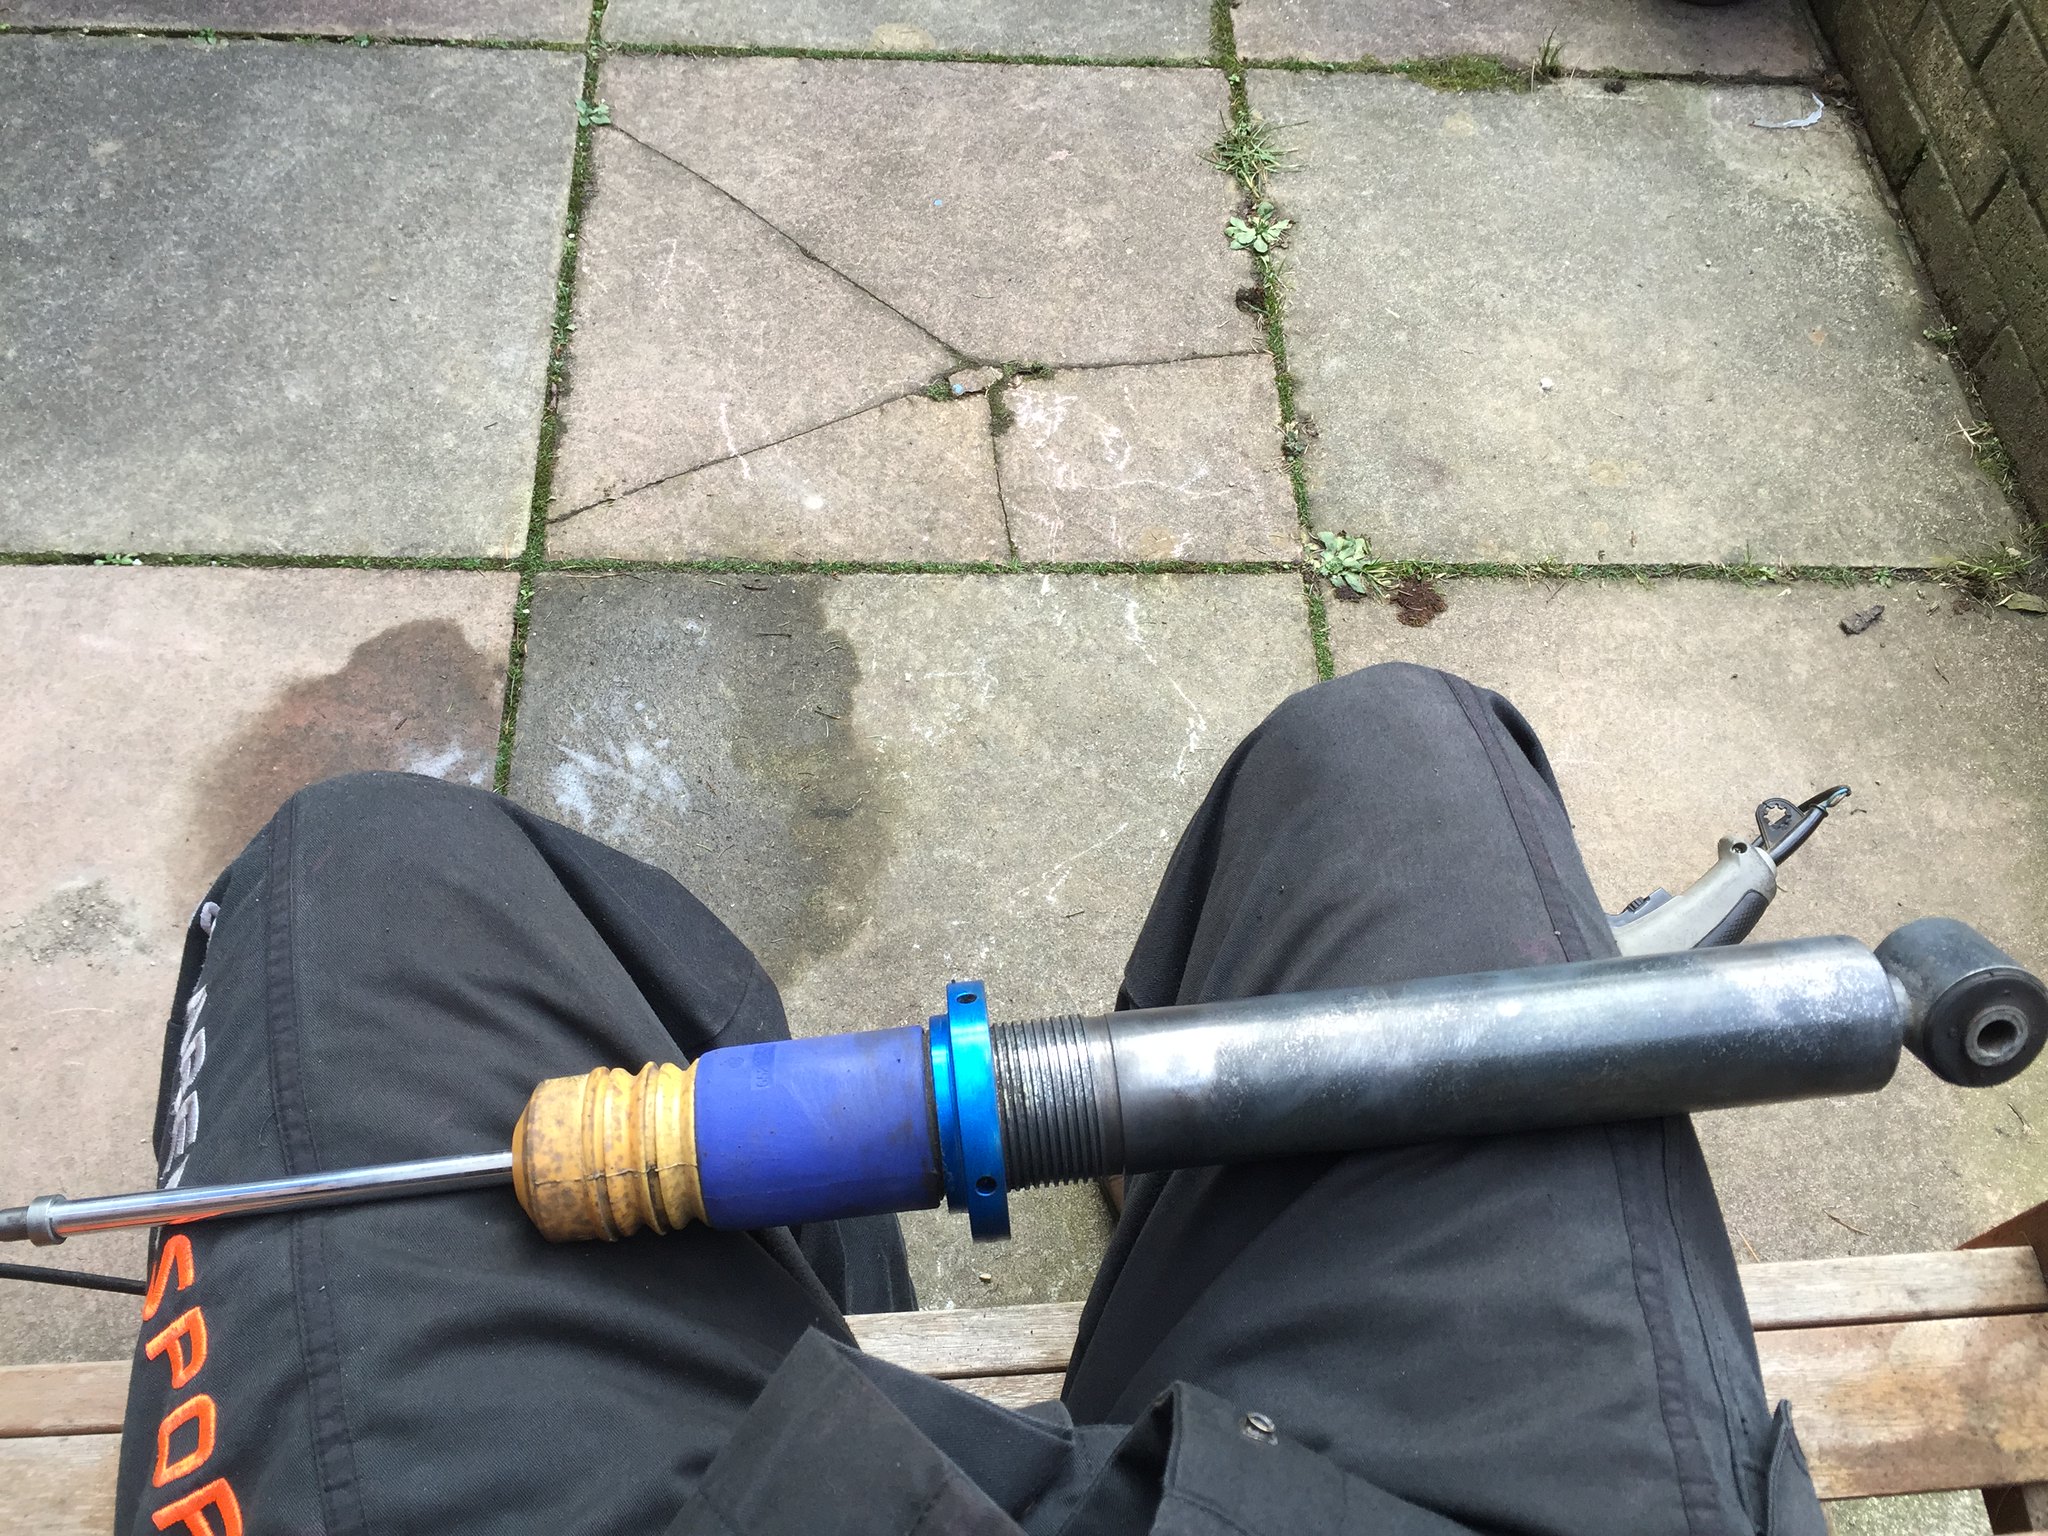
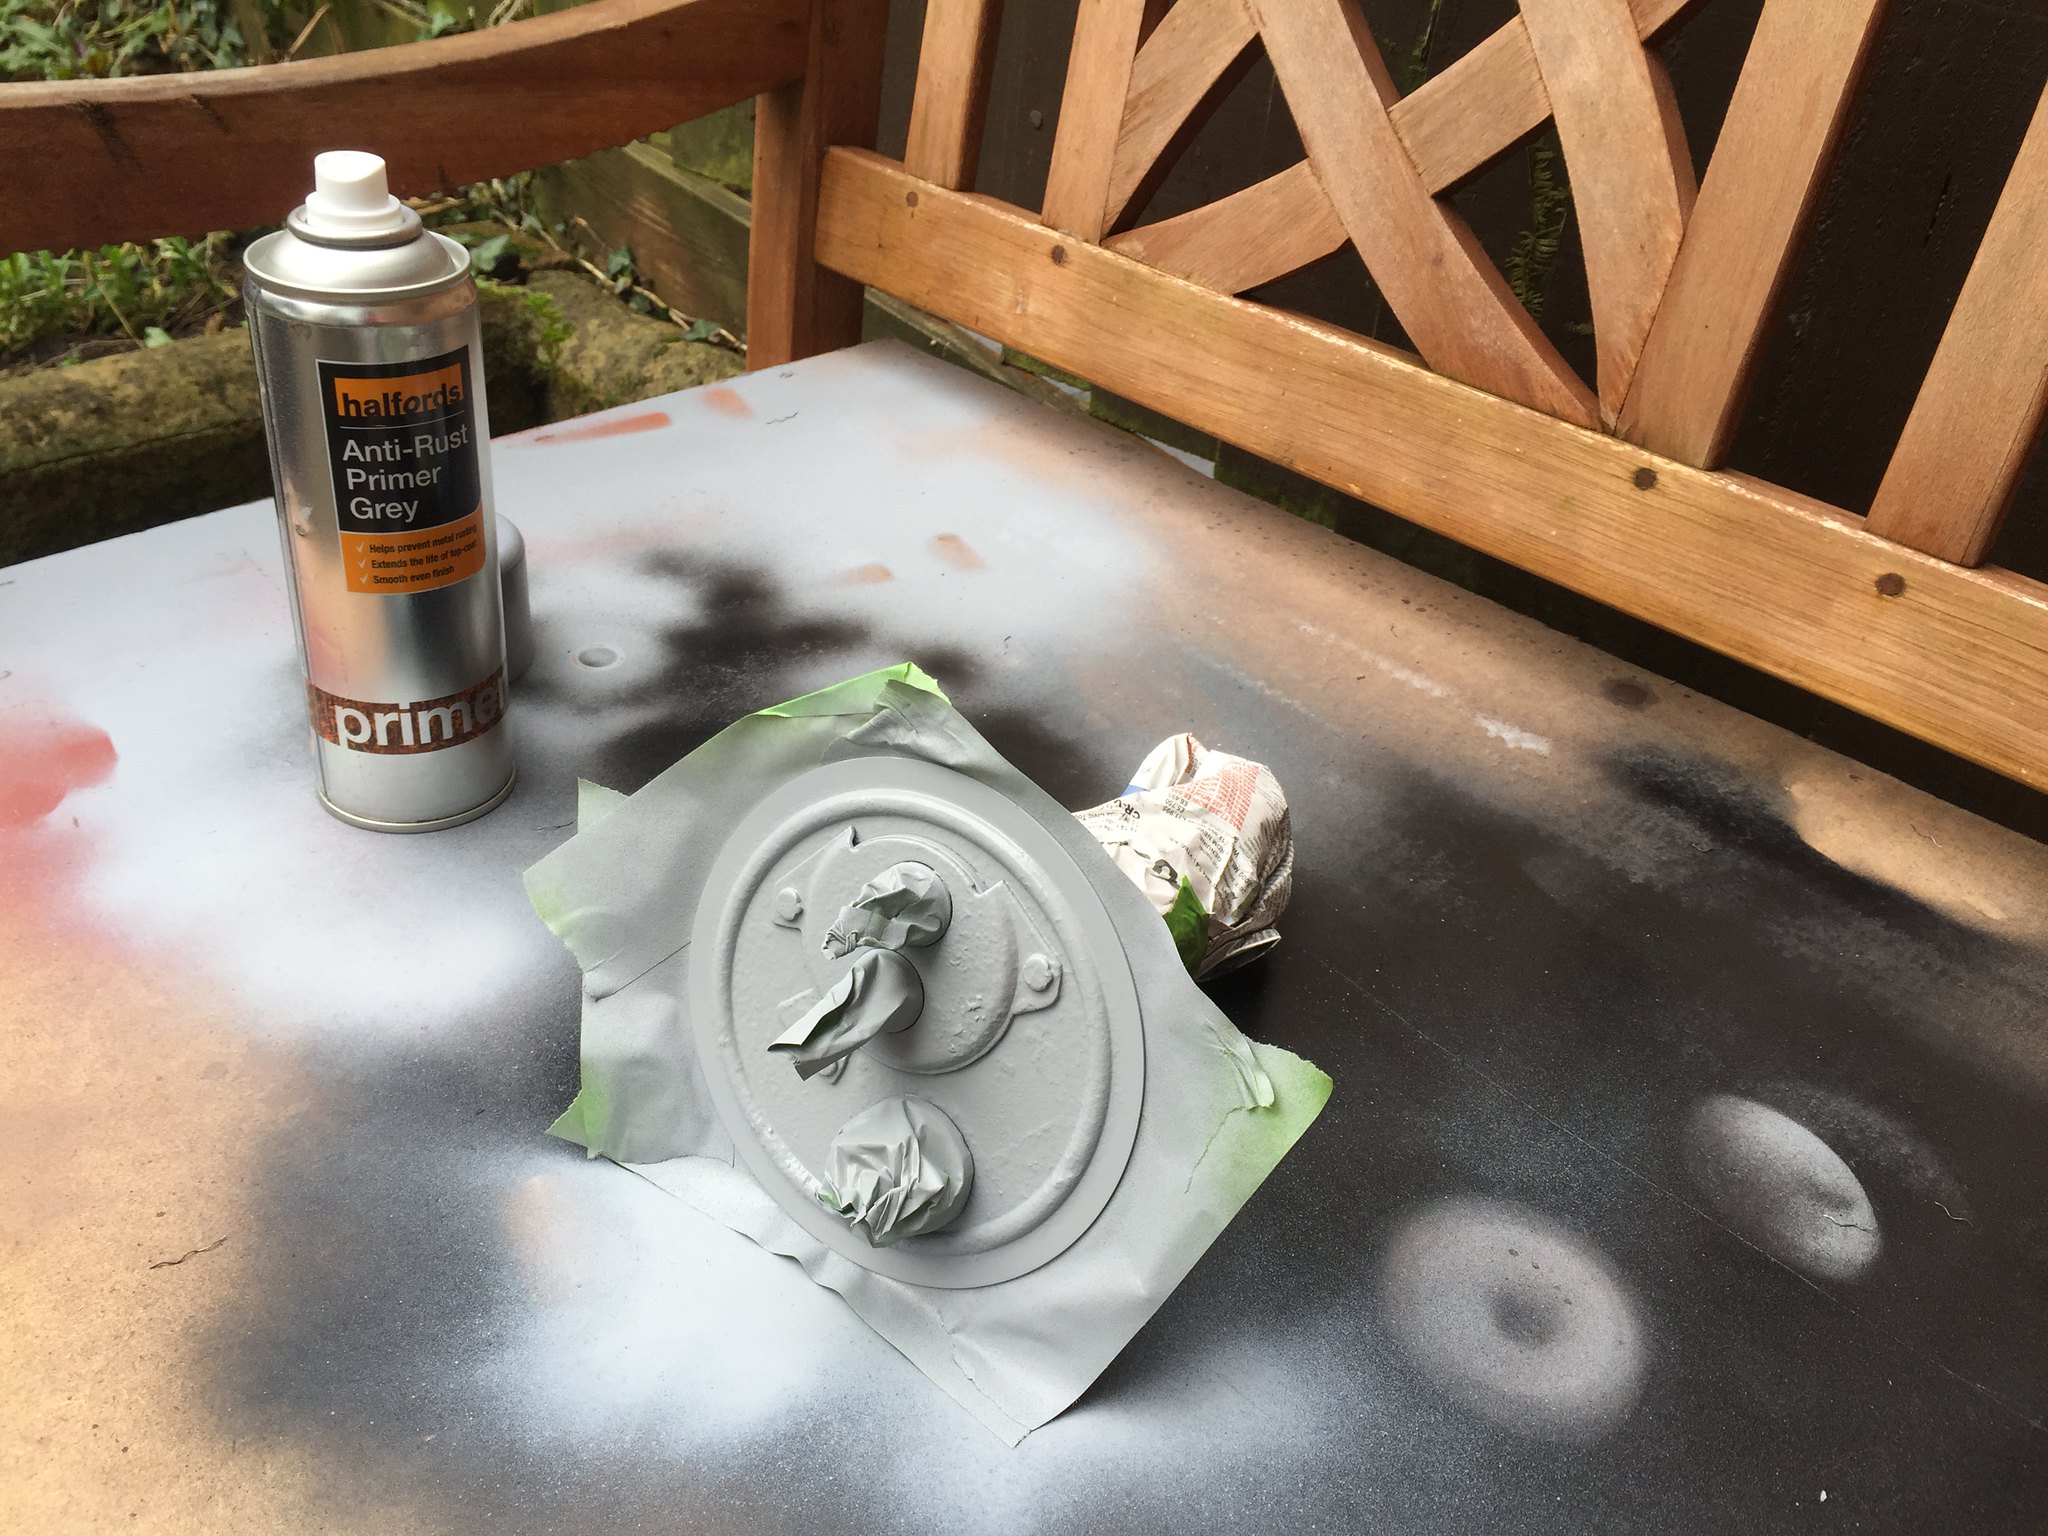
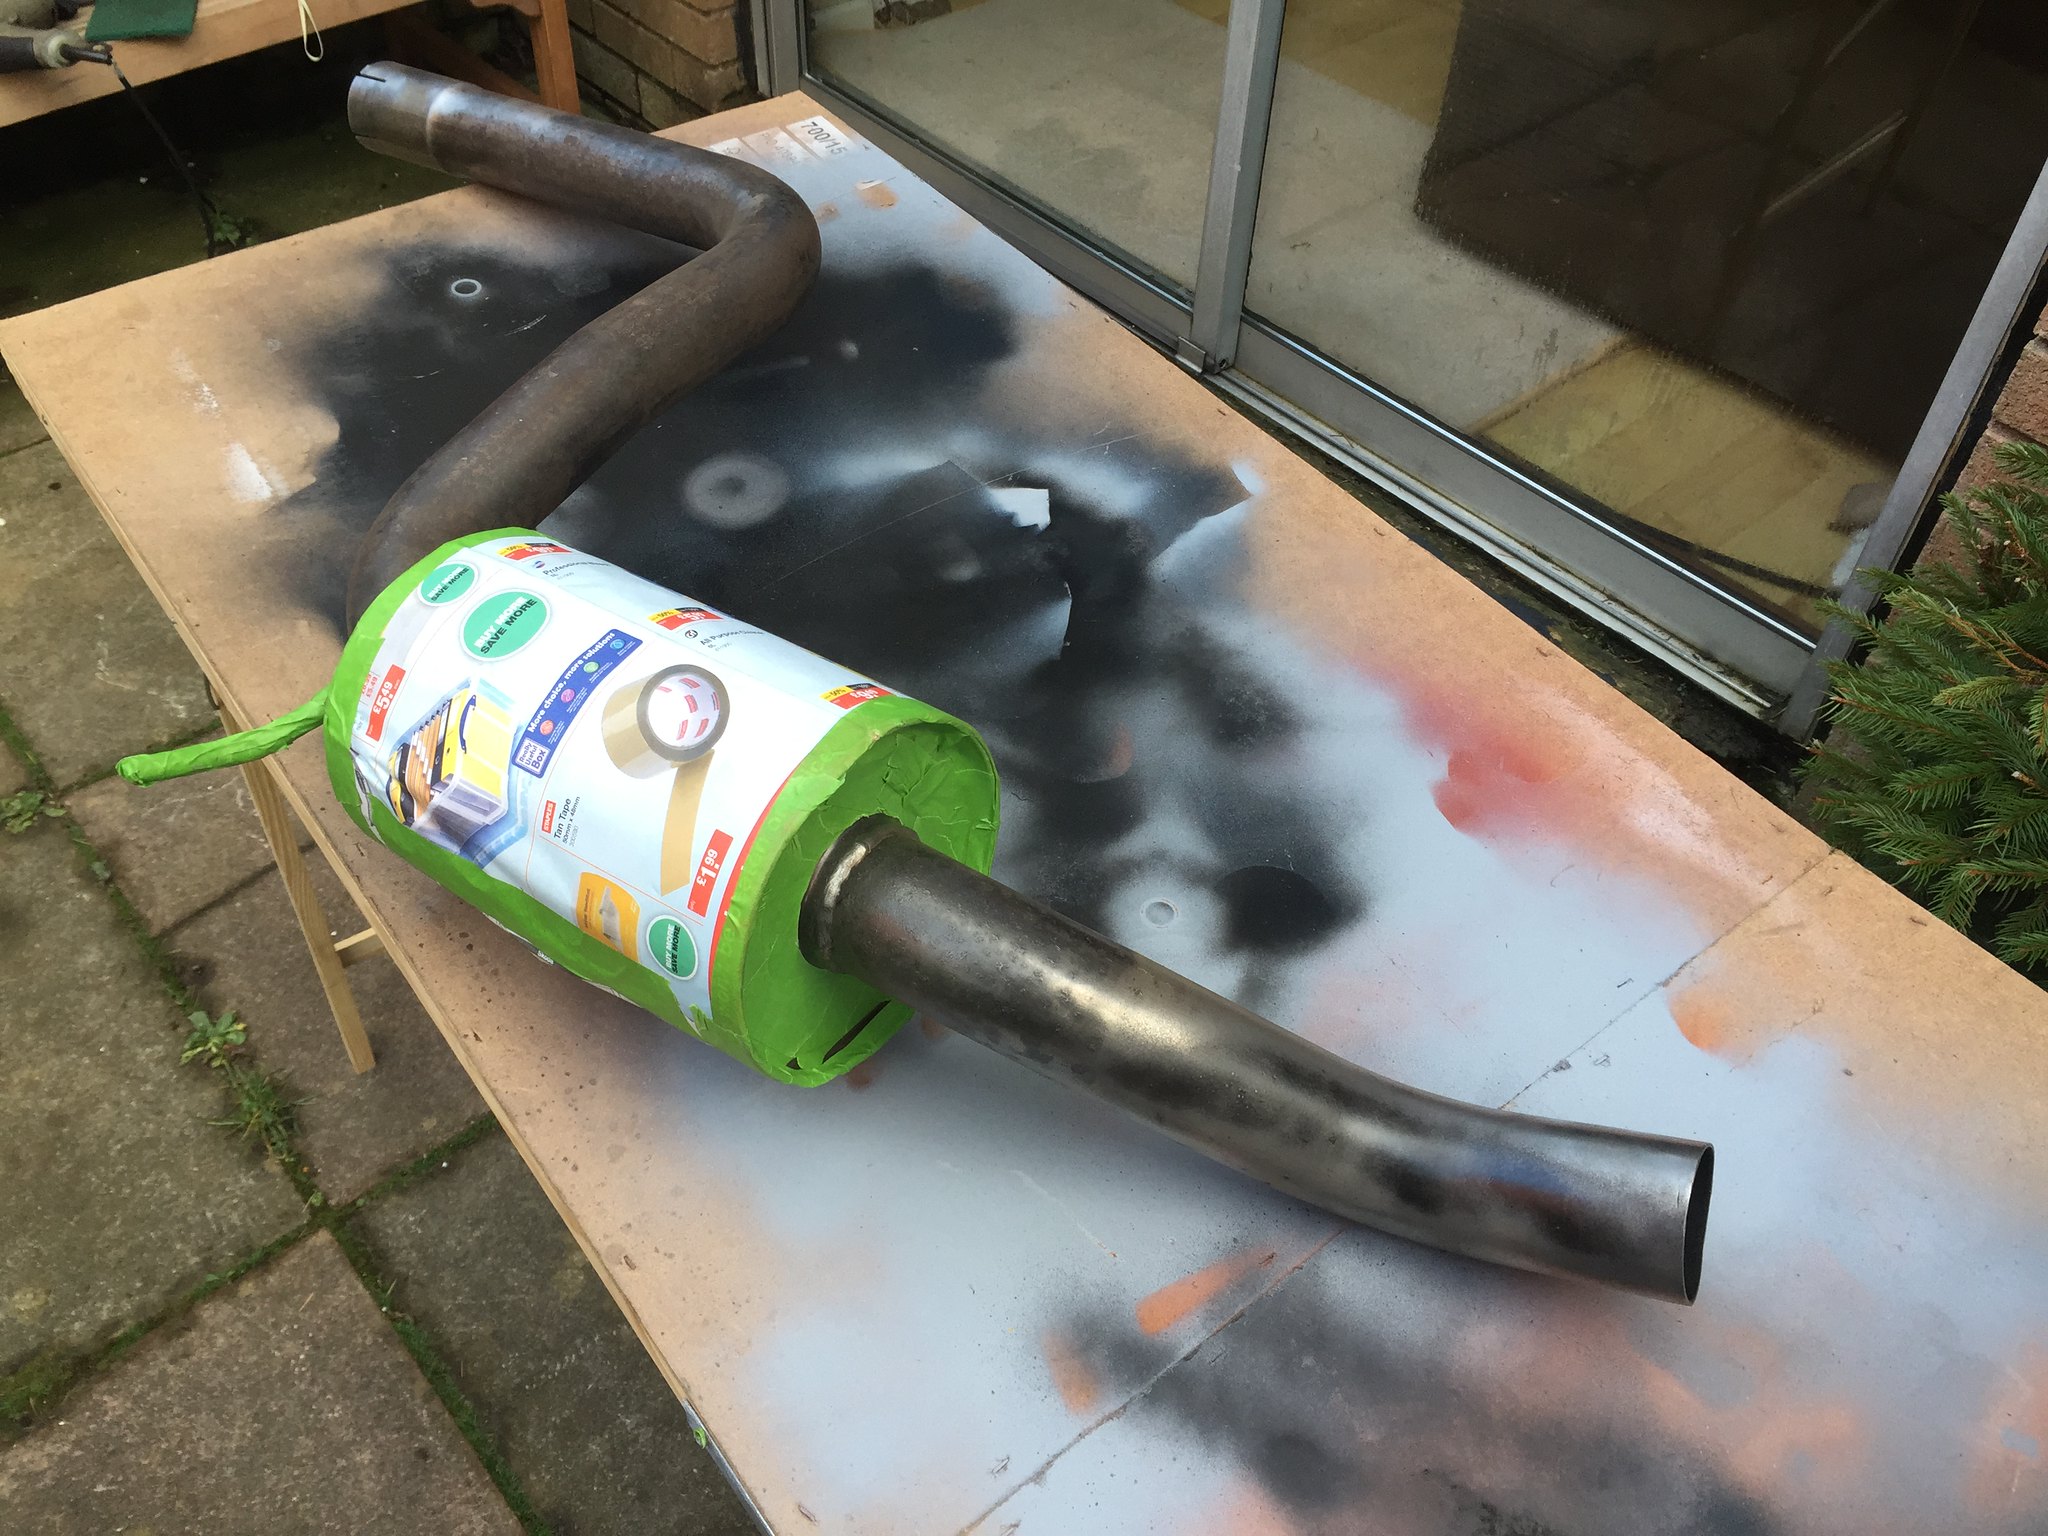
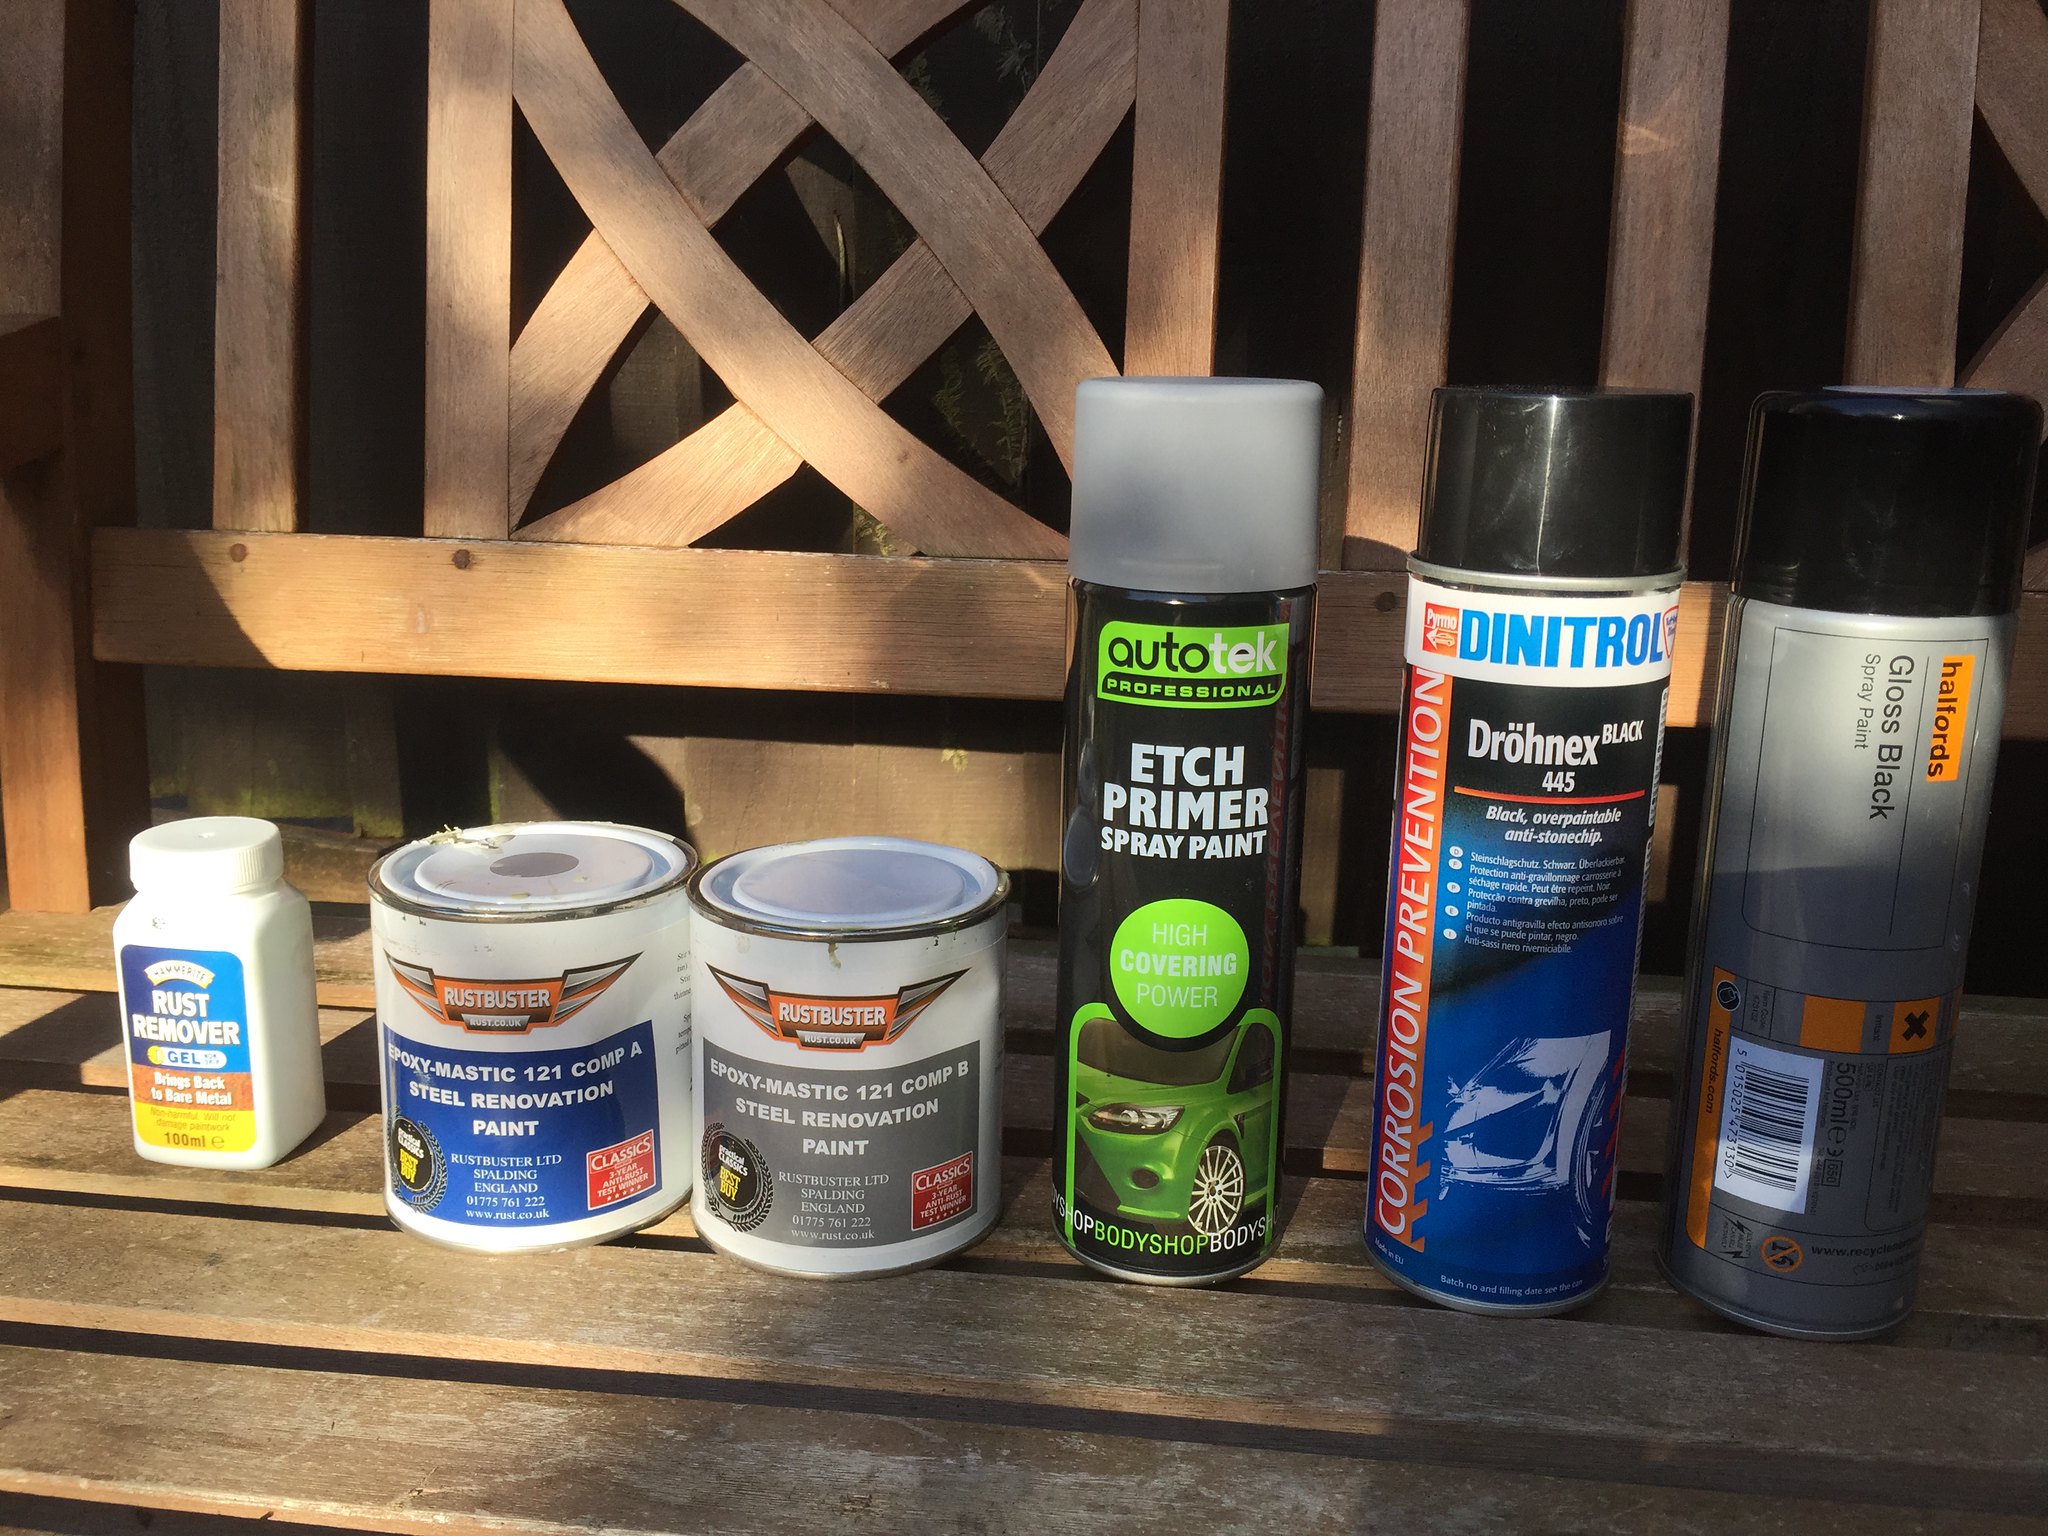
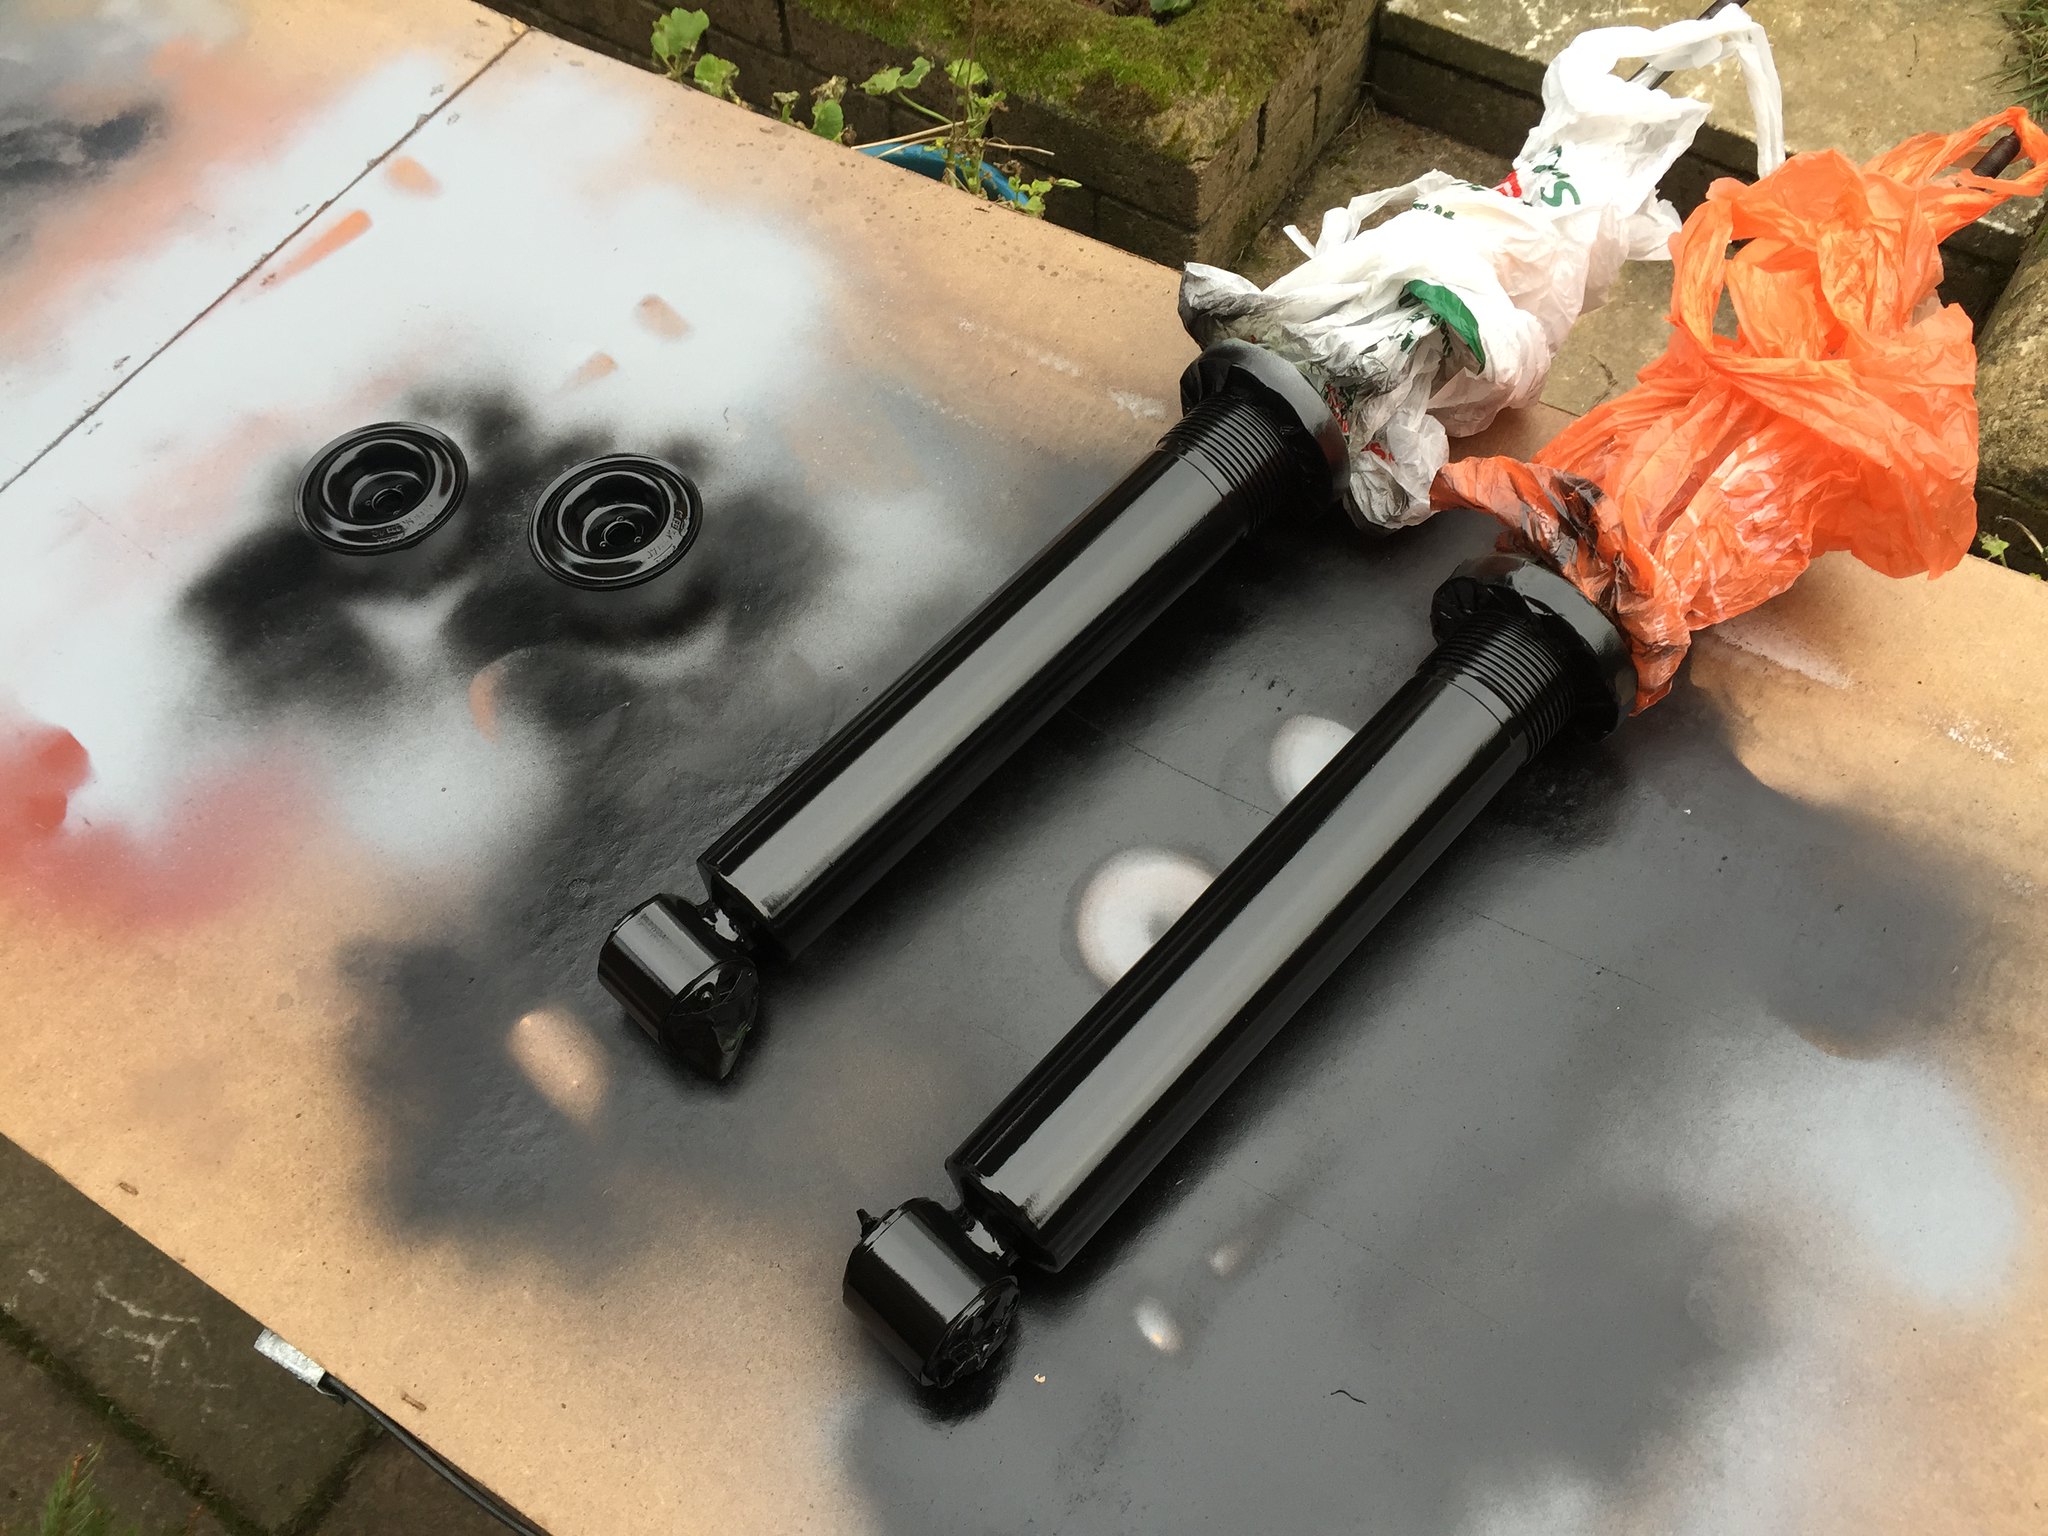
masked them up for acid etch priming, il paint some gloss black on them tomorrow, also primered my shock top mounts

15942049963_198ceb418c_k.jpg
 
got some paint on the shocks today

16571270965_da2077094f_k.jpg


got some parts back from powder coaters

all 4 hub spacers in satin black to match the wheels

16569589121_44eb9218b9_k.jpg


axle spacers in gloss black

16384960319_7545135a83_k.jpg


splash shields in gloss black

16570176762_9b80f7f360_k.jpg


hubs in gloss black

16384960459_5c9230fac7_k.jpg


new fuel tank in shiny powder coated silver

16384960879_27171e52d1_k.jpg


my spare room in getting a little cluttered with car parts now, wifey is not best pleased

16545286076_083663d4fb_k.jpg
 
Ok so not a massive update but ive got a few things done, the under body cleaning/preparing/repairing have been going very slowly but ive got a few other bits sorted, first up is the fuel pump that i have cleaned up the top plate/painted it, plus a replaced the old pump with a new walbro unit, however when i fitted it to my new tank it didn't fit... so i bent back the locating tabs on the top plate and rotated it in the tank approx 20 degrees and it fits fine, i guess its a post 2001 pump with a pre 2001 tank, oh well. next up ive cleaned up my exhaust as its pretty corroded and grotty so ive sanded/cleaned up the pipe prior to laying down some black VHT paint

16078523553_4ed1748965_k.jpg


all the old parts

16697429432_343099bb2d_k.jpg


new pump

16076153394_17bdb49941_k.jpg


all rebuilt

16517516440_6fb43d628f_k.jpg


16703837792_558b860e04_k.jpg


shiny back box

16678968236_71dab2190f_k.jpg


centre section all masked up ready for paint

16672535716_0f9f316101_k.jpg
 
ok so i got some work done on her today, this is how she looks at the mo

16688844046_db2ebe205c_k.jpg


16527172428_3a5015f7be_k.jpg


looking up under the rear arch

16528628969_60e62a82e3_k.jpg


16688844666_0fcc267824_k.jpg


16713474111_69ef9e0f5e_k.jpg


16714760275_30f6283e32_k.jpg


16528630919_3ecf214419_k.jpg


so it looks like i have a fair bit of work ahead, started on the drivers side arch today, uncovered some holes on the out side of the wind too

16714760225_a9e2907afb_k.jpg


here is a pic of the first stages of cleaning up

16092433144_e3aeba4ab0_k.jpg


so i know it looks pretty grim, but im confident that i can get her looking good again and be rock solid too, she will need a stop off in the body shop after the work is done but i think i can save her from this nasty state, its a pain having to work on my drive as i done have a garage or workshop :( at least the weather is good :)
 
didn't quite get as much done today as I would have liked but I finished off getting the drivers rear arch back to bare metal, then my drill blew up nearly electrocuting me, anyway 95% of the arch is fine its just the edges are a little tatty, so I thought id get the first layer of protection down on the bare metal to protect it till I get the rest of it to the same stage, then I will repair the rust, paint the repairs with the same stuff then finish off the rest of the layers of protection, the stuff I'm using is called 'epoxy mastic 121' its not cheap but its well recommended and

bare metal

16518516537_fb94a66e1e_k.jpg


16724556931_3130b57255_k.jpg


first layer of gloop

16539682179_1b5d8fedbe_k.jpg
 
almost finished the passenger side arch sanding today, found a couple of small holes in the outer wing, here is a pic of the stuff im painting the underside with, the mastic 121 goes on first then acid etch primer, dinitrol stone guard then finish off with a coat of gloss black

16733206922_edeb42599a_k.jpg


also got some new Hel rear brake lines, i ordered clear braided but got black, never mind they are much better than the goodridge ones i have at the mo! the problem with the goodridge ones is that there is no part to secure it to the bracket where it meets the hard line it just goes on the FRP rear hose extension, plus the out sheath has started to give way near the join, i must admit Hel are rather good, they made me up a custom set to fit my brembos when i fitted them a few years ago

proper part to secure it to the chassis

16546874250_58522441c2_k.jpg


old vs new

16733080931_23e62a6f7d_k.jpg


16708390846_166f62c91d_k.jpg
 
Good job on the arches! Looks like your doing a great job on them.
I'm also going to my underside pretty soon and had the exact same products in my head! What a coincidence :p
 
Just make sure you have a good set of sealing goggles (the crap that goes in your eyes with just using specs is agonizing) a decent face mask to save your lungs, oh and the patience of a saint! It's taken a lot longer than I thought it would plus I think I'm gonna have arms like Popeye when I'm done!
 
I don't envy you here - I did all this with mine and more recently did the floor. It's painfully slow!

Looking good though 8) and you'll be pleased you did it later on.
 

Latest posts

Back
Top