JASAPP

ProjectPuma

Help Support ProjectPuma:

This site may earn a commission from merchant affiliate links, including eBay, Amazon, and others.
Again small update and perhaps a poll?
I always had soft spot for multispoke wheels and just had to get myself a set of thunder wheels. Eternal gratitude to IanG who had motivation, time and will to find four of the straight wheels, take the tyres down, then package them first class (that was a school example of how to efficently and safely pack a set fo wheels) and ship to me!

So, when they arrived, 3 of them were nearly spotless, one had some minor damage, but the most important thing was that all of them were straight!


Since I like them so much I had to get them refurbished and took them to a guy who is doing it first class. He puts on two layers of colour and on top the clear coat. I went for the matt apperance as I don't like them to shiney...

This is how they turned out....


And stored securely


The original plan was to use them with my winter set of tyres, but roads here get salted during winter (big grain salt mixed with gravel) so wheels get quite a beating. Since the wheels are so nice now, should I use with my summer tyres instead of propellor wheels (which I also like)? One thing in favour of the thunder wheels is that they don't require spacer for the ST150 brakes....

So, what would be your opinion(s)? Each one is more than welcome......
 
Hi Sinisa
For me the multi spokes are so much nicer than the props so I would use the props in winter and the multis in summer :)
Barry
 
:cool: cracking work with the seats!As for the wheels, well that is your preference!
 
Very nice, those wheels look great with the matte finish.
As others have suggested, I`d stick with the multi-spoke wheels for summer and the (much easier to replace) props for winter.
My personal preference in Puma wheels is the F1, It is a much stronger construction than all the other Puma wheels. They look good too..
 
Actually I took down the F1's. They are a real bugger to clean properly, have to be extra careful as the fake rivets break easily and fall down. Also, by the openings for the fake rivets corrosion is developing and aluminum is delaminating. Refurbishing them is neraly impossible; the blasting would be impossible around rivets. I thought of taking them all down and then tapping each hole and screwing in an allen bolt. Per wheel is needed 20 of them altogether; only the bolts in SS would cost more then 1/3 of price of powdercoating and then you are left with the centrecaps which can't be refurbished because of the Ford logo and because they have plastic at the back (wouldn't survive the baking process)
So I have given up on F1's and am selling them ATM. They are straight though, and have never been kerbed
 
I thought of doing the tapping to mine as well, and then also thought about the centre caps and just abandoned the idea :roll:
 
Small update from me again.
Never really liked the hazard switch which is placed stupidly on the steering column. Now and then I do run into some stoppages on motorway and to warn everybody behind you we do have a habbit of switching the hazard lights. As this switch is so stupidly placed behind the steering wheel, it creates a danger in itself as you can't manouvre while operating it! So thought of putting another hazard switch, from Mk1 focus. The place for it seemed to me obvious; it should on centre console to be reachable to the passenger as well. Since I don't use the OEM radio but ISO Alpine, the extra space is blanked off with the mask and under the radio is just about enough space for the hazard switch. So, got a hazard switch and another radio mask.


The Ford original mask is waaay better built than chepos from eBay as it has metal bracket and is made of soft plastic that isn't brittle.

Here you can see the metal bracket that is holding everything together and that will be handy later on

 
Proof of a concept and idea...


Getting the shape of the switch with sticking tape...


And transfer to the mask


After cutting the opening left the tape on the mask to protect it from scratches while working on it


Putting in some double sticking foam to adjust the distance of the swicth in relation to the mask and to make it rattle free


After that I put on some metal brackets and drilled holes in the mask bracket to enable fastening of the switch. The plastic rivets snapped, so I glued it back with some construction ealstic glue and then with soldering iron made new rivets. It is very secure now and should hold in the long run (hopefully)


After that was more or less finished, resprayed the mask to match it to the puma interior and fitted it all together


That is how is stands ATM. If temperature picks up a bit will later wire it in the car and install
 
Very clean and professional installation! Though I would have personally hidden it somewhere not so visible :D
 
Update time! Had some hurdles with ICE. In short: had to swap the amplifiers as the original one wasn't functioning properly so now I am using even older rockford fosgate 4.6X which is really ROCKING :grin: )


After that was sorted (the original RF 400a4 was sent to be repaired, in more details here: http://www.projectpuma.com/viewtopic.php?f=22&p=334803#p334803" onclick="window.open(this.href);return false;) decided it would be now good time to sort my sills. The thing with them was they were in pretty bad shape after this winter. Our roads get covered in salt and gravel and the car gets quite a beating in the proces so the sills, front wings and bottom of the doors and the bottom part of rear panels were full of stonechips.
I went to see the guy who resprayed the car and he told me that it wasn't normal and that in the same batch with mine was at least ten cars who had the same fate. It would turn out he received a bad batch of PPG clearcoat which he used only to find out later it wasn't durable as it was supposed to be. He complained to the guy who was representing PPG and he rejected it on basis that was to be expected. But the bodyshop owner wouldn't take it and he redid the cars at his own cost as he didn't want them to look bad as he was the one who did them. Noone at later date would be interested in bad clearcoat; everyone would conclude it was bad workmanship!
So he resprayed: both front wings, both doors, both sills and the bottom part of rear quarters just for the price of material as he would pay it and total came to, I am really ashamed to say, 50 GBP! Ok, he didn't bother to give a receipt, but since he was doing it at his own expense no one could or should complain,I would say?
And this is the result of his work. He said this time he didn't even thin the clearcoat to make sure it would take the beating better and gave it an extra thickness...
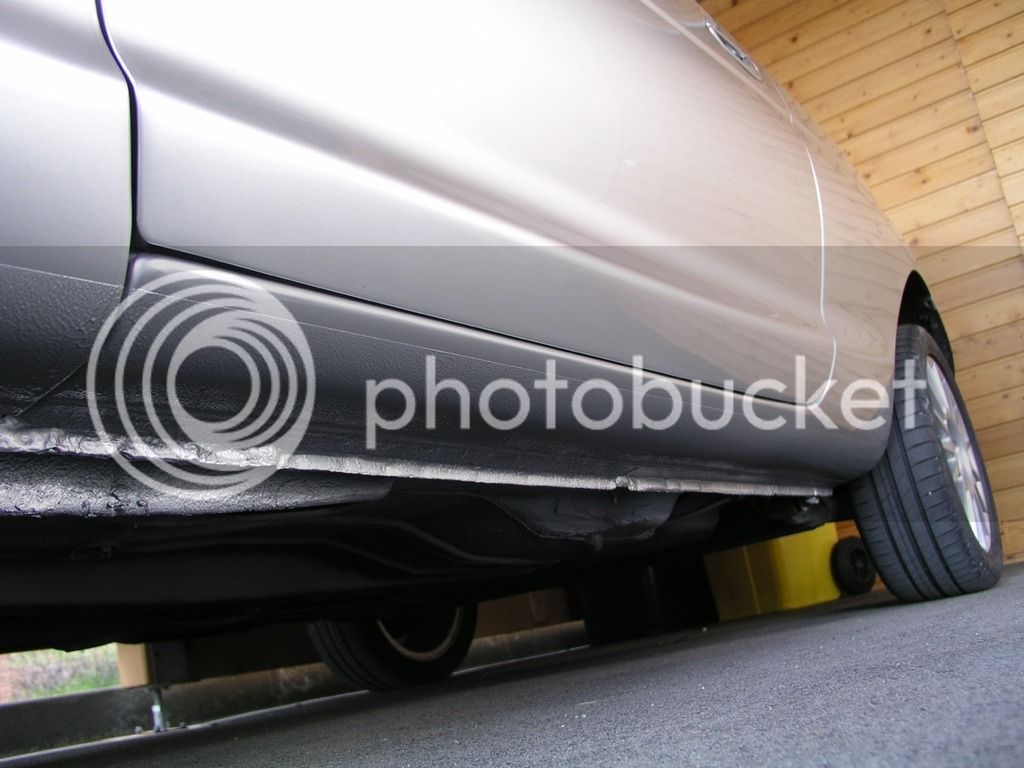


A bit of detail


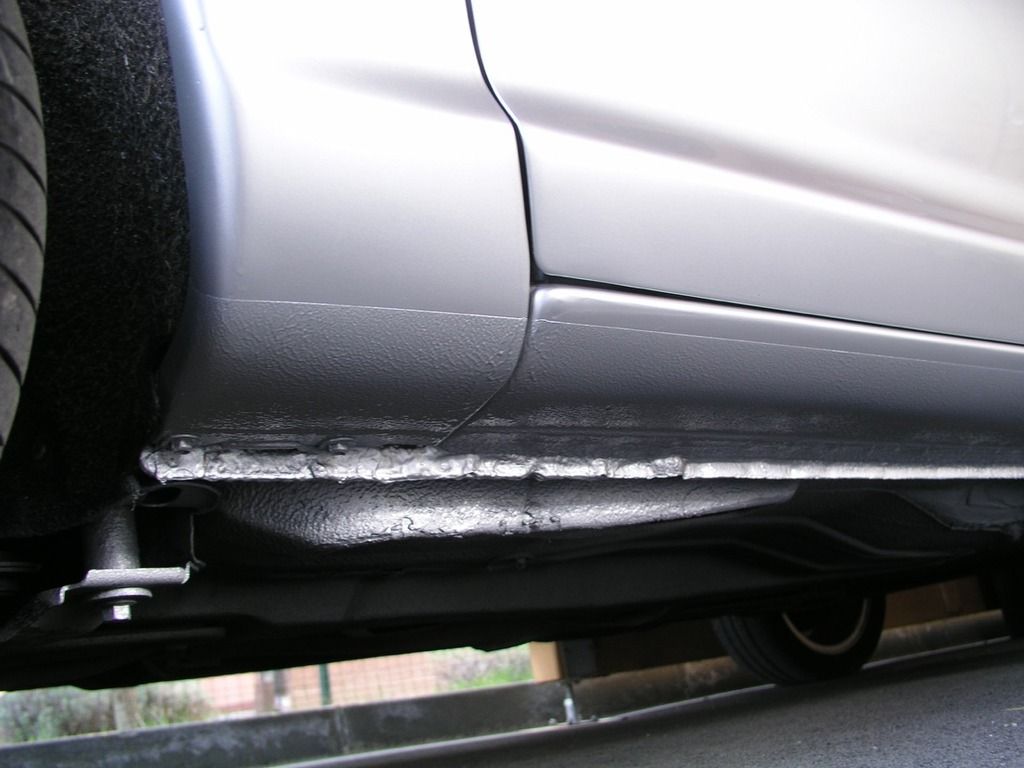
This is the area that took the worst of it as the paintjob got sanded down to metal and it started to rust. They cleared with wire brush and reported the sills are sound, no rust on them :grin:


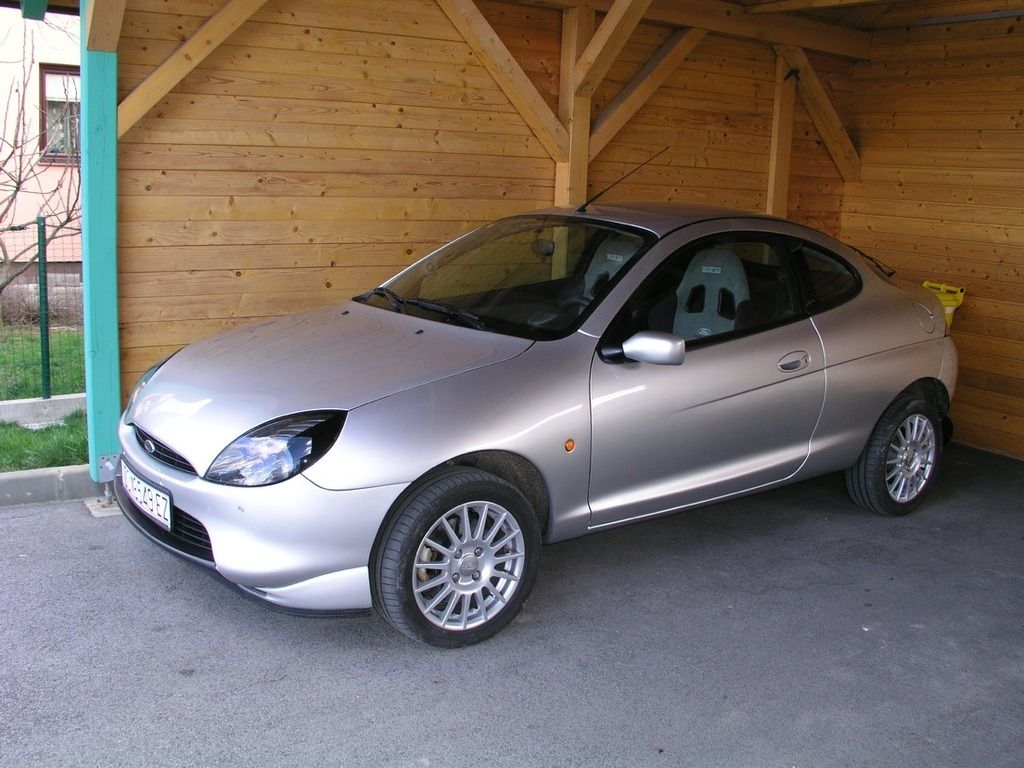
And the car in total


My plan now is to protect the sills using the vinil stickers. These can be found on some of neweish cars (like Toyota yaris) and this summer will do some sills protection in CF to be put over them and protect them in long run. Also kind of hope that black CF would look good in contrast to the moondust silver. The plan is to make them exact fit, no widening, lowering or anything like it, just to cover the sills like a good suite for additional protection
 
Apparently, tesa (http://www.tesa.com" onclick="window.open(this.href);return false;) is producing them and they can be bought in aftermarket. Will go and have a look on tuesday (Easter monday is a hollyday here) and then will post the results :wink:
 

Latest posts

Back
Top